

Introduction: Make Your Own Storage Drawer Works With Voice Recognition (1Sheeld - Arduino )


I always had the problem of forgetting in which drawer I’ve put my components and sometimes the ink on the labels get erased by time so I thought of making something smart and I ended with a storage drawer that works with voice recognition to tell you in which drawer you will find the component that you need.
You can make your own storage drawer from scratch like what I did or you can buy a ready one and just add the electronics to it.
For voice recognition I used 1Sheeld board. It's a board that turns your smartphone to +40 different Arduino shields. One of the special shields of 1Sheeld is voice recognition shield and you can use it with only 1 line of code. To know more details about 1Sheeld check these links : Replace your Arduino shields with your smartphone and Turn your smartphone into a generic Arduino shield using 1Sheeld
Step 1: Prepare Tools and Components That You Will Need


- 5mm MDF sheets
- Super glue
- White glue
- Cutter
- 3mm leds
- Ribbon wires
- Resistors 150 ohm
- Wire stripper
- Sand paper
- Arduino Uno
- 1Sheeld board
- Male-Male wires
- Electrical tape
- Soldering iron
- Soldering wire
- Varnish
- Gloves
- Brush
- Small breadboard
Step 2: Cutting the Parts on a Laser Cutter Machine


I chose a good design from thingvirse it is a storage unit which has 3 sizes of the drawers ( small, medium and large) and you can cut the sizes that you desire.You can find it here: http://www.thingiverse.com/thing:1239522.
In Egypt I didn’t find 5mm MDF sheets and I found 4.75 mm so I made a little bit modifications on the design (You can find the files uploaded).
Some parts may get damaged and not cutted well on the laser cutting machine (Image 1). Don't throw it! with a cutter and a sand paper you can fix it and make it work (Image 2).

Step 3: Assembling and Finishing


-After cutting the parts on a laser cutting machine begin to assemble them and fix the parts with super glue.
- I used white glue for the parts that I need it to be more rigid and stable.
- After assembling the whole storage unit, begin to cover it with varnish it will protect the MDF from humidity, water and make the surface smooth.
- May be you will need to cover it with two layers of varnish so start with one and when it gets dry start with the other one.
- Always cover the area that you are working on and wear gloves because it will get a little bit messy!
Step 4: Fixing the Leds


The leds will indicate which drawer contains the component that you want
- Bend the led legs like in Image 1.
- Take two wires from the ribbon cable and strip their ends using the wire stripper.
- Solder the two wires with the two legs of the led
- Each led has two legs( taller is the positive and shorter is the negative) so you have to remember which wire is connected to the positive leg and which wire is connected to negative leg. I used a set of ( red for +ve and brown for -ve) , (yellow for +ve and orange for -ve) or ( white for +ve and black for -ve).
- fix the leds on the shelves between the drawers (like in Image 2) with super glue.
Step 5: Connecting the Circuit


- Bring a male- male wire and cut it into two halves (like in image 1). You can use headers but I only had male-male jumpers so I used them.
- Strip the ribbon wires from the other side and solider it to the male wire ( like Image 2).
-Cover the soldiered part with electrical tape (Image 3).
- You need to use a resistance between the led and the Arduino pins to protect the led from being burnt. This resistance can be calculated as the following :
The Arduino pin output voltage is 5V , The led maximum voltage is 2.2V and the maximum current is 20 mA
so the resistance that should be used is (5-2.2)/(20x10^-3)=140 ohm.
You can use the nearest standard resistance. I used 150 ohm.
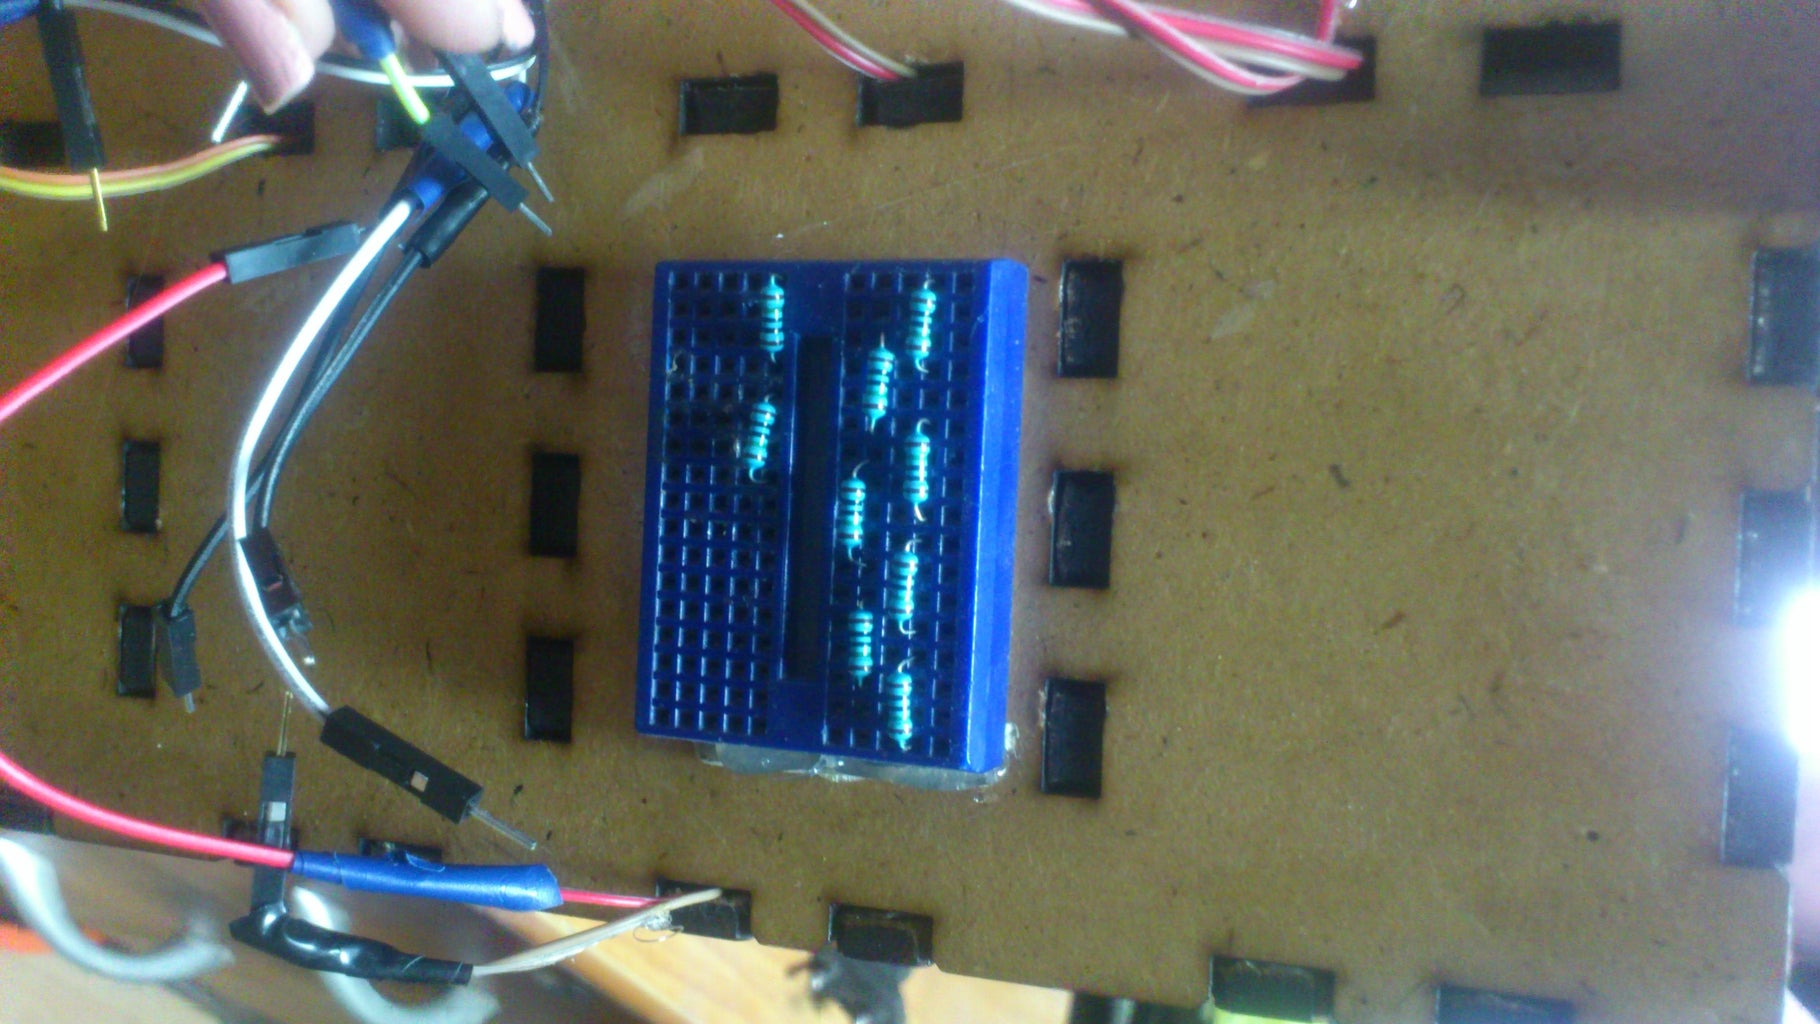
- Put the 1Sheeld board above the Arduino board.
- fix the bread board on the body back and connect the circuit (like in image 4)
- Connect the 1Sheeld ground with your circuit ground.
Step 6: Uploading the Code

Step 7: Your Storage Drawer Is Ready !!!


- Download the 1Sheeld app.
- Open the app and press scan
- Choose your board
- enter the password 0000 or 1234
- choose the shields ( voice recognition and terminal shield)
-Enjoy your smart drawer now :)


