

Introduction: Make an Electric Flickering Gaslight Lantern

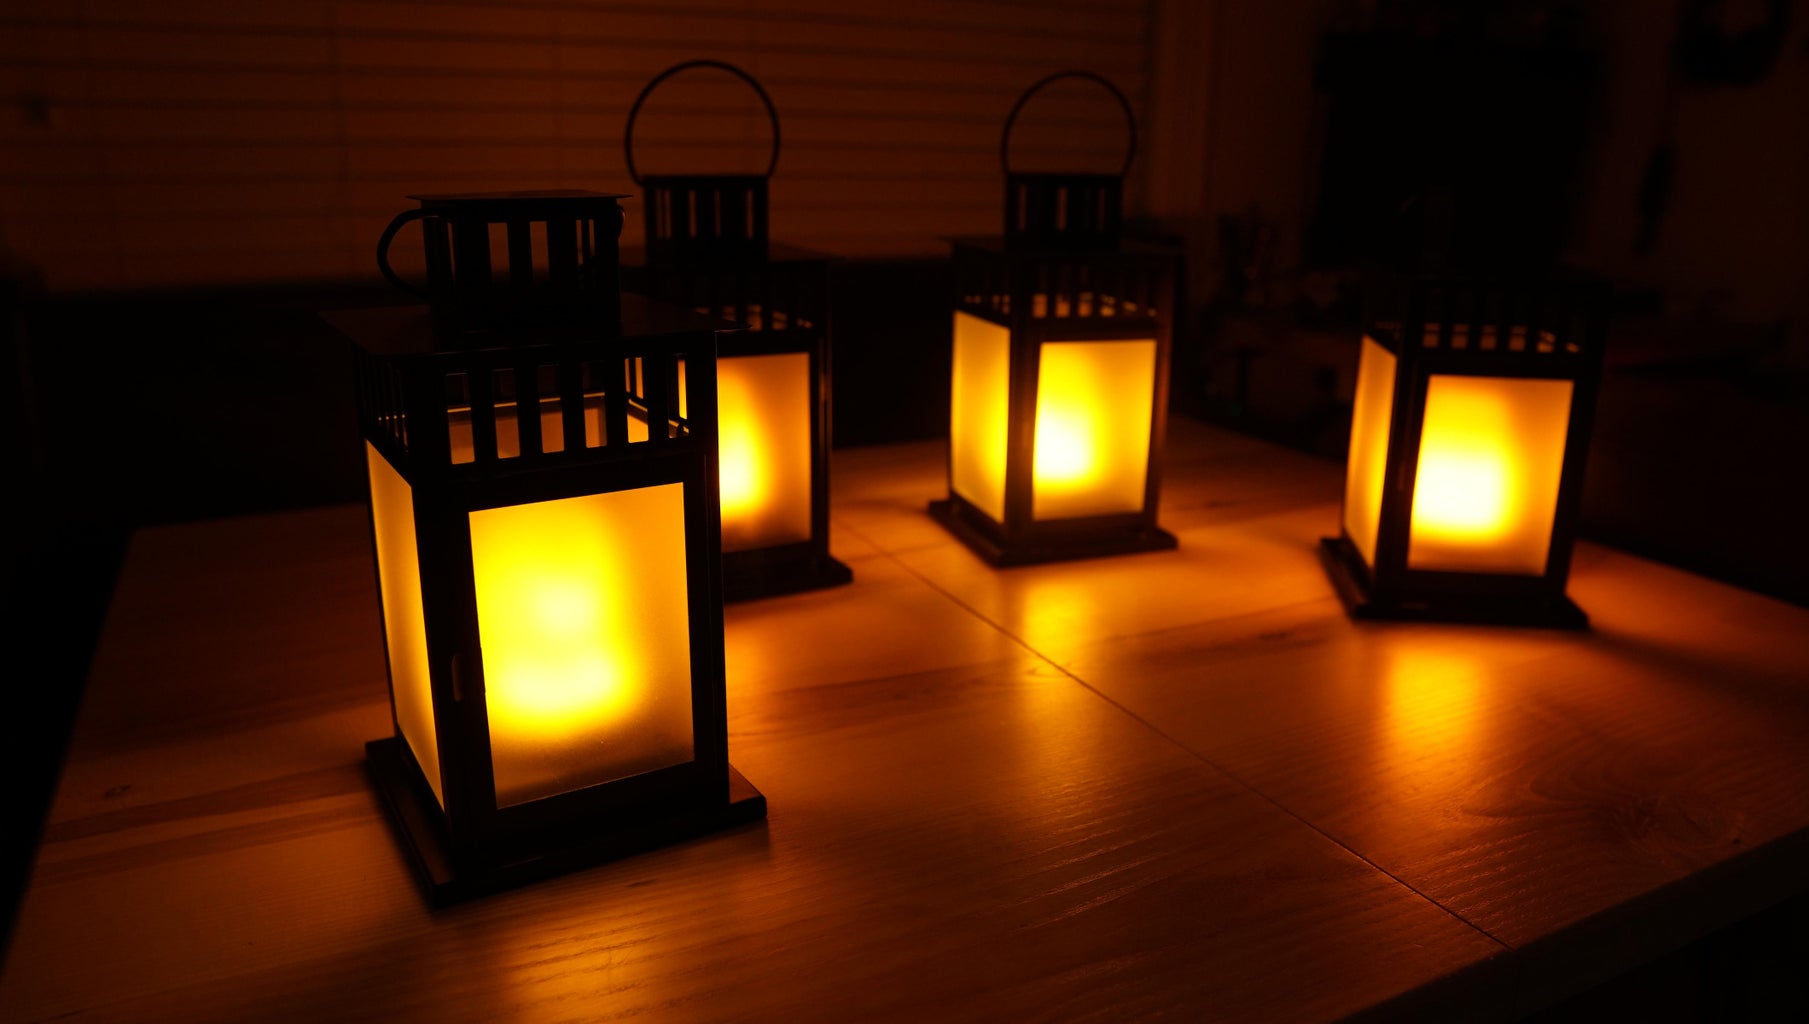


This is a really cool build, I was inspired to make this flickering flame lantern after watching a video of Adam Savage build a prop gaslight lantern. They look like an actual candle flickering. My build is different than his in that I used 3D printing to make the mounts.
I made a few of these in a few variants for gifts. They are a real hit!
Step 1: Materials and Tools

Materials
- Ikea Lantern https://www.ikea.com/ca/en/p/borrby-lantern-for-b...
Stonebriar Decorative 11" Wooden Candle Lantern https://amzn.to/3cgREyH
The Flame Light Bulbs https://amzn.to/3hGx2Bh or https://amzn.to/3hGx2Bh or https://amzn.to/3hGx2Bh
- Switches https://amzn.to/3msHS1c or https://amzn.to/3msHS1c
- AA Battery Holders https://amzn.to/3cku3xn
Doubles sided Tape https://amzn.to/2RPvjz7
- I used Weld-On 16 glue https://amzn.to/2YmuTTw or use CA Glue
- Heat Shrink Tubing
- Misc Wire
Tools
- Soldering Iron
- 3D Printer, I like these two Anycubic Mega-S https://amzn.to/30zGzoQ or Anycubic Mega Zero https://amzn.to/2BT3qBb
- Hemostat https://amzn.to/2RBcY8D
Step 2: Printing the 3D Mount Parts


What makes this build possible is a flame light bulb that fits a regular light socket. I removed the light socket base by prying it off, in that base also includes a small transformer that converts 110v AC to 5V DC. Since the LEDs run off 5V volts these lights will be powered by 3 AA batteries.
So to make this a clean build I designed in Tinkercad a mount that would fit the base of the light bulb so it would snap in place. I 3D printed the parts off in PLA and here is a link to the STL files: https://www.thingiverse.com/thing:4600563
I sized the mount and corresponding outside square ring to fit the Ikea Borrby lantern. You can just design your own outside ring Tinkercad depending on the type of lantern you use if it's different than mine and reuse the inside light mount.
Once the parts were printed, I glued the round mounting ring to the top of the mounting base.
Step 3: Preparing the Lantern


The IKEA Borrby lantern I used for this build had clear glass panels, to make the light more pleasing to the eye, I frosted the glass using some spray on frost, other alternatives is to use some stick on privacy film. If you want to do any additional weather now is the time to do it. I also made another version of this lantern using a wooden lantern and gave it some additional weathering using some black spray paint.
On the base of the 3D printed mount, I mounted a small slide switch using two small pieces of 3D printed pieces using some Weld-On 16 glue.
Using some doubled sided tape I mounted in the base a triple AA battery mount, that will use used to power the light bulb.
The flame bulb was snapped fitted into the round ring and wire fed through the hole in the base.
The wiring is very simple, to the switch I soldered the + wire to the switch and soldered the + battery wire to the switch. The negative wire of the flame bulb was soldered to the negative wire battery mount. All the wire connections were covered with heat shrink tubing.
Install the AA batteries and test the bulb.
Step 4: Enjoy the Lantern


This was a fun and simple build., Check out my short video to see the build and the lantern in action as pictures don't show how cool these bulbs look.

Participated in the
Make it Glow Contest


