

Introduction: Making 1x10 LED Array With Random Patterns
This will teach you how to make a very simple 1x10 array of LEDs on a breadboard controlled by an Arduino Uno to make the LEDs blink and flash in 10 different patterns.
Link to notebook for project: https://docs.google.com/document/d/1YP4p11SbDNOnM7mDn-sRjJLnxGPj6o0DkrFZnznVMvk/edit
Link to YouTube video of LEDs in action: http://youtu.be/waaNSYbWn2Y
Step 1: Insert LEDs Into Breadboard

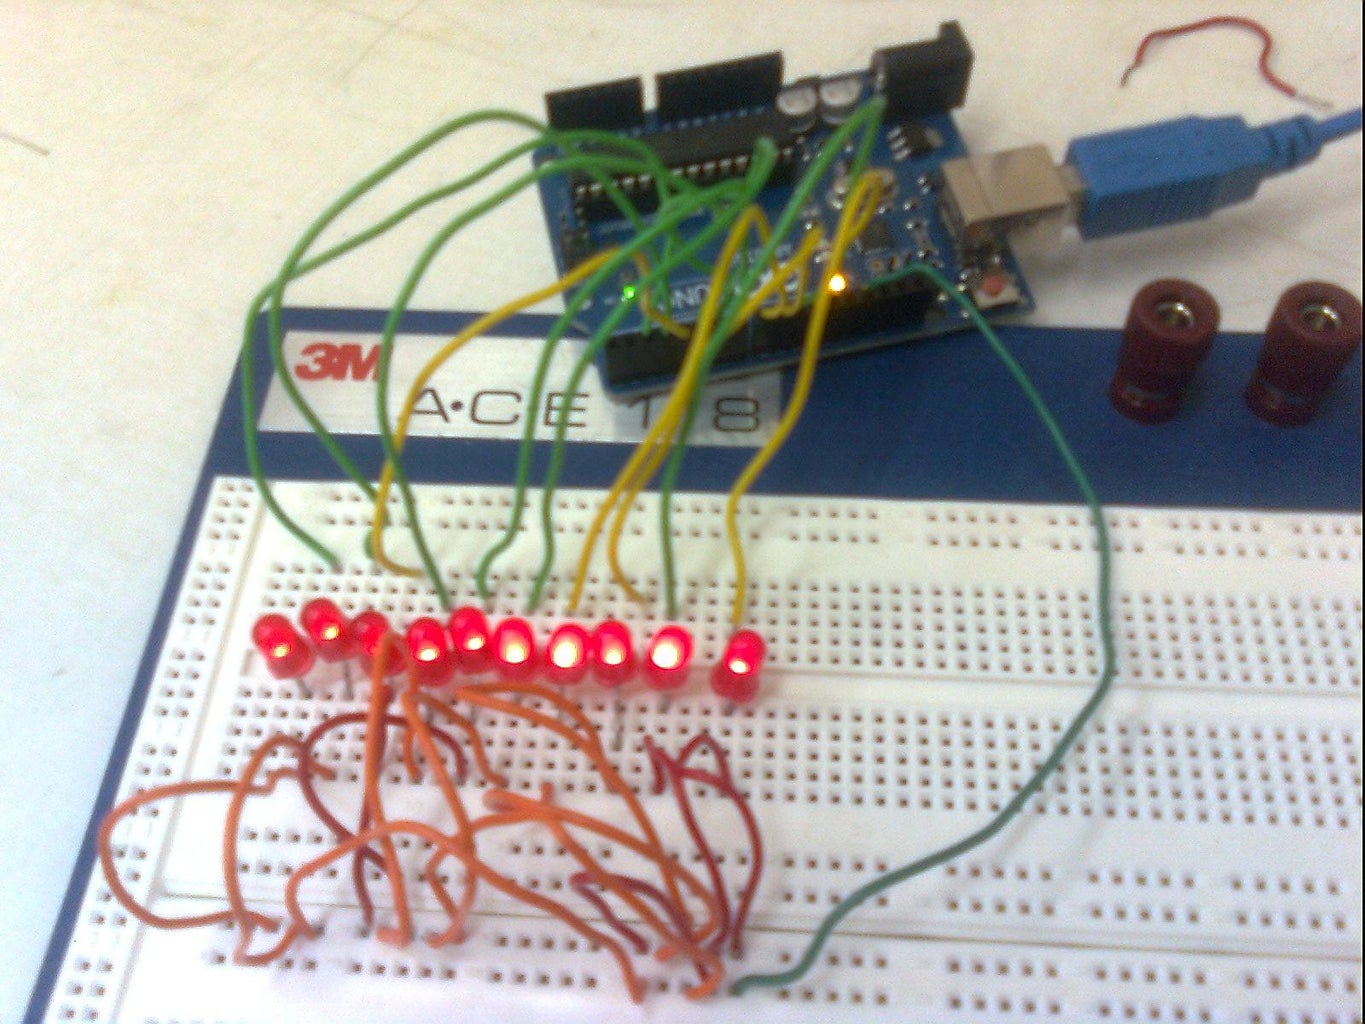
Insert 10 single-color LEDs in a row onto the breadboard with all the longer, positive leads facing the same way (for ease). Note that in the picture, the wires are already inserted.
Step 2: Connect LEDs to Arduino Uno

Run a single wire between the positive leads of each LED to the Arduino. Use digital ports 2 through 11 (on the side with the USB port). Wire the LEDs in order 2 through 11, so 2 is the first LED and 11 is the last, which is the the 10th LED.
Step 3: Ground LEDs

Each LED must be grounded to the Arduino. Run wires from the shorted, ground lead of each LED to a ground port on the Arduino. I had to jump from many different rows on the breadboard to get all 10 to go to the same ground port. The picture of my setup may help, but my own setup is not clean.
Step 4: Insert Wires for "Battery Checker"

Insert one wire into analog port A0 and another into port A1. These ports are on the opposite side from the digital ports on the Arduino. When the code is uploaded to the Arduino, when a battery or other readable potential differential is applied across these wires, the LEDs with flash.
Step 5: Upload Code to Arduino
Plug the Arduino Uno into your computer via USB cable and upload the provided code. The code is in PDF format, not the native Arduino code, so you will have to copy-and-paste the code into the compiler.
Attachments

Step 6: ENJOY!

Sit back and enjoy the light show! Hours of fun!


