

Introduction: Mitsubishi CE Lancer/Mirage ECU Reflash Adaptor


Mitsubishi CE Lancer/Mirage ECU Reflash Adaptor.
If your car doesn't come with one attached to the dash loom, this is how you can DIY it.
Supplies
Soldering Iron
Wire (1m)
2.5mm stereo plug
Plastic Case ECU
2x Spudgers or Butter knives
Small heat shrink
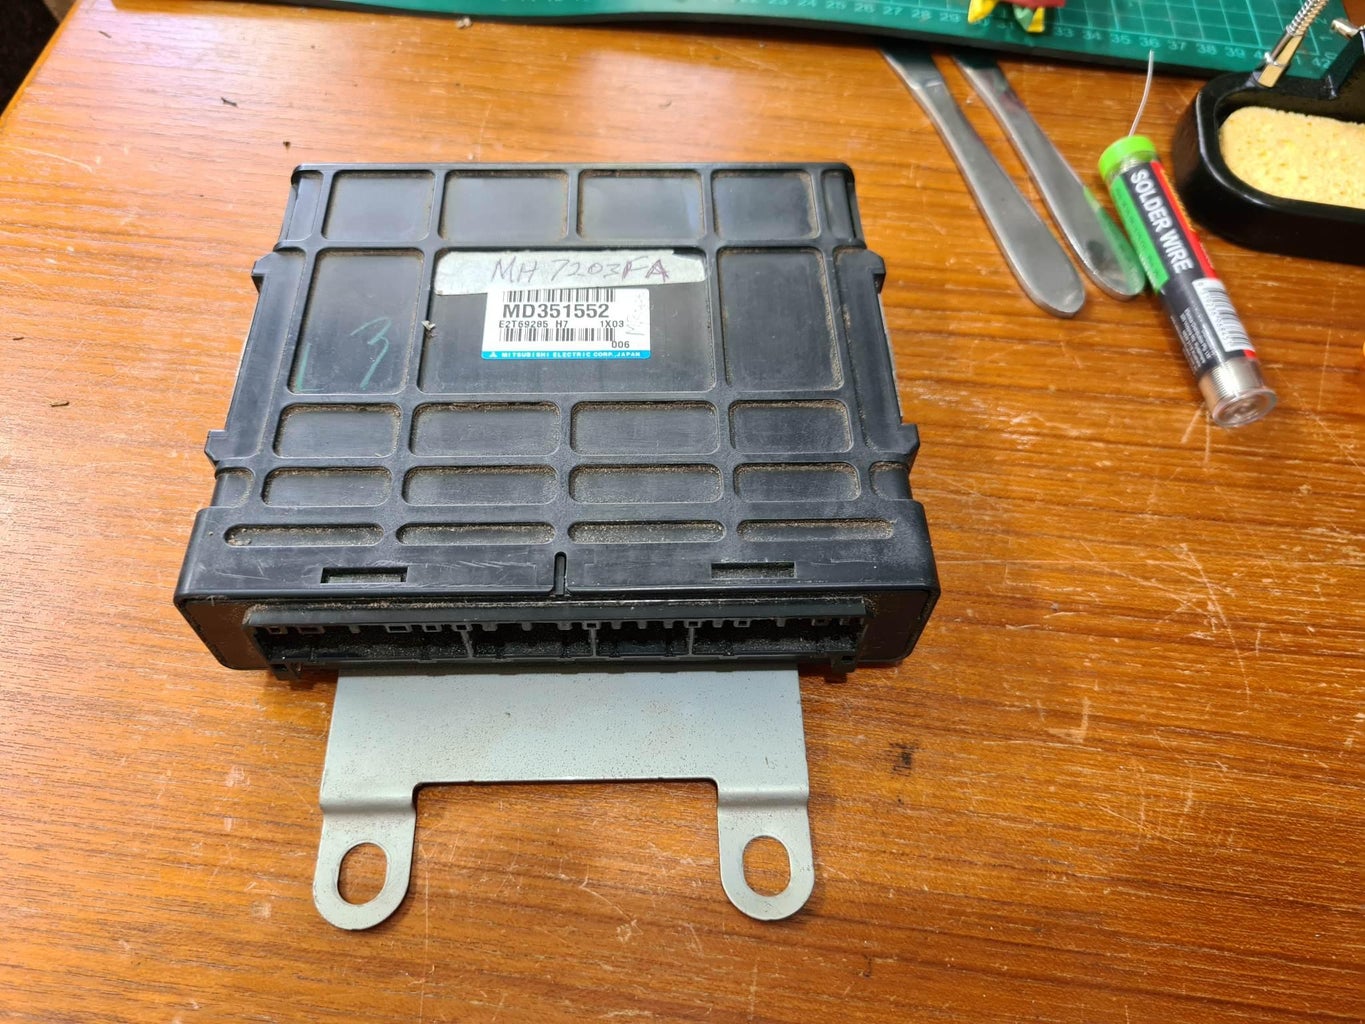
Step 1: Remove ECU From Case


Using the Spudgers/Knives/Rulers, position them as shown and gently wiggle the ECU out.
Step 2: Soldering to the ECU


Now that your ECU is free, it'll be helpful for later tuning to take note of the number circled in the first image. MH7203FA is the one shown here.
In image 2 you can see pin 79, the one which the ECU uses for tuning, circled in red. We're going to be using the hole above it circled in yellow as a pass-through for the wire that we'll be soldering on.
Once the wire is through and you've correctly identified pin 79 on the inside (circled in red, image 3), proceed to solder the wire to it. A pair of helping hands, alligator clips or similar is helpful for holding the wire down whilst you work.
Step 3: Soldering the 2.5mm Plug


Now, the 2.5mm plug. You will be soldering the other end of that wire to the smallest of the tabs (Image 1 circled) on the 2.5mm plug. This tab connects to the tip of the plug, which is what the Tactrix uses to read and flash the ECU.
Pass your wire through the handy hole, use some helping hands to make the job easier and solder it down.
I highly recommend shrink wrapping the connection once you're done to avoid any snagging.
Step 4: Re-Assemble
Now slide the ECU back in the case and enjoy the simplicity of having the 2.5mm plug easily accessible, and a connection directly to the Tactrix cable.


