

Introduction: Next Steps for Photography


Congrats! You've made it through understanding the very basics of digital photography! The lessons in this class were a broad stroke over a skill that can become very granular very quickly. The most important takeaway from this class is that you begin to seedifferently. (Or at least think differently about the world you are viewing.)
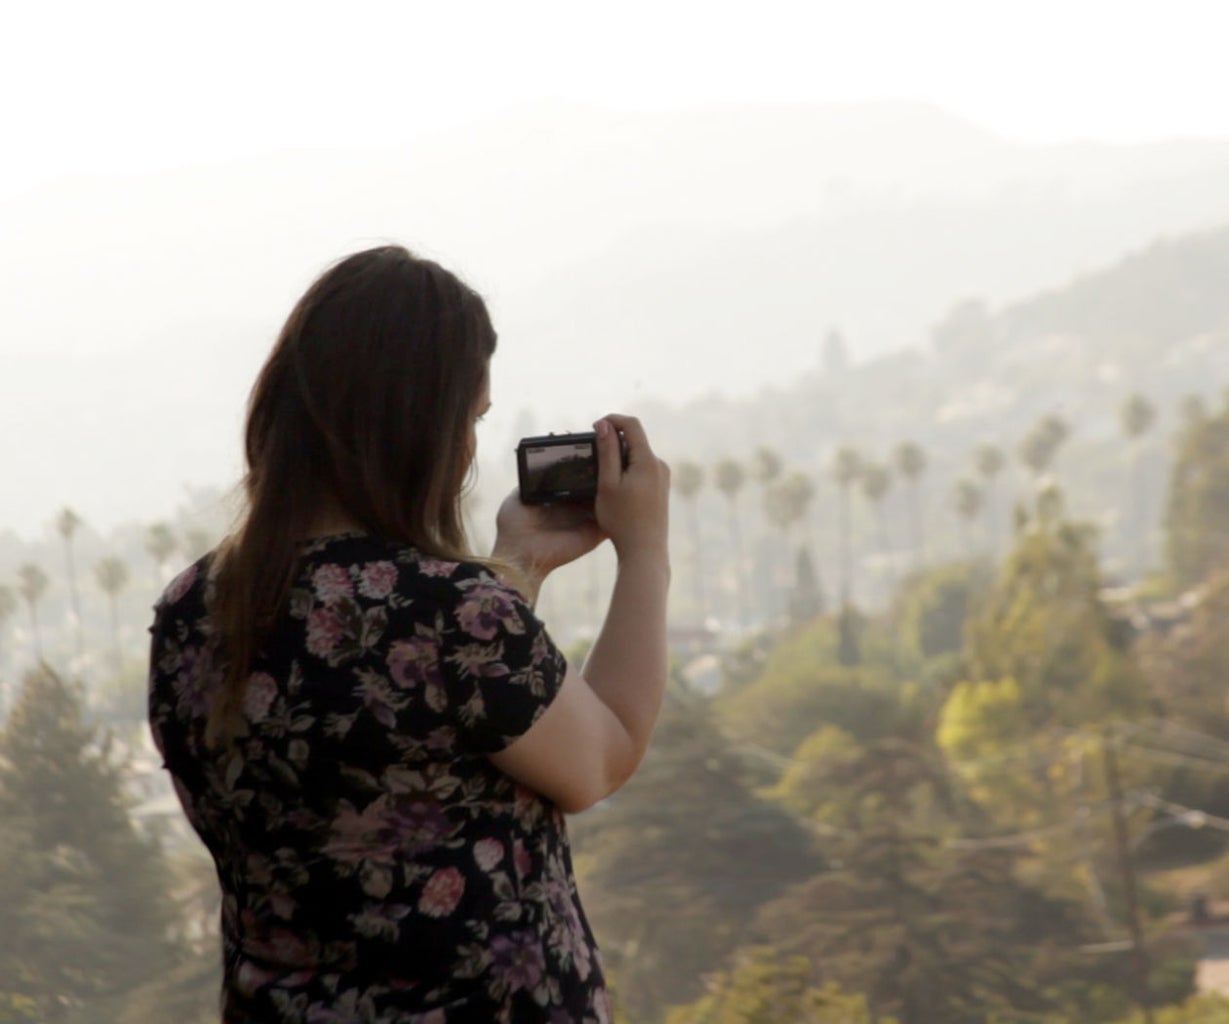
It's my hope that you are walking down the street one day, and notice the world around you in such a way that it inspires you to take out your camera and make a photograph. When you look into the back of your camera's viewfinder or screen, you take a moment to select your settings based on your environment, compose your shot, and depress the shutter at just the right moment. Making a photograph means responding to your environment.
The mark of a great photographer comes down to two things - being able to know just when you should depress the shutter to capture the moment and the perspective, or point-of-view, of the camera. Perspective is very powerful because when others see your images, they will imagine themselves in the perspective from which you captured the subject.
If you're ready to dive deeper into the technical steps of photography, consider the following.
Step 1: Advanced Shooting Modes

Shooting in Manual Mode is the best way to exert complete control over the lighting conditions you are making images in, so let's take a moment to address the concept of the Exposure Triangle.
There are three things that affect your camera's exposure levels. ISO, aperture, and shutter speed. All of these settings are measured in stops. Plainly, a stop refers to the doubling or halving of light. For example, if you would like to brighten an image by one stop, you would have to double the amount of time your shutter is open. Let's look at all the ways we can have control over exposure and brightness.
Step 2:

_______
Start with ISO, this term is carried over from the days of analog photography as a way to measure light sensitivity of different speeds of film. Today, ISO refers to how light sensitive the sensor is going to be. When your ISO is 200 it is less light sensitive than when your ISO is set to 1600. The benefit of shooting with a higher ISO is that you can shorten your exposure time because your sensor is more light sensitive. As you increase ISO your image quality does become more 'noisy' because your sensor needs to strain its technological capabilities to grab enough light data in a shorter amount of time.
Shutter speed refers to how long your shutter is open and is usually measured in tenths or hundredths, even thousandths, of a second. Your camera will display values like '60' or '125' or '4000' - this means the shutter is open for a 60th of a second, or a 125th of a second, even a 4000th of a second (FAST!). Some cameras are capable of shooting for much longer, for 30 seconds or longer, so refer to your camera's manual on how to access these settings. Be sure to use a tripod if you are shooting any slower than 1/60th of a second, that's when camera shake from your hands becomes noticeable.
Your camera lens contains the aperture. I've likened the dilation of an aperture to squinting your eyes when it is bright outside. If you are trying to view something far away in the distance in full sun, it can be difficult to make out without squinting. Squinting is essentially reducing the amount of light able to hit your eyeballs. An aperture works in a similar way, closing and opening to allow more or less light in. The smaller your aperture is, the longer your shutter will need to be open to ensure proper exposure.

Aperture also controls depth of field. Depth of field refers to the field of distance that is in focus. Low numbered f/stops like f/1.4 - f/5.6 will have a pretty shallow depth of field, and your background will be blurred. High numbered f stops like f/22 and up will yield images that have a long field of focus, and everything in your image will have sharp details.
To increase your exposure brightness by 1 stop:
- Double your ISO - for example going from ISO 200 to 400
- Double the size of your aperture - moving from f/4 to f/2.8 OR
- Double the duration fo your exposure - moving from a 1/250 of a second to 1/125 of a second.
To decrease your exposure brightness by 1 stop:
- Halve your ISO - for example going from ISO 200 to 100
- Halve the size of your aperture - moving from f/4 to f/5.6 OR
- Halve the duration fo your exposure - moving from a 1/250 of a second to 1/500 of a second.
This desktop applet by the folks over at Stanford does a great job presenting an interactive way to see how your settings affect exposure, depth of field, and image quality - as well as some of the science about how digital cameras interpret light.
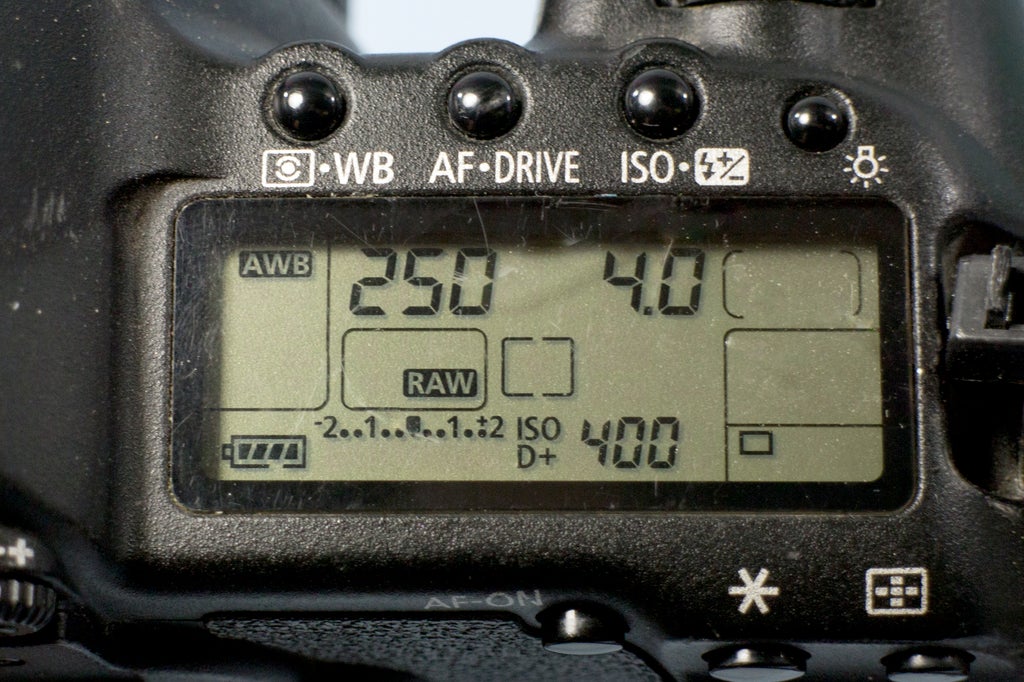
You can tell if your camera is set to the right camera settings by referencing the exposure meter in the viewfinder or LCD display. Your camera manual will tell you how your camera's light meter works, or if there are any special settings that can be applied.
If you only want to control the duration of your shutter and not think about the rest, your camera most likely has a shutter or time priority mode (marked with Tv on your camera settings). In this mode, you can dial in the shutter speed you want to capture motion at, and your camera calculates the rest of the exposure settings to get a balanced exposure. This is great for shooting indoors or in low light.
Alternatively, try Aperture priority mode (marked with Av, or something similar depending on brand). This allows you to control the depth of field of your images without having to think about shutters speed or ISO, as long as your camera's ISO is set to 'Automatic' or 'A'.
Step 3: Advanced Lighting

Your camera may even come with what is called a 'hot-shoe'. This is a mounting port where you can attach an external flash. External flashes are awesome because they are a more controllable and directable light source that can be dialed to specific levels of brightness. Most flashes on the market are designed to 'talk' to your camera brand specifically, so be sure to check that whichever flash you are looking into purchasing is compatible with your camera's make and model. Modern external flashes have an automatic mode that is able to detect how bright it's flash pop should be. Pretty cool! Your camera's manual will have a section titled 'External Flash Control' if your camera is eligible for an automatic external flash.
If you decide to try and use an external flash, I recommend you look for one with an omnidirectional flash head that can pivot and swivel. This way you have more creative control over which direction you 'throw' your light. Learning how to use a flash can have a comparable learning curve as learning to use a camera, so READ THE MANUAL.
Step 4: Simple Builds
Now that you're feeling good about your photography skills, here are some easy projects that will help you take your images and practice to the next level without a lot of fuss.
Check out these other i'bles authored by the infinitely innovative Instructables community:

This lego brick lens cap keeper by DancingPope is a brilliant way to keep you from losing that darn thing.

See how andrea biffi's mixing-bowls turned beauty-dishes throw light perfectly for product photography lighting.

AngryRedhead demonstrates how to get a beautiful all black background using natur al and synthesized light.

This clever build by pikesleyis a tripod strap with great results.

noahw's workbench mounted photo backdrop is a must for those shooting and telling stories from their workshop.

Benny Johansson turns a plastic food container into a flash Bouncer with interchangeable Mirror and diffuser.
Now it's time to tell your DIY story! Document your next DIY build like a pro for an Instructable! Excellent photo documentation is at the heart of every great Instructable. Perhaps you'll even be eligible to enter one of Instructables' fabulous contests, and win an awesome prize! Can't wait to see what you make :D
Step 5: That's a Wrap!
Thank you for following along! I hope this was an enlightening experience when it comes to the world of creating photographs, and that you feel confident in your photography practice while you are making images. Keep practicing, and focus your skills on the aspects of photography that interest you the most. There is so much creative opportunity once you've understood this fundamental skillset, I can't wait to see what stories you share using your camera on Instructables.
I'd love to hear any feedback you have about this class, or see any resultant projects that came from skills you learned in these lessons. Reach out and say 'HEY!'.
-Audrey

![Tim's Mechanical Spider Leg [LU9685-20CU]](https://content.instructables.com/FFB/5R4I/LVKZ6G6R/FFB5R4ILVKZ6G6R.png?auto=webp&crop=1.2%3A1&frame=1&width=306)


