

Introduction: Persistence of Vision Wand for Arduino

![[UPDATED] Create a Minecraft Mod](https://content.instructables.com/FBD/D2N1/I74ND496/FBDD2N1I74ND496.png?auto=webp&crop=1%3A1&frame=1&width=130)

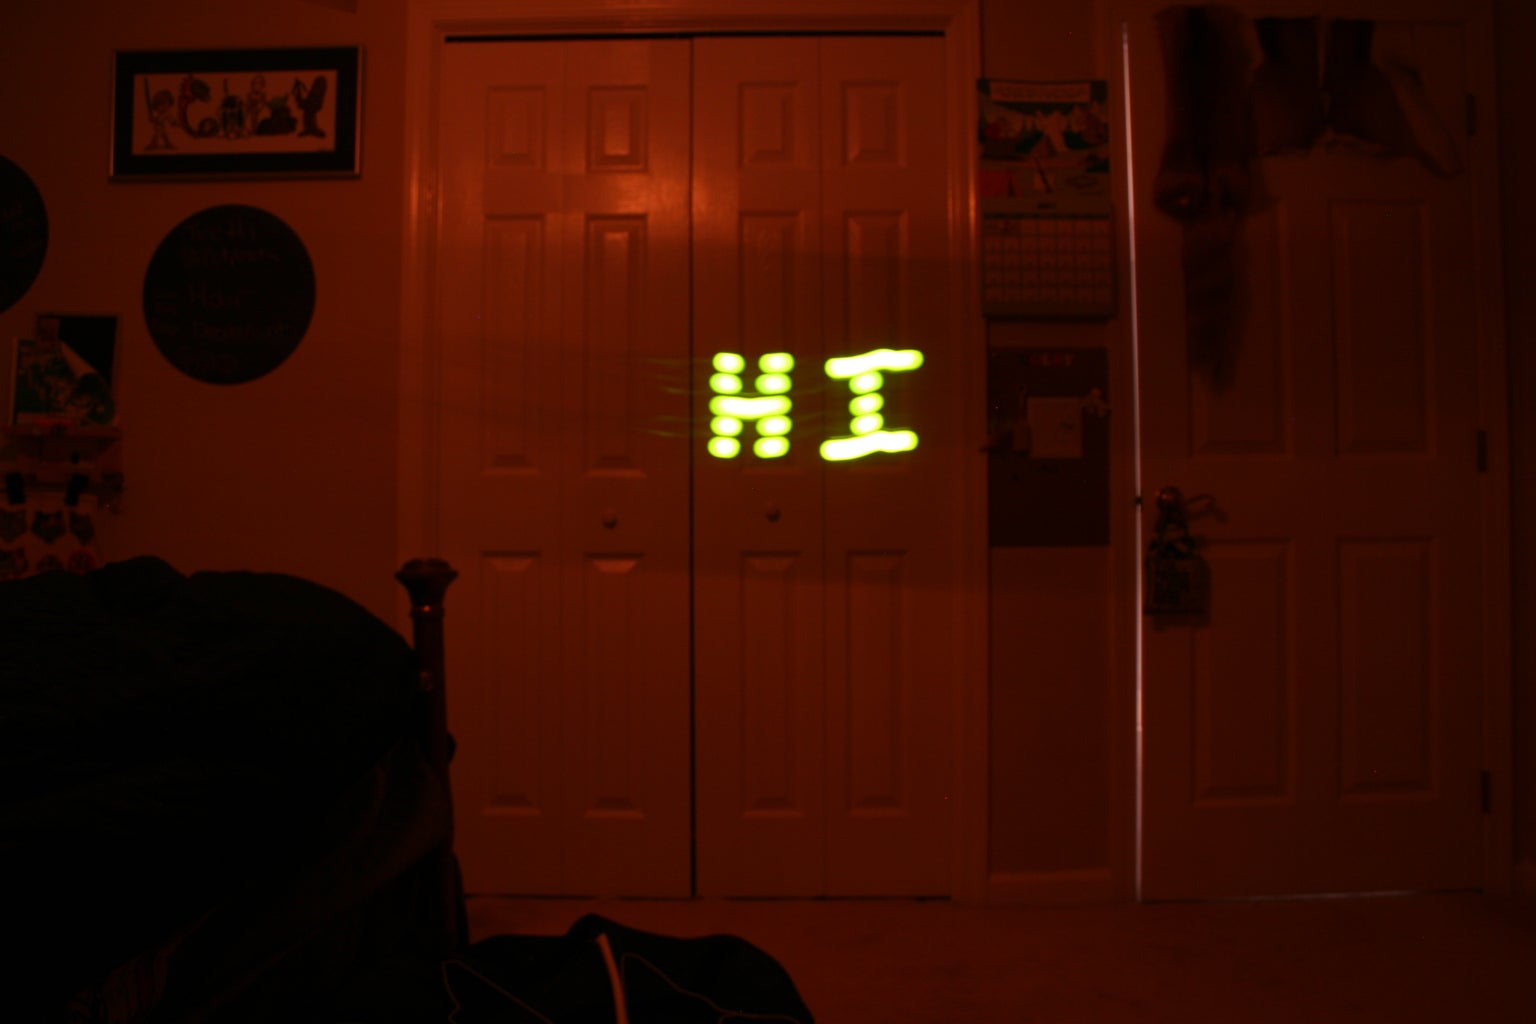
In this instructable, I will show you how to create a wand (of sorts) to enable you to write in the air, like the picture above shows.
Step 1: The Hardware

You will need:
- Soldering iron
- Solder
- 5 3v Green LEDs
- pinned jumper cables
Note: Instead of soldering, you could do this on a breadboard.
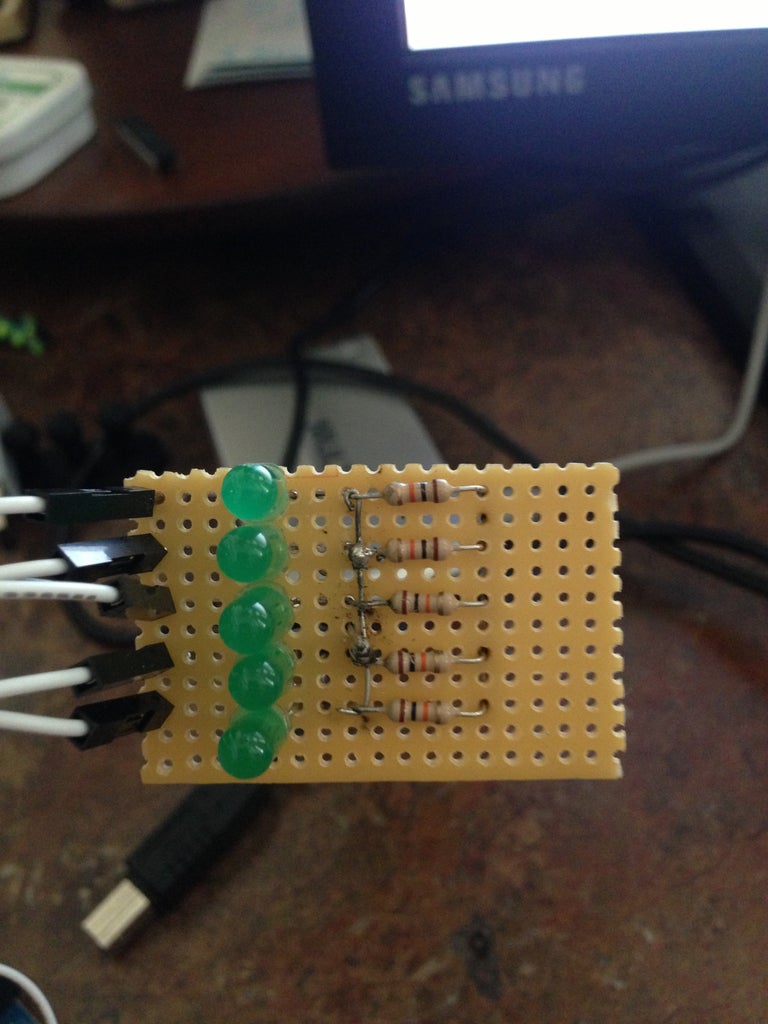
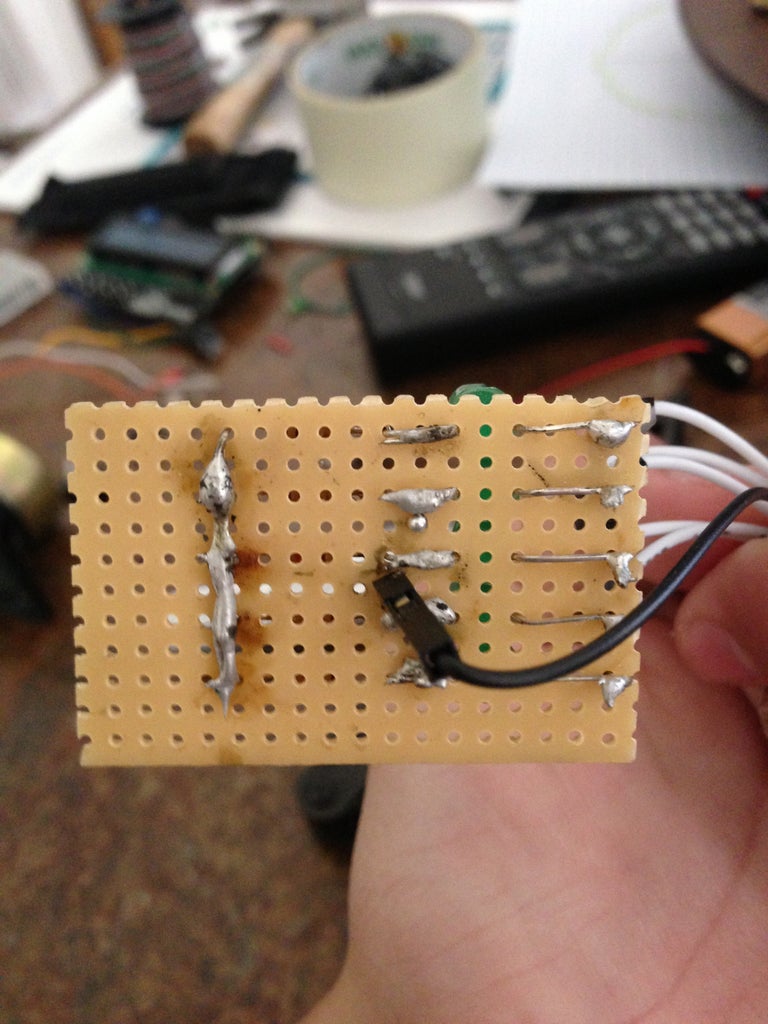
The Circuit:
wire all of the ground pins of the LEDs together, and put a jumper cable from there to ground on the Arduino. Wire each individual LED's anodes to 13, 12,11, 10 and 9. from top to bottom. The resistors were a mistake when I designed it. Sorry, the picture is sideways.
Step 2: Code

There is a screenshot of part of the code above. the file is in a .txt format but can still be opened with Arduino's IDE. Use the functions to spell out what you want to say in void loop() like this:
h();
e();
l();
l();
o();
etc.
You need to have a camera capable of long exposure for this to work.
Attachments

Step 3: Done!

You are done! Have fun creating your own floating words. I will come out with some add-on files for this build including some awesome graphics I am currently working on. Feel free to post what you made in the comments, I would love to see how they turned out for you!

Participated in the
Arduino Contest

Participated in the
Kit Contest


