

Introduction: Repair Your Cracked TV Screen


The goal of this repair was to salvage and repair my relatively new Mini QLED TV screen purchased in November, 2021. This TV specifically is a 65" TCL R646 series TV, which packs a great value in color, dynamic range, and localized pixelation.
While I repaired this TV and through my research, I do believe this kind of repair is applicable to other manufacturers and models of this TV. This fix does not require any specialized tools, there will be no soldering required but it could be possible in your situation.
I'll be talking a little about this project in a few steps before repair.
- Take apart your existing TV. Take lots of pictures and research on Youtube / eBay of disassembled potential donor parts (More on this later)
- Review and look carefully on interconnects
- Understanding / knowledge of TV Electronics
Supplies


- Standard precision tool kit
- Multimeter with continuity mode testing (most have this feature)
Step 1: TV Electronics

Before we begin, we must talk about how TV electronics function. In short, we have a few PCBs behind most modern LCD based TV screens.
- Power Supply (PSU)
- On-board transformers
- Fuses
- Multiple board to board connectors
- Powers the main board and LCD backlight driver
- LCD Backlight Driver Board
- Handles illumination of all LED arrays
- Receives power from PSU
- Receives data from the main board
- Main Board
- Main board is the PCB that handles all inputs, processing, and conversion of inputs / outputs
- This is the main interface all of your gaming devices and such would usually connect
- This is also the main interface that serve as an output, things such as bluetooth connectivity, audio output (optical, HDMI ARC), etc.
- This board receives power from the PSU and handles communication between the LCD backlight driver board and Display driver board
- Display Driver Board
- Display driver board receives communication from the main board
- This board has embedded programming that converts data from the main board into driving individual pixels on your LCD screen
- This board is usually matched to the LCD driver.
- However, in most cases, the input side of the driver board is generic, allowing inter-changing of components
A diagram is attached, I've used my TV as a reference but most like your TV will have very similar components. These (4) components are critical to function properly otherwise the image will not transfer properly.
Attachments

Step 2: Research

Once you have assess these critical PCBs, the next step is to find a suitable donor. This is where interchangeability can be possible contingent on your research. The more research one finds, the more confident you may feel.
In this particular repair, we are focusing on fixing a broken LCD. Hence, in this case, we are looking for a donor TV that doesn't have a broken LCD but it may have other things broken.
Initially, I tried for a long time searching for a donor R646 65" series but could not find a suitable unit. I realized after some research, that many TV manufacturer re-use parts with very minor modifications.
After looking at replacement parts on eBay, I started researching for other suitable candidates. I was luckily able to find a broken R635 65" TV that had a good LCD but stopped suddenly stopped turning on.
R635 and R646 TVs were produced a year apart and had drastic changes. In my case, the changes appeared to be related to content support (such a HDMI inputs and Dolby Audio). Visually speaking and looking on disassembly videos, I did not see big differences and I was able to get this donor TV for only $75.
What's important to take here is to make a list of potential TV models similar to your model. In my case, there were three models that were built a year apart (R635, R646, R655). Some parts might be universal regardless of screen size. For example, it's very likely the main board and PSU might be the exact same across a 55", 65", 75", etc.
Step 3: PCB Board Comparisons of R635 VS R646


I have added high resolution images, take a look at the similarities. At first glance, it's very obvious of the similarities and differences.
The only difference not visible in these images are:
- LCD Driver Board (both board have similar part numbers but different, most likely due to the programming of their respective LCDs). Notice the connections between the driver board and main board - they are identical in both models.
- What we can infer is that most likely the connections from the main board to the LCD driver board (black ribbon cables) is the same but the programming of this board is for it's matching LCD, therefore I cannot use the LCD driver board from my R646 into R635 and vice versa.
- LCD frame mount, minor differences, can be swapped with a few screws
Step 4: Repair Work


From what we can gather, we can do the following:
- Keep the R635 frame, LCD driver board, LCD, speakers, power button
- Swap over the working components from the broken R646 TV:
- PSU
- LCD Backlight Board
- Mounting Chassis Frame
- Remote Transceiver
- Misc wiring, other components
Re-assemble everything back once functionality verified.
Step 5: [Optional] - TV Calibration
![[Optional] - TV Calibration](https://content.instructables.com/F9U/EDNP/LV0YVN3Y/F9UEDNPLV0YVN3Y.jpg?auto=webp&fit=bounds&frame=1&height=1024&width=1024auto=webp&frame=1&height=300)
![[Optional] - TV Calibration](https://content.instructables.com/F65/QR34/LV0YW2V6/F65QR34LV0YW2V6.jpg?auto=webp&fit=bounds&frame=1&height=1024&width=1024auto=webp&frame=1&height=300)
![[Optional] - TV Calibration](https://content.instructables.com/FJ2/ZZ54/LV0YW2V7/FJ2ZZ54LV0YW2V7.jpg?auto=webp&fit=bounds&frame=1&height=1024&width=1024auto=webp&frame=1&height=300)
![[Optional] - TV Calibration](https://content.instructables.com/F4Y/06ZY/LV0YW2XZ/F4Y06ZYLV0YW2XZ.jpg?auto=webp&fit=bounds&frame=1&height=1024&width=1024auto=webp&frame=1&height=300)
Since we have done such great effort thus far, why not go the extra step and calibrate the TV, make sure all LEDs are working properly.
Fortunately, if you have a Google TV, you can an app directly called 'TV Calibration' (link here). Follow it's step and set the desired black and white levels.
Also run through all the cycles to ensure there are no dead pixels and/or backlight testing. I did this and with this process my TV screen detail and level of color changed tremendously.
Step 6: Enjoy Your New TV
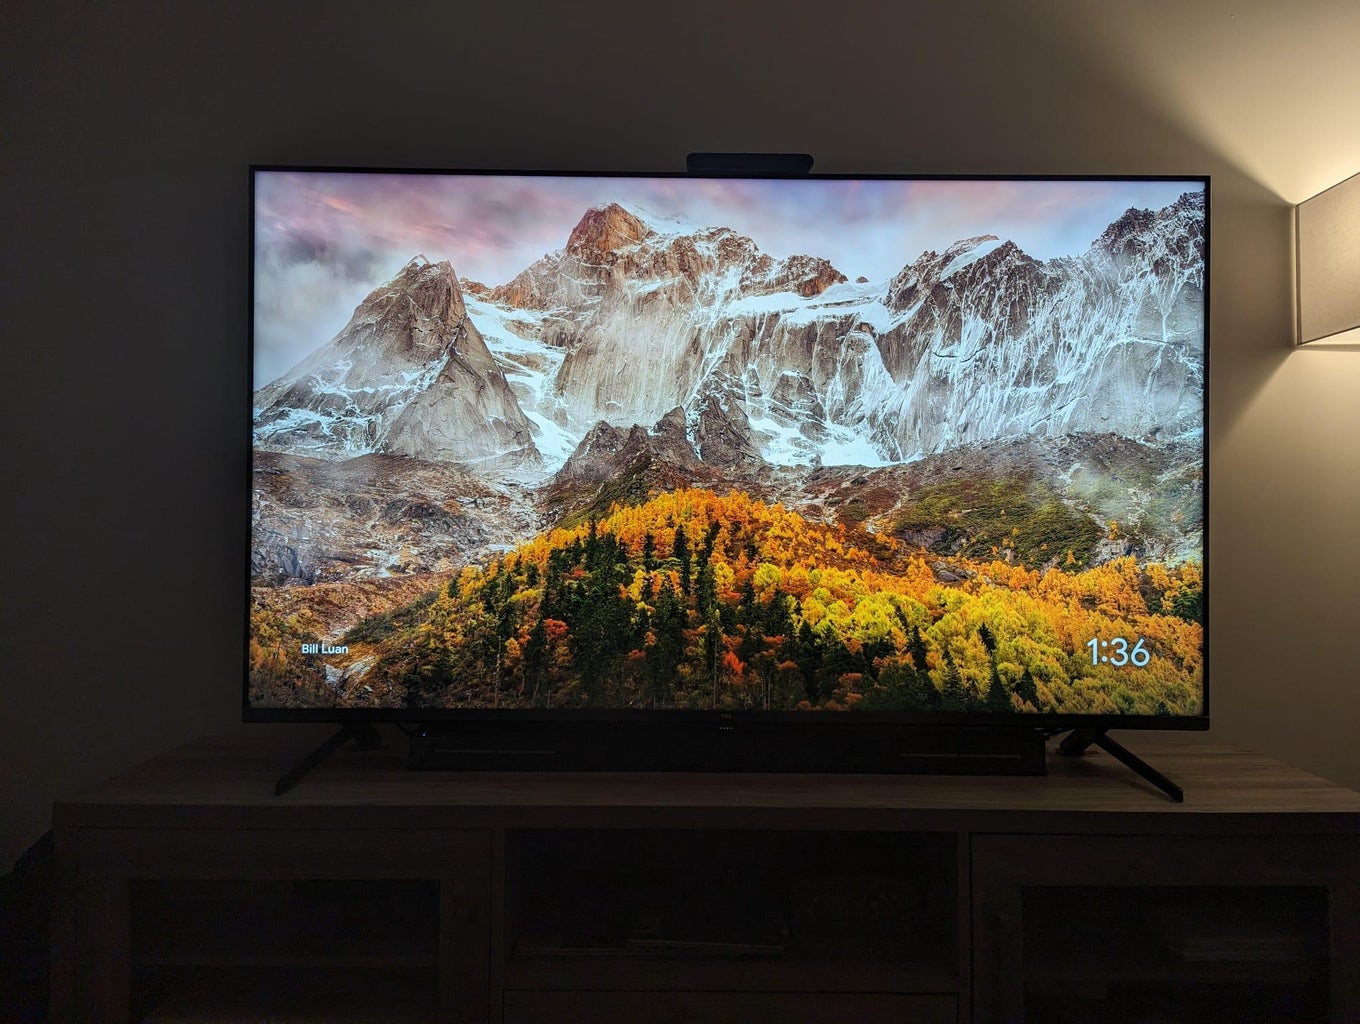

Enjoy, make sure to keep all spare parts in a safe location should it be ever needed or sell those parts on eBay.

Runner Up in the
Fix It Contest


