

Introduction: Skype Robot


Hello everyone
This is my first instructable in which i am going to show you how to make skype robot We can control this robot from any corner of the world
Step 1: Requirements
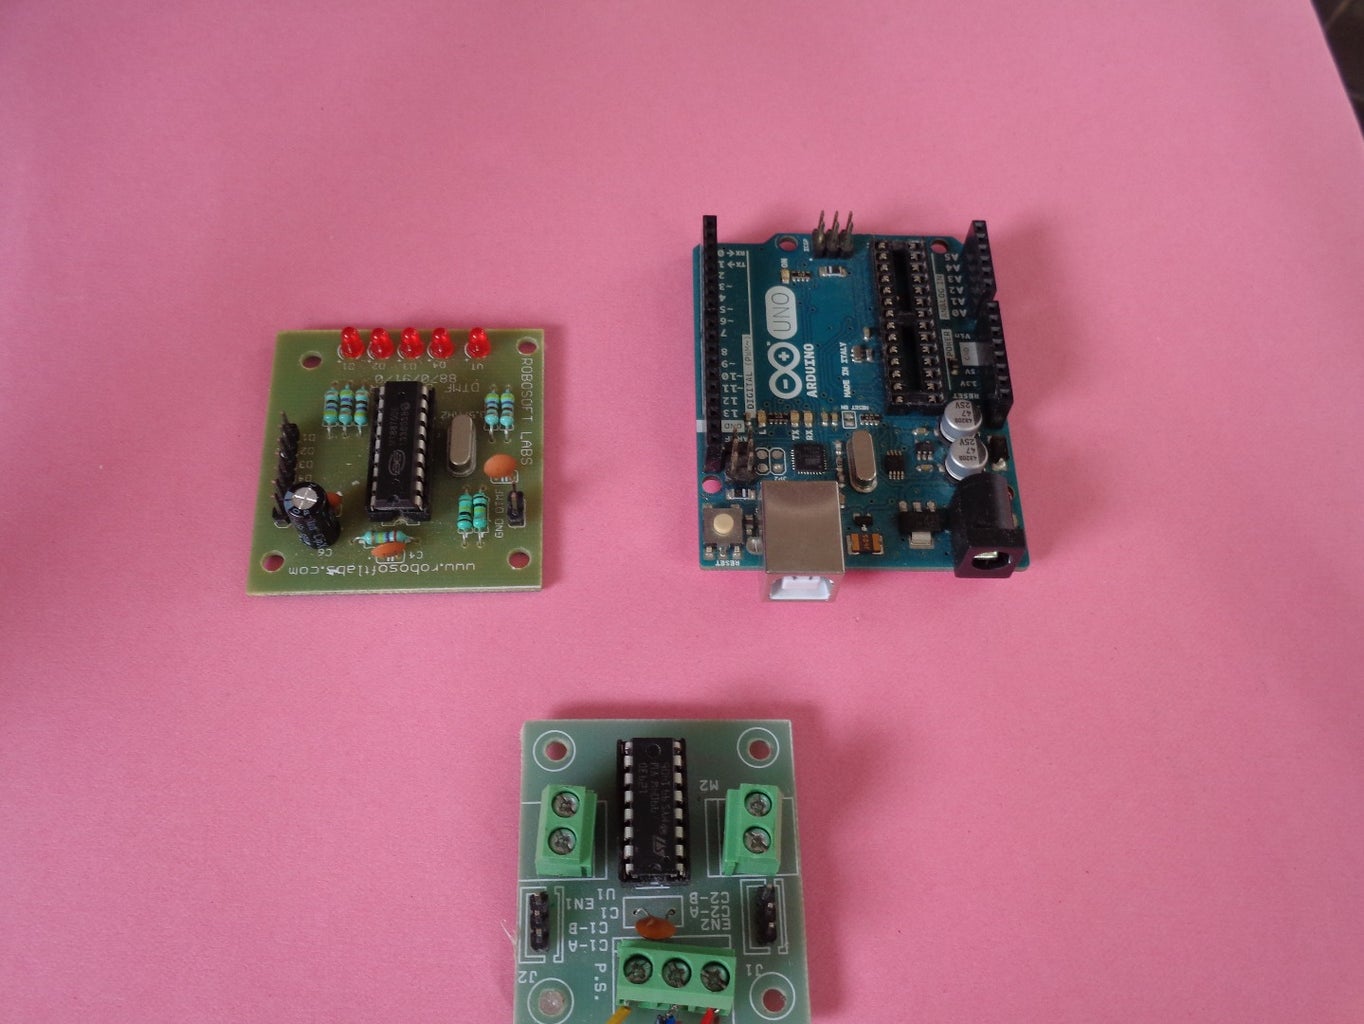
For making this robot go and collect all these parts
1. Arduino (you can also use arduino clone)
2. Motors 4pcs (http://www.amazon.in/DC-Hobby-BO-Motor-100/dp/B00U3SQ4QI/ref=pd_sim_sbs_21_12?ie=UTF8&refRID=0PY9KXMXEWKPE2XGEQ3B)
3. Wheels 4pcs (http://www.amazon.in/BO-SMALL-WHEEL-4-Pcs/dp/B00S14OCVK/ref=sr_1_8?ie=UTF8&qid=1433682803&sr=8-8&keywords=robot+wheel)
4. Motor driver (http://www.amazon.in/L293D-STEPPER-DRIVER-RASPBERRY-ARDUINO/dp/B00LMY58TG/ref=sr_1_8?ie=UTF8&qid=1433682816&sr=8-8&keywords=robot+motors)
5. DTMF module.(http://www.amazon.in/Robomart-DTMF-Module-Version-3/dp/B00QUY4WAO/ref=sr_1_1?ie=UTF8&qid=1433683293&sr=8-1&keywords=dtmf+module)
6. 9 voltsBattery (http://www.amazon.in/Duracell-9V-6LR61-Alkaline-Battery/dp/B00EZM27GY/ref=sr_1_3?ie=UTF8&qid=1433683500&sr=8-3&keywords=9v+battery)
7.Some jumper wires for connections
Step 2:

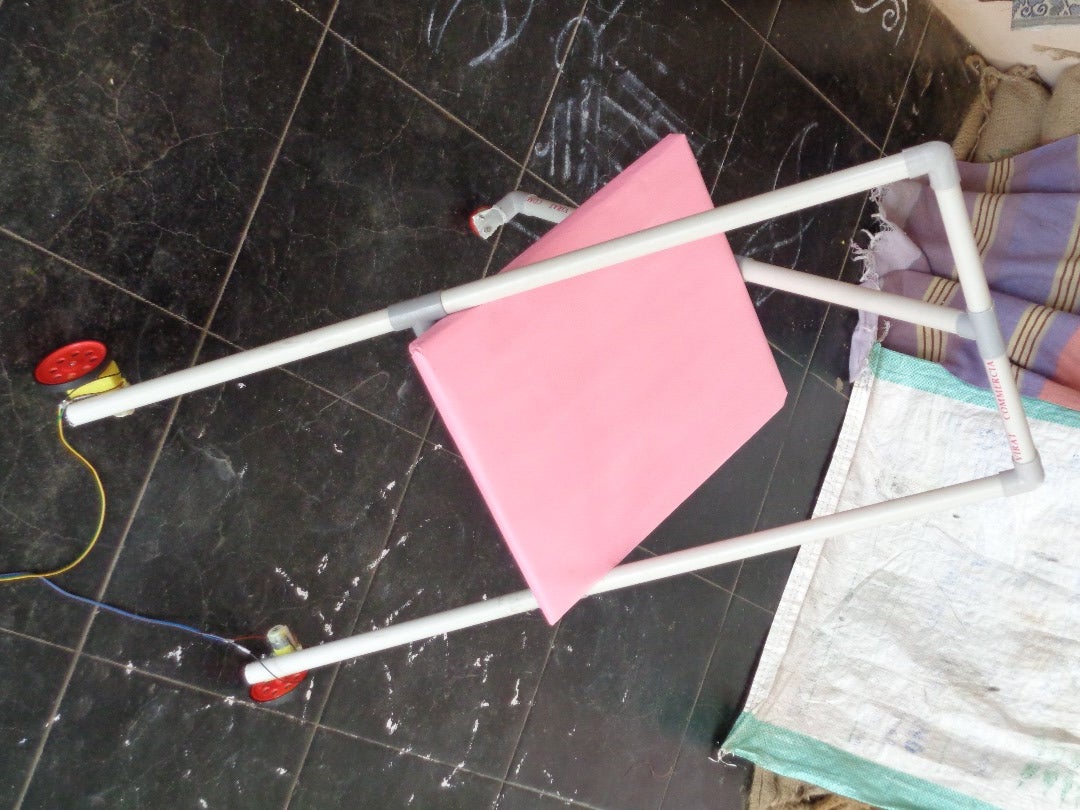
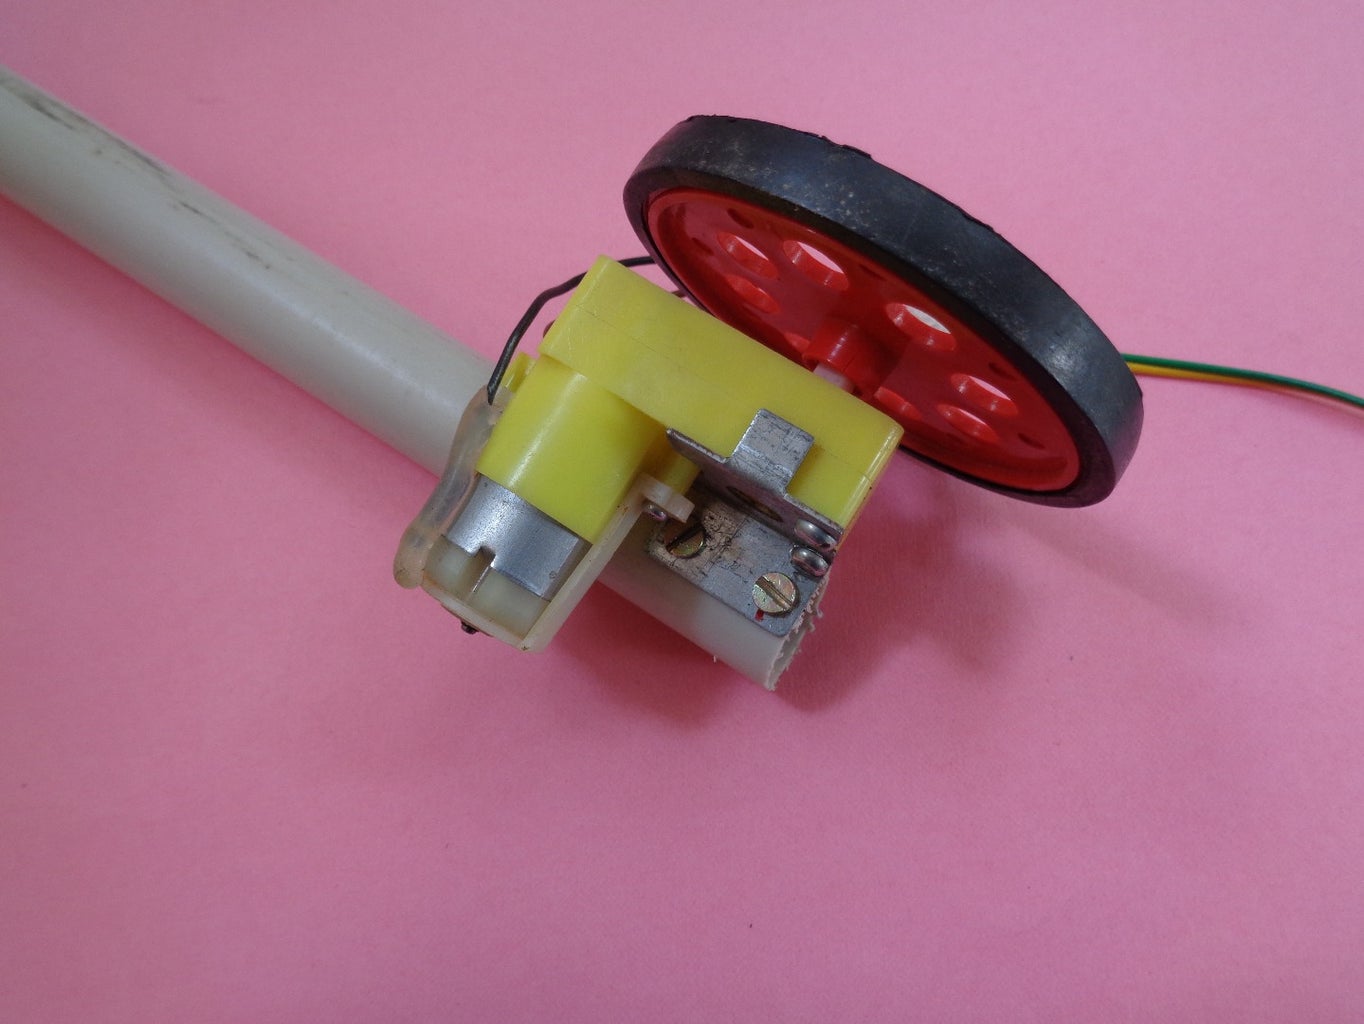
->Using pvc pipes make some structure according to you and attach motors and wheels to it
->This is the model that i have made use this as reference, instead of using pvc pipes, motors and wheels you can also use any chassis with motors and wheels (http://www.amazon.in/Robomart-Wheel-Robotic-Platform-Drive/dp/B00RL9NNDY/ref=pd_rhf_dp_p_img_10?ie=UTF8&refRID=1813K5KFBREMBQVGEGJT)
Step 3: Code
-> Using arduino compiler upload the following code into arduino
// Skype robot code
// written by vineethvarma.inventions // visit www.vineethvarma.com
void setup()
{
pinMode(2,INPUT); // connect dtmf module pins d1,d2,d3,d4 to 2,3,4,5 pins in arduino
pinMode(3,INPUT);
pinMode(4,INPUT);
pinMode(5,INPUT);
pinMode(7,OUTPUT);// connect 7,8 pins to motor1 in motor driver
pinMode(8,OUTPUT);
pinMode(9,OUTPUT); // connect 9,10 pins to motor2 in motor driver
pinMode(10,OUTPUT); }
void loop()
{
int d1,d2,d3,d4;
d1=digitalRead(2);
d2=digitalRead(3);
d3=digitalRead(4);
d4=digitalRead(5);
if(d1==0&&d2==0&&d3==1&&d4==0) // if 2 is pressed robo moves forward
{
digitalWrite(7,1);
digitalWrite(8,0);
digitalWrite(9,1);
digitalWrite(10,0);
}
else if(d1==0&&d2==1&&d3==0&&d4==0) // if 4 is pressed robo turns left
{
digitalWrite(7,1);
digitalWrite(8,0);
digitalWrite(9,0);
digitalWrite(10,1);
}
else if(d1==0&&d2==1&&d3==1&&d4==0) // if 6 is pressed robo turns right
{
digitalWrite(7,0);
digitalWrite(8,1);
digitalWrite(9,1);
digitalWrite(10,0);
}
else if(d1==1&&d2==0&&d3==0&&d4==0) // if 8 is pressed robo moves backward
{
digitalWrite(7,0);
digitalWrite(8,1);
digitalWrite(9,0);
digitalWrite(10,1);
}
else if(d1==0&&d2==1&&d3==0&&d4==1) // if 5 is pressed robo stops
{ digitalWrite(7,0);
digitalWrite(8,0);
digitalWrite(9,0);
digitalWrite(10,0);
}
}
Step 4: Connections


-> As shown in the diagram connect the motor1, motor3 in parallel and motor2, motor4 in parallel
-> Again connect common terminals of motor1, motor3 to the M1 on motor driver //similarly, motor2, motor4 to M2.
-> Connections are shown in diagram connect according to it
->Connect audio jack to the cellphone and set autocall lift in mobile.
Step 5: Finally,

->Now the robot is ready to run
->Make a call from PC using skype and open dailpad in it.
->Control the robo using number
2 = forward
8 = backward
4 = turn left
6 = turn right
5 = stop

Participated in the
Home Automation

Participated in the
Move It


