

Introduction: Talking Clock With Arduino


Hello all,
For a time I tried to build a Talking Clock (see the video), but withoutt good results due to the model of voice module I was using for that.
After many searches related to right hardware and also learn about how to use the appropriate libraries, I achieved my goals.
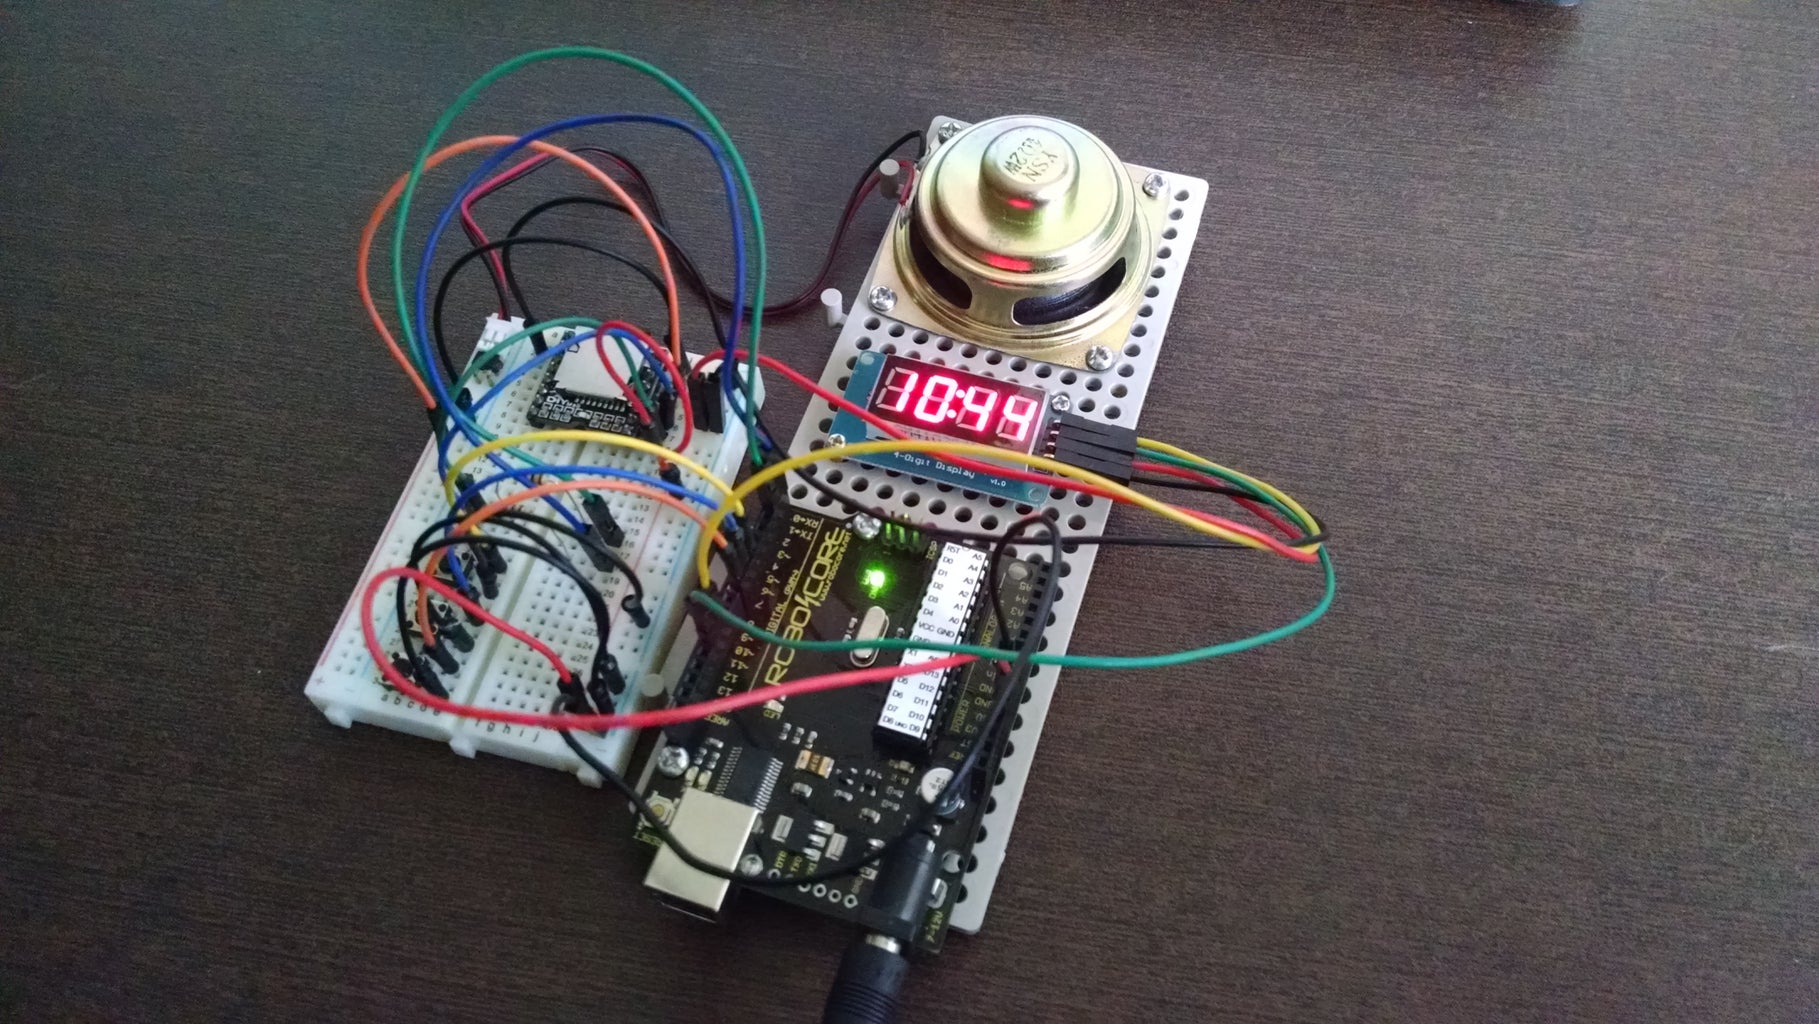
I will present you my version of Talking Clock using Arduino with the module DFPlayer_Mini to play MP3/WAV files.
There are many reasons to go further with this project !
With more improvements and adding some features, it can turn a clock for people with some visual deficiency, for example!
In this project all the "voices" were made digitally in Portuguese because is my mother language and I do not see many projects focused on that in my country (Brazil).
But of course you can follow the project and learn how everything works and then you can prepare by yourself all the voices in your native language!
This is really cool and part of fun !!
Let's see that!
Step 1: Build List


These are the components you need:
- Arduino (UNO-R3, Nano)
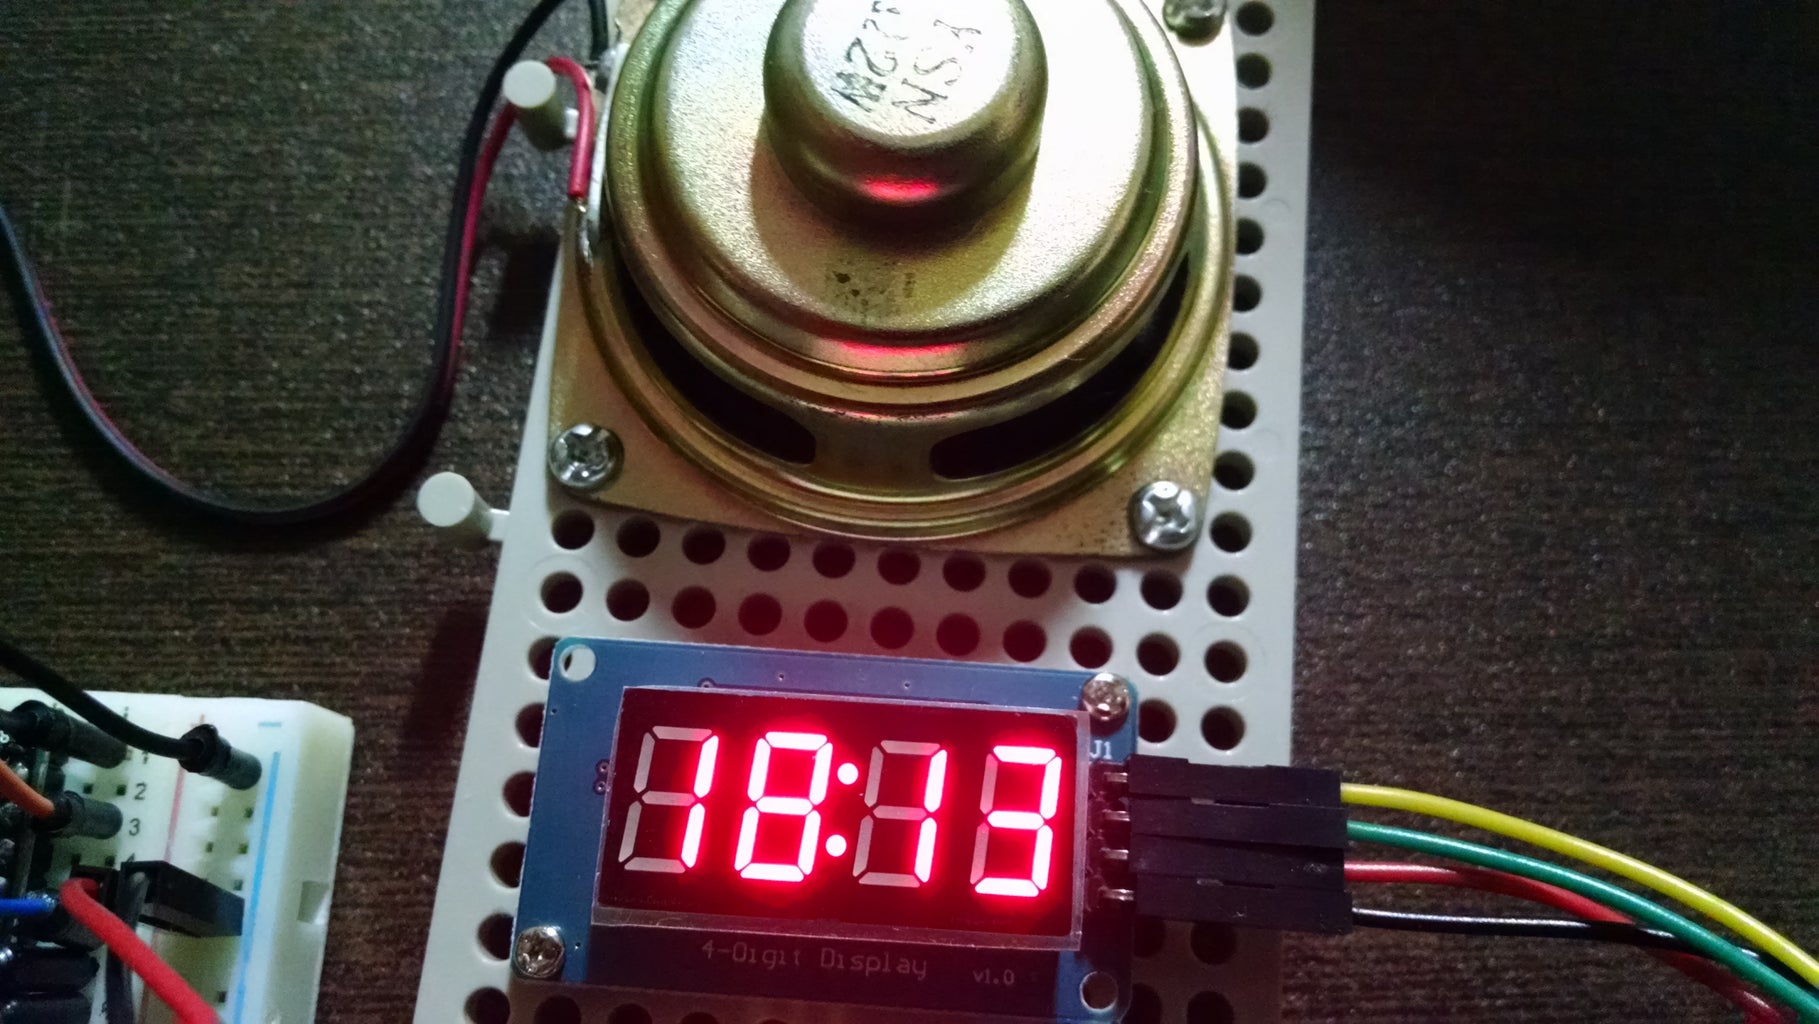
- LED Display Catalex TM1637 (4 digits x 7 Segments) or equivalent
- DFPlayer_Mini
- MicroSD memory card (formated in FAT32)
- Resistor 1K Ohm (2x)
- Breadboard
- Momentary Switch (3x)
- Loudspeaker of 2W or 3W
- Wire jumpers (male-male & male-female)
- DC Power supply (9 Volts)
Notes:
- You can use any MicroSD memory card up to 32GB, but all the MP3 files I have used for the voices are less than 2 MB (two Megabytes) in total!! So, do not spend your money a using memory card with a huge capacity!
- I decided to not use a RTC (Real Time Clock) because I have included a very easy feature to adjust the hours and minutes and the Arduino is precise enough to count the time.
Step 2: How to Prepare the MP3 Files for the Voices


For your digital clock speak the hours and minutes, you must prepare some voice files in MP3 format and record them into MicroSD memory card according with the following steps:
- Amount of files you need
I created 3 groups of voice files:
- Hours group (24 files from 0 to 23)
- Minutes group (60 files from 0 to 59)
- General voice messages (03 setup messages and 01 for the bell ring & cukoo sound)
The total were 88 files.
Note: I decided to use this strategy to simplify the logic of the program, but of course you have more work to record the files. That is a trade-off you must to evaluate before translate for your native language.
- Naming the MP3 files
All MP3 files must be recorded with file names within format "xxxx.mp3".
The files must be done with four digits, starting from "0000.mp3" to "0087.mp3" or another number considering the total amount of files in your language.
- How to create the digitally voices
I found out many sites on Internet to convert text to speache files.
The bad news are most of them must be paid to generate the files.
One interesting and very good example is the site Voice RSS.
Try to use the live demo in your preferred language. In Portuguese in just write the time as "12:17" and the softaware will speak the time for you. In English, just write "12:17pm", for example.
The problem is how to save the files.
You can find a reference for that on the site How-To-Geek.
My personal solution was to install a software on my computer to do this translation "text-to-speache": Verbose Text-To-Speach Software.
You can install it and start to convert your texts using a free period for evaluation and then you decided if you want buy it or not (around $20 USD). Personally I bought it after evaluation time.
Note: For special sounds or effects, a great site is the Sound Bible where you can save the files direct on MP3 standard. I used it for the Cukoo Clock sound.
Step 3: Assembly - Schematics - Arduino Program


The assembly is very easy!
Just follow the schematics and take care with the wire connections.
For the program you must to install an additional library in your Arduino for the DFPlayer that you can download it on Github.
For setup of time there are 03 momentary switches:
- # 1: For the setup of the 03 modes of the clock.
- # 2: To setup the minutes.
- # 3: To setup the hours.
The 03 modes are:
- Silence Mode: To adjust the time of the clock (hours & minutes).
- Minute Mode: To speach every minute.
- Hour Mode: To speach only at whole hours and put the cuckoo sound on action (from 8:00 to 18:00). The remaining minutes of the hour keep in silence.


Participated in the
Circuits Contest 2016

Participated in the
Amps and Speakers Contest 2016


![Tim's Mechanical Spider Leg [LU9685-20CU]](https://content.instructables.com/FFB/5R4I/LVKZ6G6R/FFB5R4ILVKZ6G6R.png?auto=webp&crop=1.2%3A1&frame=1&width=306)


