

Introduction: Temperature Compensated Ultrasonic Range Finder With Arduino


The ultrasonic range finder is a sensor you can find in almost all autonomous vehicles. This sensor is mostly used to determine the distance to an obstacle or to avoid it.
I use this sensor together with a BMP (barometric pressure sensor) to determine the distance to the ground when flying with a drone and I found out the distance to the ground with the ultrasonic differs from the one from the BMP. The difference is around 30 cm! when flying in winter(-10°) and in summer above a hot road(40°C). The BMP determines it's height with the air pressure and temperature so that is already compensated with the temperature.
In this Instructable I'll show you how to make the ultrasonic sensor more accurate when working with different temperatures, up to 35 cm correction!.
You need the following to make this project:
- Arduino, any version
- breadboard
- some jumperwires
- temperature sensor (BMP/ HTU or anything that can measure temperature)
- ultrasonic range finder (HC-SR04)
Step 1: How Does Is Work?


The ultrasonic sensor sends out 8 pulses of ultrasonic sound when you pull the trigger line high, these sound waves travel with the speed of sound. when the waves hit an obstacle, they bounce back and the sensor receives the waves. The sensor then pulls the echo pin high for a few milliseconds. when connecting this sensor to an Arduino, it is possible to measure the time between sending and receiving the pulses.
because sound travels with the speed of sound you can multiply the time by the speed of sound to get the distance.
The problem with this methode of getting the distance is that the speed of sound depends on the temperature. The speed of sound increases with about 0.6m/s per 1°C. At 0°C a return time of 20ms (2 x 10ms) equals to a distance of 332 cm and 343 cm at 20°C, this is a difference of 11cm!
This difference is even larger when temperatures are more different.
At -20°C a 20ms return time gives a distance of 319 cm while at 40°C it is 354 cm, that is a 35 cm difference.
this might not be a big problem, but for my project the distance needed to be as accurate as possible. because a temperature, humidity and air pressure sensor were already build in the project, I decided to compensate the distance with the temperature (and maybe with humidity).
Step 2: Connecting Everything

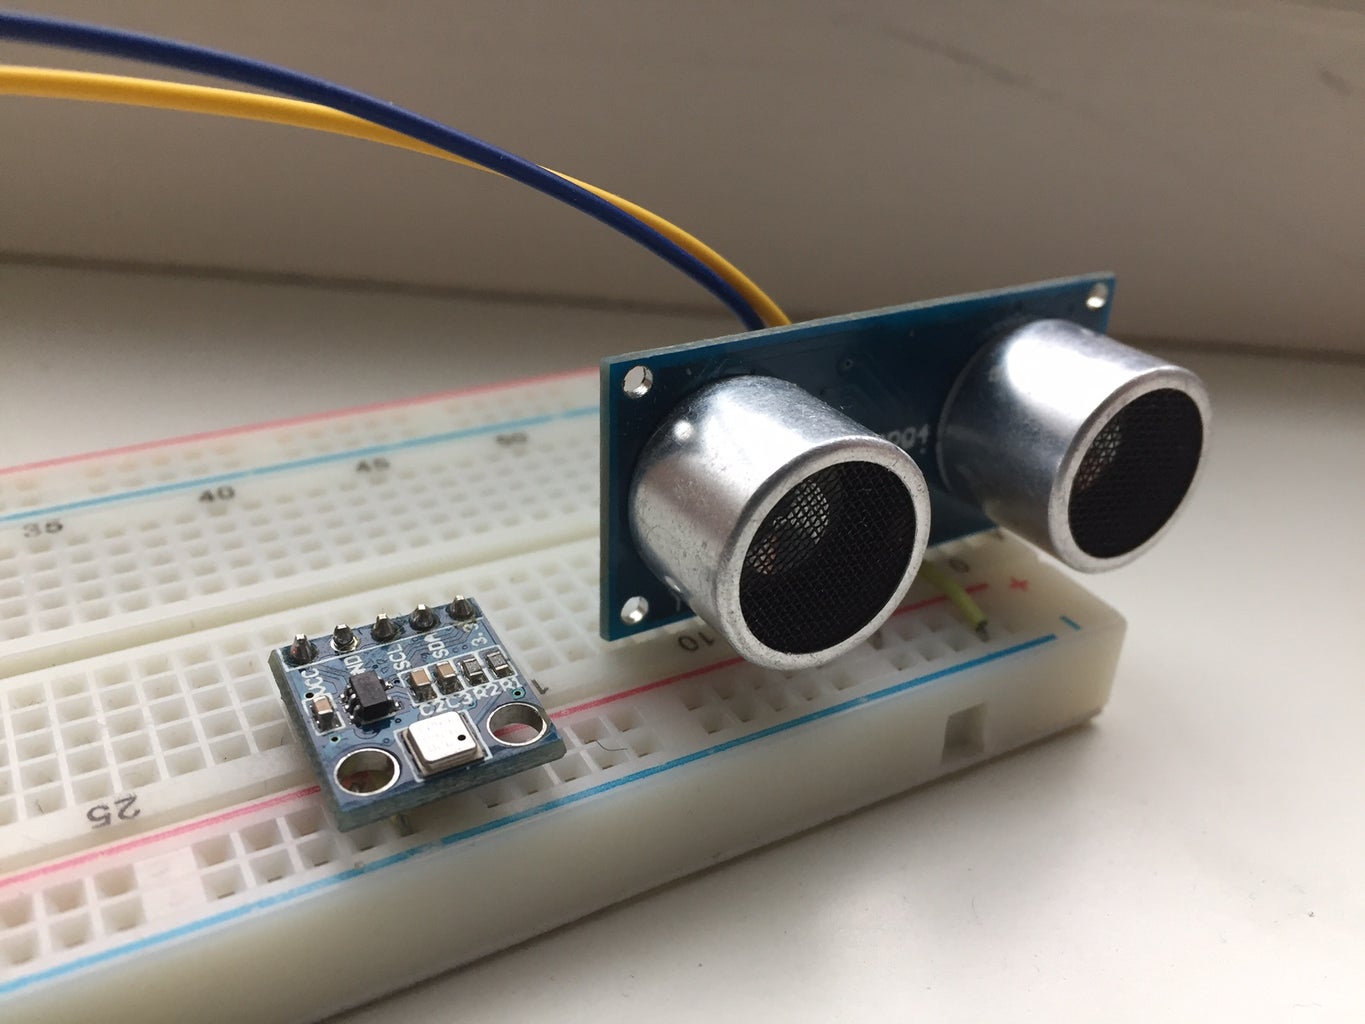

In this example I use a HTU21 (temp + humidity), a HC-SR04 ultrasonic range finder and an Arduino (all versions should work) but you can use any temperature sensor / ultrasonic sensor and Arduino you like.
first connect both sensors to the Arduino. the temperature sensor uses I2C (A4/A5) and the ultrasonic can use any port you like, I used 12 and 13. connect the 5V and GND wires to 5V and GND and plug your arduino into your PC.
After that, upload the code and open the serial monitor.
The output should look like this:
Temperature: 22.2*C
distance: 114.8 cm
speed of sound: 344.77 m/s
compensated distance: 115.3 cm
In the code, the HTU21 is used as a temperature sensor because the BMP failed after updating the arduino IDE and the library. You can still use the BMP by uncommenting the lines with BMP in them. If you do, comment the lines with HTU.
It is also possible to use all other temperature sensors, only thing you have to do is to assign the temperature to the "float temp = " in the main loop.
If you like this Instructable, please vote for me in the Arduino contest, I really want that awesome drone :)
Attachments


Participated in the
Arduino Contest 2016


![Tim's Mechanical Spider Leg [LU9685-20CU]](https://content.instructables.com/FFB/5R4I/LVKZ6G6R/FFB5R4ILVKZ6G6R.png?auto=webp&crop=1.2%3A1&frame=1&width=306)


