

Introduction: Ugly Spooky IPhone Gramophone Speaker - Arduino & 3D Printing


Introduction:
Another one of my out of the blue project idea and I was a little reluctant to put it up because it turn out to be really ugly looking... HAHAHAHA! but the speaker works pretty well. The whole concept is to combine gramophone speaker and spooky ambient lighting. I channelled the iPhone speaker sound from the based to come out from the gramophone. As for the lighting I had few Arduino boards laying around so I use one of them to make that spooky feeling colour changing inside the gramophone.
This was a quick project so I made some references and thanks to them:
1. For the iPhone base - http://www.thingiverse.com/thing:172033
2. For the ambient lighting - https://www.instructables.com/id/How-to-Make-an-LED... & http://pastebin.com/1dyWpRuw
Ok here is how I made it... and this is what you need:
1. 3D printer
2. super glue
3. Arduino board (any type, I use MEGA 2560)
4. LEDs and wires (at least 1 LED and 1 pair of wires)
Step 1: Step 1: 3D Print

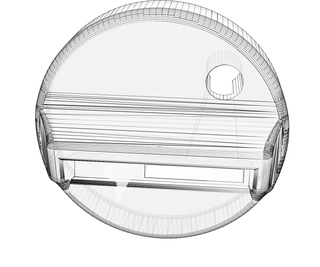
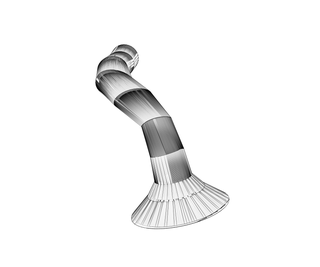
First use a 3D printer to print the two STL files. It will take about 2 hours for both depending on your printer and print quality. I was impatient so I put to the fastest speed.
Once you have printed, stick the two parts together as shown in the picture.
Ok lets move the next part...
Step 2: Step 2: Lighting


You need to upload the sketch program into your Arduino. The code is here http://pastebin.com/1dyWpRuw. You can use up to 3 LEDs (up to you) for this code but in my prototype I use 2 bright LEDs because I couldn't find smaller LED to fit into the hole. Then in line number 11, I change the delay speed to 20 instead of 500 so that it change faster.
If you are newbie on Arduino, you can go to this instructable to do a quick learn on building ambient lighitng https://www.instructables.com/id/How-to-Make-an-LED...
Ok, once you have tested and is ok!, push the LED(s) into the hole under the base until you can see the light comes out on the other side and adjust as you like (see picture).
Step 3: Final Step: Testing
That is it, test your product. I think if the gramophone is larger, the sound maybe better :)
Have fun!!!

Participated in the
Formlabs Contest


![Tim's Mechanical Spider Leg [LU9685-20CU]](https://content.instructables.com/FFB/5R4I/LVKZ6G6R/FFB5R4ILVKZ6G6R.png?auto=webp&crop=1.2%3A1&frame=1&width=306)


