

Introduction: Use Resistor With Arduino LED Project

This is Lethic from Marginally Clever. This tutorial will show you how to use resistors in your Arduino LED project.
Step 1: Introduction

Resistors are widely used in electronic projects. This tutorial will show you some basic concepts of resistors and how they can be used in your first LED project with Arduino.
According to Wikipedia:
A resistor is a passive two-terminal electrical component that implements electrical resistance
as a circuit element. In electronic circuits, resistors are used to reduce current flow, adjust signal levels, to divide voltages, bias active elements, and terminate transmission lines, among other uses.
In this tutorial, we will use resistors to reduce current flow. Before we move on to the experiment, I would like to introduce the Ohm's Law:
Ohm's law states that the current through a conductor between two points is directly proportional to the voltage across the two points. Introducing the constant of proportionality, the resistance, one arrives at the usual mathematical equation that describes this relationship:
I = V/R
where I is the current through the conductor in units of amperes, V is the voltage measured across the conductor in units of volts, and R is the resistance of the conductor in units of ohms.
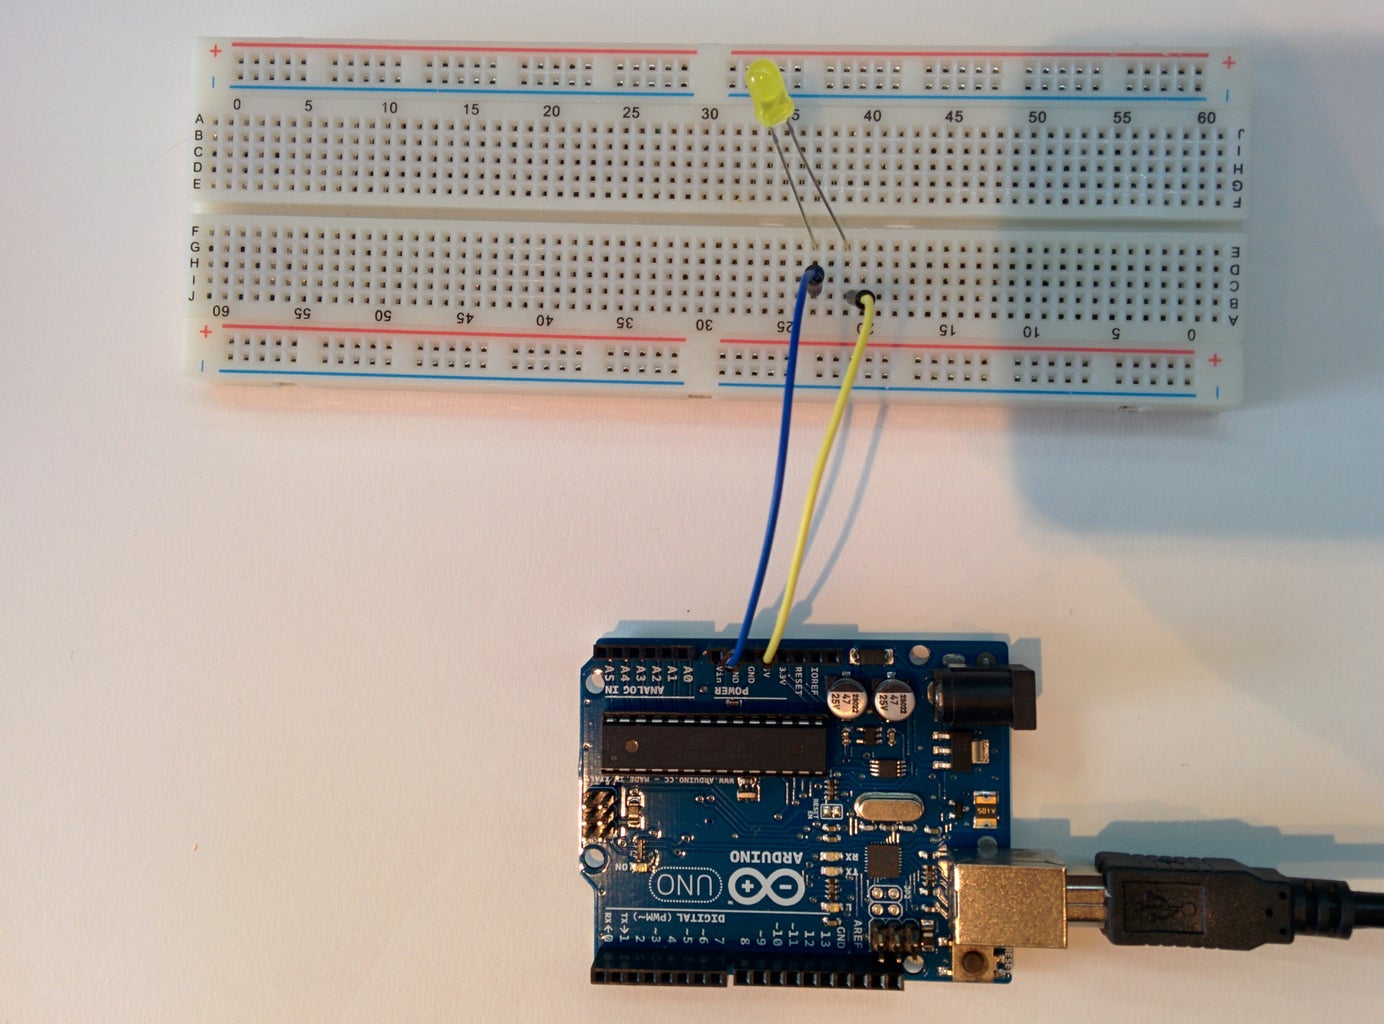
Step 2: Things We Need


1. Arduino
2. LED
3. 220 Ohm resistor
4. Jumper
5. Breadboard
You can find all the above things you need from Marginally Clever Arduino Starter Kit
Step 3: The Wrong Way
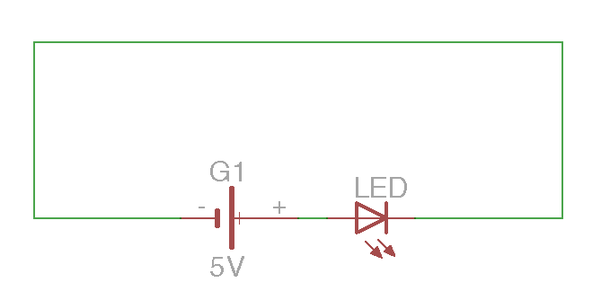
This is demonstration of wrong way of hooking up the LED to the power source (basically the 5V port and GND port on your arduino).
The resistor of an LED is extremely small in the direction shown in the figure (the long pin of the LED connected to the 5V side and the short pin connected to the GND side). According to Ohm's Law: I = V/R, the current flowing through the LED would be extremely large, which will burn your LED.
Step 4: The Correct Way

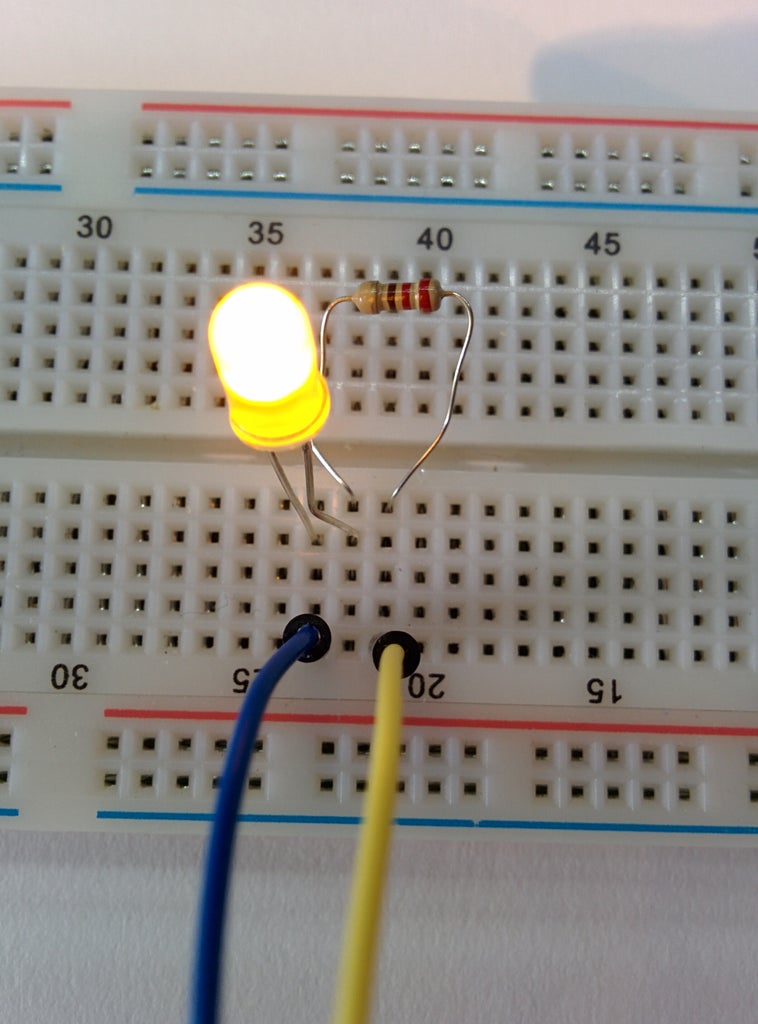
The typical maximum current the LED can work with is roughly 25mA, which means the total resistance of the resistor we need to add and the LED should be R = 5V/25mA which is 200 Ohm. The resistance of the LED would be extremely small in this direction as we mentioned in the previous step, thus the resistance of the resistor would be larger than 200 Ohm.
For safety reason we can use 220 Ohm which will still work as shown in the figure.


