

Introduction: Water Pressure Regulator Valve Rebuild


Rebuilding a water pressure regulator valve is easier than replacing one. I will show you how I rebuilt my water pressure regulator.
Supplies
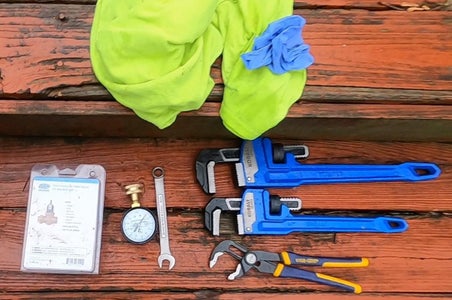

I got the rebuild kit for my specific water pressure regulator online.
I needed a 9/16" wrench for the regulator adjustment bolt and jam nut.
I should have gotten a large adjustable wrench for the top piece of the regulator, but instead used channel lock plyers.
I thought I was going to have to use one pipe wrench to hold the main body of the regulator while I used the other pipe wrench to turn the top piece of the regulator, but the pipes going into and out of the regulator seamed sturdy enough.
I used a water pressure gauge to help trouble shoot the main problem and to make sure I adjusted the rebuilt regulator to the right pressure.
I used an old t-shirt to clean the inside of the regulator.
I used some rubber gloves to keep the silicone (included in the rebuild kit) off of my hands.
Step 1: Troubleshooting


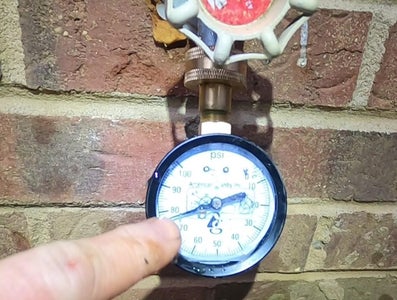

The first sign that something was wrong was there seamed to be a loss of water pressure in my house. Taking a shower, seamed like there was hardly any pressure. I hooked up the water pressure gauge and found that the pressure was fine. Running the water, into a bucket, made it easy to see that the flow of water was slower than it should be. I asked a neighbor if he was experiencing any loss in pressure or flow, since we are on the same water supply. He said that his water pressure and flow was fine. That removed the possibility that the problem may have been the water supply pressure or flow. This led me to believe that there was something wrong with my water pressure regulator.
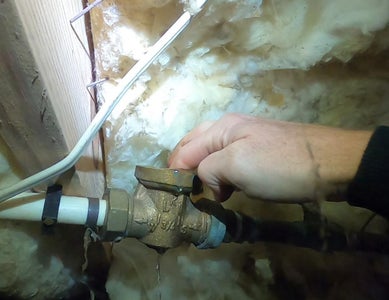
Step 2: Main Shut Off


Before taking apart plumbing, it is important to shut off the main water supply and relieve the pressure in the pipes. My main shut off valve is right beside the water pressure regulator. After closing the main water valve, I relieved the pressure, in the pipes, by opening a water valve and letting the water run until the pressure was relieved.
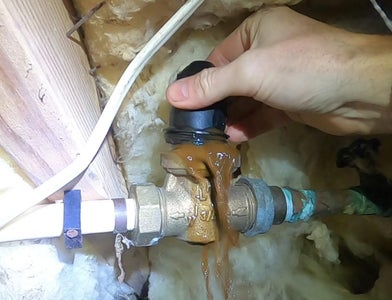
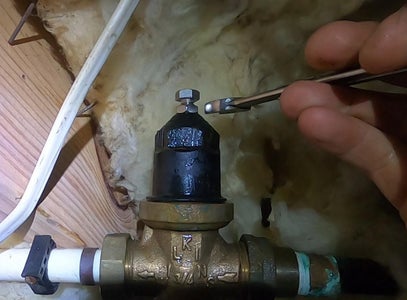
Step 3: Taking It Apart


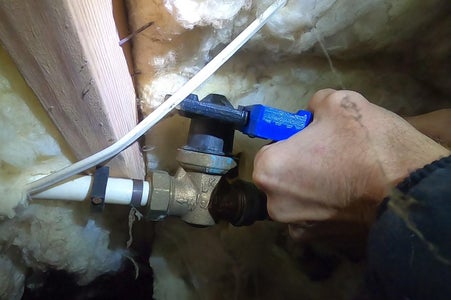

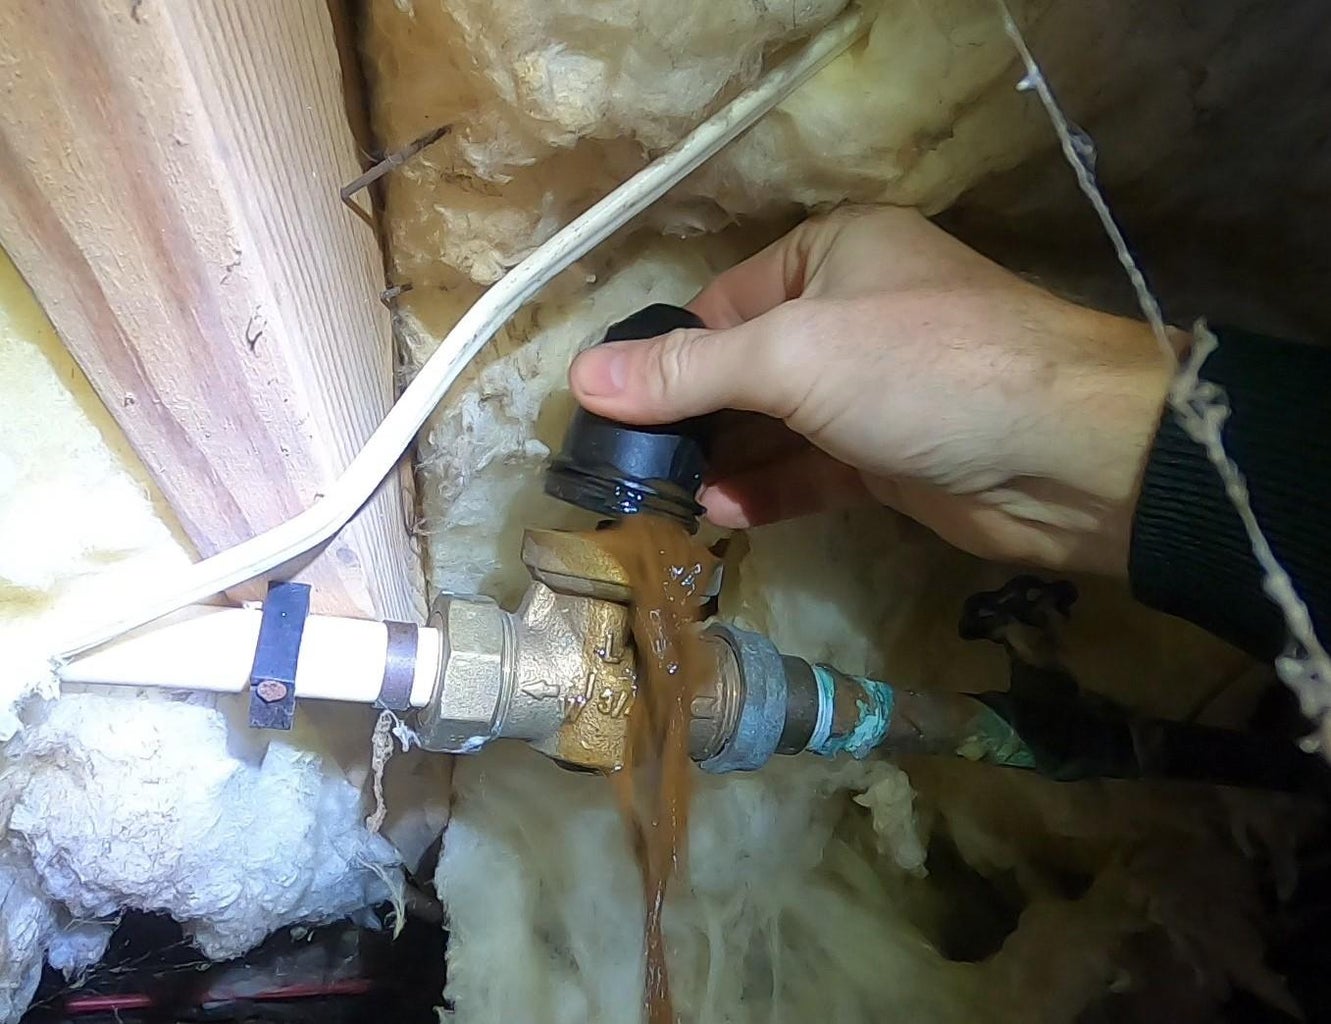
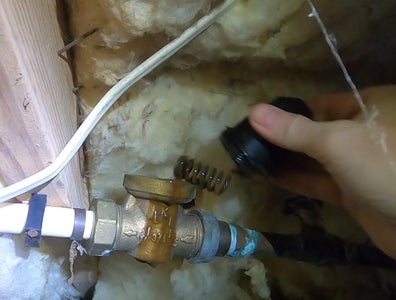


I used the 9/16" wrench to loosen the jam nut and then remove the pressure adjustment screw. I started loosening the top piece of the regulator by using a pipe wrench. I found that it was easier to use channel lock plyers. Carefully remove the top piece because there is a spring, a washer, and metal piece that will fall out. I found that the main spring was broken and this was probably the main reason that my water flow had decreased. I then used the channel lock plyers to remove the basket from the regulator main body.
Step 4: Clean It Out


I turned on the main water to help flush out the main body of the regulator. To keep from making a mess, I used a piece of plastic to direct the water into a bucket. After rinsing out the regulator, I used an old t-shirt to clean out the inside of the regulator.
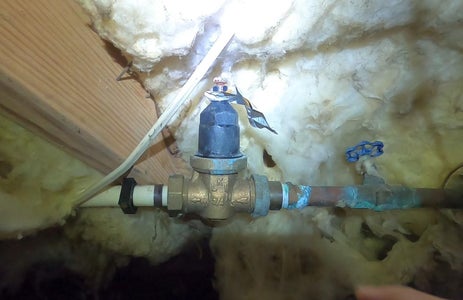
Step 5: Put in the New Parts


The top o-ring, of the basket, needs to be lubricated before being inserted. The rebuild kit came with a small packet of silicone lube. After inserting the basket there is a washer that goes on top of the basket. Then the spring, spring top piece, and regulator top piece screw on top. This is easier if you have the pressure screw turned almost all the way out so there is hardly any pressure on the spring.
Step 6: Adjusting the Pressure


Turn the water back on by opening the main water valve. Check the water pressure with the gauge. Slowly tighten the water pressure regulator adjustment screw clockwise until you have your desired water pressure. I found out the correct pressure should be between 70 and 85 psi. It may be different for you depending on your house and where you live.
Step 7: Double Check


Once reaching the desired pressure, I let the water run for a bit and then double checked the pressure. I also checked to make sure there were no water leaks at the pressure regulator valve.
Step 8: Lock It In
There is a jam nut, on the pressure adjustment screw that you tighten to keep the screw from moving.
Step 9: Video

Participated in the
Repair and Reuse Contest


