

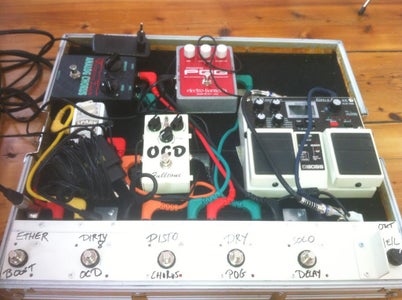
Introduction: Arduino Programable 5 Pedal Switcher


Searching for a simple programable pedal switcher over the net I was
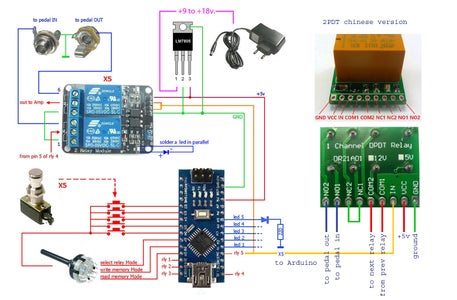
amazed about the overpriced gear around there... so I came out with DIY solution and found several great projects but found 'em too complicated (PCB etching...) or maybe too overpriced for my needs. All I needed at that time was the simplest possible programable true bypass relay switcher for 4 pedals but found a way to switch up to 5 pedals with the "nano" version of arduino UNO. With 2 Arduino nanos (thru serial communication) you can surely extend this as up to 8 switchers! (to see: second part of this instructable...). Posibility to add MIDI program change out on pin 1.
Addendum: connect a led in parallel of one of these little on the relay board (caution: check the polarity!). This manner you'll know which relay is on or off when programing. Tip: I 've used the hole of the screw near the inboard led to drill thru the chassis and put it the parallel one on. (see pictures on my second instructable )
After noob searching for the "code-part" of this project over internet and spent hours and hours of led debuging (hey, I'm NOT a coder, just a r'n'r guitar player!) I got out with an amazing library named "keypad.h". Initially intended to manage secret code doors within a keypad, we'll see how simple is to "fool" the code with a 3 way selector, so with only 5 momentary switches we'll can access up to 15 functions and store 5 presets on internal EEPROM! The hardware parts are current sees over Ebay / Google so please don't ask me "how and where can I buy this thing or this other..." ! Google is your friend and Ebay too!
Caution: some noise issues where experienced by some builders (me included). I suspect those cheap and chinese relays aren't made for audio signals. The ideal relays should be some called DPDT but for instance few advices can be followed: use shielded cables all along the signal path, ensure all the circuit in a metallic box use caps (usually 10u) for decoupling and/or add some high resistances to all in and outs jacks. Adding a booster pedal in front of the input may strongly reduce these noise...
------------------------------------------------------------------------------------
USE:
-position "A" (select switches) from the selector (cases 'a' 'b' 'c' 'd' 'e' on the sketch) -> select wich pedal to loop ON (1,2... 5). When finished, turn the selector to ->
-position "B" (preset memory mode -cases 'f' 'g' 'h' 'i' 'j') -> select the number of the preset (1 to 5) where you want to preserve the loops (the led of the preset you choose will lit 2 times. Caution: don't press the switch more than once because you'll reset the preset (all ' 0,0,0,0,0')!
-Rotate the selector back to position 'A', select another pedal combination and store it on next free preset on position "B". You can repeat this procedure 5 times. Once you have your 5 combination stored, rotate to->
-position "C" (cases 'k' 'l' 'm' 'n' 'o')-> read the preset (1 to 5) you memorized previously
-enjoy the art of rocking pedals with one footpress !!!
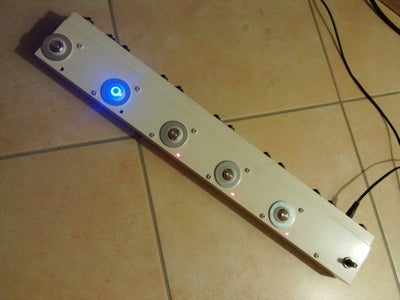
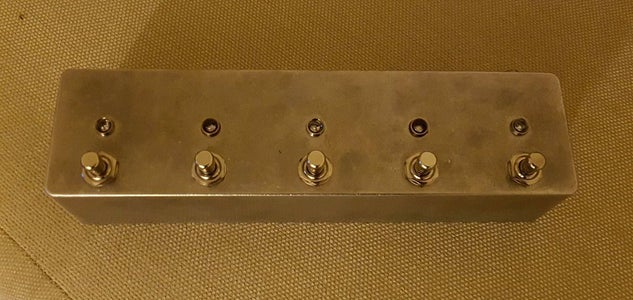
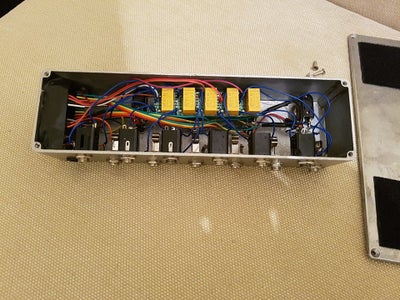
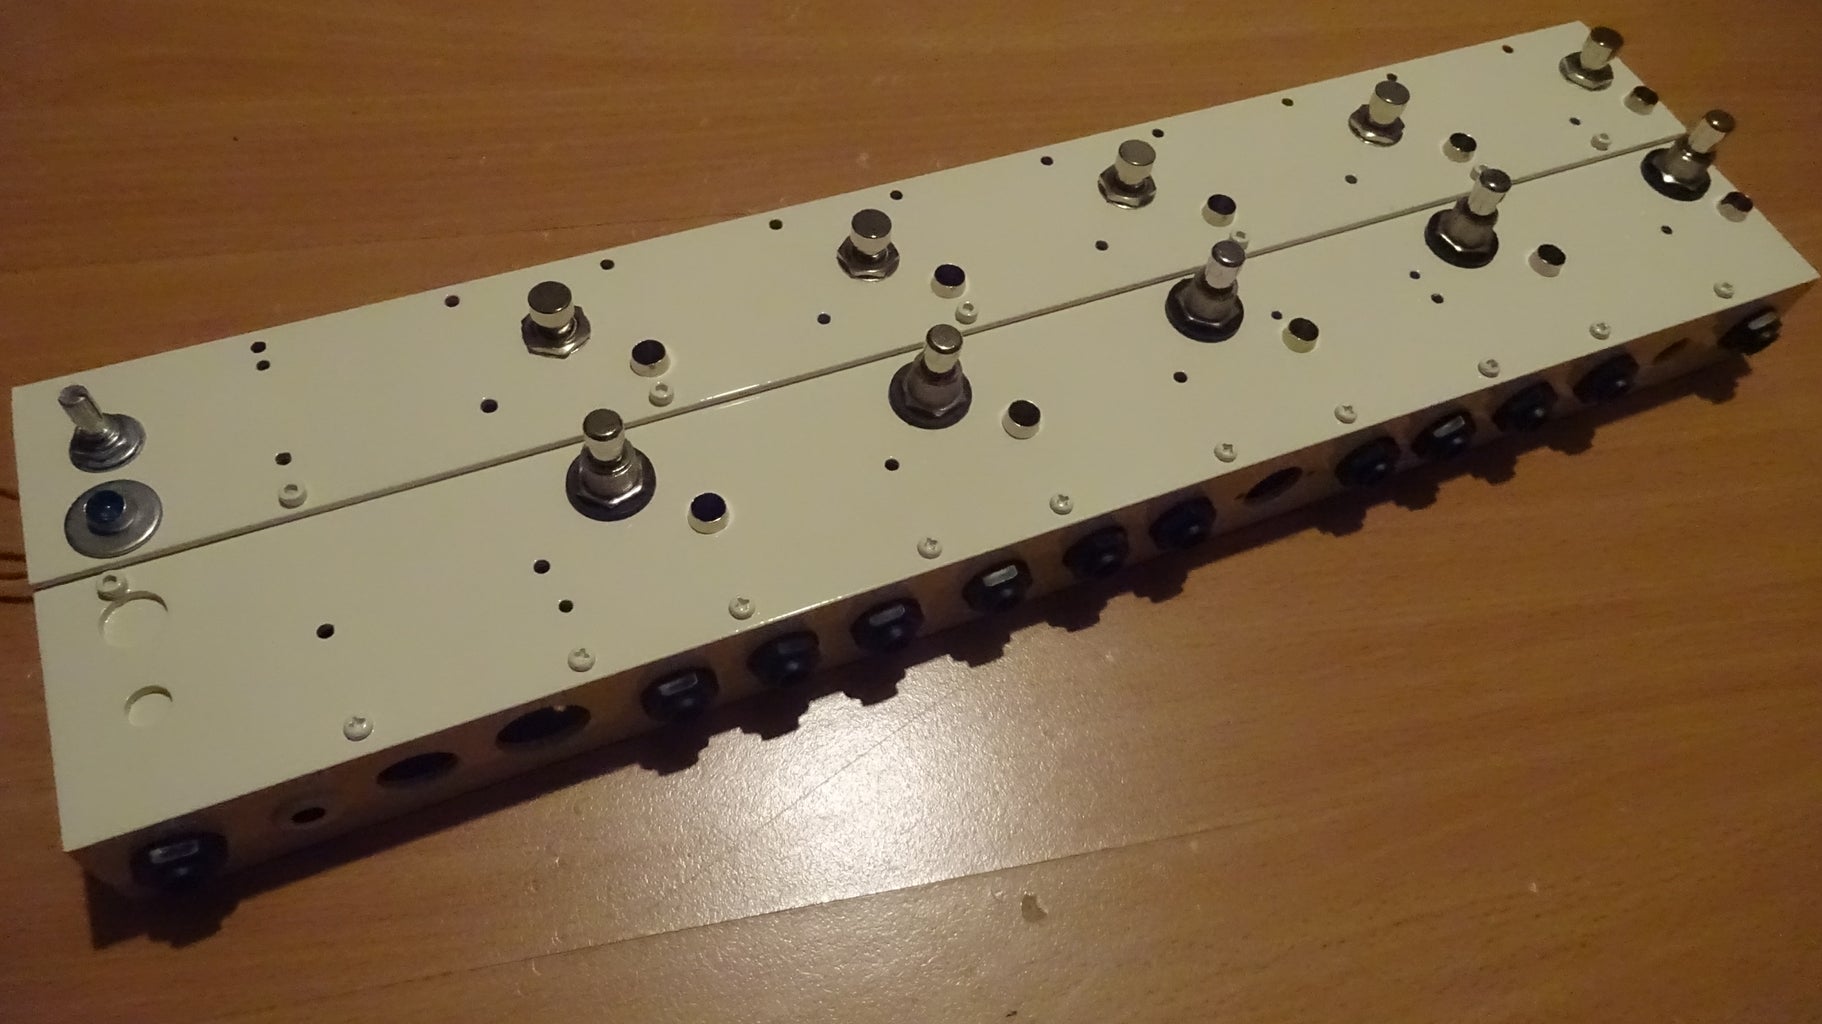
see more hardware pictures made by some followers and me
Step 1: Arduino Programable 5 Pedal Switcher


So here are the parts:
-1 x arduino Nano with Atmega328 built-in (~4 to 5$)
-1 x 9v to 18v / 3 amp power supply (~10 $)
-1 x LM7805 or alike
-3 x ways rotary selector (~4$)
-5 x SPST Momentary Footswitches (~15$)
-5 x chinese double relay modules (~ 15$) or better, DPDT version (much less noisy)
-12 x chassis 6.3 female jack (~20$)
-10 x leds (half of a different color)
-5 x 220 to 560 ohms resistor (peanuts...)
-some spare cable (...)
~70$ if you don't have any of these as spare
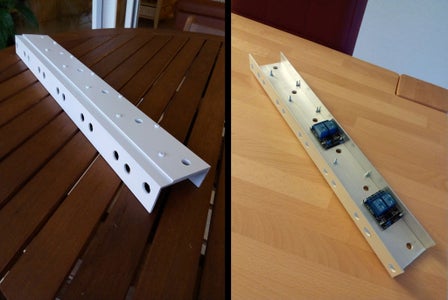
(not included: metal chassis or woodbox or whatever...)
------------------------------------------------------------------------------------
and here are the tools:
-plyers
-soldering station
-eventually some tools for wood/metal/plastic working
------------------------------------------------------------------------------------
Here's the code part: (many thanks to Anton Efremoff for his feedback and suggestions) Tip: don't forget to add "//" on these two lines if you want to save your preset after booting it up!
//for (int =0;i<512;i++)
//EEPROM.write(i,0); It's here just for initialize EEPROM memory in case of debugging
You''l have first to download and install the keypad.h library here:
A big THANK YOU to Armando Colangelo aka 4Knobs Effects for this code . Note his project is based on a different approach that ommit the 3 positions switch and therefore adds 1 more selecting switch (6 instead of 5).
A video is available on youtube showing his awesome work.
Another vid from follower Massam here showing working simulation
------------------------------------------------------------------------------------
check out the outstanding band I play with:


