

Introduction: A New Workbench


The Getting Started In Woodworking (GSIW) Workbench is cheap and easy to build. If you have a circular saw, drill, router and a need for a decent bench I would highly recommend giving this one a shot.
Detailed instructions (including video) can be found over at finewoodworking.com, so I won't go through it step by step. I'm just going to point out the more clever stuff.
http://www.finewoodworking.com/item/18985/still-dont-have-a-workbench-this-one-is-easy
Step 1: Routing Channels for the Allthread
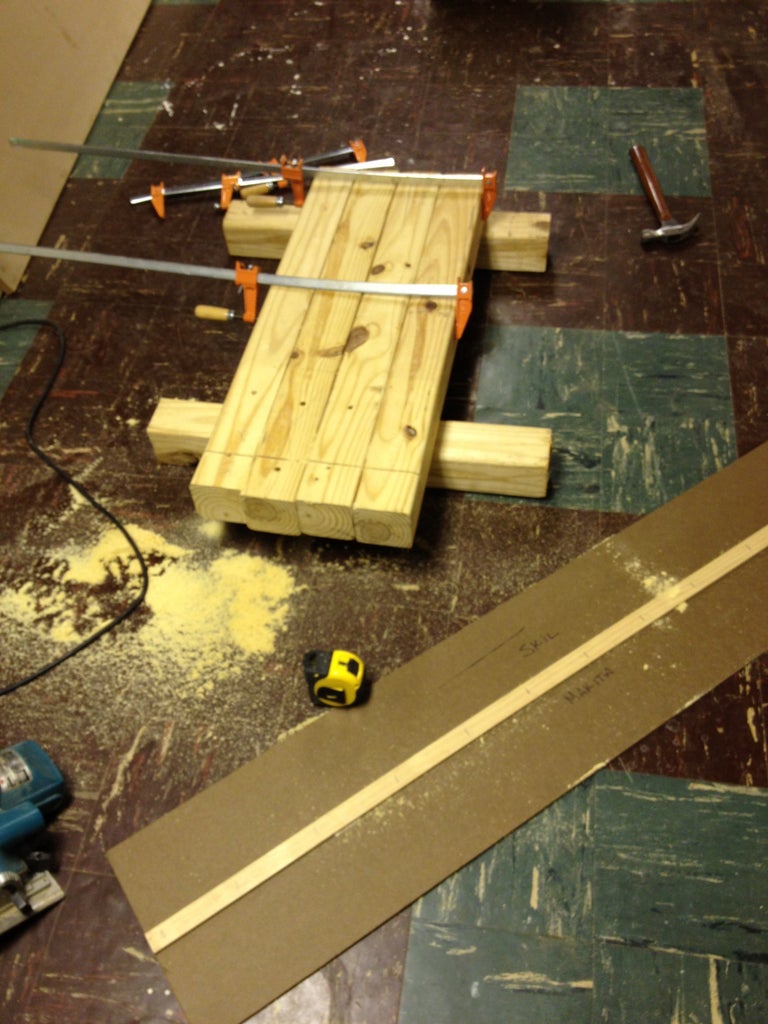
This GSIW bench is held together with allthread laying in channels. Here's the set up they recommend for holding the 2x4s. I also added a strip of trim underneath to give a little more height.
Step 2: Cut the Legs at the Same Time
It's a no-brainer right? it'll take two passes to get through the 4x4s.
The cutting guide is a piece of hardboard w/ some 1" trim stapled to it. These guides are easy to make and save a lot of time.
Step 3: A Nice and Sturdy Base
Here's the base assembled.
You don't have a lot of room for error when you drill your holes for the allthread in the legs. So, if you don't own a set of brad point drill bits consider picking up a set. I've found they're much more accurate than regular wood bits which always seem to travel off the mark a little before they begin to bite.
Note the top rails have two channels. The bottom is for the allthread, the top for the S-brackets you'll use to to attach the bench top. Strangely I couldn't find these brackets at Lowe's or Home Depot, but they were at Woodcraft and for once weren't overpriced.
Step 4: Layout the Top
You should both glue and screw the top to ensure a good tight lamination between the layers of MDF. Pilot holes and countersinking are your friends (as always). If you don't own a countersink bit use the largest drill bit you have and just touch the pilot holes lightly.
The layout is important when it comes time to drill bench dog holes so don't just go randomly driving screws all willy nilly.
Step 5: The Vise
This thing is great. It's a Groz 7" rapid action. Worth every penny. The pic is before I attached the jaw liners.
For the block underneath I used a scrap piece of MDF and an additional piece of hardboard.


