

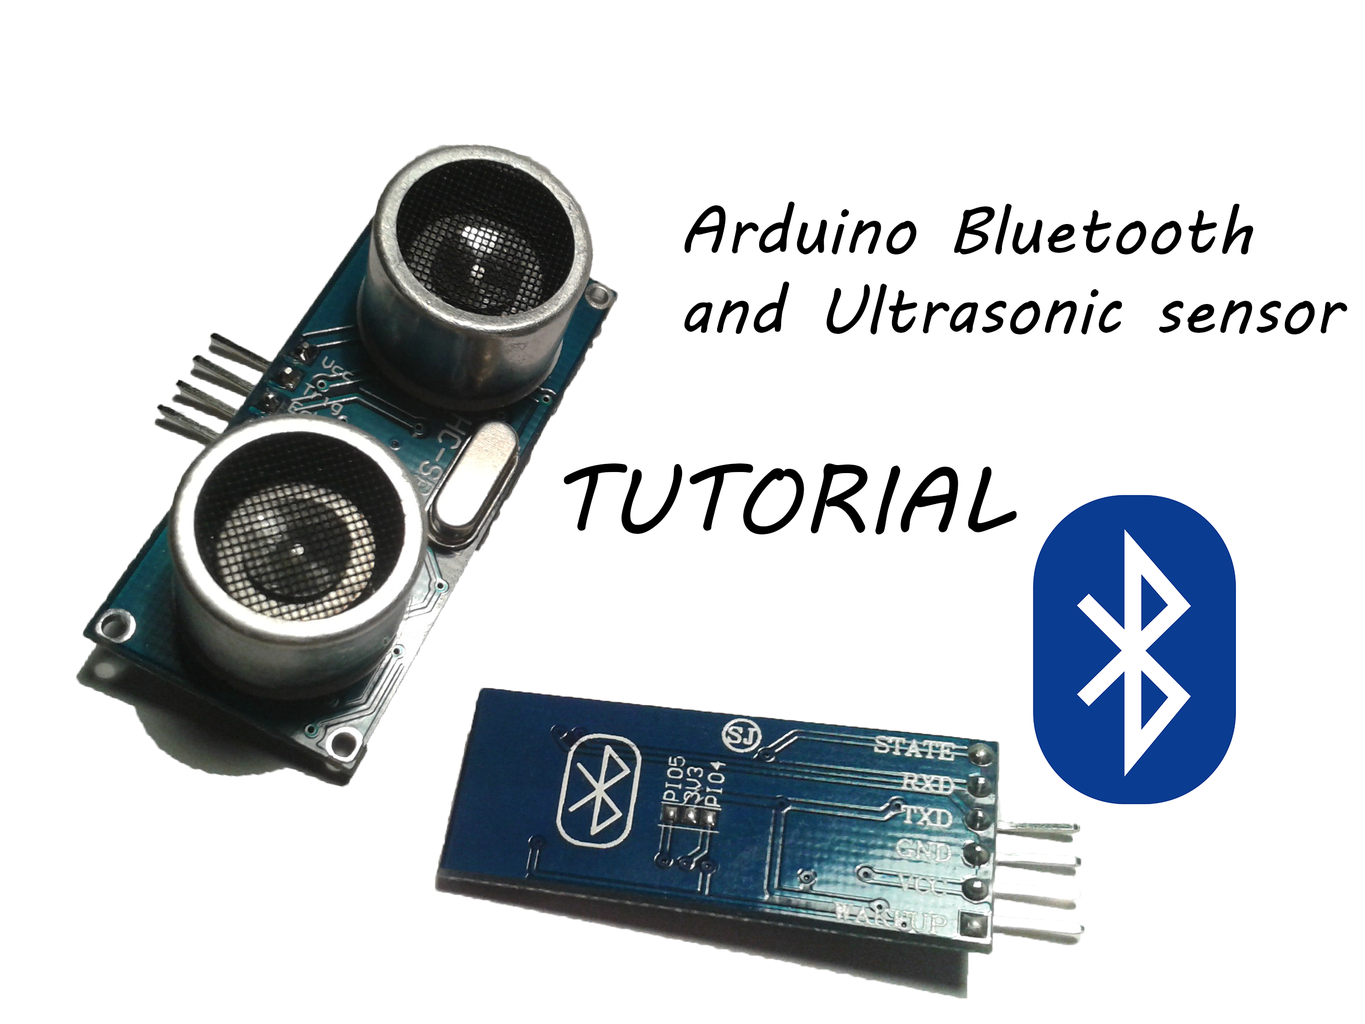
Introduction: Arduino Bluetooth and Ultrasonic Sensor TUTORIAL


Hello again,
As I promised, I uploaded my next instructable. This one is going to cover Bluetooth and Ultrasonic sensor(HC-SR04).
Why those two. I made an RC 2 wheel car for my school project. It' controlled with a free app via bluetooth. To make it "half robot", it has distance sensor, that mesures distance. If the distance is (in my case) equal or lower than 10cm, the car stops and after 1,5s the person can controll it again.
The code will be added in the end of this instructable.
*UPDATE*
MAKE SURE YOU WATCH MY NEW INSTRUCTABLE ON AN ARDUINO WEATHER STATION WITH BLUETOOTH THAT WILL SOON CONTAIN ESP8266 AS I PROMISED I WILL DO A PROJECT WITH IT AND A WEATHER SERVER SOUNDS FANTASTIC.:
Step 1: THE HC-SR04 ULTRASONIC SENSOR


Now, we are going to look at the HC_SR04 ultrasonic sensor.
This component is very simple, as it only has 4 pins.
Firs and the last are power pins Vcc and GND. The middle ones are Trigger pin and Echo pin.
To understand what these pins do, you must understand how this thing works. It's actually very simple as the component is not doing any math or work by itself.
So, this module is sending ultrasonic waves. Than these waves reflect from a surface and come back to the module. Arduino is triggering those waves on the trigger pin and than listening for the “echo”. Once it receives it, it calculates the distance base on the time spend waiting for the wave to come back. In the code, we are also going to change that value to cm, as it it easier to read.
The module will be connected to any I/O pins of the arduino. The trigger pin will be output and the echo pin will be input.
I will also describe how the code works. in the programming step.
Step 2: PROGRAMMING THE ULTRASONIC SENSOR
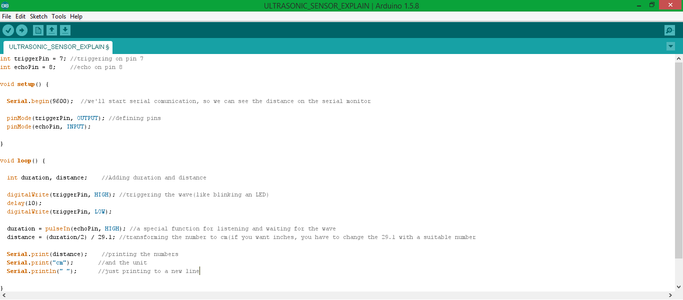

Same deal here. The code is nicely comentated so there sould be no problems.
Ask me if anything is unsure.
Attachments

Step 3: THE BLUETOOTH MODULE
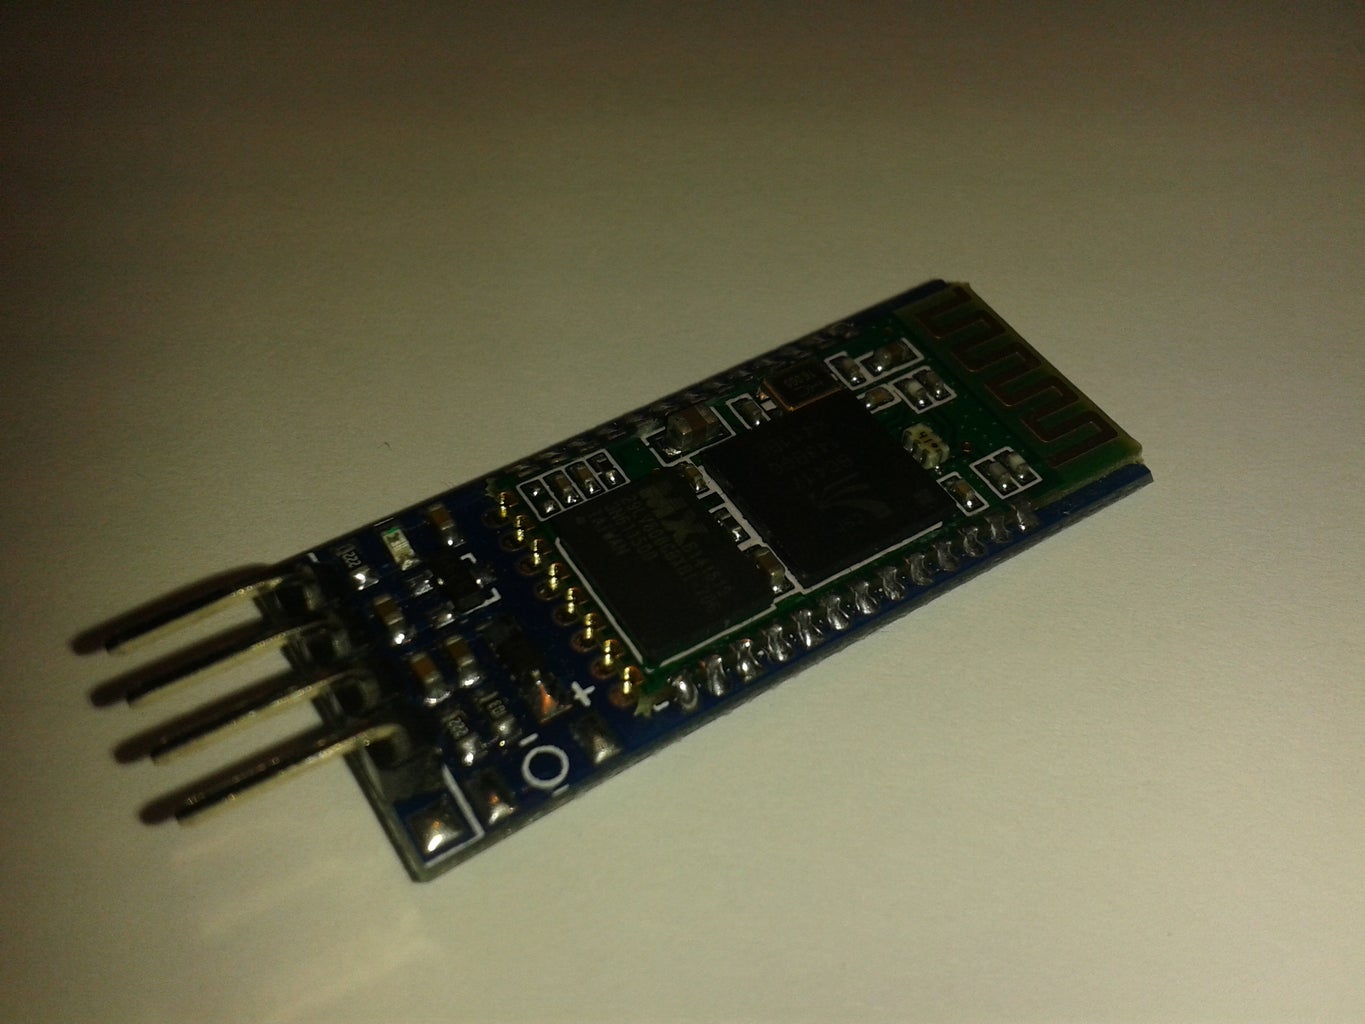

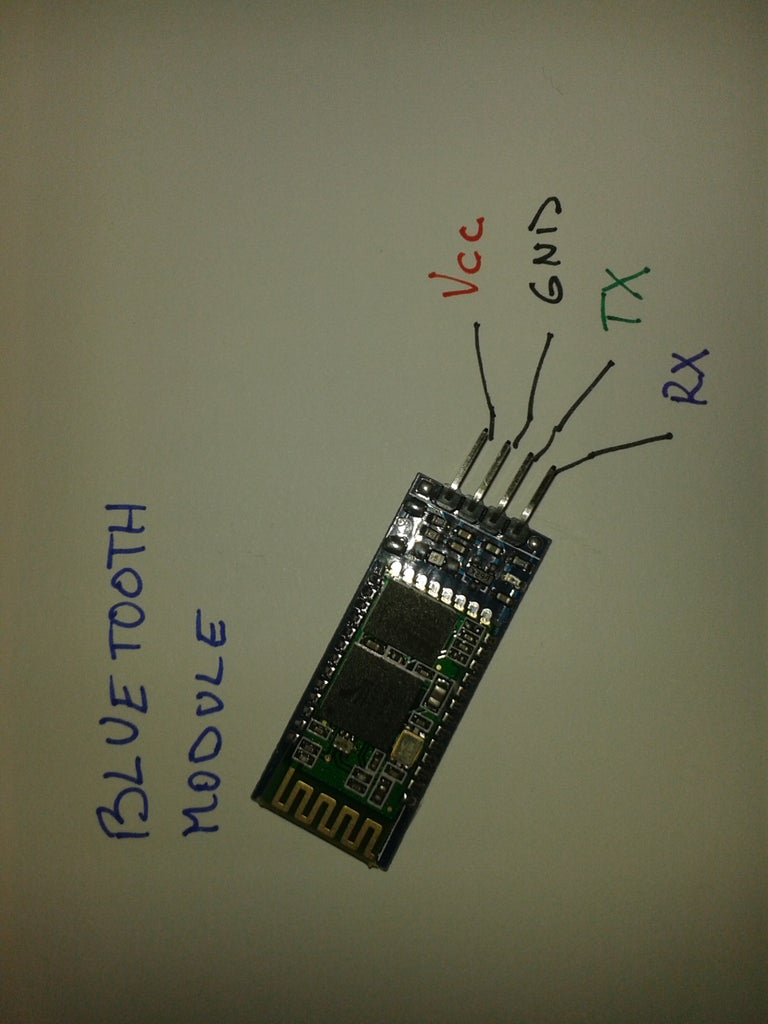
So first I'm going to show you the bluetooth module.
Probably all Bluetooth modules have the same pin-out.
It has power pins Vcc and GND and communication pins RX and TX.
Now you can probably see, that this module connects to the RX and TX pins of a micro controller such as Arduino or a USB to serial converter.
This module works fully with 5V, so there is no problem connecting it to Arduino. All the pins are labeled on the back of the module(pic. 2).
The connections are labeled in the picture 3.
Step 4: PROGRAMMING THE BLUETOOTH MODULE


I'm not going to talk about how the code is working because it it very well comentated. If you have any question, leave it in the comment section. The code is made for turning LED on and OFF, but with the same method of "else if" statements seen in the code, you can do enything.
One more thing to remember. When you have your bluetooth module connected to the TX and RX pins to te arduino, remember to pull them out every time you' re uploading the sketch or it will display an error like on the picture 2, than disconnect the RX and TX pins from the bluetooth module and upload the code again. Once the code is uploaded, connect the pins again.
After all that, you need to connect your phone to the bluetooth module. Power the arduino(and at the same time the bluetooth module) and find it in. My was named HC-06, so you can search for semething like that.
Once you added the device, download this app for Android. I don't know if this works with Apple devices. Correct me in the comments.
the app: https://play.google.com/store/apps/details?id=eu.j... , so it's called Arduino RC
Attachments
Step 5: TESTING THE BLUETOOTH!


Once you downloaded the app, run it and click connect to device. Choose your bluetooth module(my is the first one) and you will be taken to "the lobby". If you have noticed, this app is for RC(remote controll) which is perfect for controllng a car or sth. It has buttons or gyro sensoring. But what makes it not only for RC is the "TERMINAL MODE". There you can type in anything that will be sent to the arduino. In our case, If you send 1, the LED will come on, or if you type 0, the LED will go off.
Step 6: COMBINING DEVICES

Now, I've combine both of the codes, so you can turn on the LED remote and turn it off for 2s when the distance is less than 15cm.
All I did is that:
-I combined all the int variables above the setups
-I combine both setups into one
-I named each loop of each code "bluetooth" and "sesor"
-in the main loop I added those 2 loops
-I added stopping function in the sensor part.
It's very simple. The new code is well comentated as well, so no problem there.
I also added a short video and of course the code.
Thank you for watching. I hope you make something amazing with this and remember to have fun :)


![Tim's Mechanical Spider Leg [LU9685-20CU]](https://content.instructables.com/FFB/5R4I/LVKZ6G6R/FFB5R4ILVKZ6G6R.png?auto=webp&crop=1.2%3A1&frame=1&width=306)


