

Introduction: Bluetooth Control RC Tank + Android + Arduino


May peace be upon you
This is my first instructable. It is about controlling your rc tank via bluetooth instead of using radio frequency. There are many project like this but this is my way. hahaha
I started to think that I am so lazy to bring the controller of the rc tank. So I got the idea to make one that can be controlled by my smartphone. The big advantage is that you can add whatever feature to your tank and the smartphone is the thing you bring anywhere anytime.
Here are the main things that I used.
1) Bluetooth module HC-06
2) L298N Motor driver
3) Arduino Uno or Nano
4) RC Tank
5) smartphone with bluetooth
6) Android Controller app
Step 1: Preparing Android Application


By using MIT App Inventor, I have build a simple application that send a command in ASCII to the Arduino via Bluetooth. The app use of canvas, image, label, button, clock and bluetooth connectivity. It consists of 13 different command image (canvas).
As we press and hold the command image (canvas), the data is send until we release it. The data is then compared with the Arduino coding. If the data is same, then an action is taken. If not same, no action taken.
download the app below and install it on your phone.
and if you want to add some more features, you can download .aia format below. Open the MIT App Inventor and import the folder.
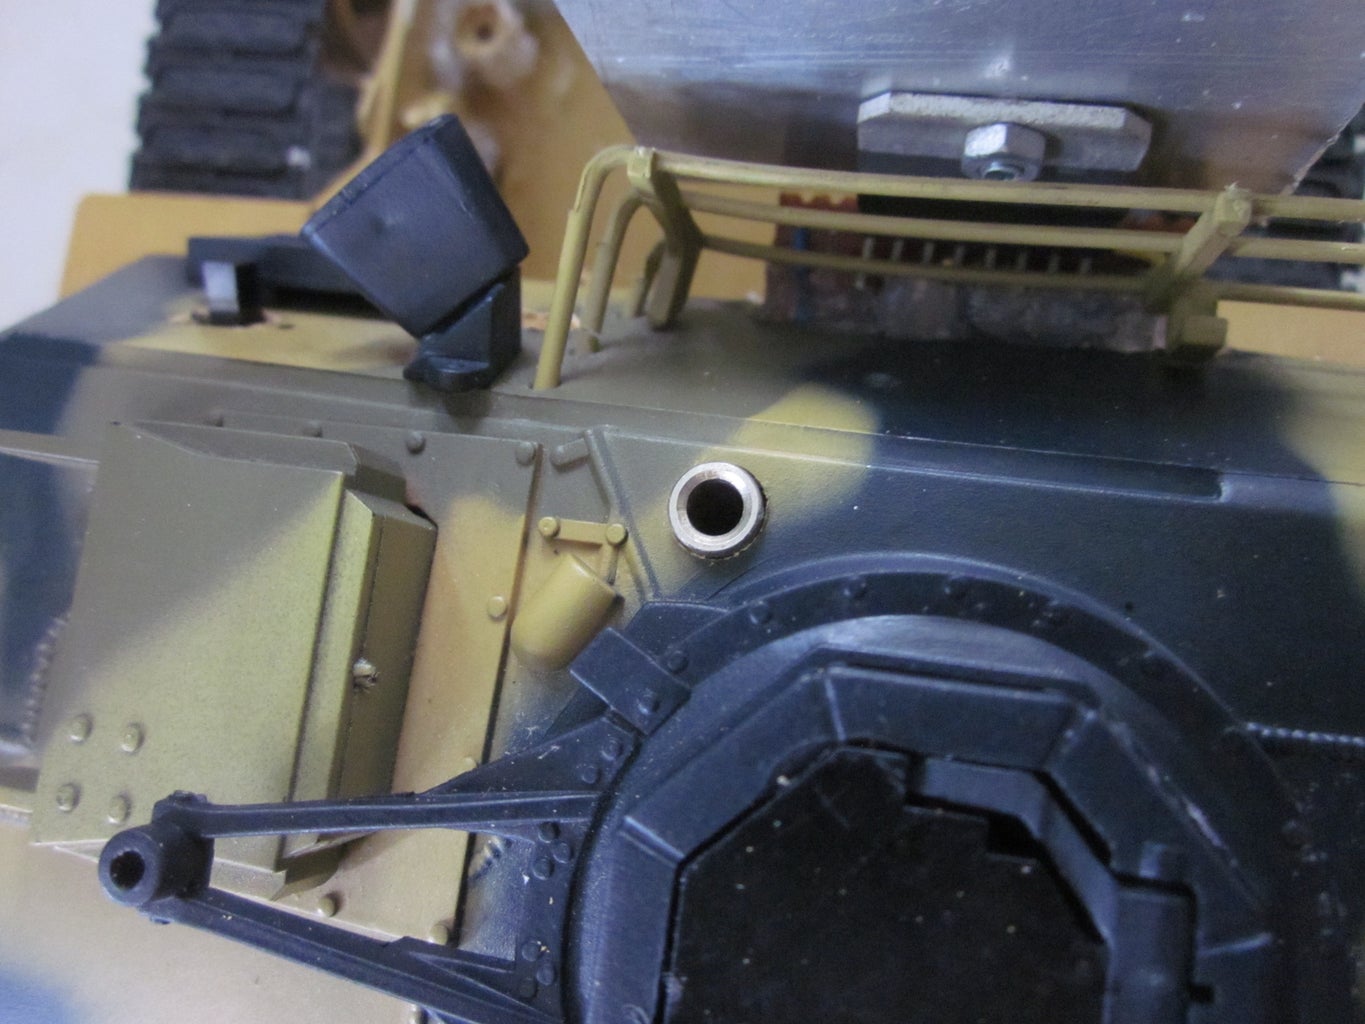
Step 2: Remove the Existance Circuit


Carefully remove the circuit inside the tank. But be sure that you labelled them first as they might be use in the future. For easier, take the picture of the circuit connection.
Step 3: The Arduino Circuit


Note that as I read through some websites, the Pin Rx of the Arduino should be connected to voltage divider first to get a value about 3.3V before connect it to Tx of the Bluetooth module. But I have directly connect them together and until now there is no problem happen yet... wahahha
For testing, you can replace the motor with LED or other output.
Step 4: Pairing Smartphone With Bluetooth Module


After connected all the wires, turn on the Arduino. You will notice that the Bluetooth module is now flashing. This is because it is not connected to other device yet.
Then go to your smartphone, turn ON bluetooth and search for the module. The name of the module is "HC-06". Pair the module and if it ask for the password, it is "1234".
Step 5: Uploading Arduino Coding
Copy and paste into Arduino IDE.
Now, it is time to upload the coding into Arduino.
Dont forget to disconnect the Rx and Tx wires during uploading. If not, the uploading will fail.
After uploading done, reconnect the wires again.
Attachments

Step 6: Testing


Now you have reached the final stage.
Activate the bluetooth on your smartphone. Then, open the app that you have installed earlier.
Click the button "select device"
A list of bluetooth device will appear and choose your Bluetooth module. In this case, HC-06.
wait a moment and if the connection is successful, the Bluetooth module will stay lighting and it will pop out
"the device is connected"
Press any image from 13 different them. You will see there is an action take place on your RC tank. Test all of them.
Step 7: Put Them Nicely in Your RC Tank


This is the way to make your RC Tank neat and tidy. Depend on your creativity.
I used the recycle item as much as possible such as:
-the aluminum plate remnants
-USB female, internal hard disk casing from damage laptop
-audio jack male and female from broken radio and microphone
-some jumper wire from broken electrical appliance
Step 8: Video

Participated in the
First Time Author Challenge

Participated in the
Microcontroller Contest

![Tim's Mechanical Spider Leg [LU9685-20CU]](https://content.instructables.com/FFB/5R4I/LVKZ6G6R/FFB5R4ILVKZ6G6R.png?auto=webp&crop=1.2%3A1&frame=1&width=306)


