

Introduction: Bluetooth Controlled Quadcopter Using MultiWii


For a drone to fly autonomously, all the necessary sensors, processing power, and communication chips must be built-in. While that may not seem like much, it actually eliminates a lot of currently existing commercial civilian drones available to the general public. Using a mobile application makes it easy to develop the software and to share code between a PC and the smartphone. Even native libraries like the OpenCV can be used on both Android smartphones and PCs. So there is no need to reinvent the wheel—the smartphone has all the necessary components: camera, GPS, accelerometer, and 3G.
NOTE: This Instructable has been entered for the Coded Creations, Automation,and Move it Contests,if you love this project and appreciate my efforts, I would be highly grateful if you could vote for this project there and help me win.
Step 1: Materials Used
1) Quadcopter Frame
2) Microcontroller (MultiWii Flight SE Controller)
3) Electronic Speed Control (4 pieces)
4) Brushless Motor (1600KV) (4 pieces)
5) Propellers (2 sets)
6) Power Distribution Board
7) Lithium-Polymer Battery
8) Receiver
9) Bluetooth Module
10) Android application
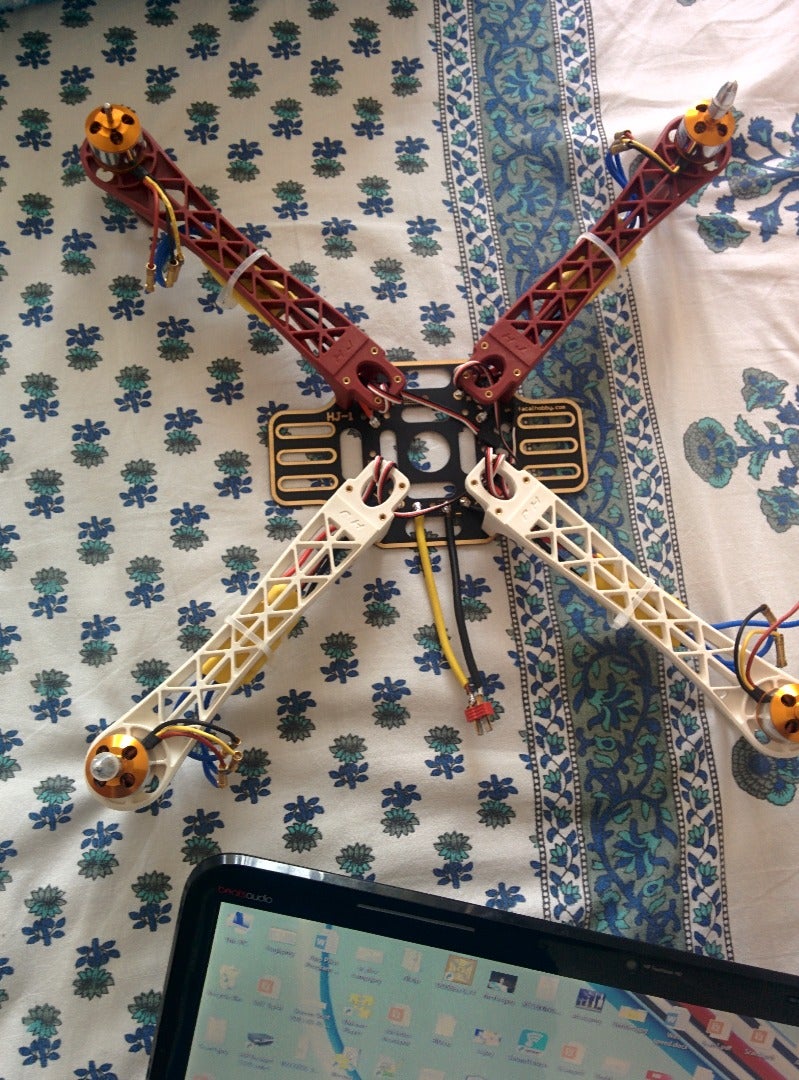
Step 2: Assemble and Connect


1) The motors and ESC's can be connected to each other via direct soldering or using Bullet Connectors of 4mm dimension.
2) The ESC's are then connected to the power distribution board, or in this case directly to the frame which has an inbuilt power distribution board, by soldering.
3) Once this is done, solder the battery wire to the frame.
4) Once all the soldering work is done, connect the MultiWii with the ESC servo wires, Bluetooth module and Receiver.
NOTE: Before connecting the Bluetooth module, make sure you've changed it's Baud rate from the default 9600 to 115200. For this follow the below mentioned instructable:
Step 3: Load the Code
1) Download the MultiWii zip file, extract it and then run it on the programming IDE Arduino.
2) In the config file, uncomment the following:
#define QUADX
#define MINTHROTTLE 1180 (for RCTimer ESCs 30A)
#define I2C_SPEED 400000L (400kHz fast mode, it works only with some WMP clones and with most current boards)
Enable or disable I2C resistor pullups (depends of your controller build or board that you are using. With complete flight controllers you can disable the internal pullup resistors)
#define CRIUS_SE (select your flight controller board here and the sensors will be configured for you, no need to configure individual sensors.)
Attachments

Step 4: Plug in the Battery and Test Your Quadcopter


If your code is all correct and your connections are all good you should see beautiful green and red lights come streaming forth from your partially complete creation. Now try to calibrate the ESC's.
If stuff starts smoking, then I'm going to say you did something wrong. Find out what you did wrong and fix it...real helpful, I know.
Using the Android application, you can check if all the connections are right and if the Bluetooth module is working perfectly with the Quadcopter. As shown in the pictures attached, I was able to collect PID settings, as well as the status of all 4 motors.
Step 5: Calibrate ESC

Using the Android app, we can now communicate with our board using the Bluetooth Adapter and Receiver to not only adjust the ESC's settings, but also check out the sensitivity of the board. As seen in the figure values can be altered easily.
Step 6: First Flight and Future Improvements

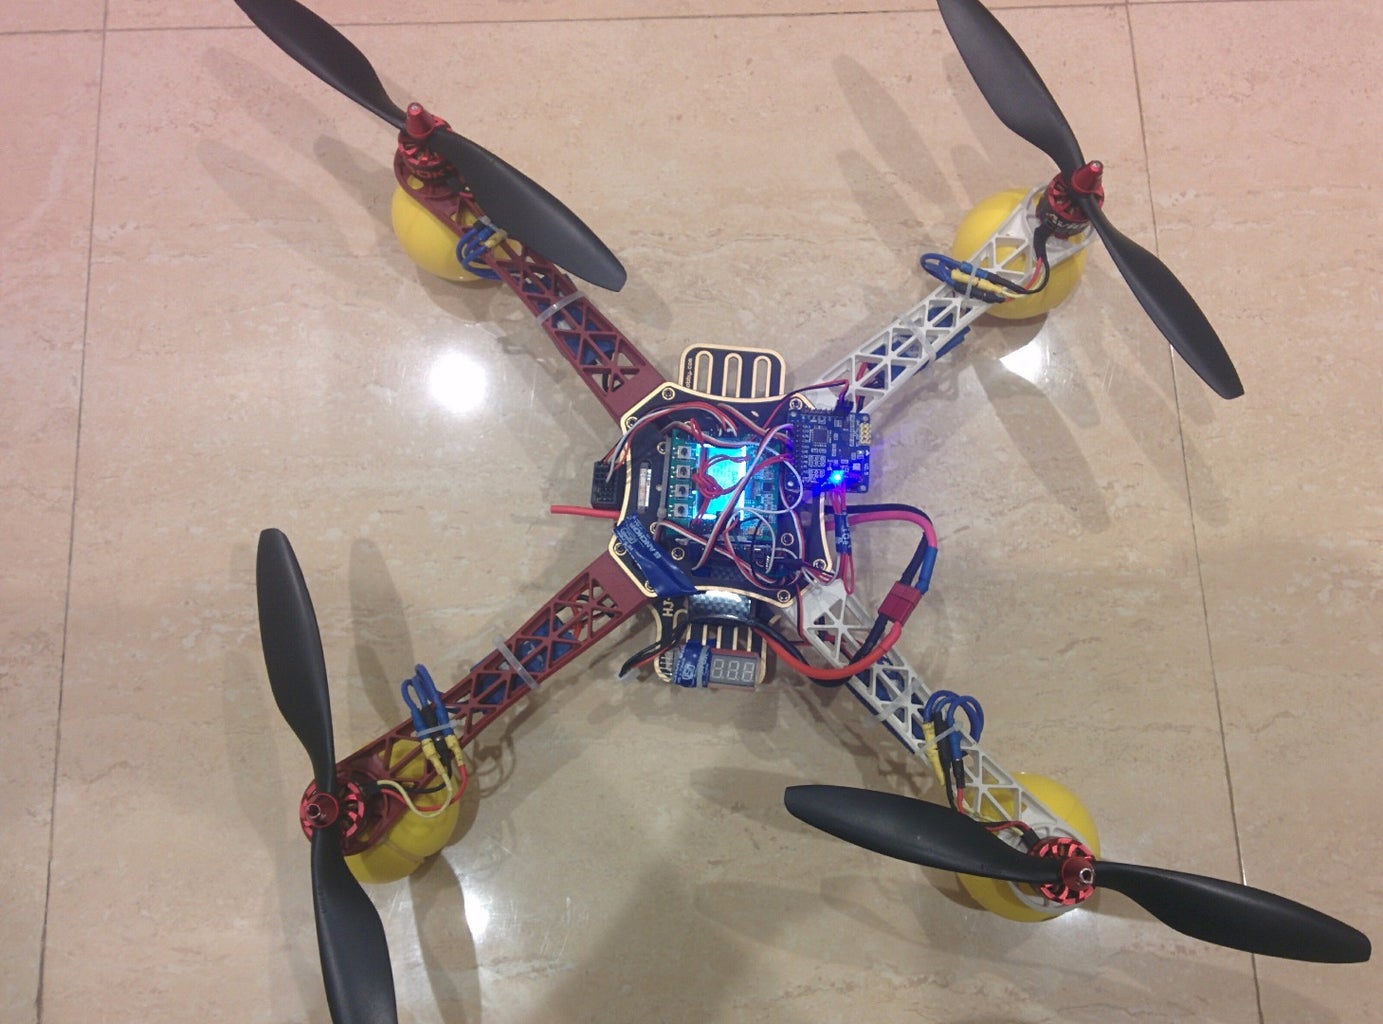
Once the ESC's have been calibrated, and battery is properly charged, we test our quad for it's flight capabilities. I hope to modify this in the future by introducing First Person View. While I’ve established that the quad needs good embedded processing capacity to be intelligent and autonomous, what is still missing is the code that takes advantage of this potential. So, in the near future, I'd be giving “eyes” to the Quadcopter!
Attachments


Participated in the
Automation Contest


![Tim's Mechanical Spider Leg [LU9685-20CU]](https://content.instructables.com/FFB/5R4I/LVKZ6G6R/FFB5R4ILVKZ6G6R.png?auto=webp&crop=1.2%3A1&frame=1&width=306)


