

Introduction: Creative Letter Lamp for Cheap!


Do you feel like your place feels empty or looks boring? And, are you creative, but you find it hard to get started on a project? Then this is a project for you!
The letter lamp is a lamp that is pleasing the eye. Especially when you know that you made it yourself. it consists of materials that are cheap to buy or easy to make. The total costs on this lamp were a bit over €10,-. This is because only a few parts are used. The advantage of only having a few parts is that the assembly of the lamp is really easy. These low costs and assembly simplicity makes it the perfect gift! the letters can be the initials of you or of the one to whom you want to give it. Lets start:
The materials that you will need are:
- The cardboard letters that you desire to use. I used the three initials of my father (AJW). The cardboard letters that I used are about 17cm high.
- A lamp shade of the desired colour. My lamp shade had the dimensions of 25cm wide at the bottom, 20cm wide in the top and 16cm high.
- A light source. I used 2 bicycle head lights, so that there wouldn't be a wire that made a mess.
- 3 elastic bands
- 1 key ring
Step 1: Set Up the Letters


The pictures above show the set up that I chose to use.
Now is the time to think how you want to set up the frame of the lamp. Take or make your cardboard letters and then arrange them as you like it. Try the set up first before you glue the letters together. Try every kind of set up that is possible with the letters. When they are glued together you can't take them apart anymore. When you think about a set up for the letters you have to keep in mind that you should have enough space to glue them together. The set up of the letters also needs to be strong since it should be able to carry quite some weight.
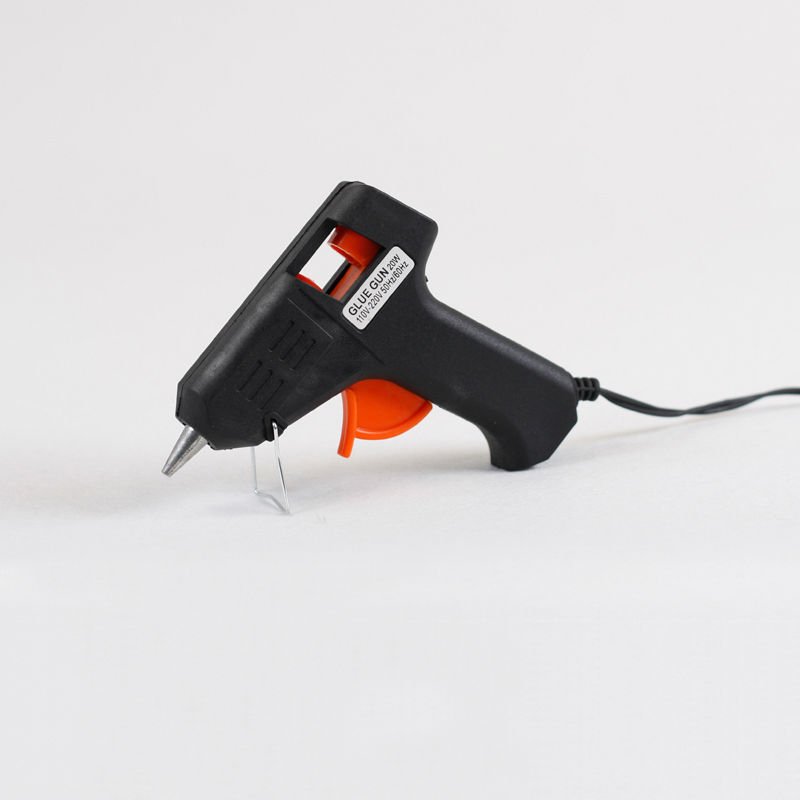
Step 2: Glue the Letters Together Using Hot Glue

Take the letters one by one and glue them together using hot glue. Think about the order in which you can best glue together the letters. Choose the simplest way to do it so that you will not come into trouble later. Use enough glue so that the letters will stay together under stress. However, do not use too much glue since excess glue can make you lamp less neat.
source of picture: http://i00.i.aliimg.com/photo/v2/294898110/Electri...
Step 3: Attach the Elastic Bands to the Lamp Shade


The light source that I used for this project are two bicycle head lights. The lights need to be attached to the lamp and I decided to do that using a material that everybody has laying around the house: elastic bands.
Attach the elastic bands to the steel frame of the lamp shade. In my case there were three rods to which I easily could attach the elastic bands. Make sure that the elastic bands are attached firmly so that they won't fall off. The picture above shows the easiest and quickest way to attach the elastic bands to the lamp shade.
Step 4: Attach the Keyring to the Elastic Bands


Now we can attach the keyring to the rubber bands. When you attach them be careful that the elastic bands don't snap. When the keyring is attached to all three elastic bands make sure that the keyring is balanced in the centre of the lampshade.
Step 5: Attach the Lights to the Key Ring


The light sources that I chose to use for this project are bicycle headlights since the don't need electricity cables that make a mess. If you also use bicycle lights than you can clip on the bicycle lights to the key ring. Make sure that the lights hang straight so that the light will be distributed equally. You can also put the elastic bands around the lights to support them.
Step 6: Glue the Lampshade to the Letter Frame

Now you are able to glue the lamp shade to the letter frame. Use enough hot glue so that the lamp shade will not fall off. Make sure that the lamp shade is centred.
Step 7: The Letter Lamp Is Finished!


Now the lamp is finished!

Participated in the
Make It Glow Contest


