

Introduction: DIY TiX Clock


Here's my instructable for a DIY TiX clock. It is powered by an AVR microcontroller. The display is made up using a piece of reflector grid you find covering office lights, some smoked perspex, a diffuser and a bunch of LED's. The Idea came from the Tix clocks you can buy at various places on the web, but nothing beats making it yourself. It is a talking point in the lounge and once you are used to reading it, you can tell the time in a jiffy.
Step 1: The Electronics


The first prototype was made using Vero strip board. The layout on strip board is fairly straight forward. The Transistors in the top left are row drivers and the IC's on the right are transistor arrays that are the column drivers (see circuit diagram at the end of instructable for more info). This allows me to get a bit more current to the LEDs to make them brighter. The Transistor array IC's can be replaced with transistors if you like. You will find circuit diagrams and software at the end of this instructable with which I have included an Eagle PCB layout design as well for a single sided board that combines the controller and display board into one.
Note that if you etch your own PCB the LED's are mounted as normal thru hole components but the IC's, links and other components are placed on the copper side of the board. The LED's and links will need to be mounted first as the AVR covers some of the LED solder points. Details in the pictures.
Step 2: The Display


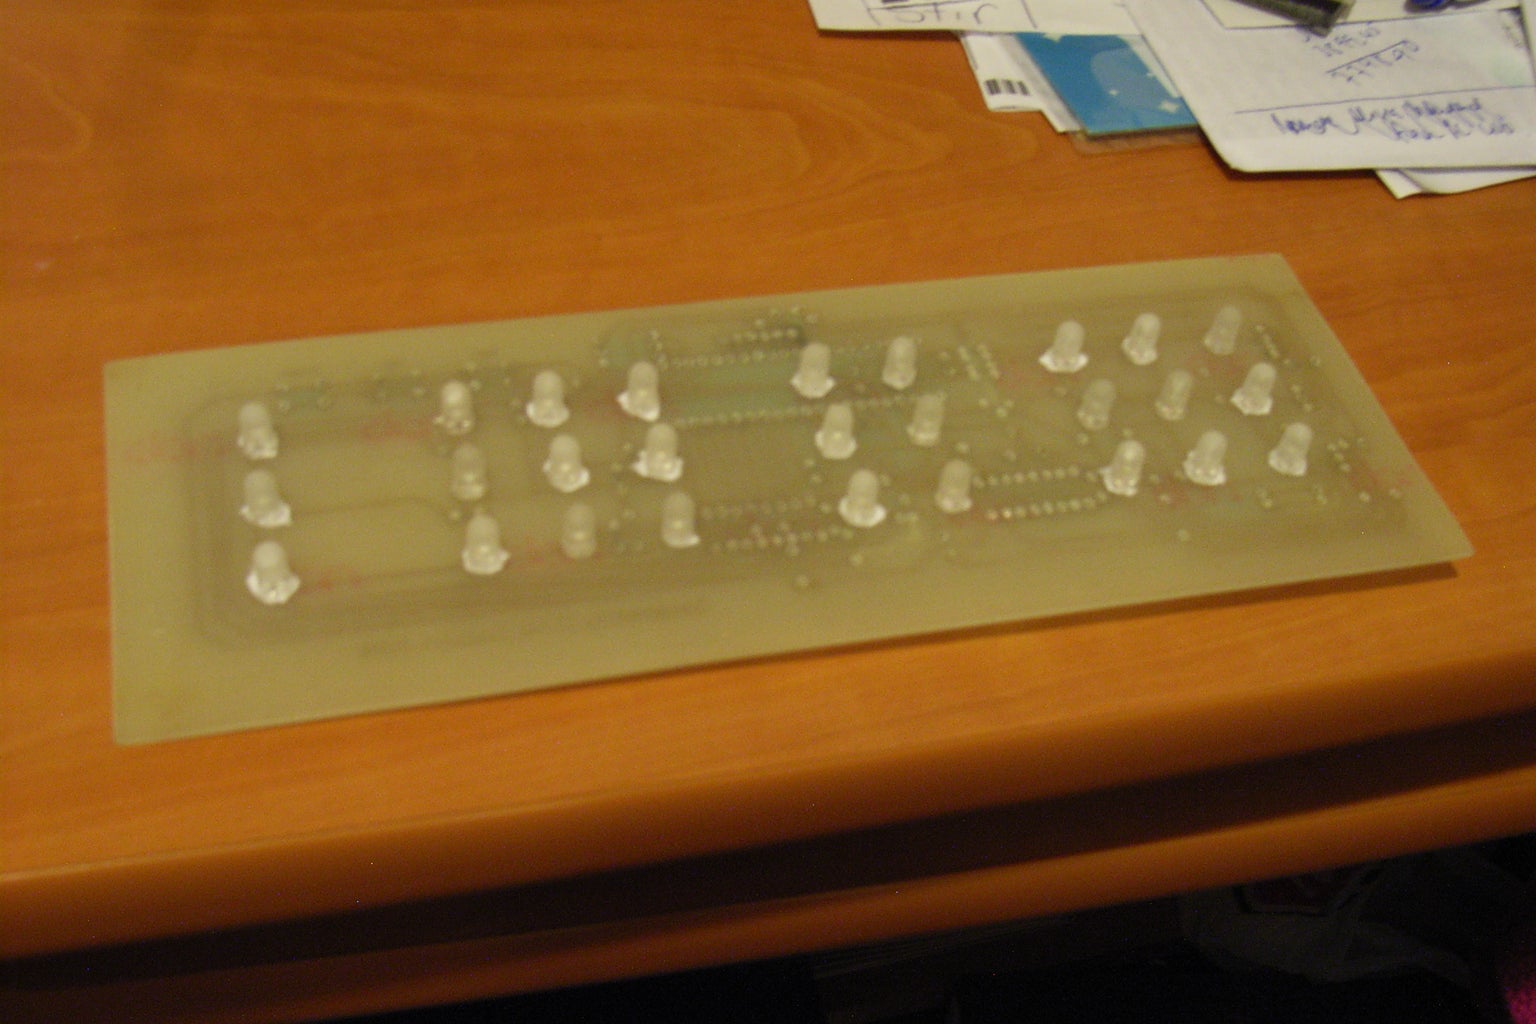


The display is made up of a sandwich of the display Board, The square reflector, a diffuser and a smoked perspex window. You can place a sheet of tinfoil under the LED's to give more reflection, just make sure you cut a hole in tinfoil around a legs of each LED so it doesn't short things out. I also sanded the lens of each led to distribute the light more.
The first three photos show the strip board version, the remainder the etched PCB version.
Step 3: The Case


For the case, you can use pretty much anything. I used Rimu, a native timber to New Zealand. I used a mill to cut out tracks and recesses for the "Sandwich" of the board, reflector, diffuser and window to sit in and the whole assembly slides in from the bottom. There is also a thin recess for the rear of the clock to sit in, this is made from a thin sheet of plastic. Buttons to press the switches were turned up on a lathe.
Step 4: The Final Product and Files


Q1-Q3 BC548
LED1-LED3 5mm High Intensity Blue LED
LED4-LED12 5mm High Intensity Red LED
LED13-LED18 5mm High Intensity Orange LED
LED19-LED27 5mm High Intensity Green LED
R1-R4 100k 1/4w Resistor
Q4 32.768 kHz Crystal
C1 4.7uF 10V Electrolytic Capacitor
C2,C3 10pF Ceramic Capacitor
IC1 ATMEGA16 AVR Microcontroller
IC2,IC3 TD62304 Darlington Transistor Arrays (these could be replaced with standard transistors)
S1-S3 Momentary Push Buttons
Enjoy! and vote for me!
Attachments


Runner Up in the
Clocks Challenge

Participated in the
4th Epilog Challenge


