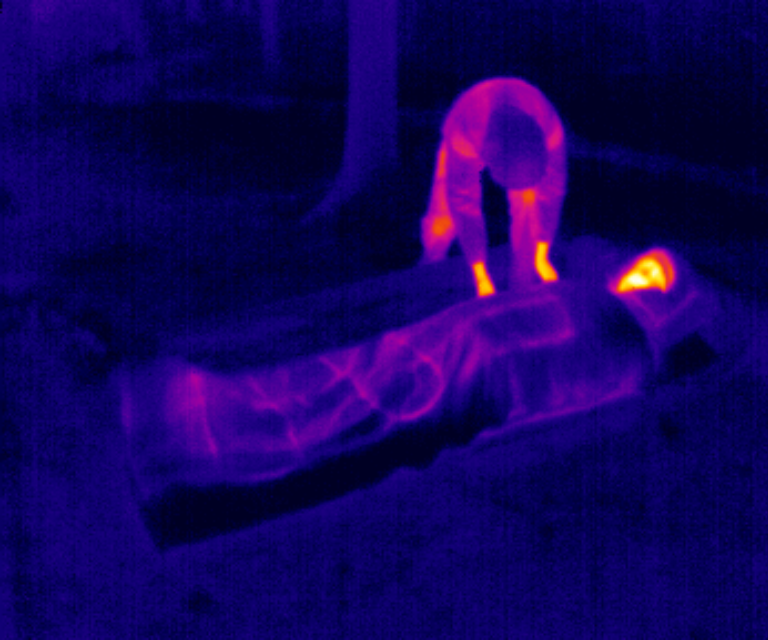
Introduction: DIY Carbon Tape Heated Trousers
If you only knew, how nice to hang around for hours in the cold winter, laying in the snow, sit on a cold snowmobile or on icy log... if you wear heated trousers:)
I made them in 3 hours. Maybe you could do it even better, all in your hands!
Step 1: Shopping List
1.) 2 pair of inexpensive sport trousers in local store.
2.) 4.8 meters (16 ft) of 15 mm carbon fiber heating tape and now on Amazon
3.) 3 meters (10 ft) of 18 AWG ultra flexible wire. Conductor Type:150/0.08
4.) A silver glue.
5.) Thread and needle.
6.) RF dimmer.
7.) 12 v battery or any power source.
8.) 5 meters (16 ft) of Iron-on no-sew hem tape.
Step 2: A Little Theory...
The main advantage of carbon fiber tape is resistance to repeated bending.
Unlike a nichrome wire heater or similar, carbon tape provides uniform heating since it is much wider. In addition, it is very soft to the touch like a normal cloth and doesn't interfere in the clothes.
That's why it often used in heated clothing.
------------------------------------------------------------------
Look at the table. You can find the carbon tape length for needed temperature at 12 Volt.
I chose 38 degrees Celsius, so cut 1.2m of 15 mm carbon tape (4 pieces) and connected them in parallel.
1 piece of carbon consumes 0,59 Amper so 4 pieces:
0,59 x 4 = 2,36 A.
My 18650 batteries have 3,4 A/h so the run time is:
3,4 : 2,36 = 1,4 hour.
I've bought a RF dimmer and can smoothly change the power. On 50% it lasts more than 3 hours.
Step 3: How to Place Carbon Tape
I put the tape zigzag to uniformly heat up. Under the carbon tape put iron-on hemming web tape.
Gently press the carbon tape with an iron that is stuck to the fabric.
As you can see, I used only four pieces of carbon tape (two for front and two for back). You can make your oun drawing to better heat where you need it. For example, you can use 6 pieces of tape to make the heat more evenly.
Step 4: How to Connect Carbon Tape
Sew the wire. Strip the end of the wire and twist.
Apply a little silver glue on the end of carbon tape. Attach the wire at the top and sew it tight. Apply the silver on the tape and wire. Allow to dry 30 minutes and apply silver again to make contact more reliable. Connect the RF dimmer if you would like make it dimmable.
Step 5: Cover the Carbon Heater Tape
The carbon tape is an open wire. To avoid short-circuiting the tape needs to close with some insulator, for example, another cloth.
Put on top the second trousers. Make a little hole for the connection wires and put them out.
Sew legs and beits together.
Step 6: Power It!
You can just put the battery in your pocket, or use the velcro and stick it to the belt.
DIY carbon heated trousers ready. Click on the button and you will be warm and comfortable in any cold!
Step 7: That Magic Carbon Tape
Will be soon...


