

Introduction: DIY Arduino Hexapod


Hi there,
in this instructable I'll show you one of my projects which I had through my high school. I'll be making construction for hexapod, all parts were made with CNC and programs are written by hand, no CadCam software.
Program is in the making so I won't be referencing to it in this instructable.
You may find confusing that some parts are on different language( Croatian) but I think you'll get it which part is which. Anyway, you'll find all necessary documentation to write your own G-code or draw whole hexapod by your self.
Software in which I draw is Solidworks 2015.
For a whole assembly of this hexapod you'll need:
-18 servo motors (mg995 are used here)
-bluetooth module for arduino (hc06)
-arduino mega
-smartphone
-some jumper wires
- 5V source
Step 1: Machine


For CNC milling I used Emco concept mill 105 CNC, program and simulation was made in WinNC.
When programming I used multiple passes moving Z axis 2mm lower each pass, otherwise plastic can't go out and it starts melting.
Step 2: Legs


Legs are made from few parts , they are shown in pictures above. It was quite a interesting project, it turns out that milling through plastics is not so easy as it may look like. the problem is, if you don't have right parameters plastic will begin to melt and then you will have chaos.
These two plates which holds servo motors are made together because of manufacturing approach, it was much easier and economical to make two part with one process because I already had plates of specific dimensions.
There are some descriptions in pictures, programs which I used are attached here.
Attachments

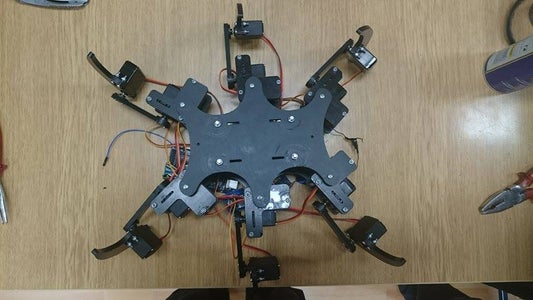
Step 3: Assembly


Step 4: Bottom and Upper Plate


These plates were made with larger CNC (Spinner) because current CNC had too small gait and I couldn't attach these plates.
Process was next: first thing I did is drilled four 5mm holes, after that I used a wooden board which I attached to vice and used as attach plate for hexapod plates, through 5mm holes I screw 4 screws who held it fixed, after that I made all other contours.
Step 5: Documentation- PDF
Here is all documentation which you need to make one hexapod, I hope that it helps, and please ignore language(Croatian), but you can always use google translate for it . :)
Attachments

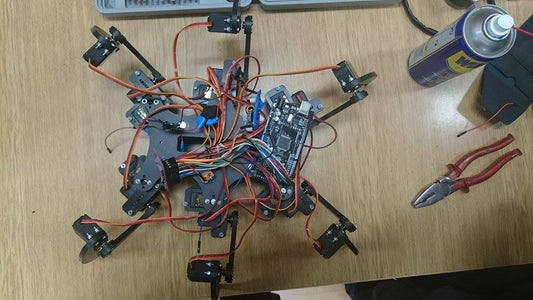
Step 6: Electronics

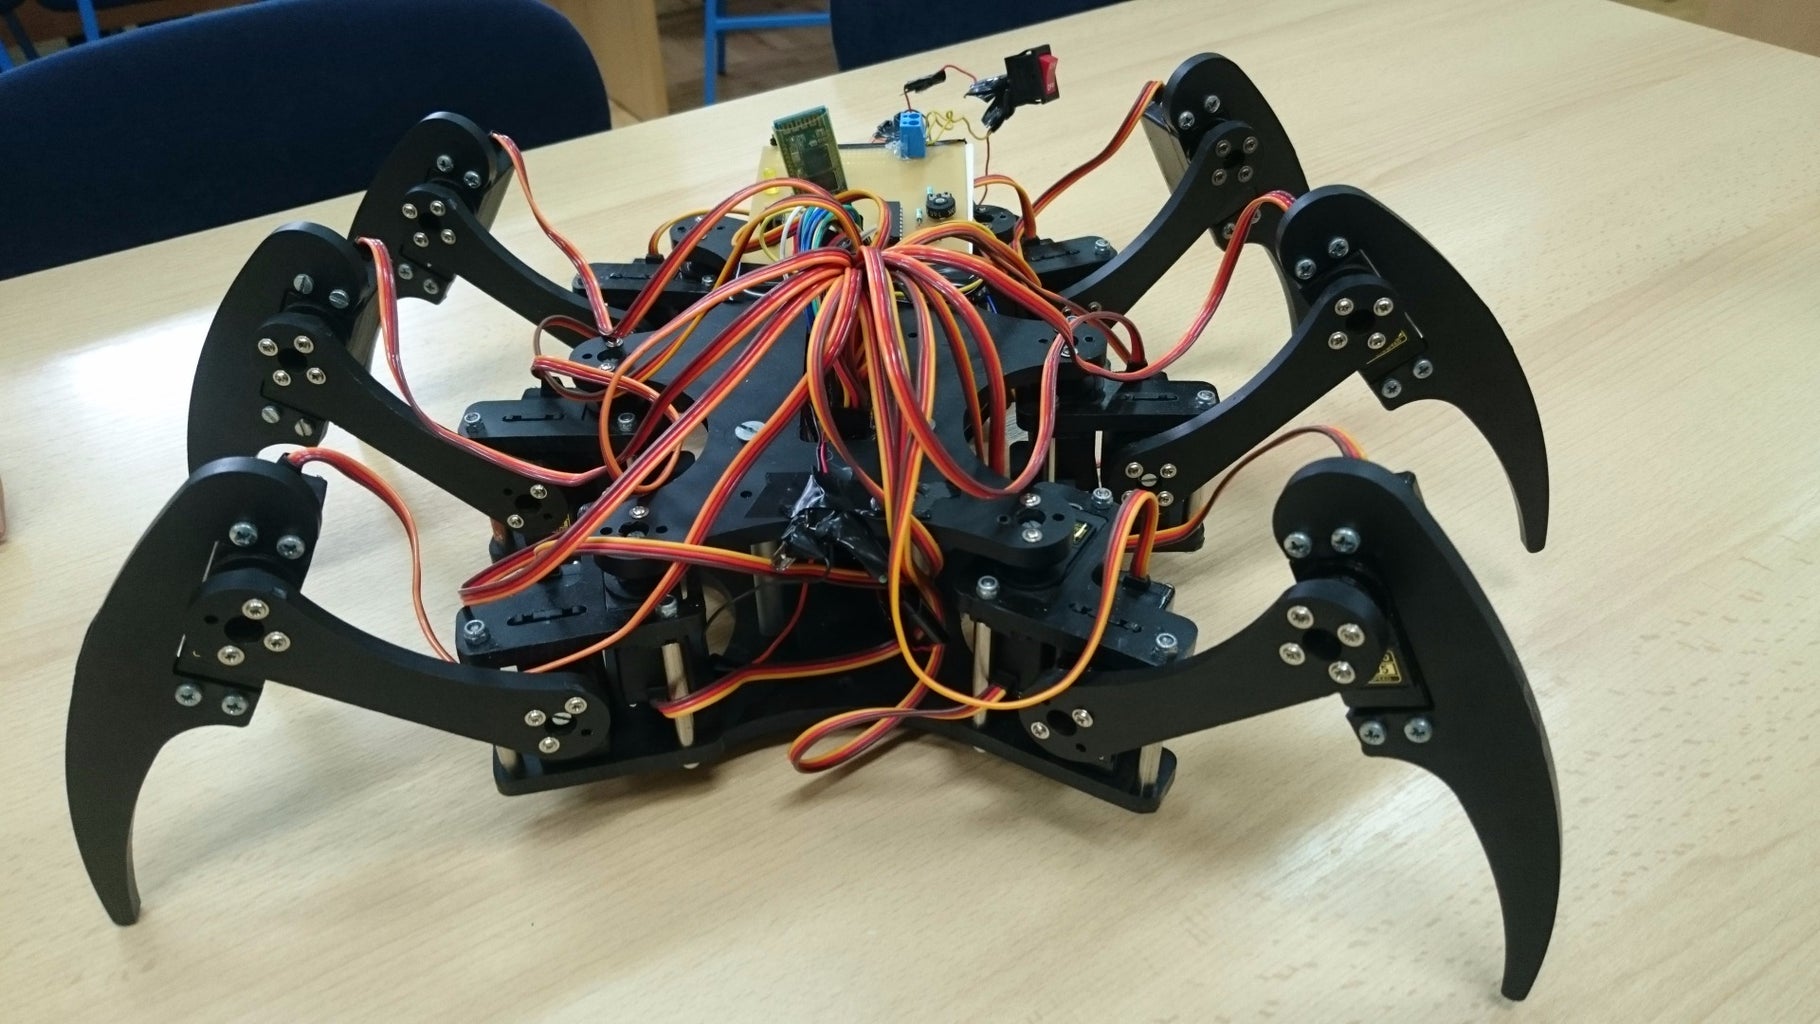

If you want to know where are servo motors connected, take a look at beginning the program which is attached below , connection principle is basic, red wire to 5V, yellow to signal, brown to GND,and repeat that 18 times.
Step 7: Program:
For now there is program only for walking forward, back, turning left and right, there is no mathematical model of robot, walking is programmed by direct reading of written coordinates of motors. These coordinates my not work with your configuration in case you want to replicate this project because we may not have the same end positions of motors.
From controlling this hexapod I used an app from google play: https://play.google.com/store/apps/details?id=brau...
It's simple and good program, so why not to use it, although, I made same application with App inventor, but this one has nicer aesthetics. :)
Attachments
Step 8: CAD Files
Here you can download CAD files in case you'll make this project or some changes, there is always some space left for upgrading. Software which I use for drawing is called Solidworks 2015 and in case you need some other formats, please let me know in comments bellow.
Step 9: The End:
Here is presentation video, this hexapod still needs to be upgraded to better, it would be great if arduino would have mathematical model of this robot, then you could do miracles with it. :)
Thank you for your attention, feel free to vote if you liked it! :)

Participated in the
Mind for Design

Participated in the
Move It


