

Introduction: Drill Press Drum Sander


Turn your drill press into a drum sander by making your own spindles to hold sandpaper. This easy afternoon workshop project is great for sanding inside a concave curve, a difficult task for belt or random orbital sanders.
I challenged myself to build this using modest tools that most would have in their garage, thinking "if you have a drill press already, then you've probably got the tools on hand to make this".
The best part about this drum sander design is that the sandpaper is interchangeable, held in place by a removable pin so you can change sandpaper grits easily.
I made this spindle in about an hour. Making a few different diameter drums allows all kinds of curves to be easily sanded.
Ready to convert your drill press into a sanding station? Let's make!
Step 1: Supplies

Depending on your workshop setup, you might have most of these items already on hand. If not, I've supplied links on where to get them inexpensively.
- Hole saws
- Threaded rod (¼" - 20 is a very common thread)
- 2x nuts matching threaded rod
- Large washers
- Steel rod (any small diameter size)
- Scrap plywood (any thickness)
These drums can be any side based on whatever your need / hole saw you might have on hand. The one I show here is 2 ½"
Step 2: Cut Drum Discs

Clamp your scrap plywood to the drill press and insert the hole saw into the chuck. Drill out a few discs from the plywood with the hole saw. The height of the drum will be the total height of the plywood discs when stacked on top of each other.
The height of your drum spindle can be whatever suits your needs. Mine was about 2" tall when all the discs were stacked, which was plenty for my needs.
Step 3: Sand Disc Edges

Hole saws can leave ragged edges on the discs from being cut out. I used a 120 grit sandpaper to clean up the faces on each disc to create a smooth surface for gluing them together.

The rough perimeter will be cleaned up a little later. For now, a smooth face is all that's needed to make a good bond between each disc.
Step 4: Glue Discs

To help keep the discs aligned when being glued together we'll use the threaded rod through the center opening of each disc. Load the threaded rod into a power drill chuck and hand tighten. With the drill in the clockwise (forward) direction press the trigger and insert a wood disc.
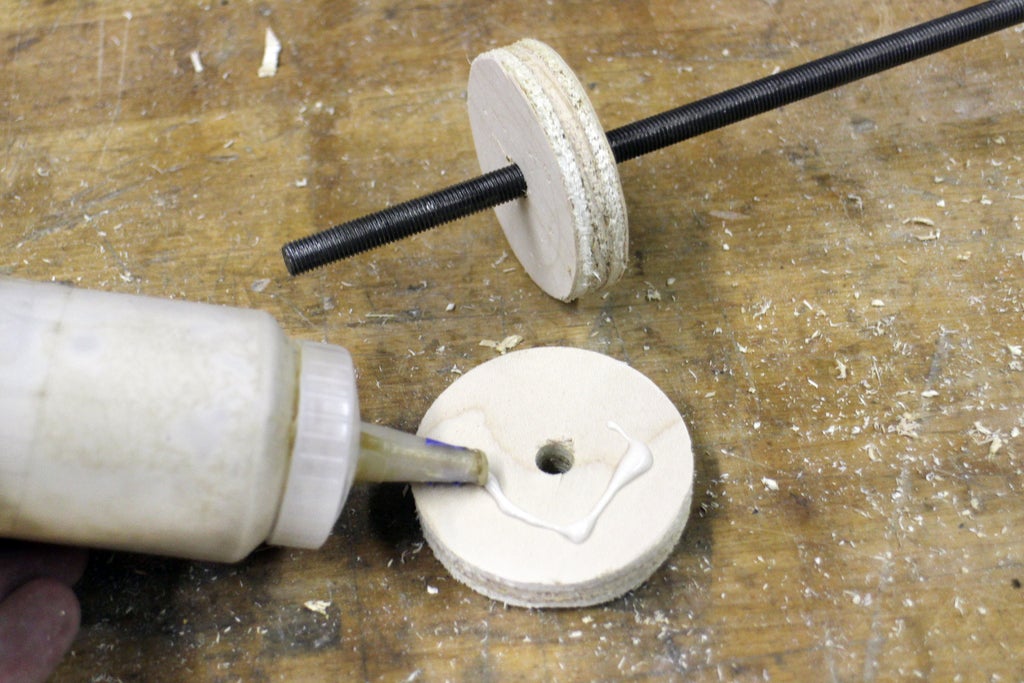
Add a dab of glue to another disc and feed it onto the thread rod until it is snugged up against the first disc.
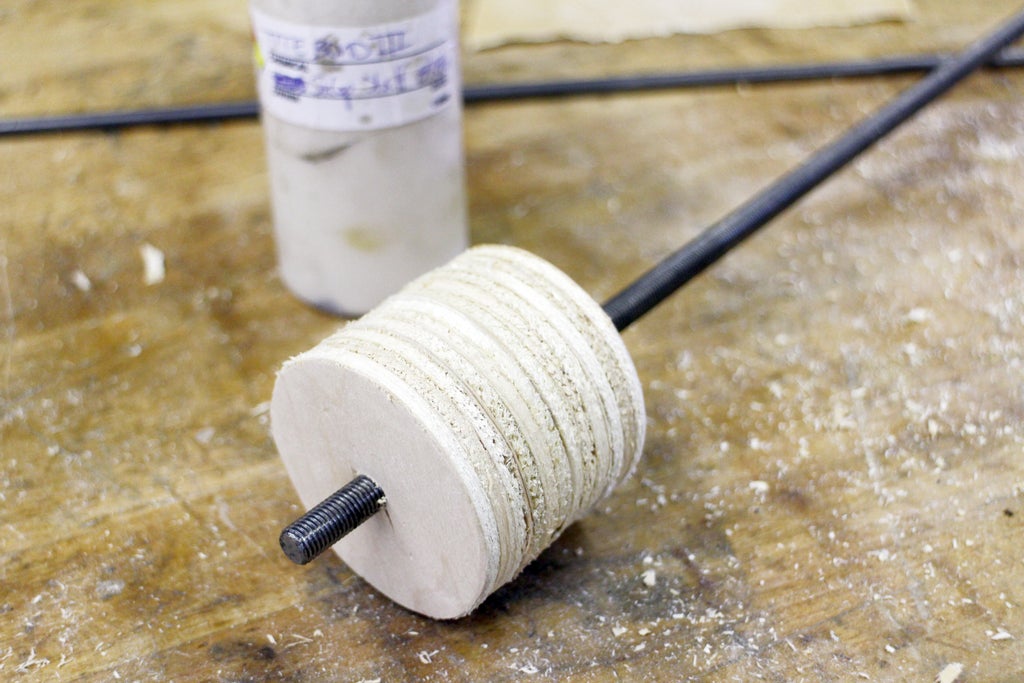
Repeat this process of gluing and feeding onto the threaded rod until all discs are on the rod and snugly together. This will be the drum of the sander.
Step 5: Remove Drum Glue-Up

Clamp the glued discs together. Switch the power drill to counterclockwise (reverse), hold onto the glued discs and pull the trigger to unthread the entire drum from the threaded rod.
Leave the drum glue to dry completely so the center opening stays registered.
Step 6: Cut Rods

While the glue is drying, cut the threaded and steel rod to length. The threaded rod will be the shaft the drum rides on when inserted into the drill press. You'll need a length long enough for whatever the drum height is, plus a ½" on the bottom of the drum for a retaining nut and about 2-3" above the drum for the second retaining nut and enough shaft to be inserted into the press chuck.
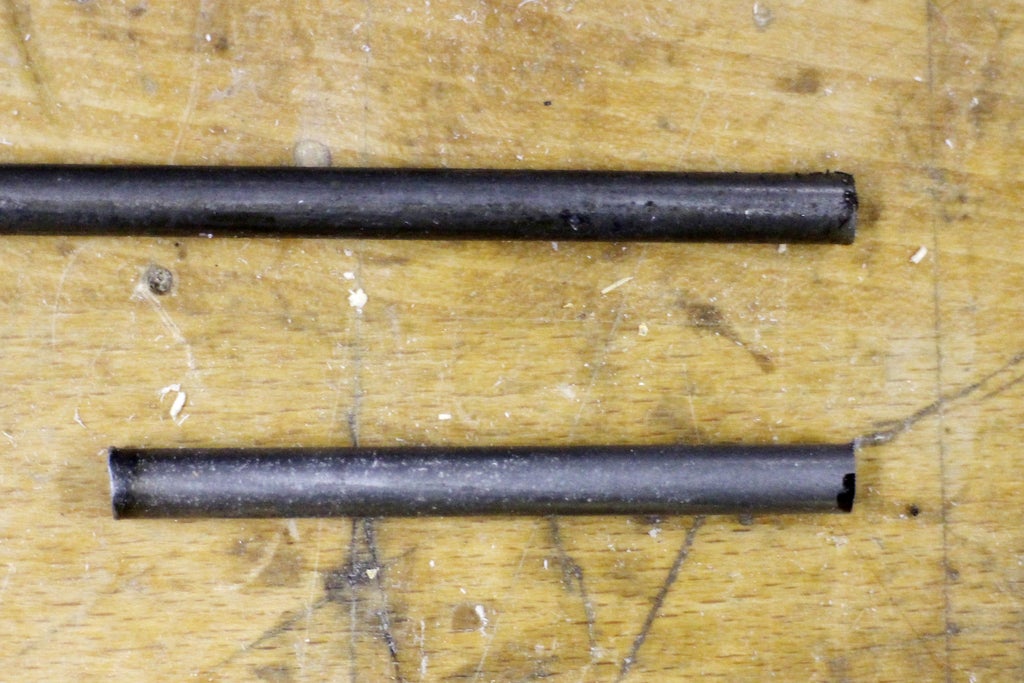
The steel rod will be the pin that holds the sandpaper inside the drum, and will need to be about ¼" longer than the height of the drum. This additional height will leave a portion of the pin proud of the drum top and allow the pin to be grabbed and easily removed when changing out sandpaper.
Use a cutting wheel on a rotary tool to cut both the threaded and steel rod to the appropriate length.
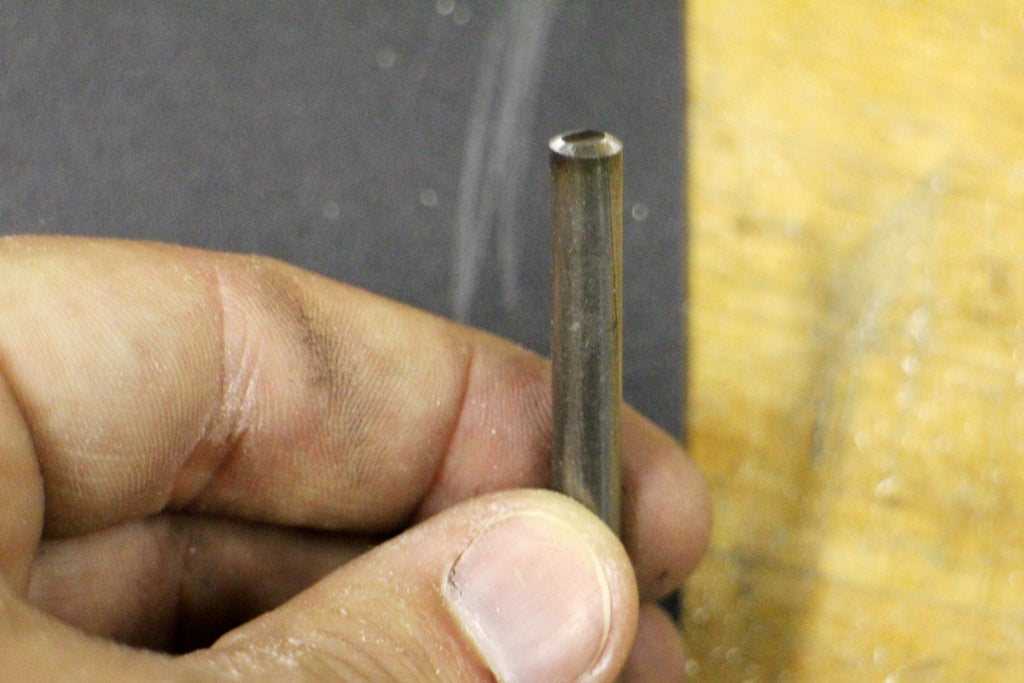
Since this pin will be removed from time to time, the edges were given a chamfer to allow the pin to be easily inserted back into the opening without getting caught on any edges.
Step 7: Drill Pin Opening

When the glue-up of the drum is complete the pin opening can be drilled. Chose a drill bit that is slightly larger in diameter from the steel pin. This will allow for the thickness of the sandpaper inside the opening and still allow the pin to be easily inserted.
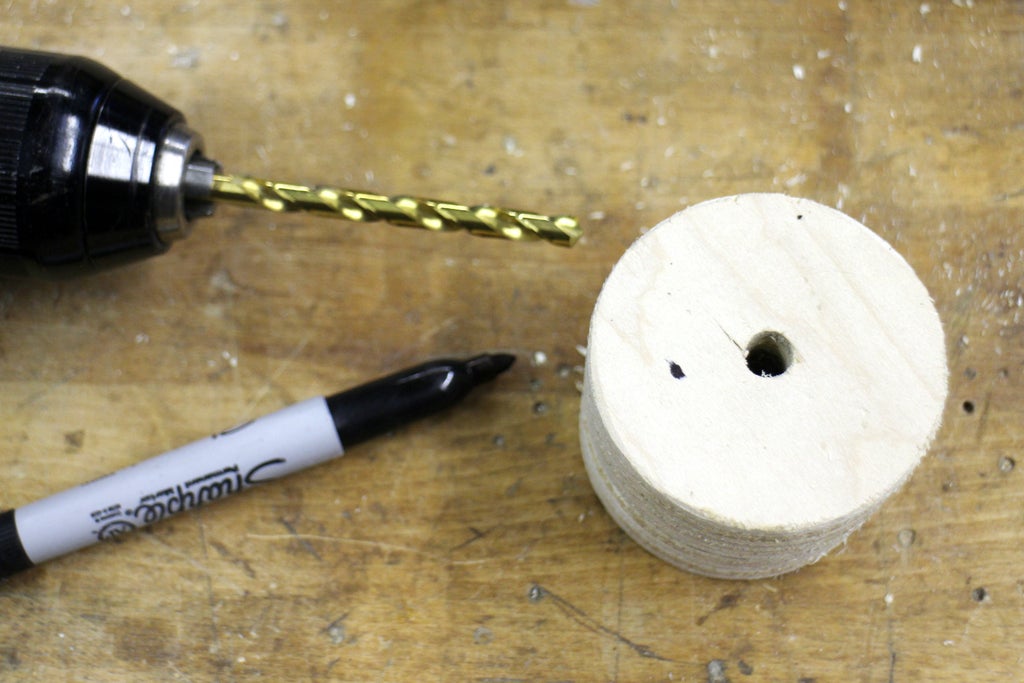
I made a mark on the face of the drum about halfway from the center opening to the outer perimeter. An approximate distance is fine here.
Step 8: Drill Pin Opening

Clamp the drum securely in the drill press and drill the marked opening through the entire drum.
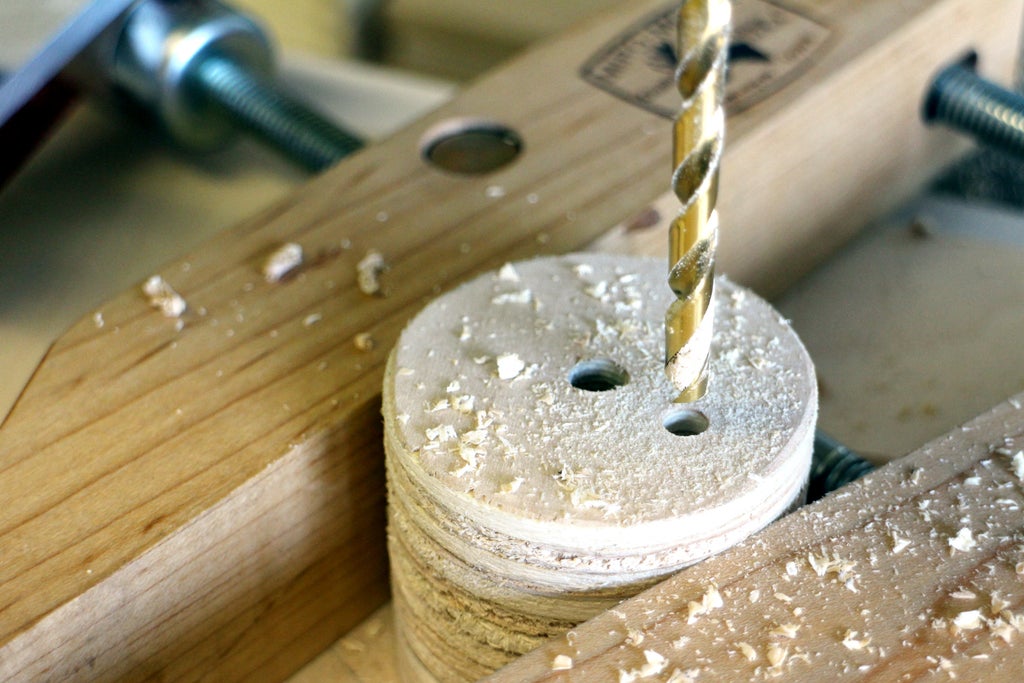
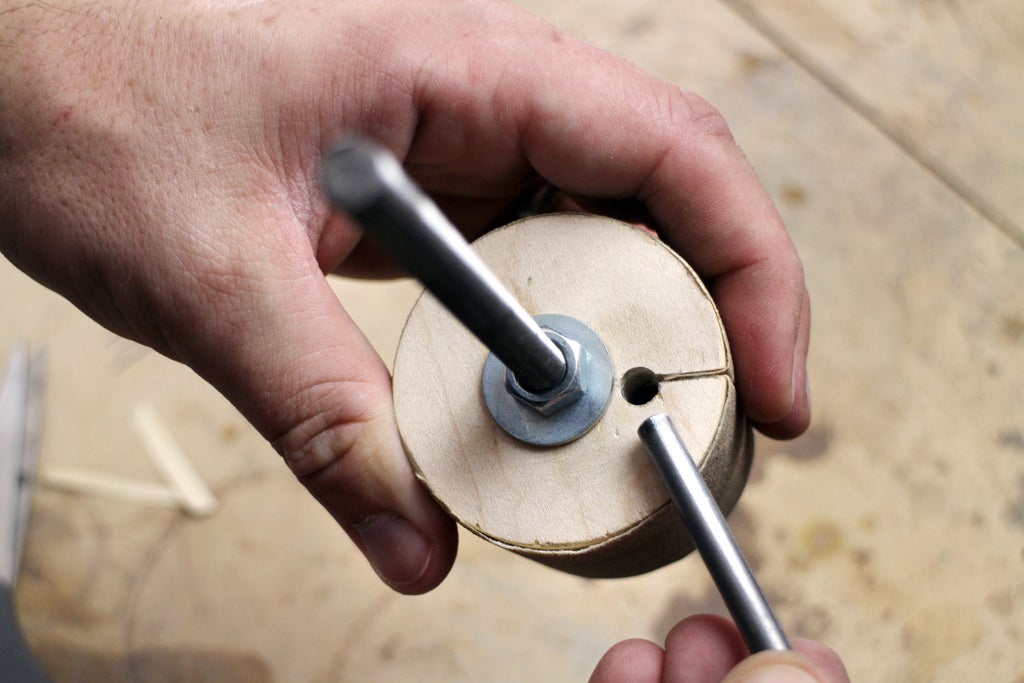
Test the pin in the drilled opening. The pin should easily slide into the opening and have a fair bit of play when inserted. This play is to accommodate the thickness of two sheets of sandpaper, which will be smushed into this opening later.
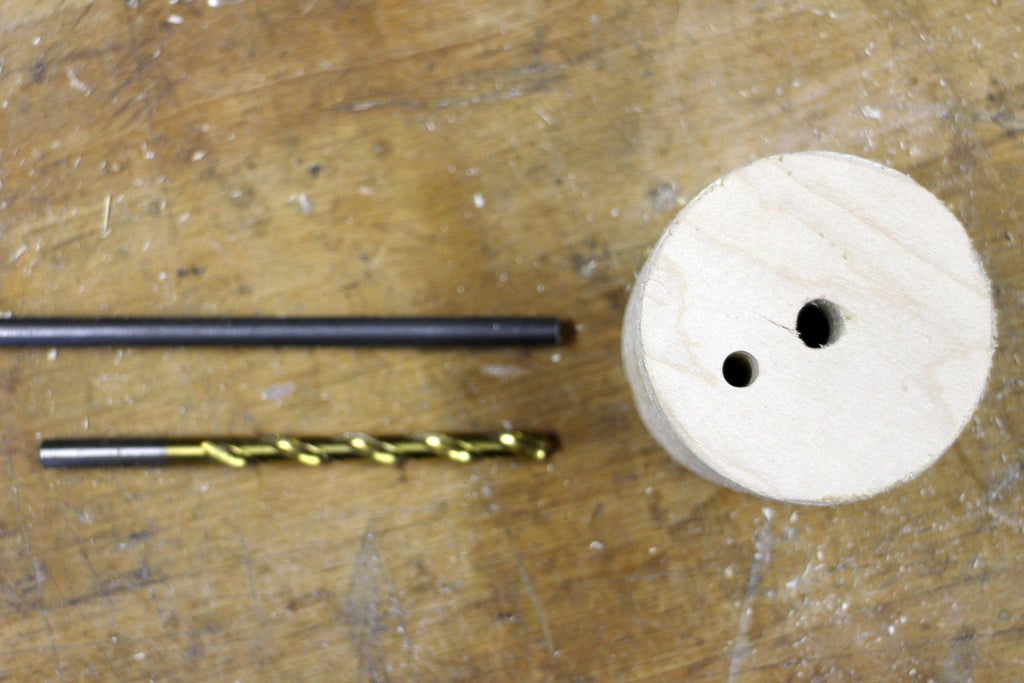
To prevent over-sizing the opening stop when the opening is just larger than the pin, you can always come back later and enlarge the opening.
Step 9: Saw Sandpaper Slot

Once the pin opening is drilled make a line down the side of the drum that will connect the two ends of the opening. This will be the slot that the sandpaper will be held in once it's wrapped around the drum.
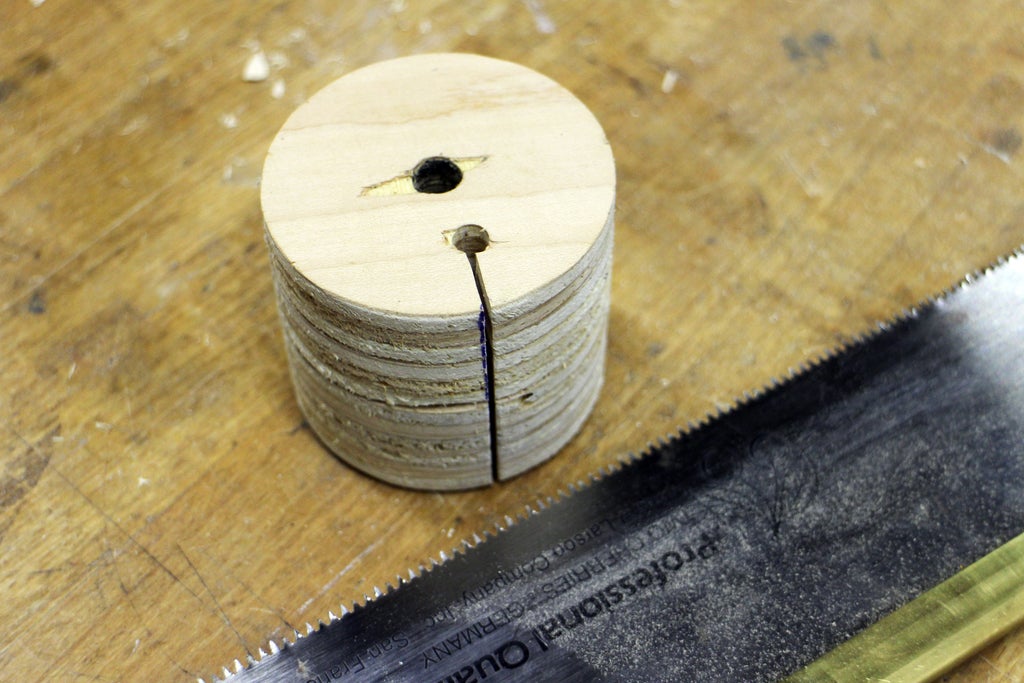
Securely clamp the drum with the drawn line facing upwards. Use a handsaw to cut through the side of the drum until connected to the drilled pin opening.
Step 10: Square Drum

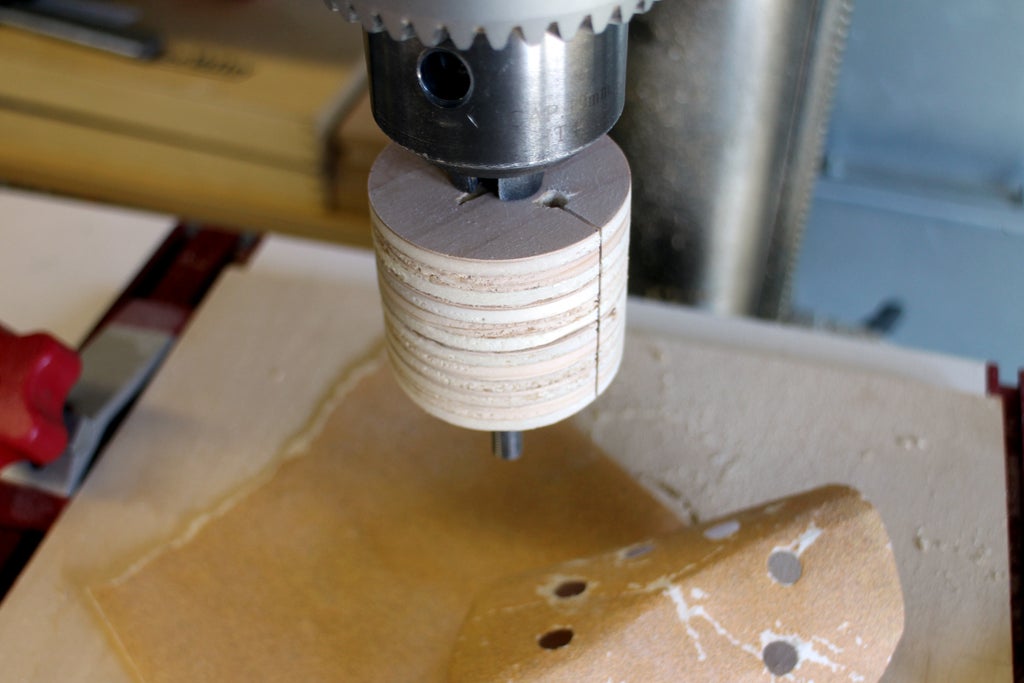
Load the drum back onto the threaded rod and insert the threaded rod into the chuck of the drill press.
To square up the rough edge of the drum we'll use the drill press to spin the drum while we smooth out the edge surface with a rasp and sandpaper.
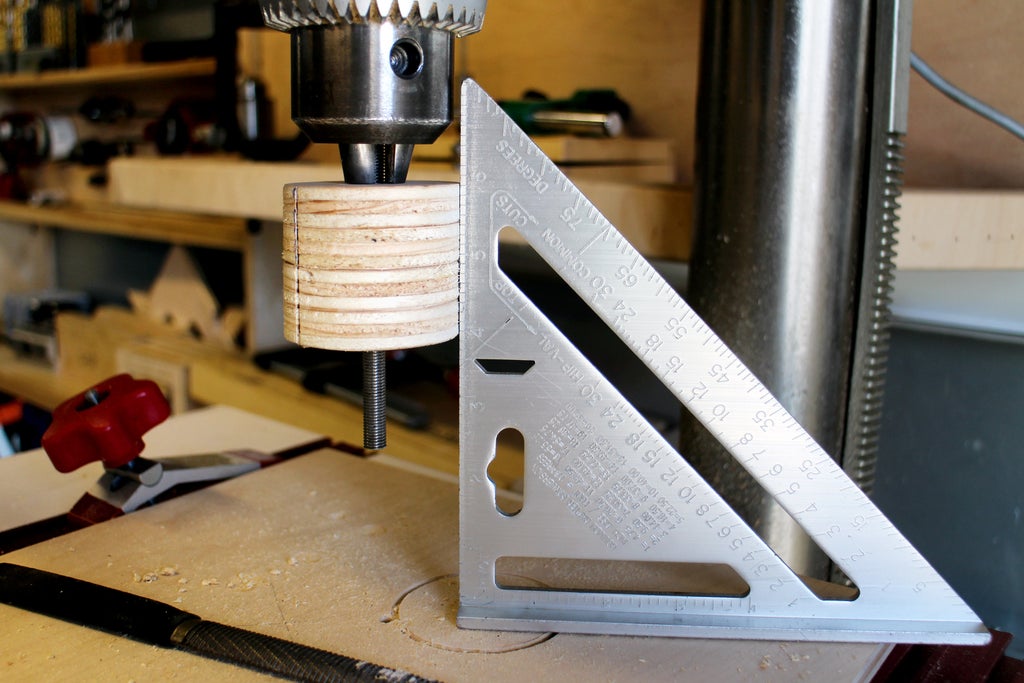
Spin the drum on a low speed and gently push the rasp against the drum edge edge to smooth out any high spots and create a uniform surface. Turn off the drill press and place a speed square on the drill press table and move it against the side of the drum to check for squareness, rotating the drill chuck by hand to inspect the entire drum circumference.
Once squared smooth the rough surface with sandpaper, moving from rough to fine grits. Here's a lesson all about sanding, if you want to know more.
Step 11: Assemble Drum

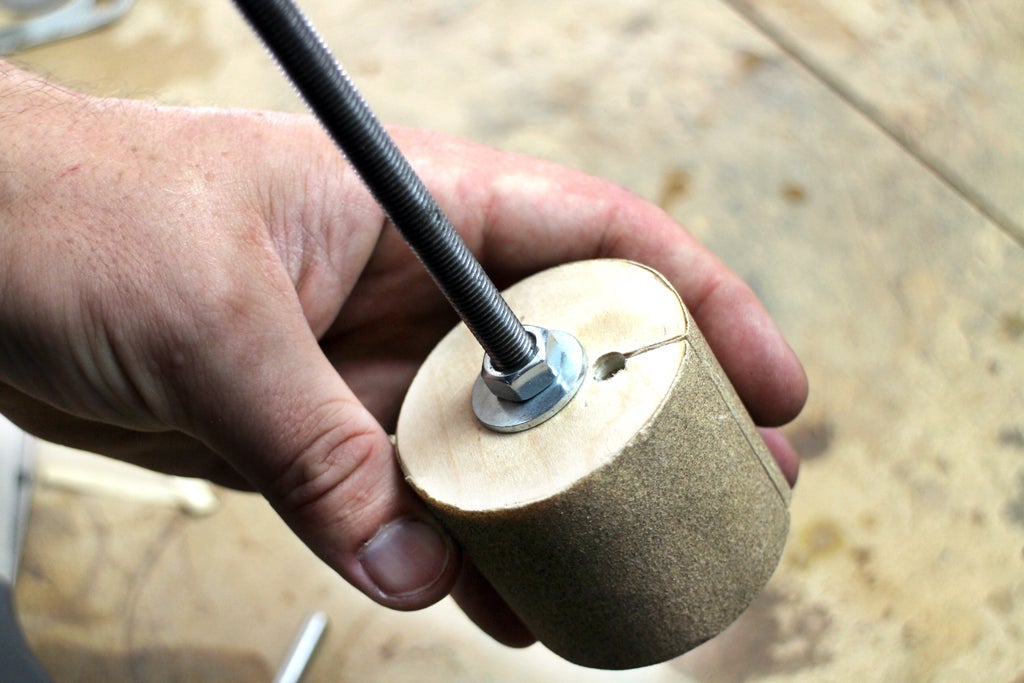
To assemble the drum sander insert the threaded rod into the chuck of a hand drill and hand tighten. Press the drill trigger to thread on a nut to about halfway up the rod. Add a washer then thread on the wood drum. Finish by adding another washer and then a nut to complete the drum assembly. Use a wrench to keep the nuts snug and secure the drum in place. Remove drum assembly from hand drill.
This style of drum sander can accept any grit of sandpaper, you just need to cut the paper to fit. The first time you install sandpaper will take a little trial and error to get the fit just right, but once you have it you can use that fitted piece as a template for all future sandpaper inserts.
Measure the height of the drum and transfer that measurement onto the back of the sandpaper, then cut along the back of the sandpaper at this line to make a sandpaper strip. Insert one end of the sandpaper strip into the slit and then wrap the sandpaper around the drum, rough side outwards.
Insert the other end of the sandpaper strip into the same slot until both ends are fully inside the drilled opening. Smooth out the sandpaper strip against the drum and feed any slack into the drilled opening. The sandpaper strip should be taut.
Insert pin into the drilled opening to trap the sandpaper strip ends and lock them in place. This opening is deliberately drilled oversize to accommodate the addition of the sandpaper strip. If you can't force the pin through the opening you may need to drill the opening slightly larger.

With the pin fully seated in the opening the sandpaper is locked in place.
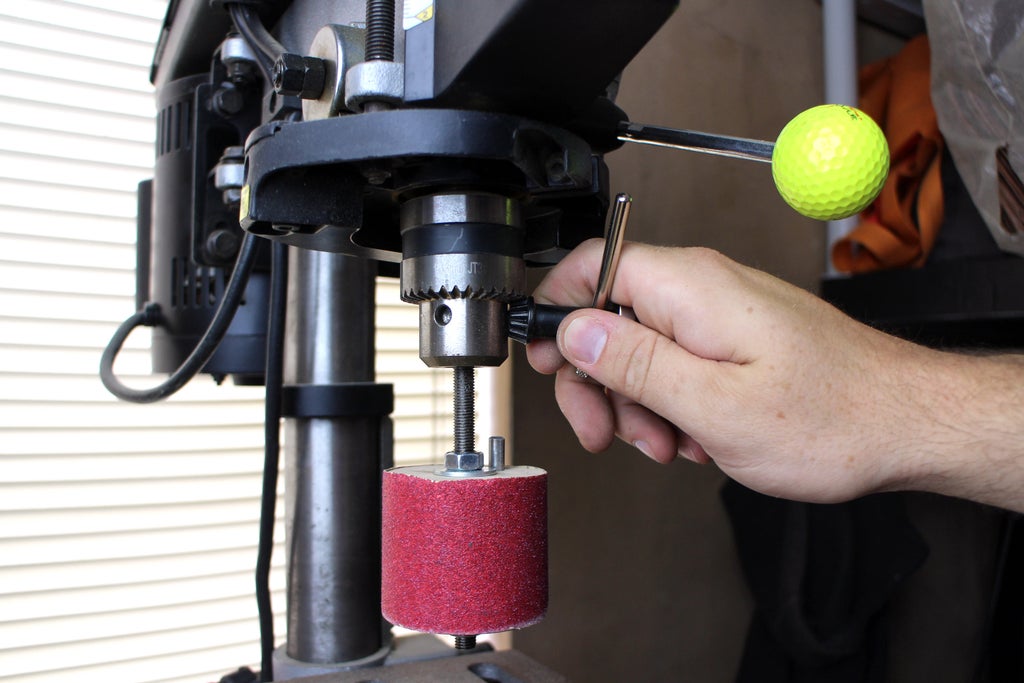
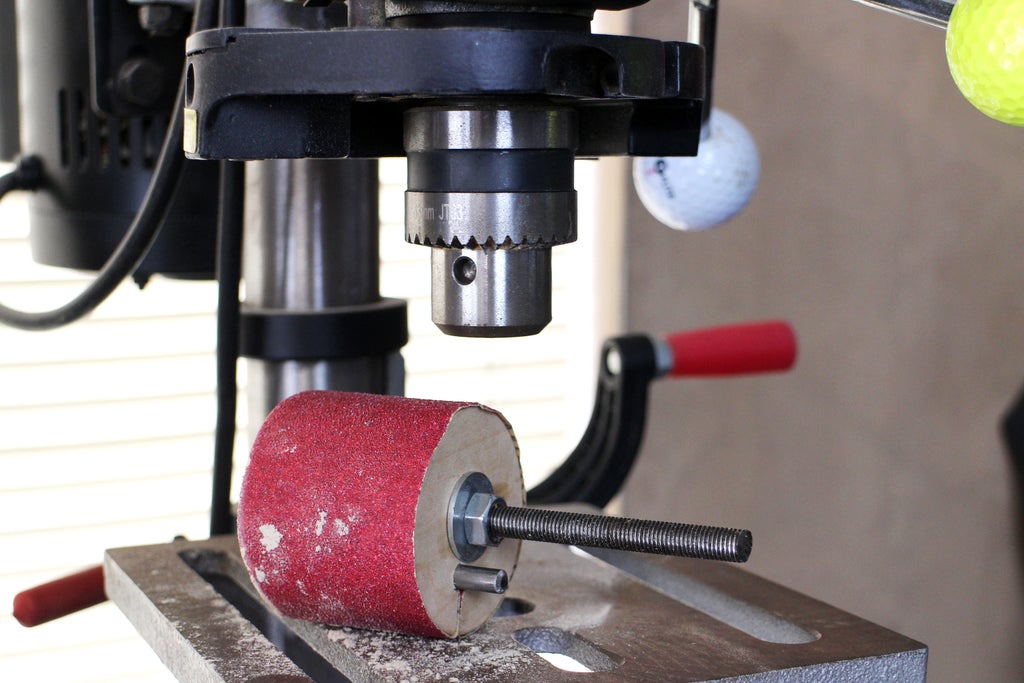
Step 12: Insert Drum Into Drill Press

Insert the drum into your drill press and use the chuck key to tighten the chuck onto the spindle of the drum. If your spindle is too long the drum can start spinning asymmetrically, which is dangerous. I wouldn't advise any more than 1" in length between the chuck and the top of the drum, less if the drum is longer.
Raise the drill press table up so the bottom of the sanding drum is close (but not touching) the drill press bed.
Step 13: Start Sanding

Start sanding! Since there is a small gap between the bottom of the drum and the drill press table, make sure to place a small piece of plywood under the piece you are sanding to raise it up off the drill press table and fully engage with the sanding drum.
Drum sanders are great for getting into tight spaces to sand where a belt or random orbital sander can't. With this method to make your own sanding drums there's all kinds of specific diameters to make, and all can fit whatever sandpaper you need.
Happy making :)
Did you make your own drill press drum sander?I want to see it!
Happy making :)

Participated in the
GIFs Challenge 2017


