

Introduction: GETTING STARTED WITH ARDUINO #5


Hi people!!!!!! thanks for giving support for viewing my arduino tutorials i hope you all read my previous instructables. in todays instructables i willl be dealing about controlling servo using arduino.so as always i say these tutorials are completely for the beginners who need to learn arduino from scratch.keep following me for arduino and python updates
Step 1: ELECTRONICS REQUIRED :-
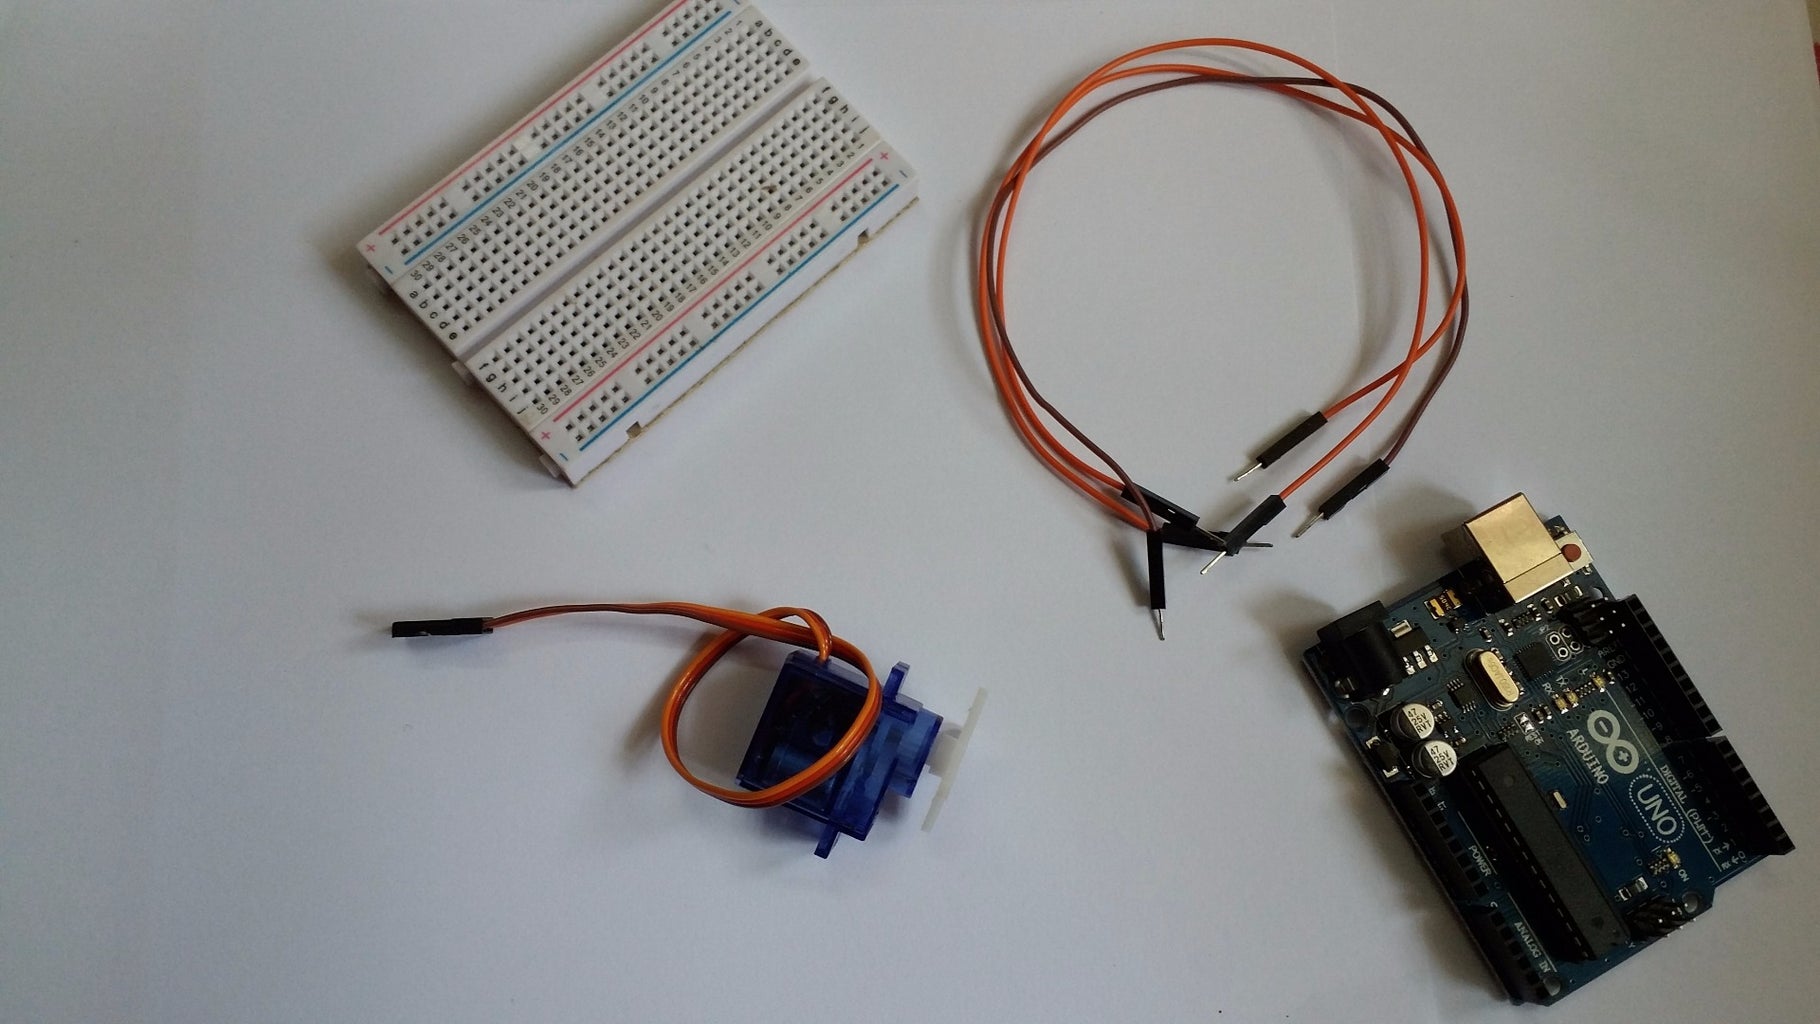
The electronics required for this ibles are :-
- Breadboard
- Jumper wire
- Arduuino
- Servo motor
Step 2: SERVO MOTOR :-
Here is an intro to What is a servo ?
A Servo motor is completely different from a normal DC motor. It consists mainly four parts: a) A normal DC motor. b) A position-sensing device. c) Gear-reduction unit. e) A control circuit. The servo has a 3 wire connection: power, ground, and signal. The power source must be constantly applied; the servo has its own drive electronics that draw current from the power lead to drive the motor. The function of the servo is to receive a control signal (from Arduino) that represents a desired output position of the servo shaft, and apply power to its DC motor until its shaft turns to that position. Now it's time to explain about Arduino UNO As I said in my previous instructables, it is simple programming platform, that takes input from sensors, switches and many devices correspondingly controlling the output device such as motors..etc So geeks this theory is enough.
Step 3: BUILDING ELECTRONICS :-


so the most easy building elecctronics is this tutorial :-
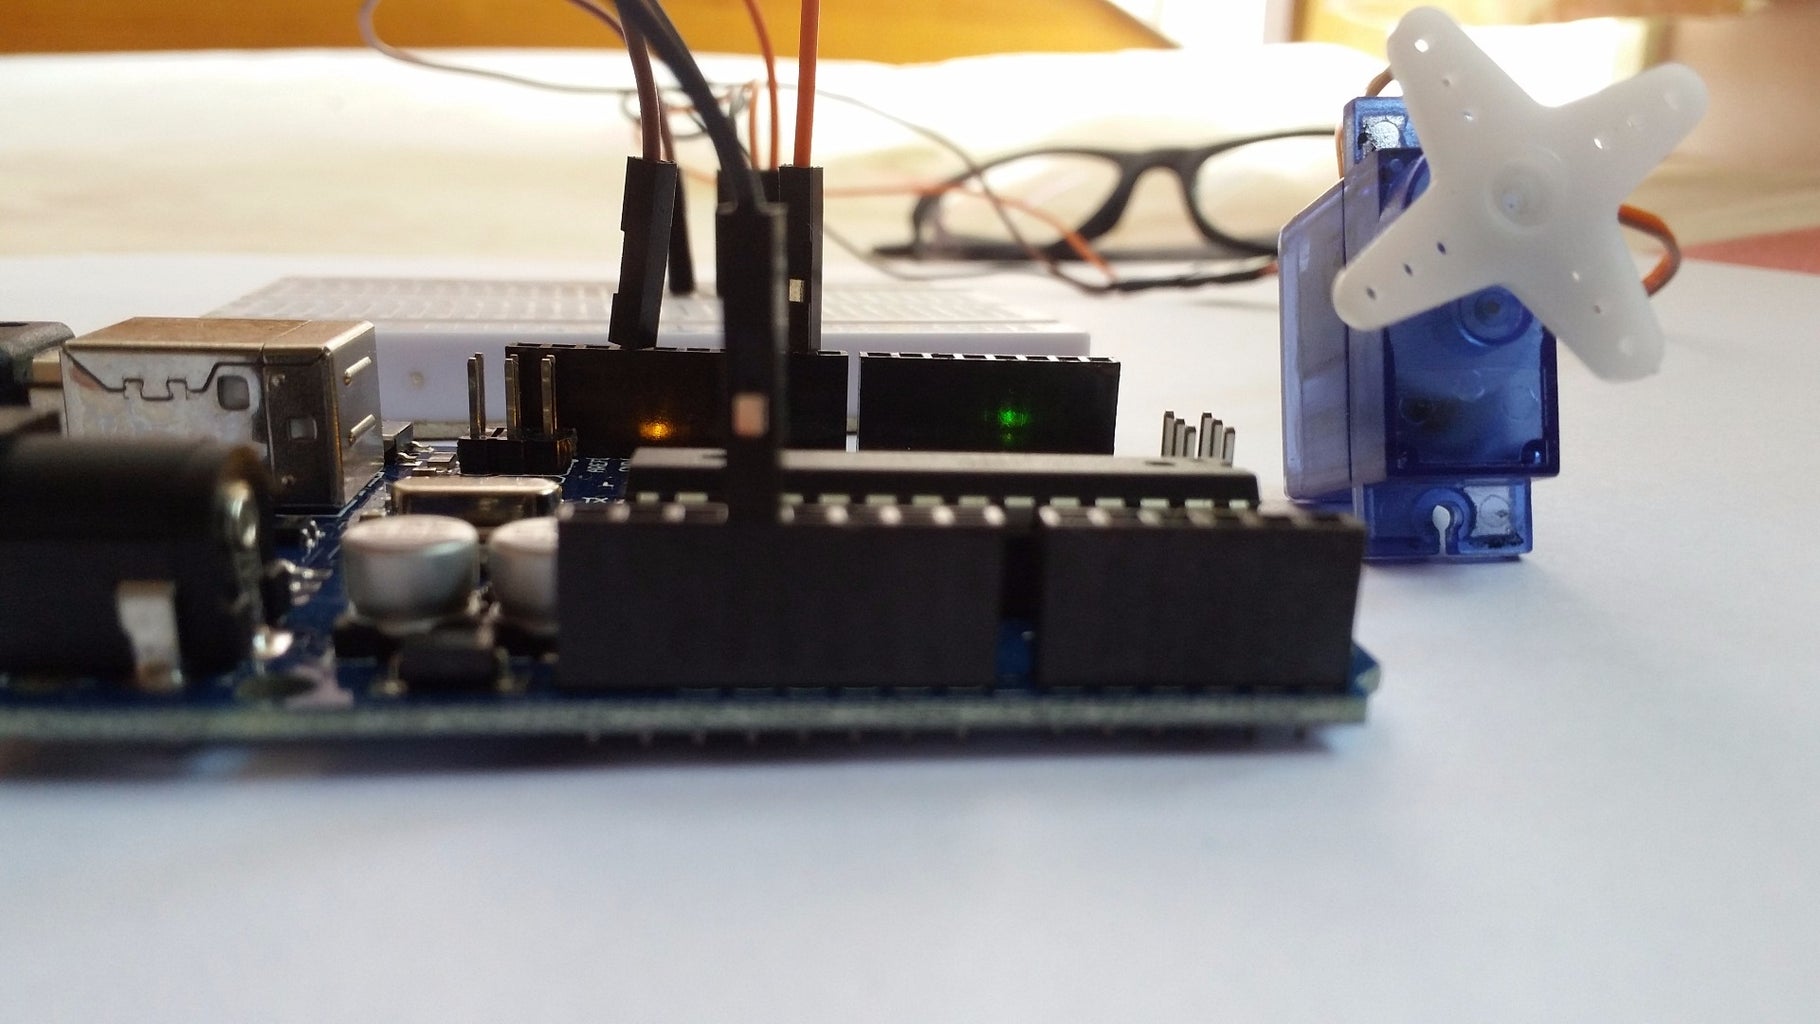
- i dont have a servo cable extension so i have used normal jumper wire to extend the cable.it is fixed on a breadboard
- then the light wire (yellow wire of servo cable ) is connected to the arduino digital pin
- the red wire of servo cable is connected to the 5v pin of the arduino
- the dark wire is connected to ground
that's it the connection is over.
Step 4: CODING :-
#include (Servo.h)//including servo library
int servoPin = 9; //digital pinto which servo is connected
Servo servo;
int angle = 90; // servo position in degrees void setup() {
servo.attach(servoPin);
} void loop() {
// scan from 0 to 180 degrees
for(angle = 45 ; angle < 180; angle++) {
servo.write(angle);
delay(1); }
// now scan back from 180 to 0 degrees
for(angle = 45; angle > 0; angle--) {
servo.write(angle);
delay(1);
}
}

![Tim's Mechanical Spider Leg [LU9685-20CU]](https://content.instructables.com/FFB/5R4I/LVKZ6G6R/FFB5R4ILVKZ6G6R.png?auto=webp&crop=1.2%3A1&frame=1&width=306)


