

Introduction: How to Make a Mini Sword (using Paper)


I started making these after I saw a friend selling paper Katanas. My first try (before seeing TheMightyMelv's video series) was pretty bad because i had no idea how to make the blade strong. After I saw the videos I modified everything except how the blade and sheath is made. TheMightyMelv's video: http://www.youtube.com/watch?v=BDgF-v5Ha3Q&list=UUuozfOF9TELwW1A5Pk1KAdA&index=36
Step 1: Materials Needed

Materials:
1 Printer paper
2 6x4 Index cards
Scissors
X-acto knife or razor
Small cutting board
Ruler
Hot glue gun
White glue
Optional:
Duct tape
Foil
Step 2: Making the Blade (Part 1-Making the Stick)


Use the pictures to assist you in the making of this sword.
1: Fold along the blue lines.
2: Unfold.
3: Put glue on each fold and refold it (one fold at a time) to create a hard paper stick (it should be about half an inch wide)
4: Put the stick under a heavy book and wait until the glue dries (after squeezing it and cleaning up the excess glue)
*tip: Make sure you squish out as much glue as you can from the blade and cleaning it off to make it flatter.
Step 3: Making the Blade ( Part 2-Shaping the Blade)


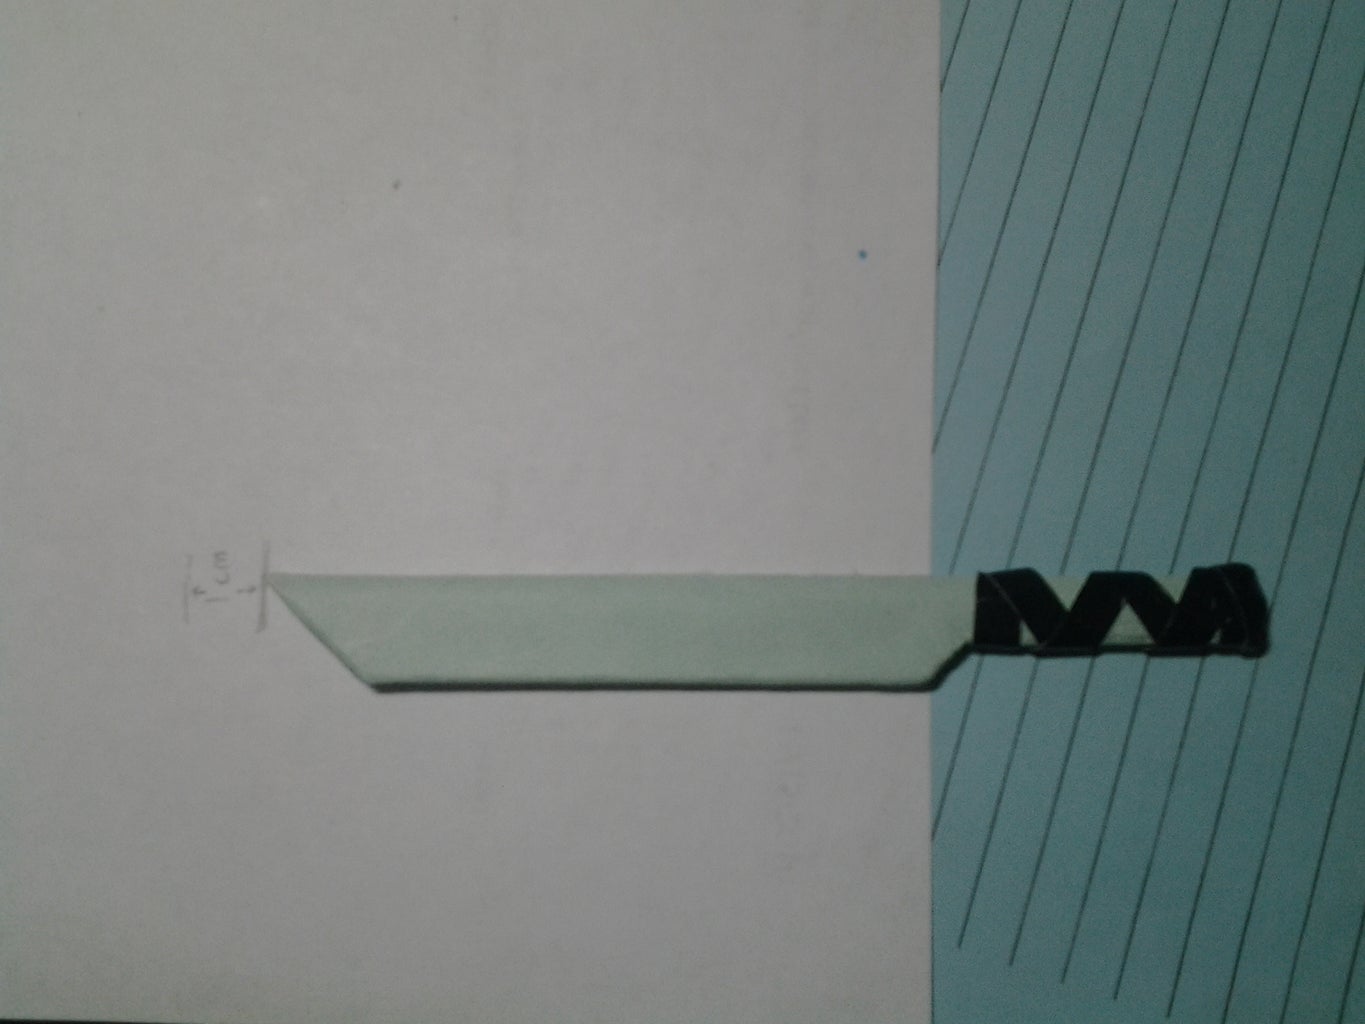
1: Cut the end of the stick at an angle to make it pointy.
2: Draw your handle and overall blade design lightly onto the pointy stick
3: Use scissors to cut your design out
4: to make the grip you can either draw it on or use a thin strip of duct tape.
Step 4: Making the Sheath


Sheath:
1: Lay the sword on the edge of the printer paper as shown.
2: Make sure you have a clear idea of where the blade is going to end and where the hilt will start.
3: Measure out the paper to be one centimeter longer than the blade (ONLY THE BLADE) and be sure to leave a small space for your cross-guard.
4: Mark that point on the paper and cut it out (as straight as possible)
5: Fold half a centimeter of paper down from the top.
6: Flip over the paper and do the same thing so one fold is towards you and the other fold is facing away from you.
7: Put the point of the sword under the first fold about 1/4 of an inch away from the left edge of the paper.
8: Fold the 1/4 inch of paper over the sword and start rolling it to the right.
9: After two rolls stop and check how well the sword fits (not too tightly, not too loose, but just right!)
10: After 4 rolls use the x-acto to cut off the excess paper and glue (or tape) the end of the roll.
Step 5: Making the Cross-guard


You only need a small piece of index card.
1: Fold index card twice
2: Draw the design.
3: Cut it out.
4: Glue it on with hot glue
5: Color it with marker or whatever you want.
Step 6: Finishing Touches


1: Decorate your sheath using whatever you want (I used markers)
2: For the blade you can "engrave" it and/or make it shiny.
3: You can also use hot glue to seal the end of the sheath (don't glue the wrong end like I did!)
"Engraving" the Blade
1: Using the razor, cut a simple design in the blade.
2: Pick out the inside of the design with the tip of the razor.
3: Color the inside of the design.
4: You can leave it at that or you can add foil to make it look nicer. You can use the indentation of your design as a guide to draw your design onto the foil blade with sharpie.
Making the Blade Shiny
1: Obtain foil.
2: Flatten out your foil and smooth out as many wrinkles as possible
3: Lay the blade on the less shiny side of the foil as shown
4: Fold over 1/4 inch of foil to the middle of the blade and start rolling (as tight as possible)
5: After 1 or 2 rolls use the razor to cut off the excess foil
6: Glue the flap of foil down onto the blade.
Step 7:

Participated in the
Crafting Speed Challenge

Participated in the
Cardboard and Duct Tape Contest


