

Introduction: How to Print Bumper Stickers at Home (nebsi/english Production Method)


[This describes a sticker making technique now called the nebsi production method]
There are lots of places online where you can design bumper stickers and get them shipped out to you ASAP. In small quantities this will set you back a couple of bucks per sticker. Printing your own bumper stickers is ten times cheaper and more than ten times faster.
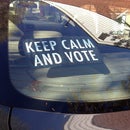
Follow these instructions to print glossy, nearly professional-looking, peel-and-stick bumper stickers. Your stickers will be removable and repositionable. Though they're weather-resistant enough to last an election season, it's practical to replace them after a week, or day, with a new message—a sticker du jour, if you will.
You can print a page of three stickers, or do a production run of hundreds to give away. Either way, your materials cost will be about $0.25 each. The labor, when you cut in stacks, amounts to only a minute per sticker.
Step 1: Tools and Supplies
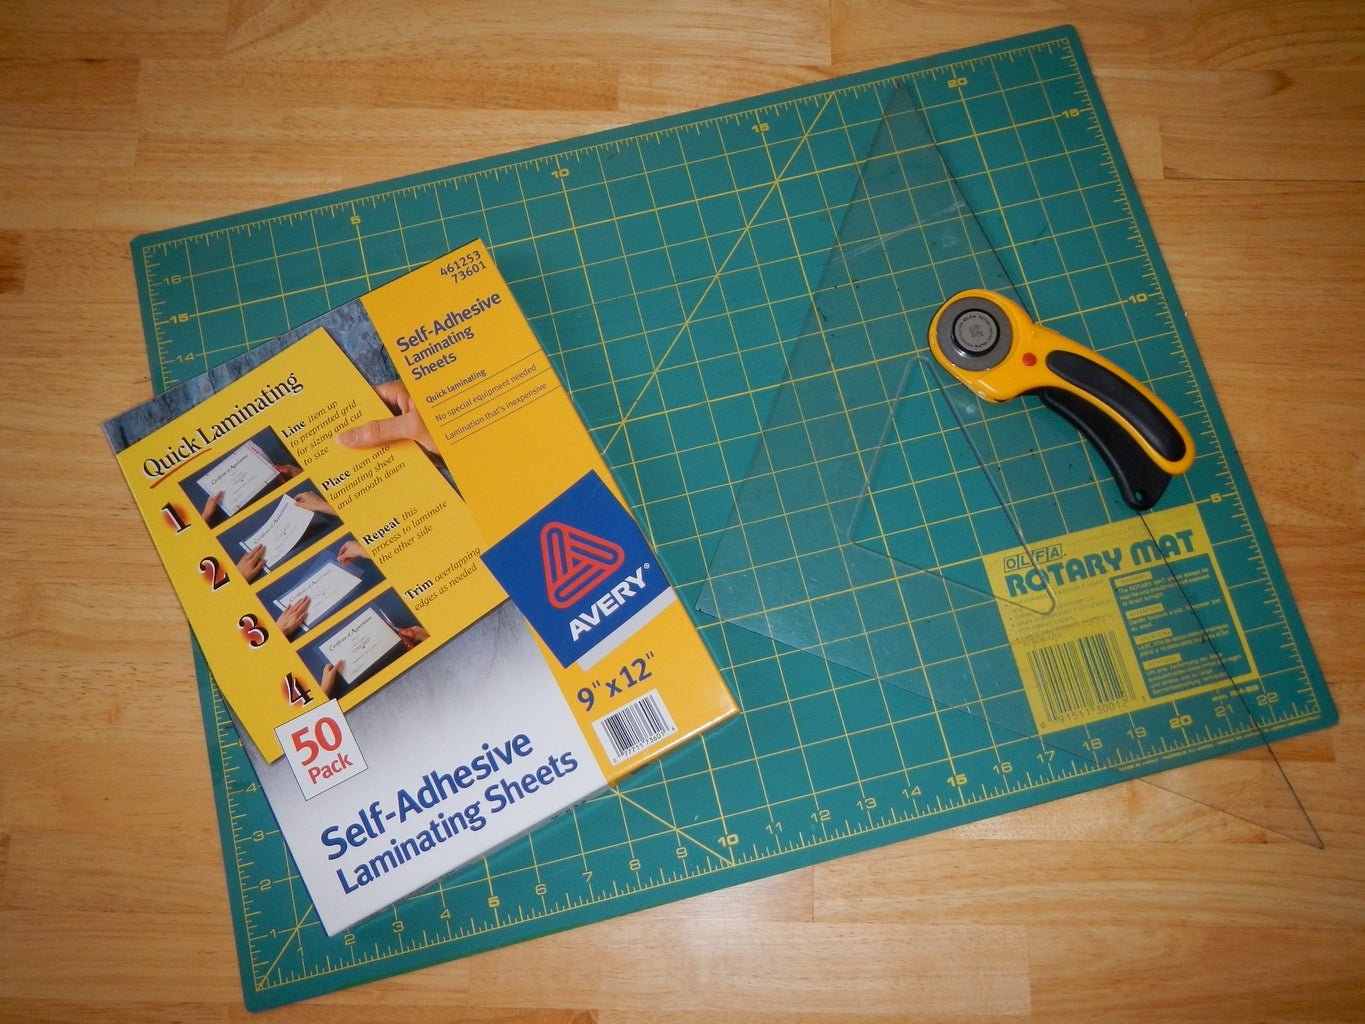
The secret ingredient is Avery #461253-73601 Self-Adhesive Laminating Sheets (look for them at your local office supplies store.) These laminating sheets are 9" x 12", and come 50 sheets to a box. A box (enough to make 150 bumper stickers) costs about $25. You probably already have the other things you need:
• Avery #461253-73601 Self-Adhesive Laminating Sheets
• 8.5" x 11" paper
• a printer
• scissors, or a paper cutter, or a rotary cutter, straight-edge, and cutting mat
Step 2: Printing
To streamline these instructions, I will assume you already have a suitable pdf or jpg file to print out. If you want to design your own sticker, the easiest thing to do is riff on the Pages files I have posted at stickerdujour.blogspot.com. You will also find instructions there for designing from scratch.
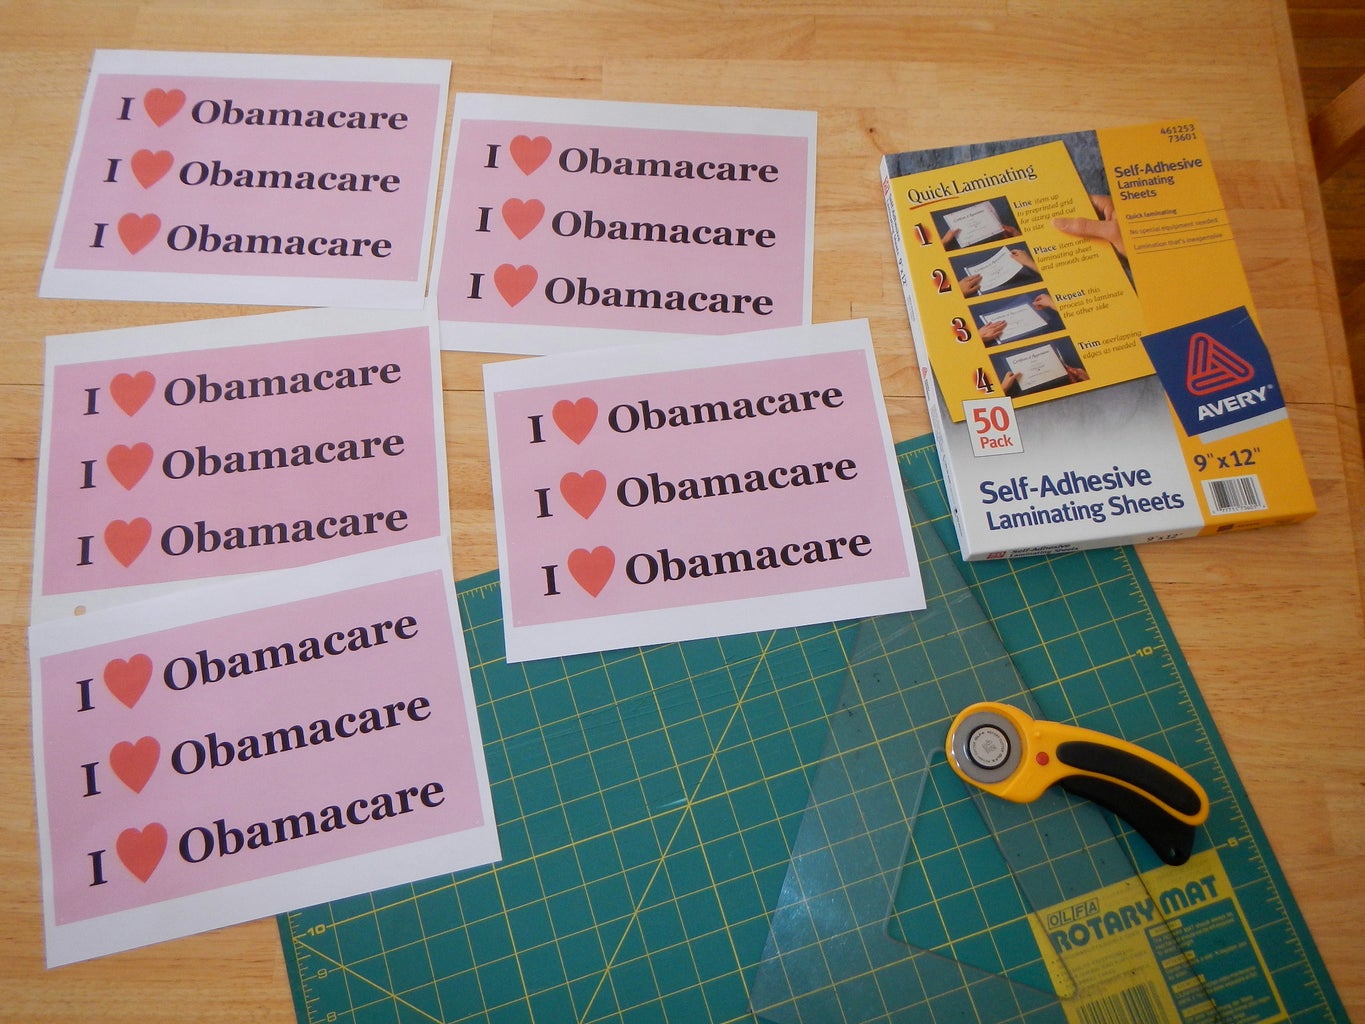
My designs are posted as 3-up (i.e., three stickers on each printed page), full-sheet jpgs. The standard mac program Preview (and many others) will print these full-sheet jpgs correctly by default, that is, the image will fill the entire printable area of the 8.5" x 11" page.
Let inkjet prints dry out for a few minutes before cutting.
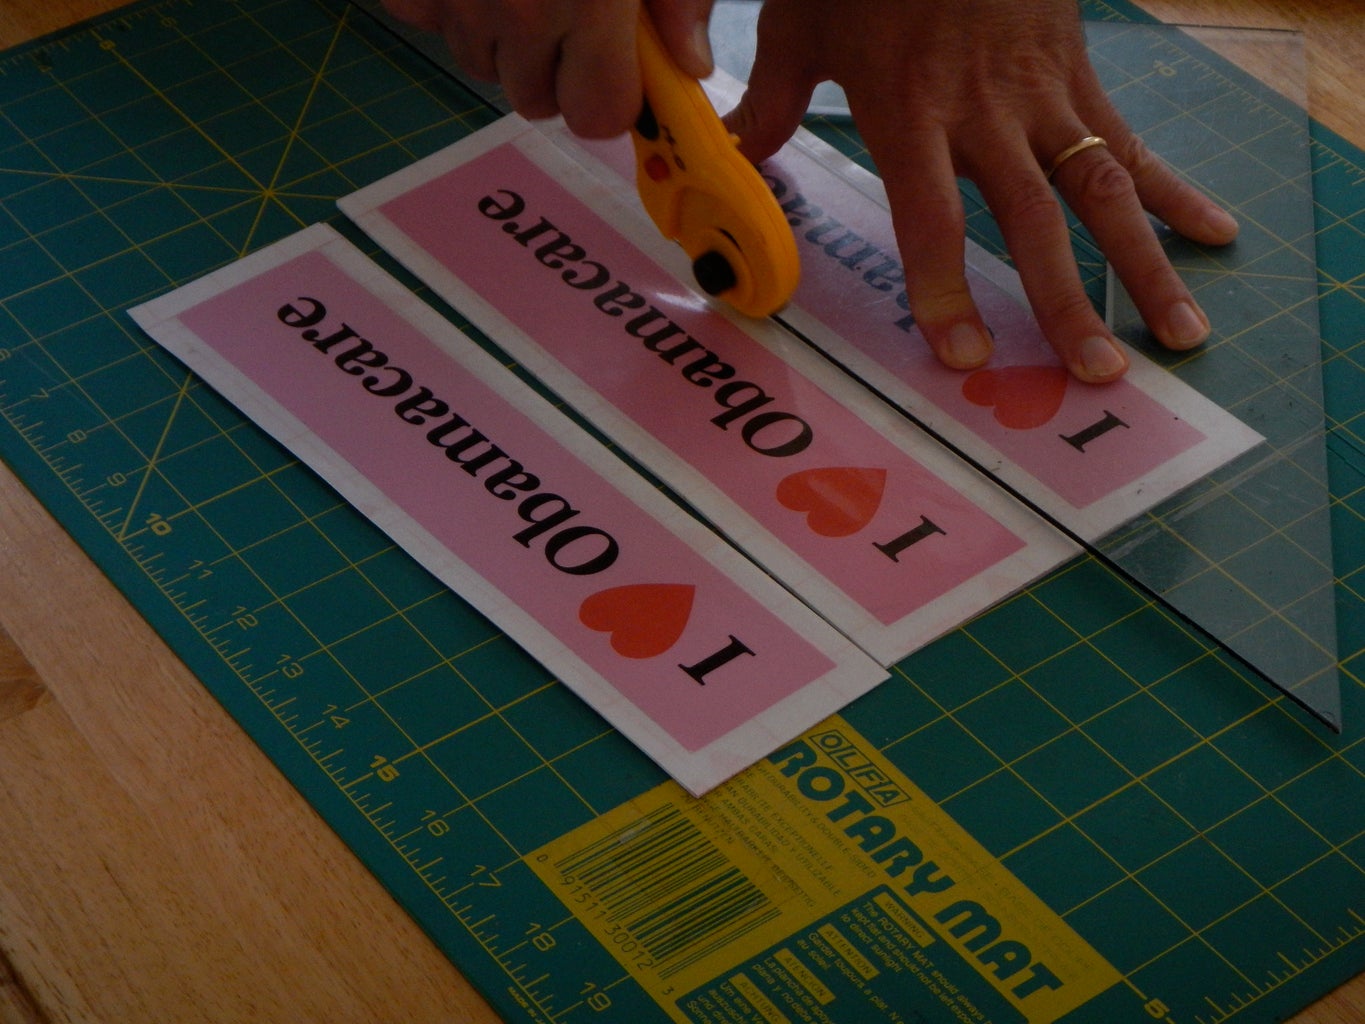
Step 3: Cut Out the Stickers

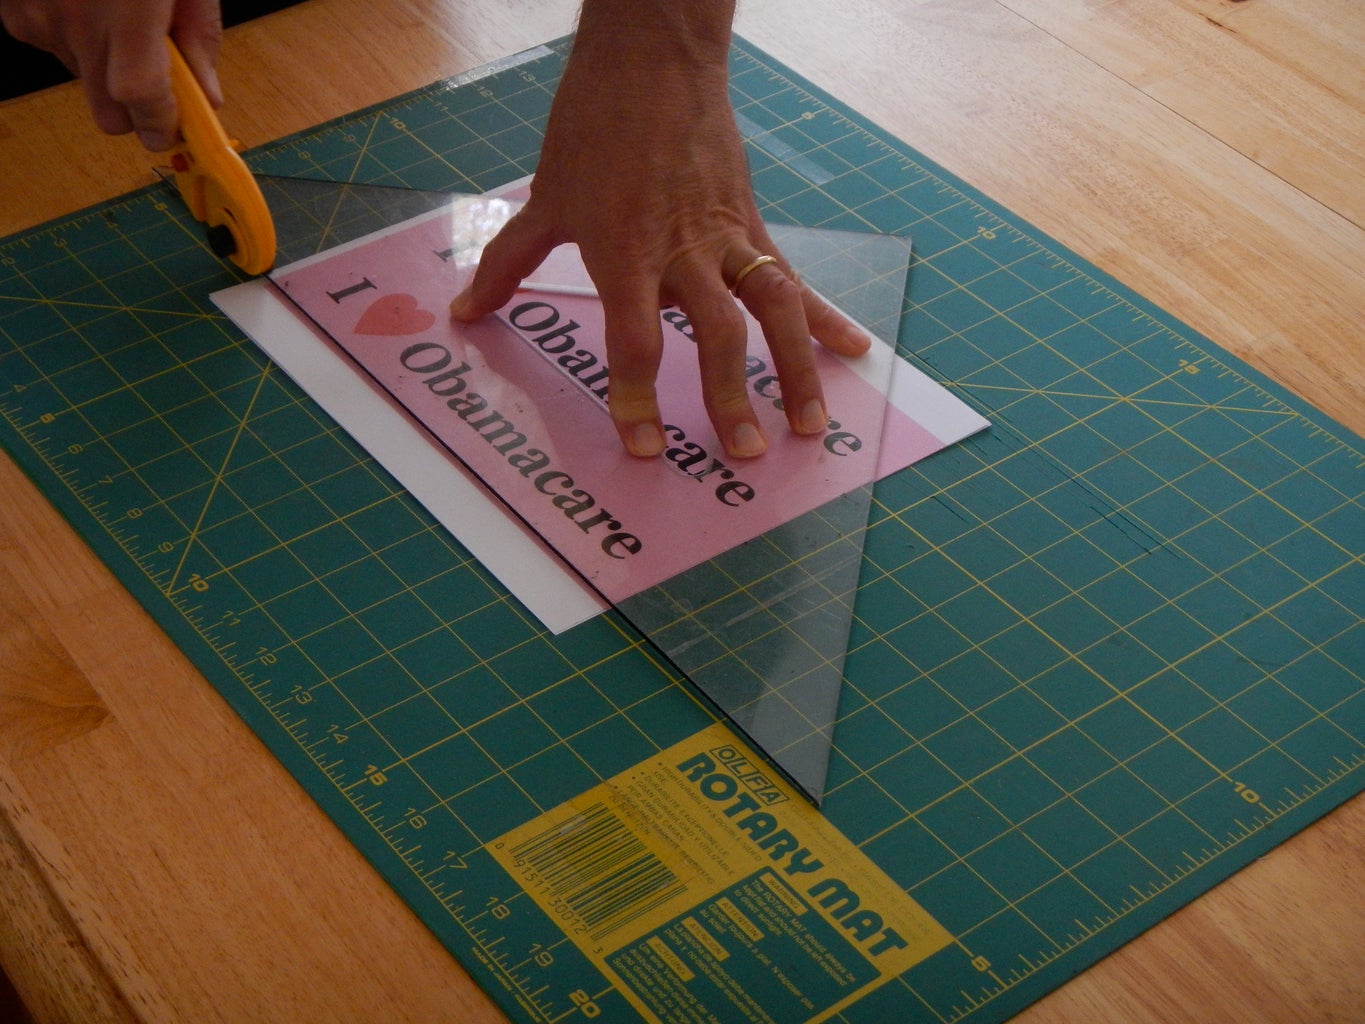

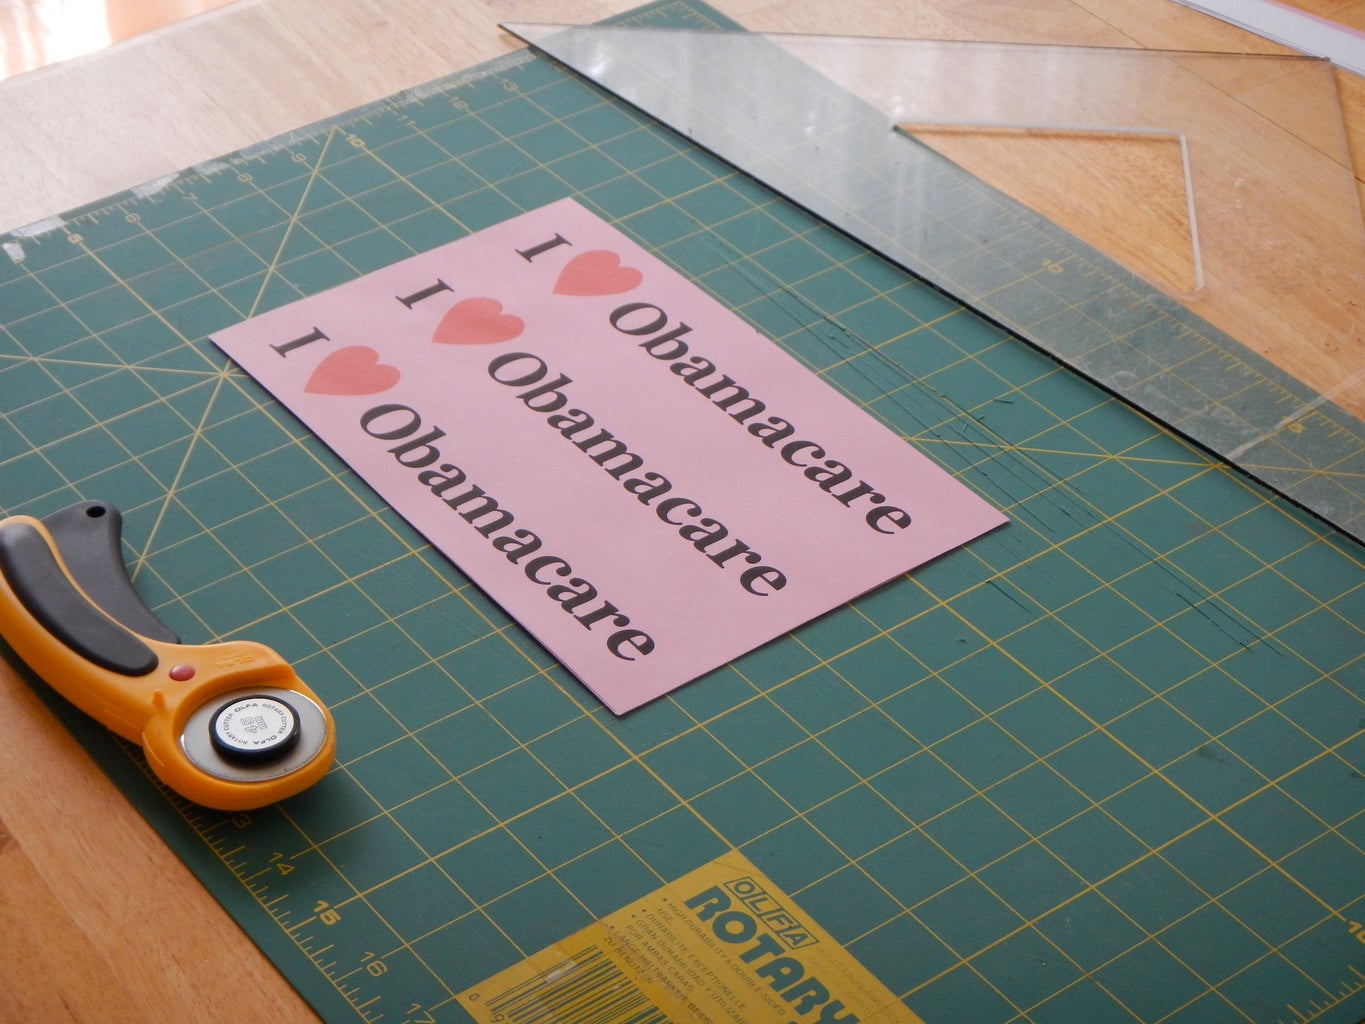
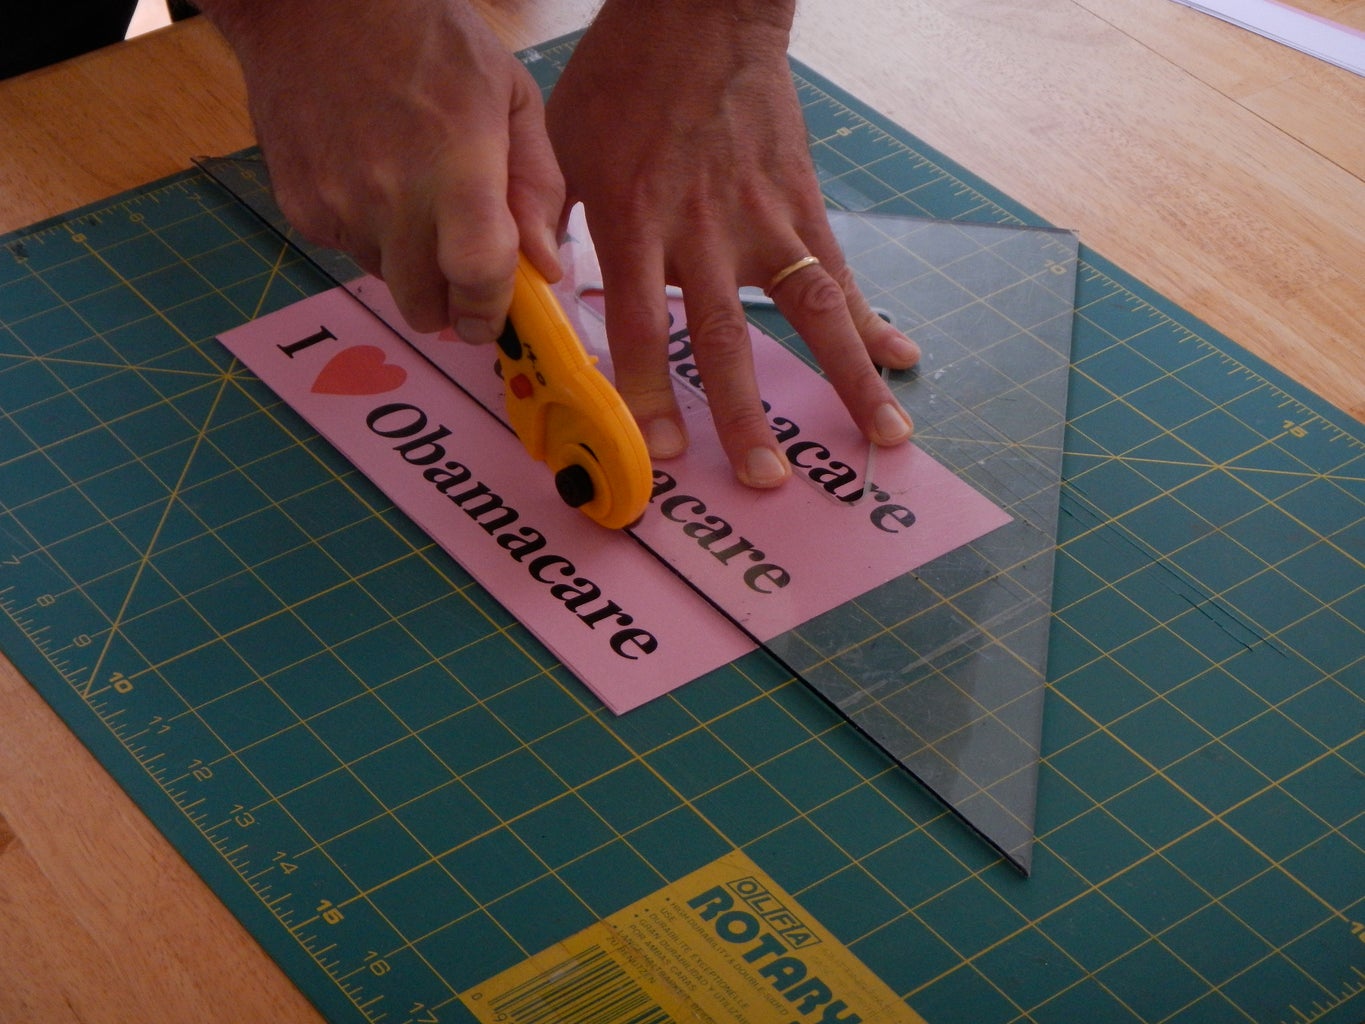
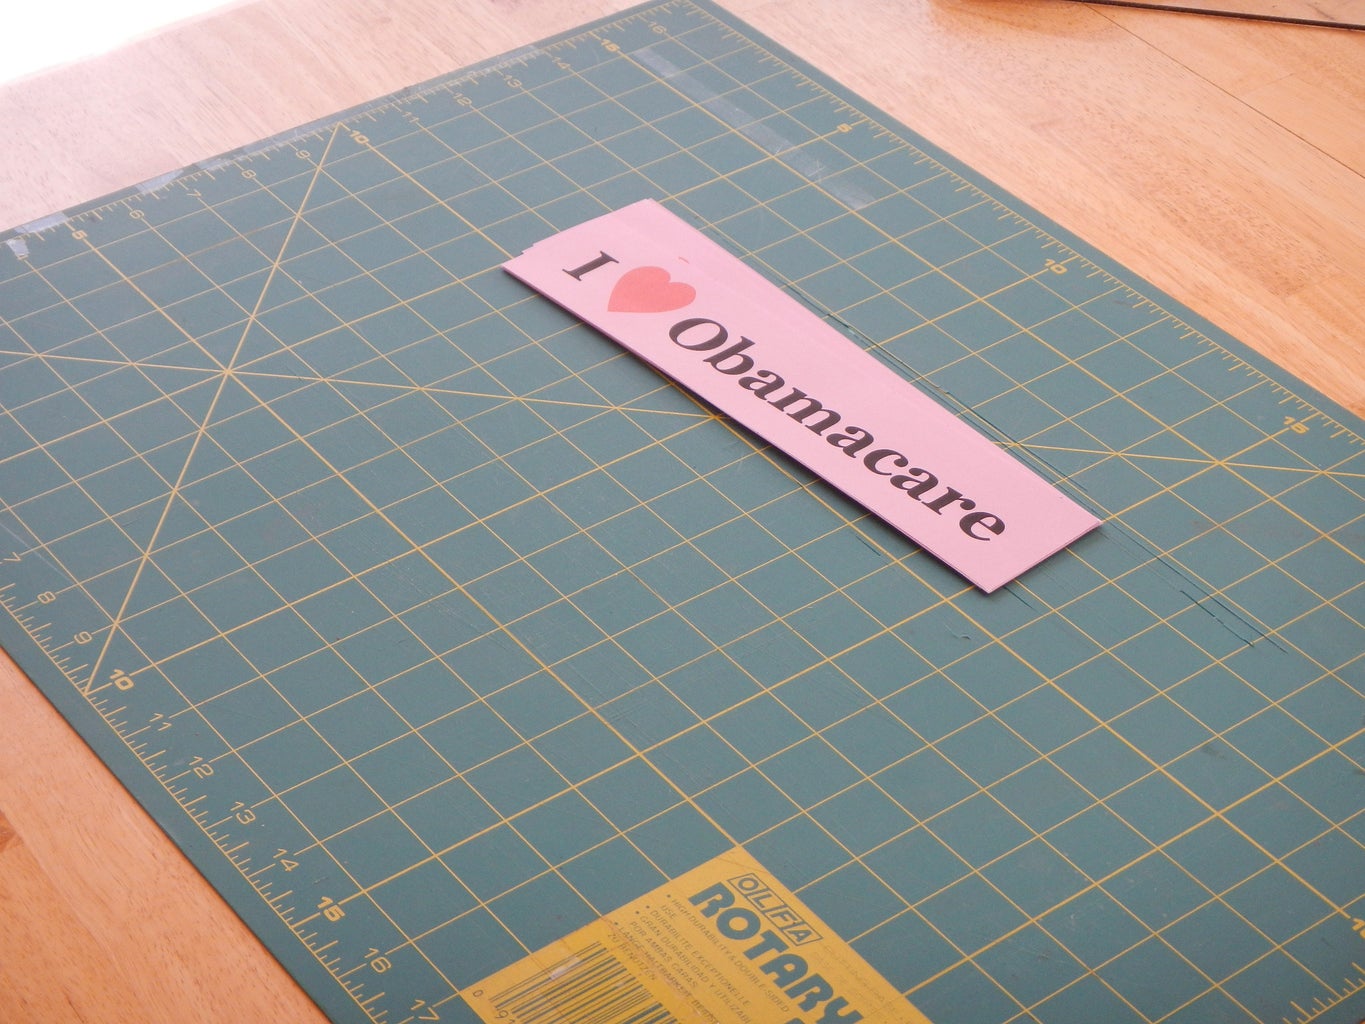
You can use scissors, or a paper cutter for cutting and trimming, but, for production work, a rotary cutter, straight-edge and cutting mat are recommended. Cutting in decks saves lots of time.
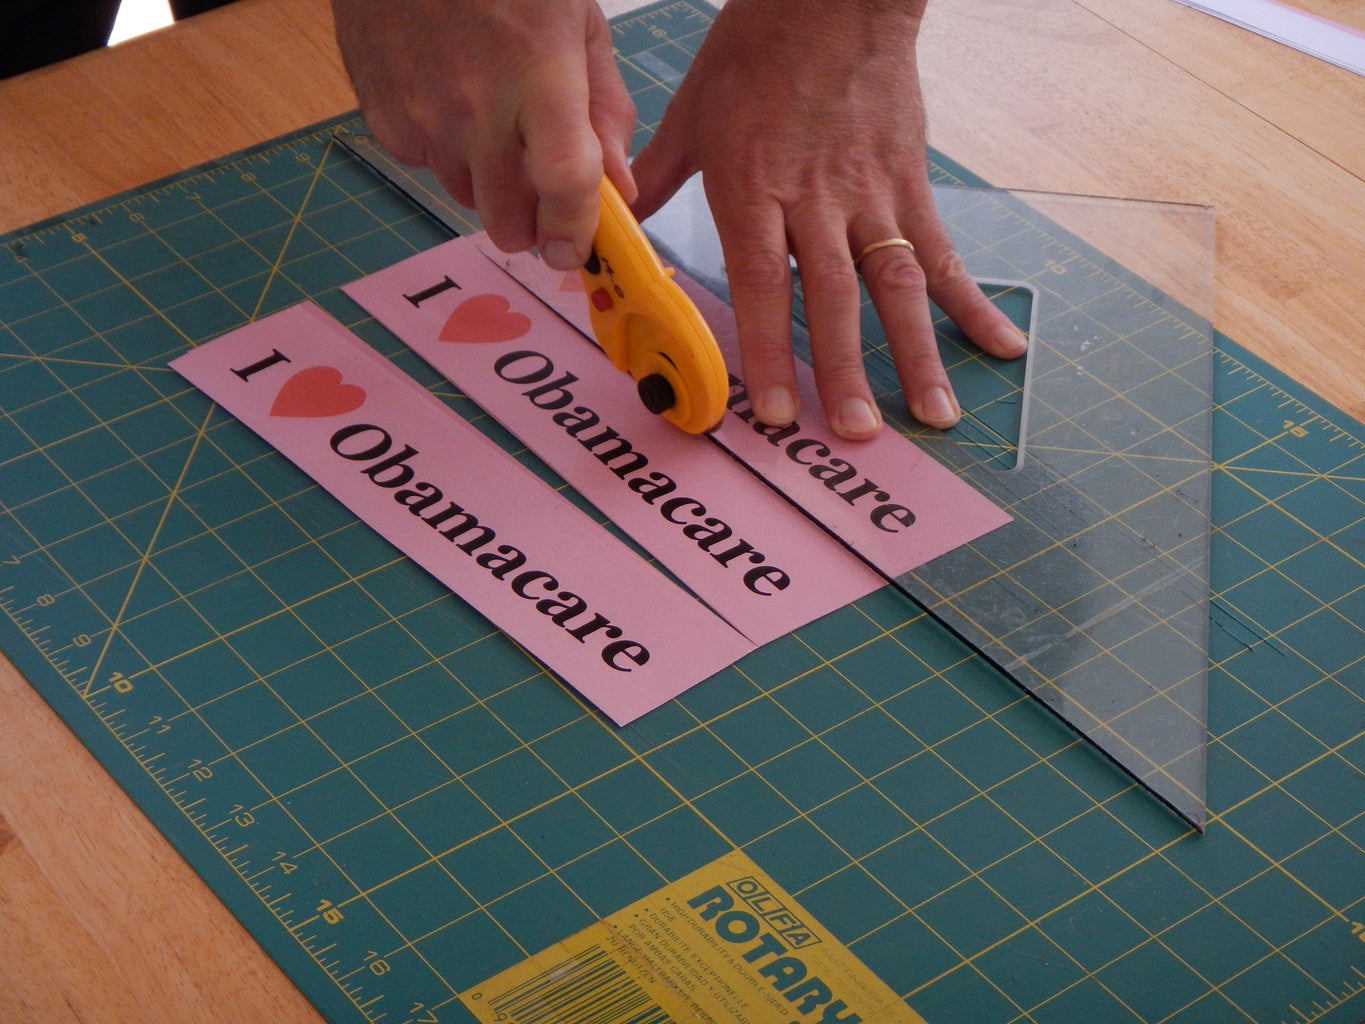
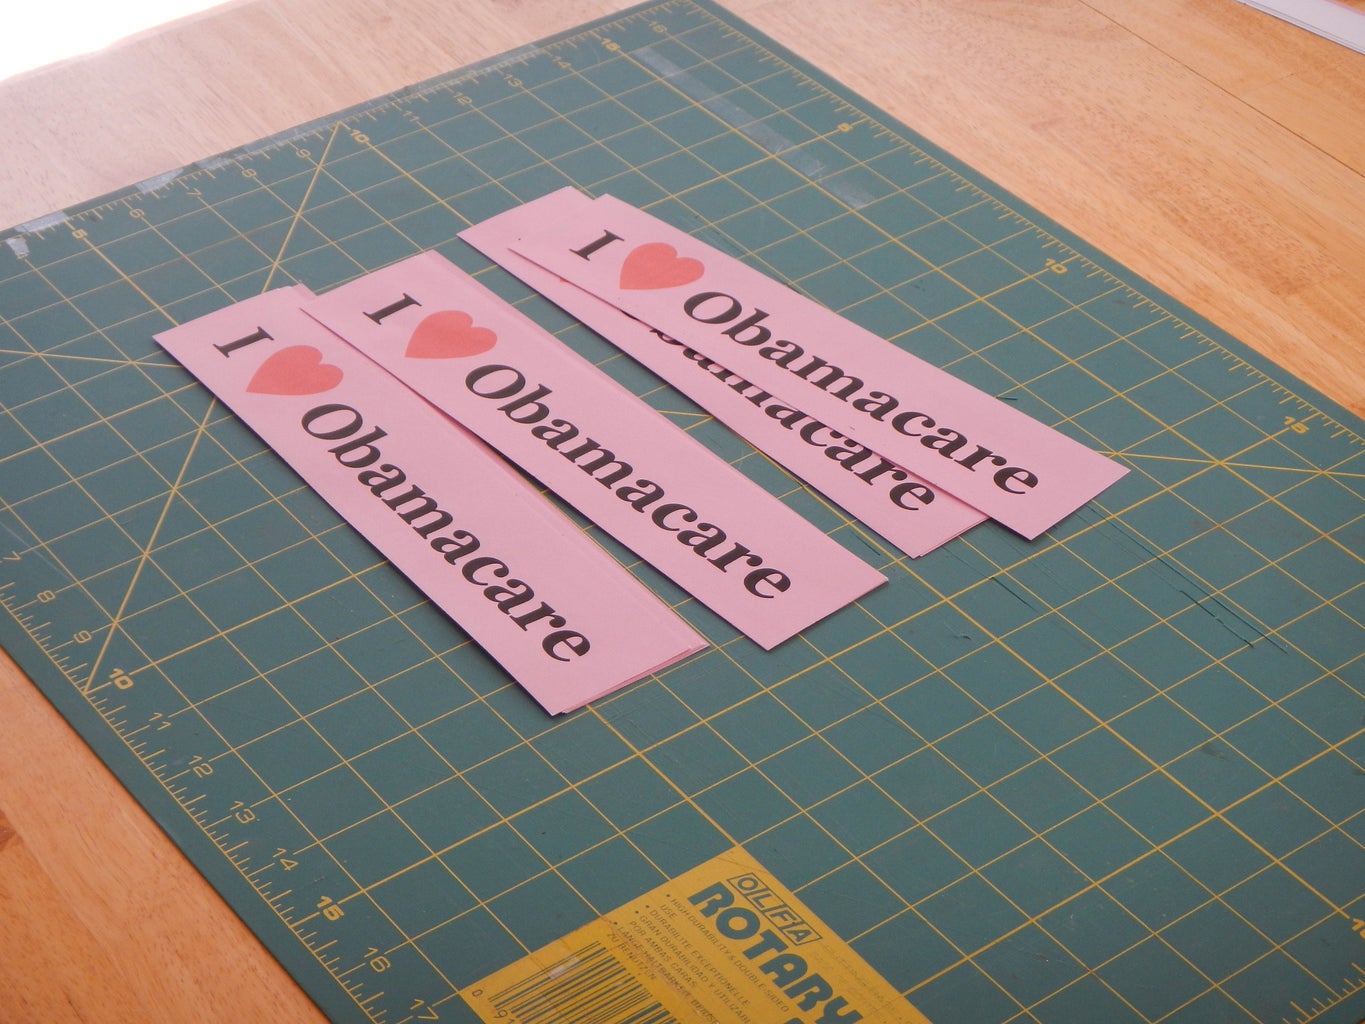
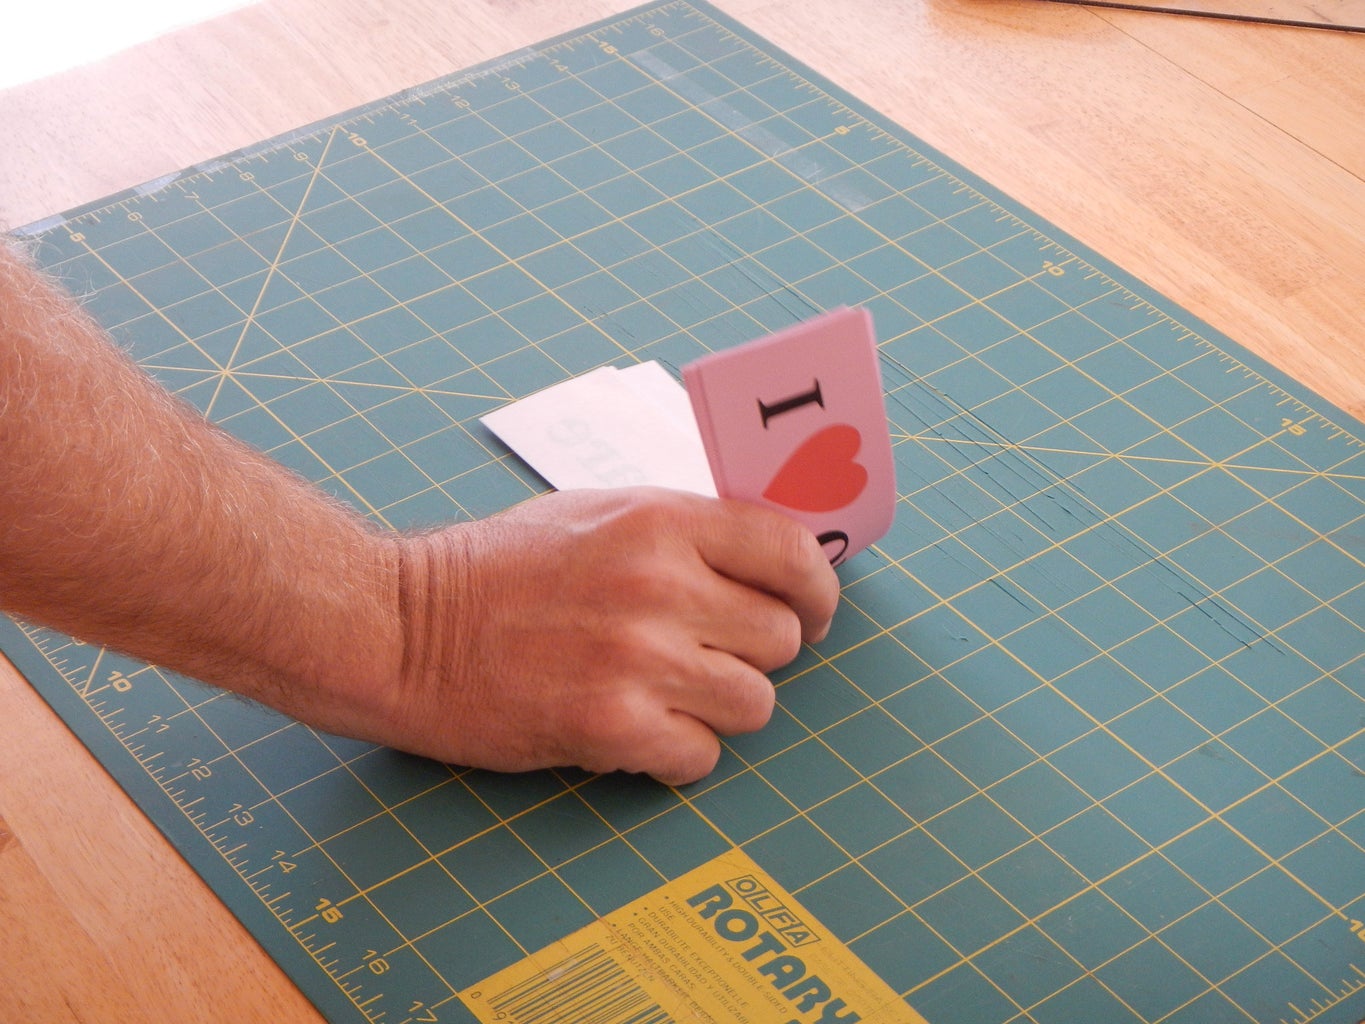
Make the cuts indicated by the tiny printed registration marks. Make the outside cuts first, then the ones that divide the deck.
Step 4: Organize the Stickers
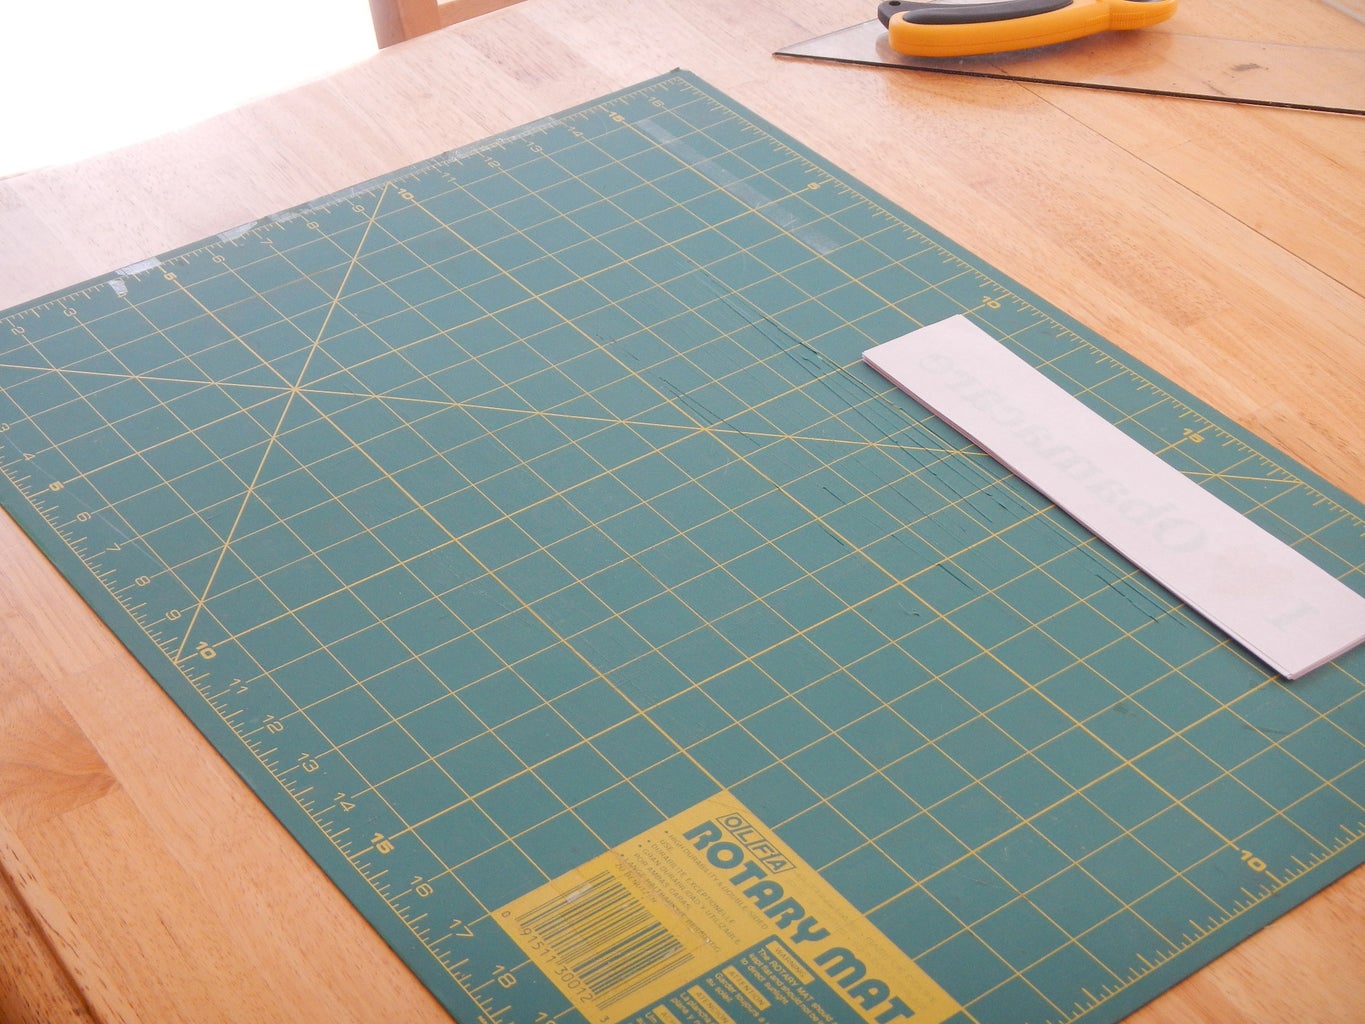
Organize the stack of paper bumper stickers you are going to place. You will be placing paper bumper stickers face-down on the sticky sheet, but with their face-down lettering still oriented right-way up. Put maybe more clearly: the ending of some word on your face-down bumper sticker is going to end up on the left. Put all the paper stickers in a correctly oriented stack now so you won't have to think about it later.
Step 5: Assembly
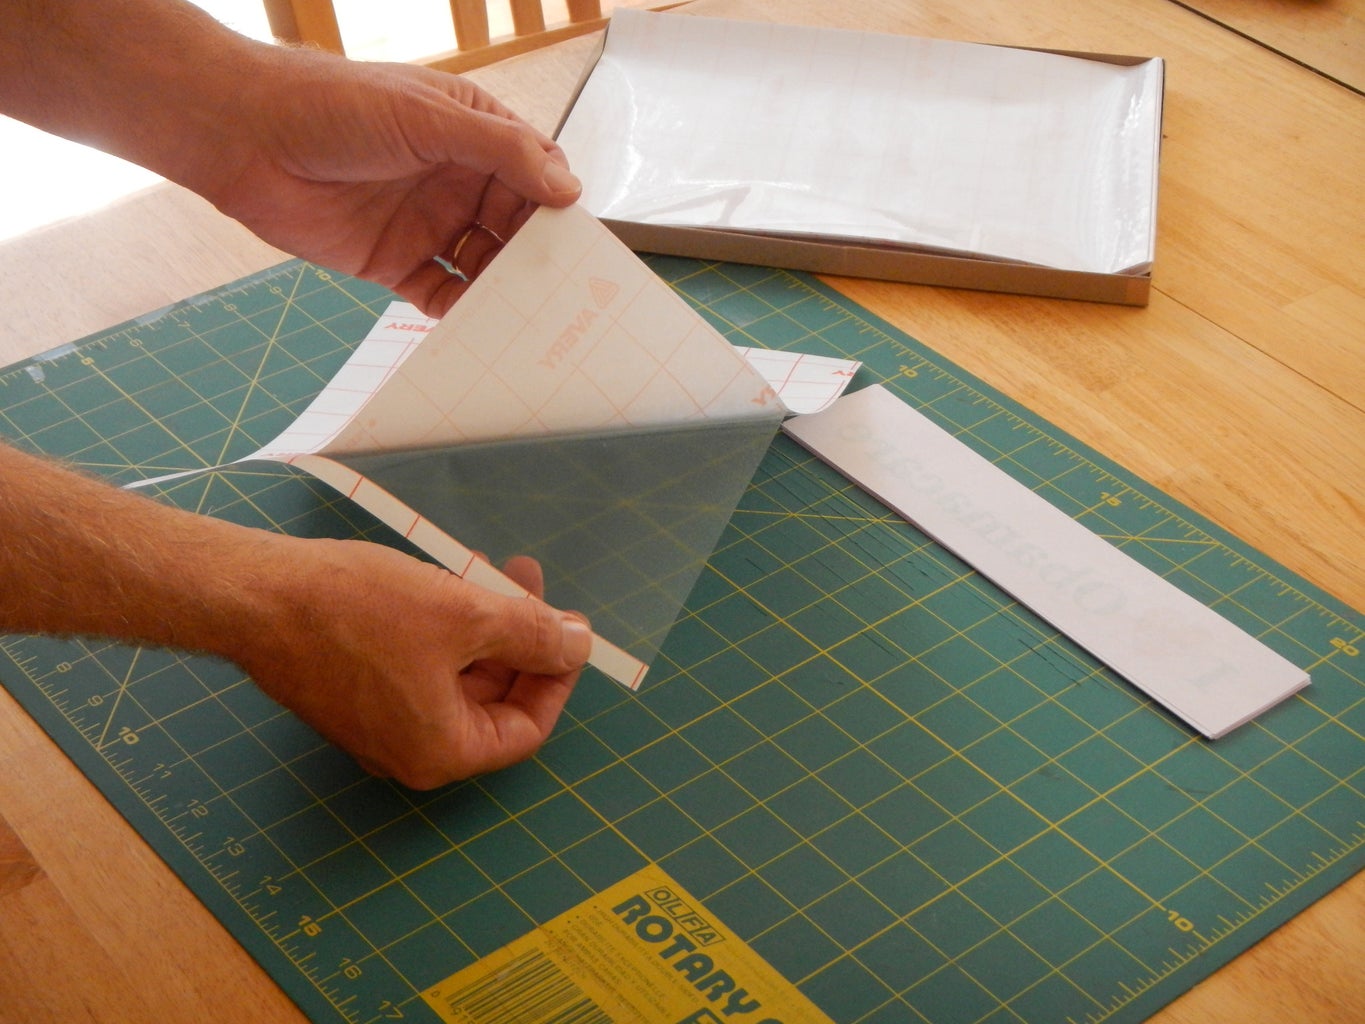


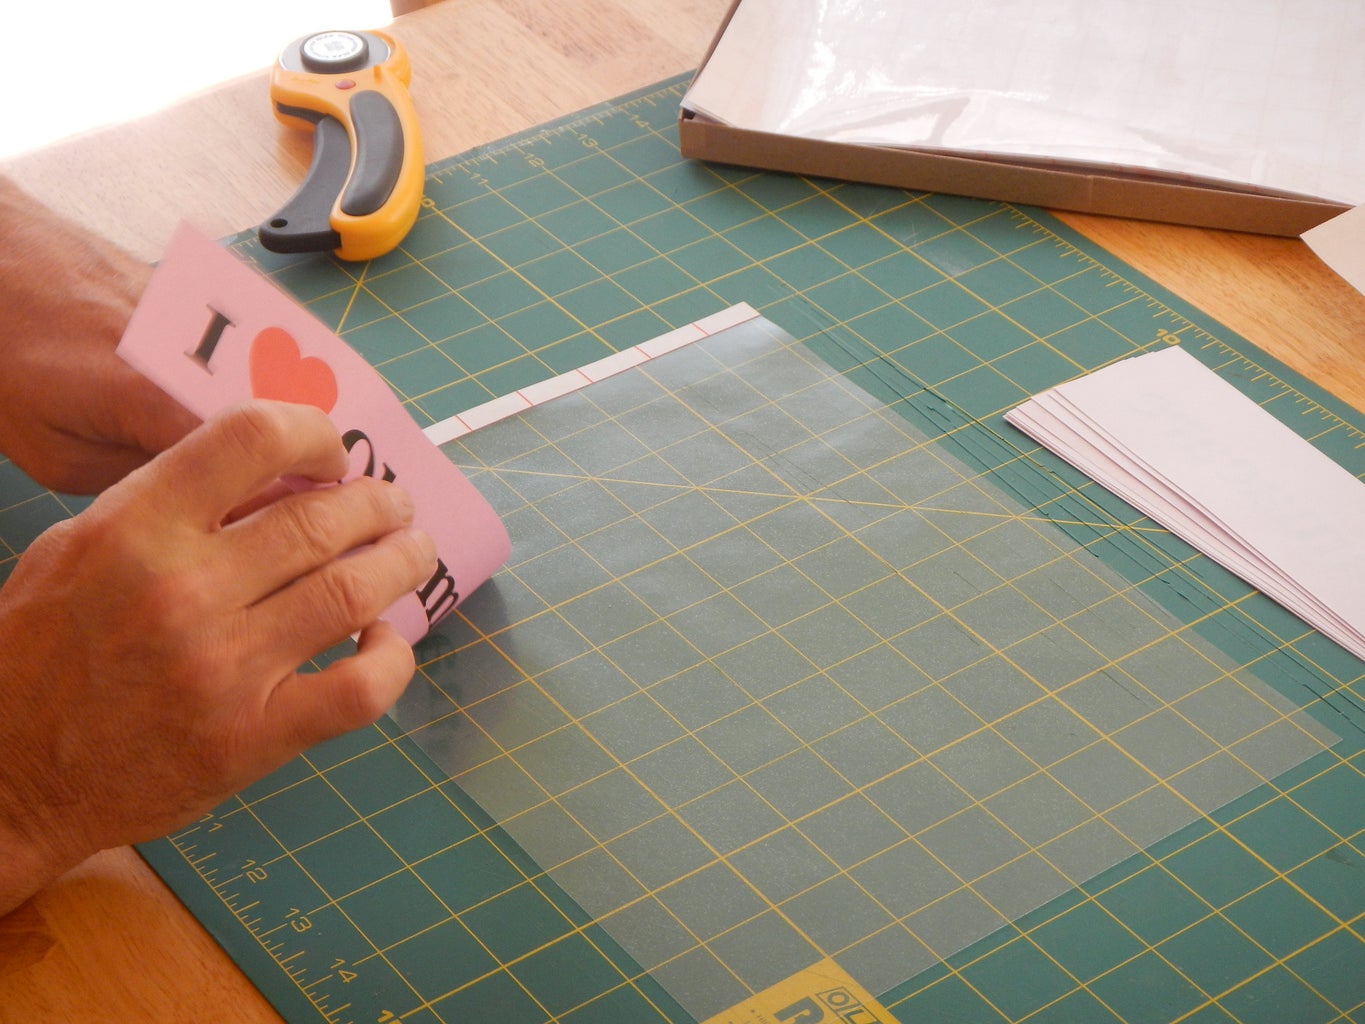


Clean off a work surface for assembly, this is a "clean room" step. Peel off the backing paper from an Avery Self-Adhesive Laminating Sheet, leaving the narrow, white strip in place. (Don't throw away the backing paper, you'll need it in a few minutes.) The white strip serves as an alignment tool, and as a model for the width of the other margins.
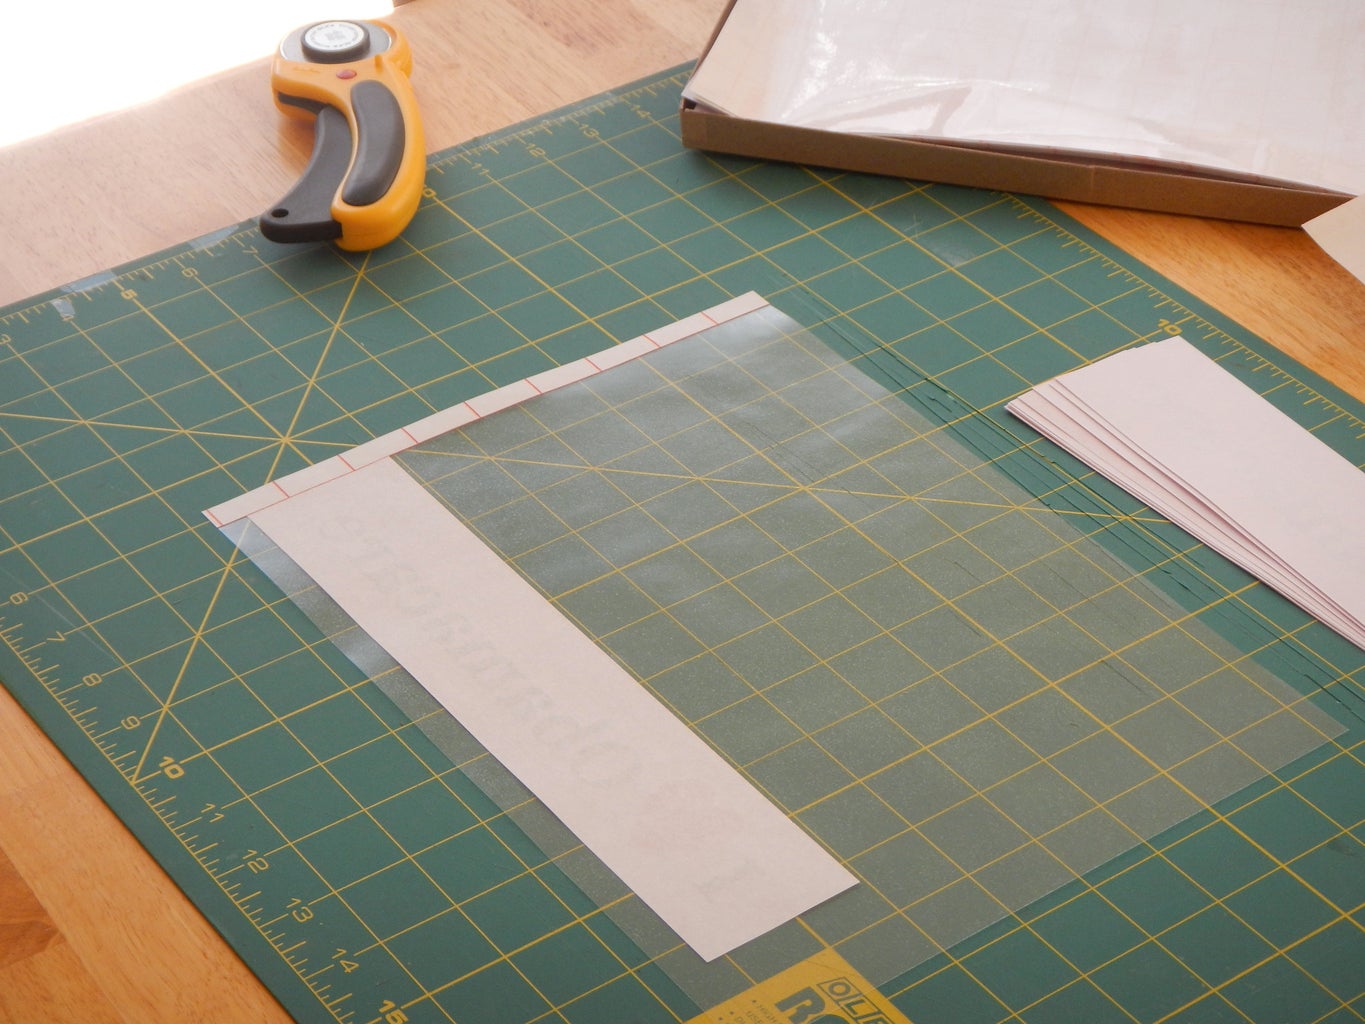
Lay the exposed laminating sheet, sticky-side up, on your work surface. Turn it around so that it is in the "landscape" orientation, with the white strip on your left.
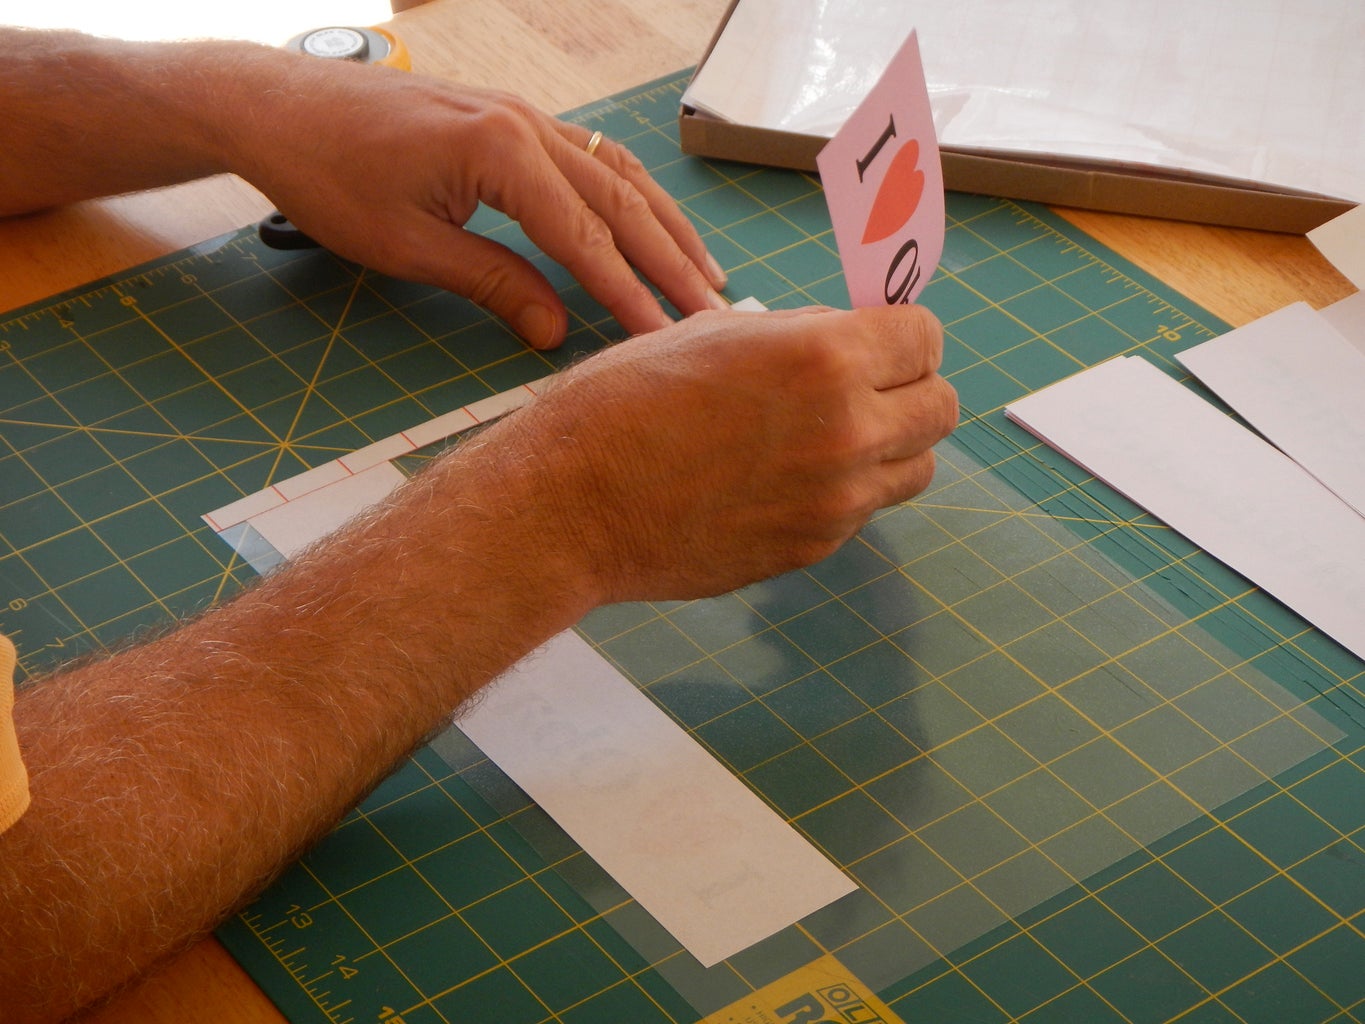
Begin with the sticker that will be placed closest to you (because it's the easiest.) Judge, by eye, a clear bottom margin of the same width as the white strip. Holding the paper face-down, and at a steep incline, bring its left edge down to abut the white strip. (Inclining the paper keeps the adhesive from grabbing it prematurely.) Trust the white strip to mechanically align the paper sticker. The clear margins will be nearly invisible on the installed sticker, so they don't have to be perfect. When you are satisfied with the placement of the edge, press the paper down next to the white strip and gradually increase the area of adhesive contact until the paper is fully down.
The next the bumper sticker you will place is the one farthest from you. (This time, you estimate a clear upper margin the same width as the white strip.)
The middle sticker goes on last. Just "split the difference" between the stickers you have already placed, and all the margins will come out right.
Replace the backing sheet using the very same technique: incline the backing sheet, abut its edge to the white strip, and gradually press it down into place.
Step 6: Trimming


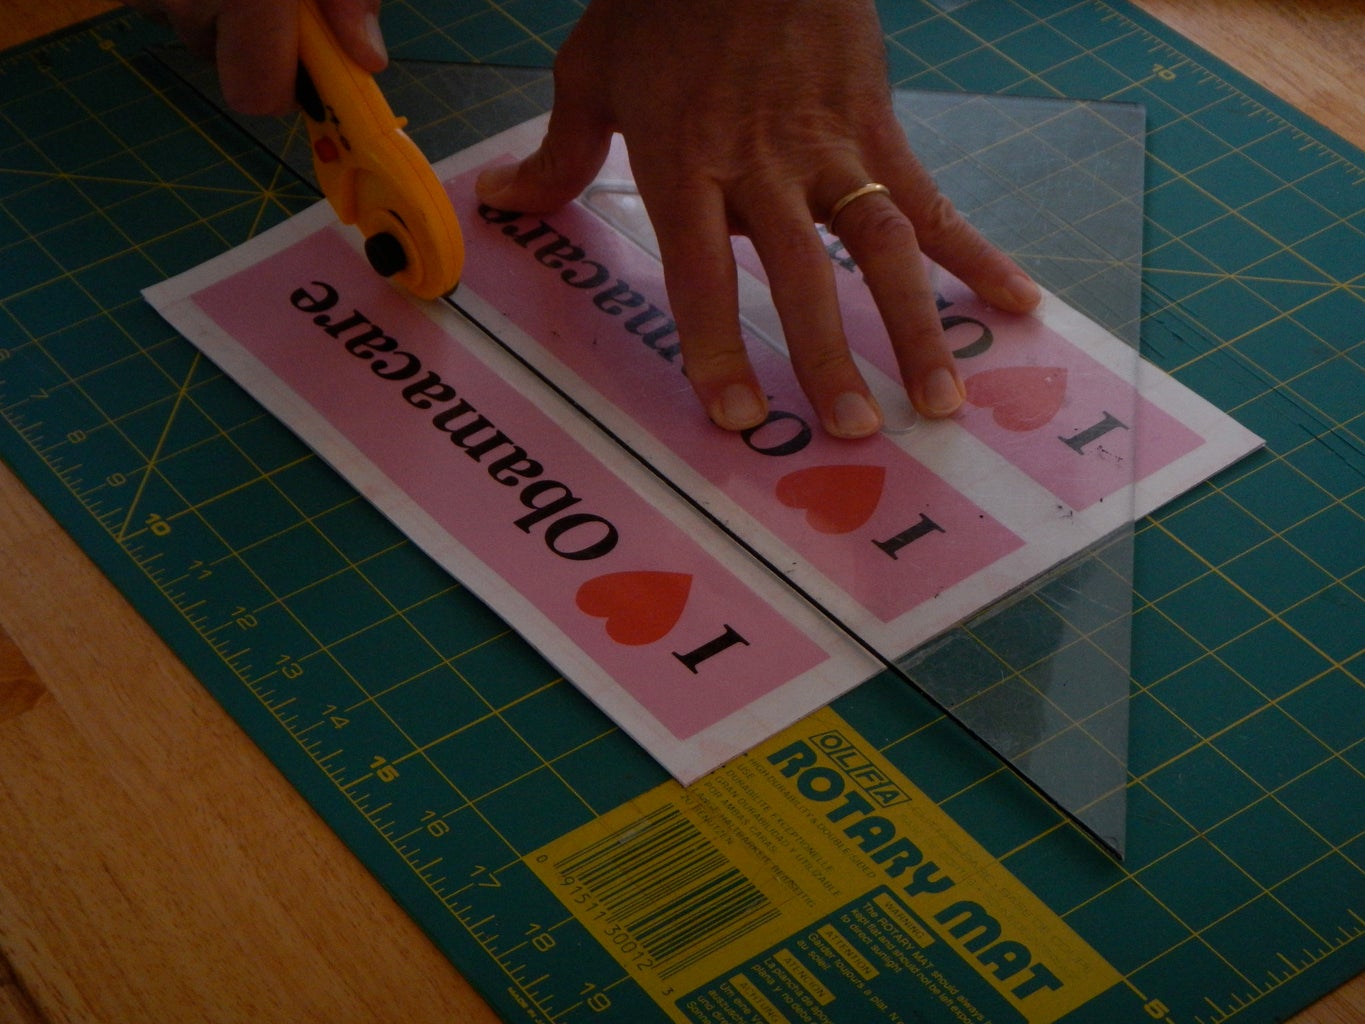


Flip over a laminated sheet of stickers (or a deck of sheets) so you can read the stickers. Judge by eye an equitable clear margin along the left side, and trim off the excess.
Finally, aligning by eye, make the cuts that divide the sheet (or deck of sheets) into finished stickers.
Step 7: Distributing Your Bumper Stickers
OK, you've made a batch of bumper stickers real easily. Maybe you'll may want to distribute your stickers for free to interested parties, but consider that most people don't mind paying a buck for a sticker that says it for them, and you'd have money to make more stickers. Or, consider donating your pro-looking stickers to a like-minded group that would like to sell them to raise funds.
Step 8: Installing


Installing these bumper stickers is pretty intuitive, but I plan to print these instructions on the back of mine:
Installation:
• Thoroughly clean and dry the surface.
• Attach one edge first.
• Hold the sticker in tension while gradually increasing the area of contact.
• Rub the eraser end of a pencil firmly over the clear borders to seal out rain.
Removal:
• Peel the sticker off from one corner.
• If some adhesive remains, it can be removed with ammonia and a soft cloth. Expose adhesive to an ammonia-soaked cloth for about half a minute before gently wiping it off.


