

Introduction: How to Make Your Own Metal Pulse Magnetizer 2


After making the first version of Metal Pulse Magnetizer, I have read some constructive comments so I decided to make the second version of this device, which is more stable and safer. You will see how to make it in next steps, but first, if you want, you can read this abstract which is about the modifications of this version of magnetizer.
This Magnetizer uses a bleeding LED which empty the capacitors if they are not used. It is more stable because the circuit is built on a perfboard and fixed with two screws. It also contain 2 CAPACITORS, so the magnetizing pulse is more powerful.
I hope you will enjoy this project.
Let's get to work.
Step 1: Materials Needed

Below you have a list with materials needed. Most of my materials are recycled. So with this project I want to show you that you can make "gold" from trash.
- a 1N4007 diode
- a DPST switch (I get mine from an old lamp)
- a Push button switch
- two capacitors - 220 µF and 400 V (I get mine from CRT screens)
- a nonconducting electricity case (My case is taken from an old recycled device)
- because my case didn't have panel, I've made two panels from the back of two old keyboards
- a jack from an old power supply unit
- a lamp (15 W, 220 V)
- something on you can spool your coil (I use a plastic support from soldering wire with inner diameter 20 mm [don't use something that have the inner diameter bigger than 20 mm because then your magnetizer will not work])
- a cable for your jack (I use an ordinary cable for PC supply), why I use it ? because it can be removed
- copper wire for making a coil (0.6 mm diameter for 800 turns)
If you have made the first version of magnetizer, you can disassemble it and use the coil.
Before you start to build this device, you must check if the capacitors are empty. If they aren't empty, you must discharge them.
If you don't know how to do that, you can check it here. ->http://www.wikihow.com/Discharge-a-Capacitor
Step 2: Make the Panels
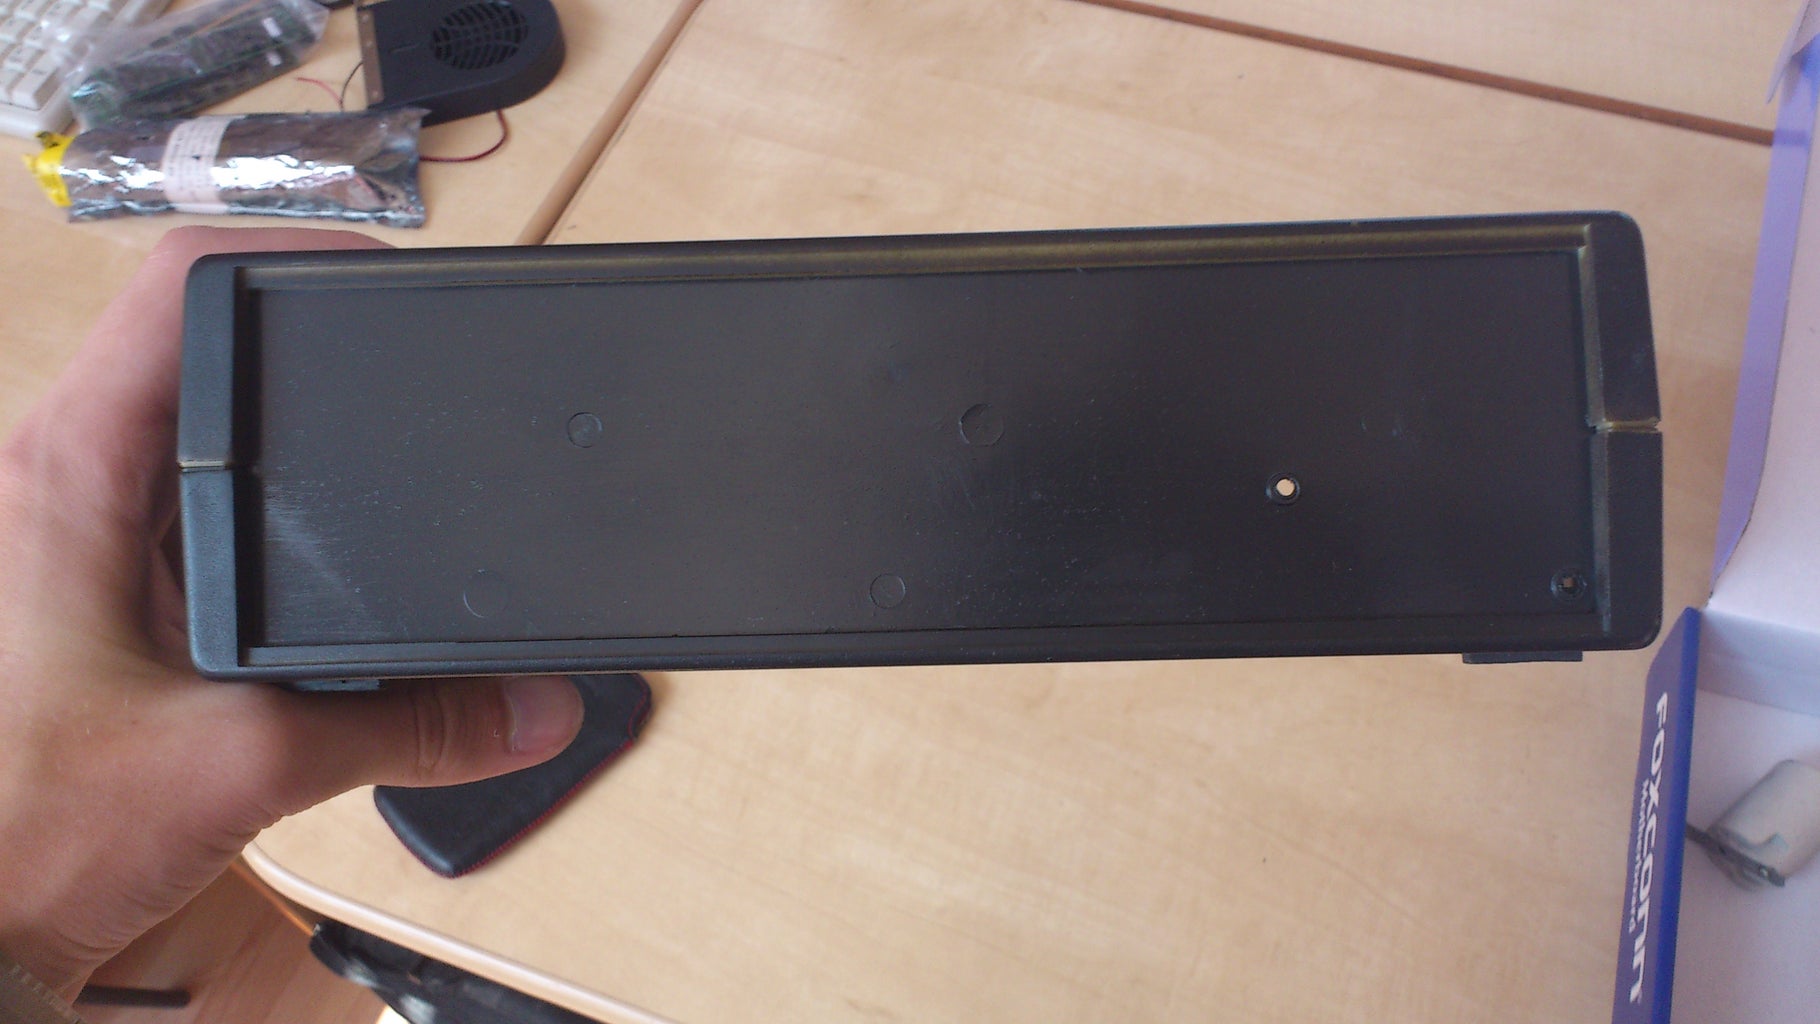


As I said, I've made them from old keyboards. I cut down the shape and then I make the holes for the LED, the switch and for the coil on the front panel.
First I look if the panel is fitting in his place.
For the hole of the coil I used a 20 mm drill and for the LED's hole I used a 3 mm drill.
For the switch I make a 15 x 30 mm hole using a cutter.
On the back panel I've make a hole for power supply jack.
After I made the holes, I paint the panels and then I varnished them.
If you already made the first magnetizer, you don't have to make the back panel, you can reuse the back panel from the 1st version.
Step 3: Make the Coil

You need copper wire for 800 turns.
Your wire support must have an inner diameter about 20 mm, otherwise your magnetizer won't work.
Step 4: Make the Circuit


As I already said, you must check if the capacitors are empty. If they are empty, you can start making the circuit.
Then you should check if the perfboard is clean. If it isn't, you should wash it.
I made two holes in perfboard to mount the circuit on the case.
Step 5: Assembling the Magnetizer


I solder the LED and the first switch.
I have fix all movable parts with 3 mm screws and put shrink tube on wires.
Then I mount the coil on the front panel using hot glue. After that, I mount a plastic disk on the end of the coil so when you magnetize something, the object will not come in the magnetizer.
I mount the top of the magnetizer.
Step 6: How to Use It


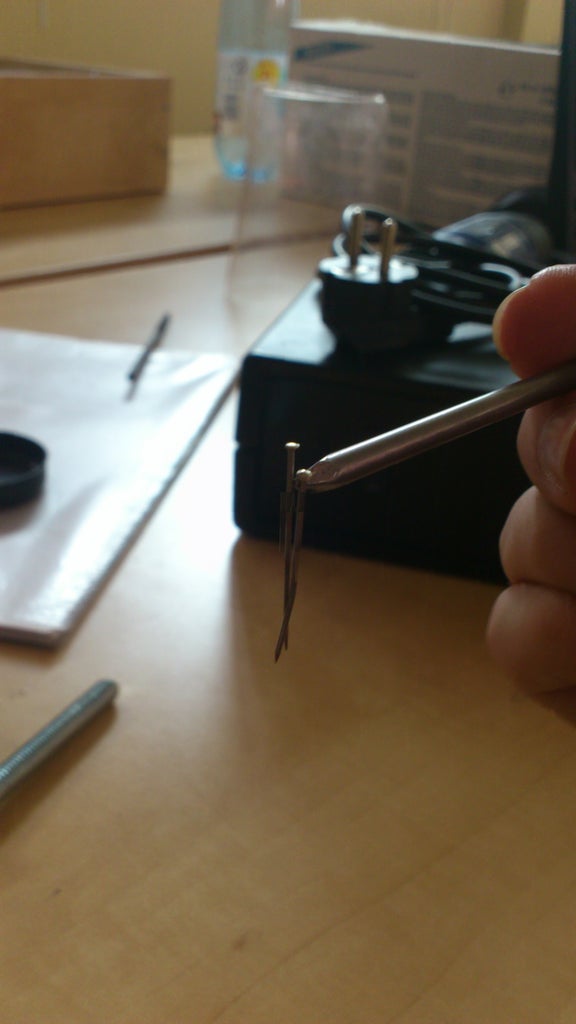
You can use it to magnetize nails or to demagnetize magnets.
Just turn on the magnetizer using the first switch, wait until the lamp is off. When the lamp is off, the LED should light which means that the capacitors are discharging. It takes 7-8 minutes for complete discharging. Or you can discharge them turning off the magnetizer and push for 3 seconds the second switch.
After the lamp is off, put the magnet or the nail (or the material which has ferromagnetic potential) in the coil. Then push the second switch.
Now you have a magnetized thing.
Step 7: Further Research

I have inserted a 0.3 Ω resistor between the second switch and coil.
Then I "inserted" the oscilloscope and I "translated" what it said.
Theoretical, the current should be about 50 A, but because the capacitors which aren't made to work with pulses it is only 21 A.
Some of you told me that I need a snubber diode.
Above you can see the image I took while pressing the second switch. I think I don't need this diode because "the tail" of the pulse isn't so big.
Step 8: That's It!
So this was my project.
I hope you liked it.
I like electromagnetic projects, so if you have some suggestions about what I could do next, leave a comment.
Thanks.
Step 9: Uses
Just insert in the inner space of coil a little PVC pipe. Then insert a iron ball, 3 mm screws or a little iron thing. Push the second switch and your cannon will fire.

Participated in the
Craft Contest

Participated in the
Epilog Challenge V

Participated in the
Kit Contest


