

Introduction: MIDI Arduino Drums


I've always wanted to learn how to play a drum kit, but my parents never let me because 'it takes up too much space' and 'it makes too much noise'.
So now, many years and some electrical knowledge later, I've decided to make my own electronic drum kit!
This project is pretty easy to make and you do not really need any special knowlegde or skills.
Step 1: What You'll Need
Here's what you'll need to make 4 drums:
- 4x Piezo
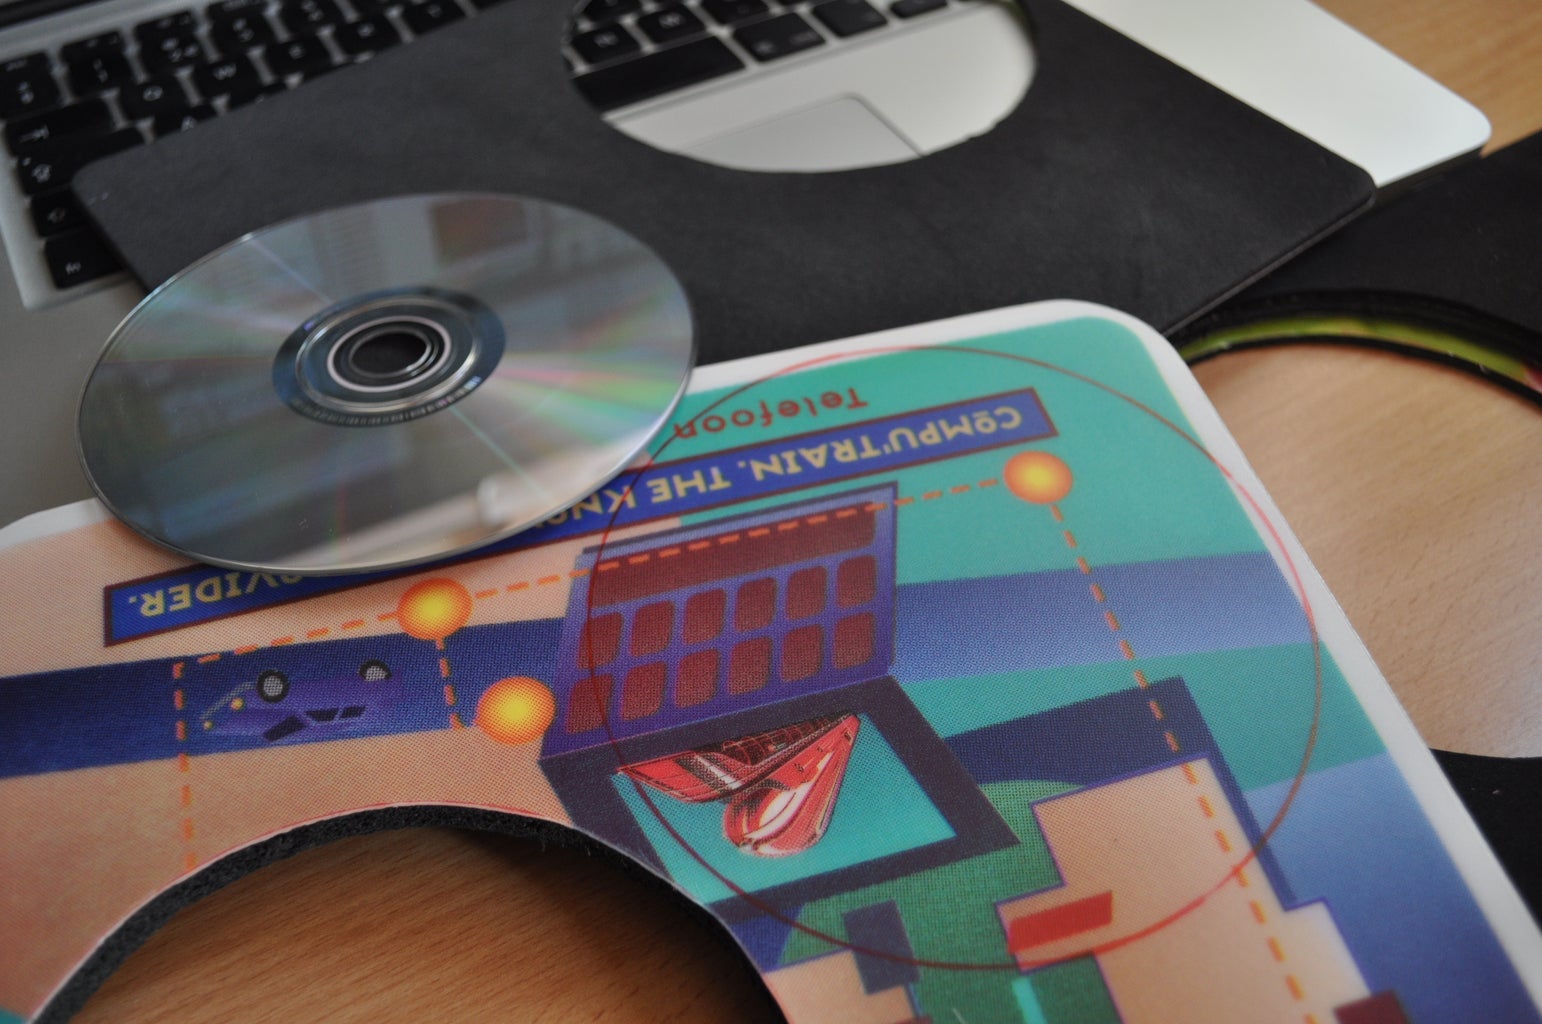
- 4x CD
- Mouse pads (enough to cut 8 circles as big as the CD)
- 4x 1M Ohm resistor
- PCB or breadboard
- some wire
Optional:
- 4x 3.5mm plug
- 4x 3.5mm socket
Step 2: Soldering Piezos

The first step is to solder long wires to the piezos.
My piezos came with a little metal cap and short wires. You can cut the metal cap of and simply solder longer wires to those short little wires.
If you chose to use plugs and sockets, you obviously have to solder your plug to the other side of your wire.
Step 3: Breadboard/PCB


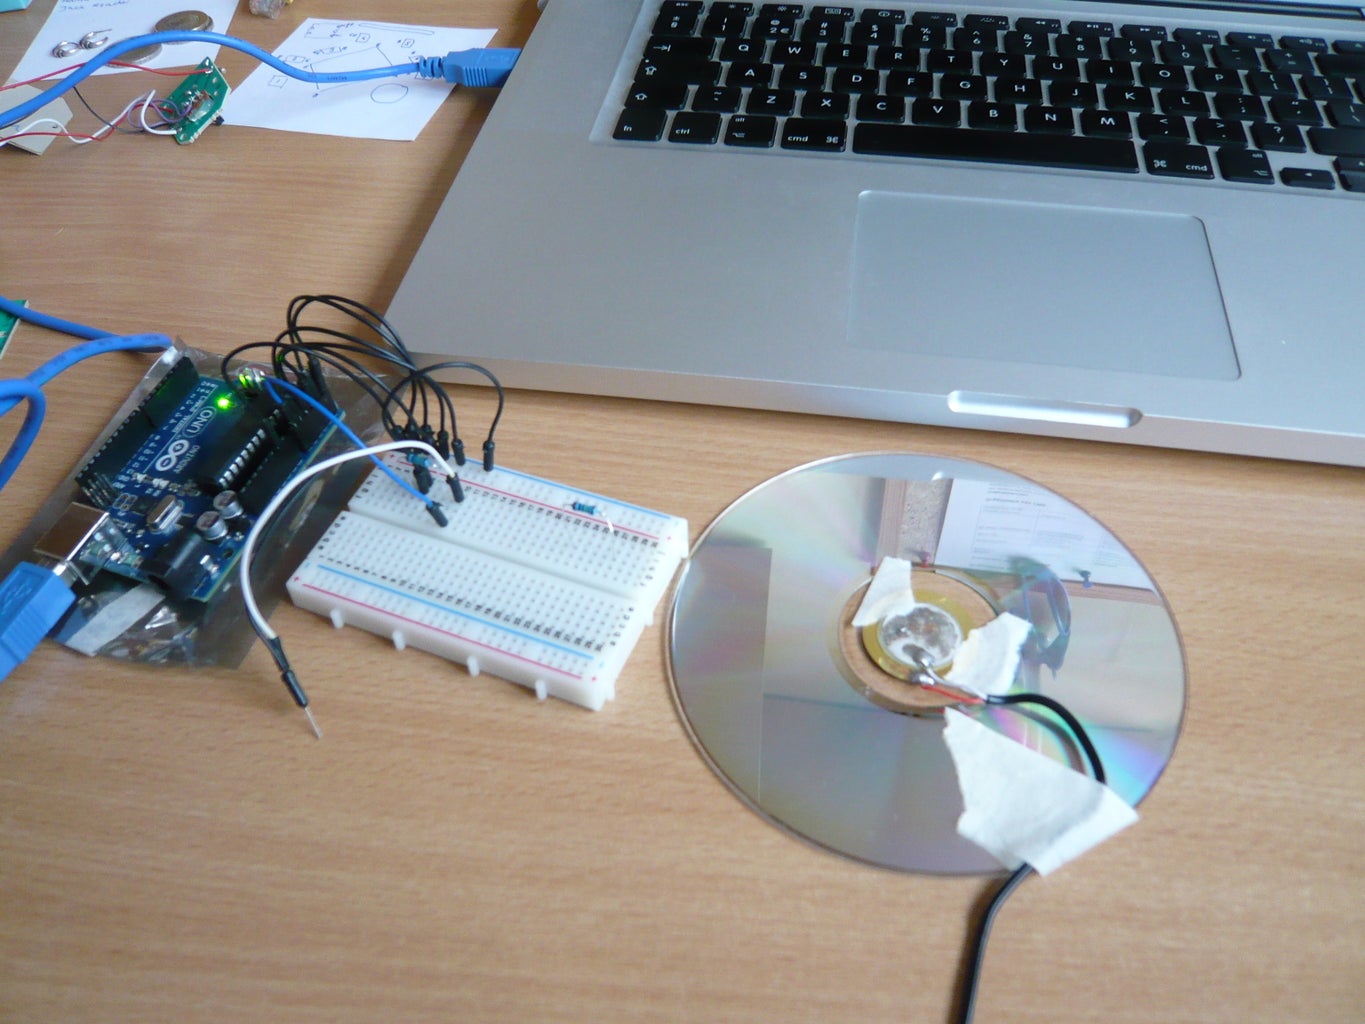
After you soldered wires to your piezos it's time to connect everything.
Connect the resistor to the wires of the piezo as shown in the diagram above. Then connect the GND wire of the piezo to GND on Arduino. Connect the other wire of the piezo to an analog pin on your Arduino. (If you're using plugs and sockets, you obviously use the wires of the socket and not the wires of the piezo)
When you're not using all of the analog pins, you should connect the 'empty' pins with GND. Otherwise you might get false values because of noise.
You can either connect everything on a breadboard as shown in the diagram. Or you can solder everything on a piece of PCB like I did.
Step 4: The Drum Pads

Now that everything is soldered, it's time to make the drum pads.
Take your CD and put it on the mouse pad. Draw a circle around the CD and then cut it out. Next stick the piezo to the CD with a piece of tape.Once that's done you'll need to glue the mousepads to the CD. I used a tiny bit of super glue. Make sure the glue doesn't get on the piezo! It'll ruin your piezo. I had to learn that the hard way.
 ruined piezo
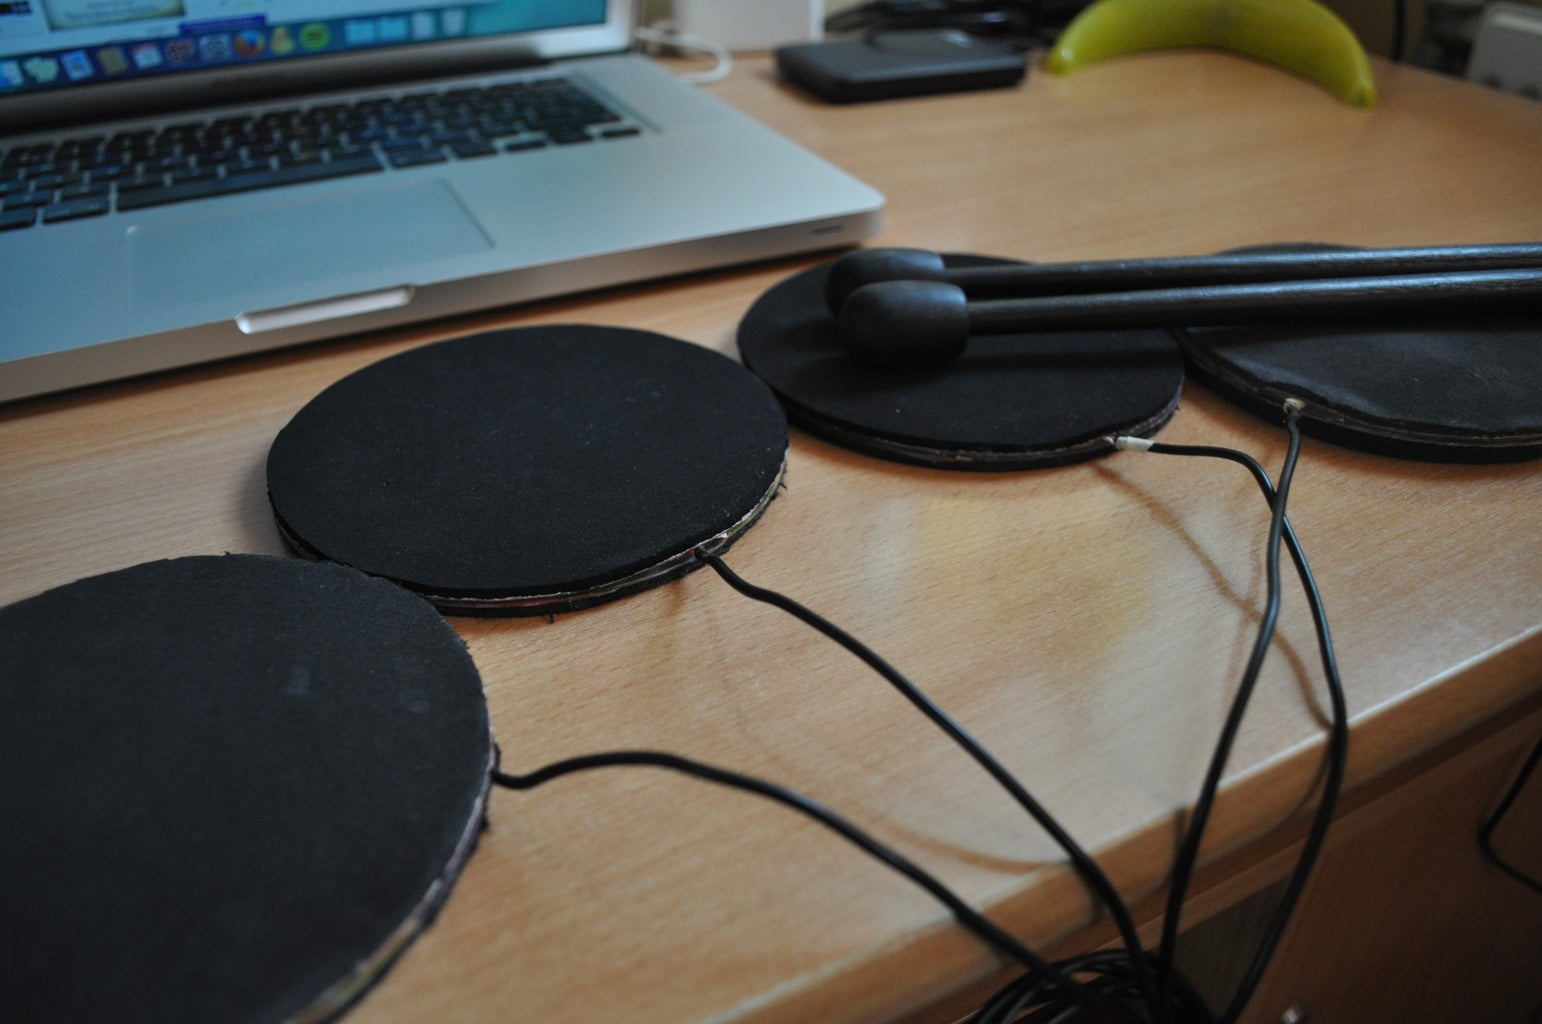
Use a bit of glue on the edges of the CD and stick the plastic part of the mouse pad to it. Do the same for the other side. The foam sides of the mouse pad have to be on the outside.
Use some extra glue around the part where the wires stick out of the drum pad to close it nicely.
Step 5: Connect With PC

That's pretty much it. Everything has now been put together and the only step left is to connect everything with the computer.
There are a few possible ways to connect. After some research and trying different programs I found Ardrumo (Mac OS X only) the easiest to work with. Simply load the sketch to your Arduino and then open Ardrumo and Garageband.You can choose different drums in Ardumo as you can see in the video in the first step.
But like I said, this is not the only possible way to connect. There are a lot of other ways, for example using Hairless as explained in this Instructable. Just play around a bit and find a method that suits your needs :)
This is the code for Ardrumo. Download Ardrumo by clicking here.
/*
 * Ardrumo sketch
 *
 * Use with the Ardrumo software here:
 * <a href="http://code.google.com/p/ardrumo/" rel="nofollow"> <a href="http://code.google.com/p/ardrumo/"> <a href="http://code.google.com/p/ardrumo/"> <a href="http://code.google.com/p/ardrumo/" rel="nofollow"> <a href="http://code.google.com/p/ardrumo/" rel="nofollow"> http://code.google.com/p/ardrumo/
</a>
</a>
</a>
</a>
</a>
 * This is designed to let an Arduino act as a drum machine
 * in GarageBand (sorry, Mac OS X only).
 */

#define LEDPIN     13     // status LED pin
#define PIEZOTHRESHOLD 5  // analog threshold for piezo sensing
#define PADNUM 6          // number of pads

int val;

void setup() {
  pinMode(LEDPIN, OUTPUT);
  Serial.begin(57600);   // set serial output rate
}

void loop() {

  // Loop through each piezo and send data
  // on the serial output if the force exceeds
  // the piezo threshold
  for(int i = 0; i < PADNUM; i++) {
    val = analogRead(i);
    if( val >= PIEZOTHRESHOLD ) {
      digitalWrite(LEDPIN,HIGH);  // indicate we're sending MIDI data
      Serial.print(i);
      Serial.print(",");
      Serial.print(val);
      Serial.println();
      digitalWrite(LEDPIN,LOW);
    }
  }
}
This is the code for Hairless. The code is from an Arduino Xylophone Instructable.
//Xylophone
//Adapted for an ArduinoMega
//from Jenna deBoisblanc and Spiekenzie Labs initial code

//*******************************************************************************************************************
// User settable variables
//*******************************************************************************************************************

int pinRead;
char pinAssignments[16] ={
  'A0','A1','A2','A3','A4','A5','A6','A7','A8','A9','A10','A11'};
byte PadNote[16] = {
  57,58,59,60,61,62,63,64,65,66,67,68,69,70,71,72};         // MIDI notes from 0 to 127 (Mid C = 60)
int PadCutOff[16] =
{
  400,400,200,800,400,400,400,400,400,400,400,400,400,400,400,400};           // Minimum Analog value to cause a drum hit
int MaxPlayTime[16] = {
  90,90,90,90,90,90,90,90,90,90,90,90,90,90,90,90};               // Cycles before a 2nd hit is allowed
#define  midichannel 1;                              // MIDI channel from 0 to 15 (+1 in "real world")
boolean VelocityFlag  = true;                           // Velocity ON (true) or OFF (false)

//*******************************************************************************************************************
// Internal Use Variables
//*******************************************************************************************************************
boolean activePad[16] = {
  0,0,0,0,0,0,0,0,0,0,0,0,0,0,0,0};                   // Array of flags of pad currently playing
int PinPlayTime[16] = {
  0,0,0,0,0,0,0,0,0,0,0,0,0,0,0,0};                     // Counter since pad started to play
byte status1;

int pin = 0;
int hitavg = 0;
//*******************************************************************************************************************
// Setup
//*******************************************************************************************************************
void setup()
{
  Serial.begin(57600);                                  // SET HAIRLESS TO THE SAME BAUD RATE IN THE SETTINGS

}
//*******************************************************************************************************************
// Main Program
//*******************************************************************************************************************
void loop()
{
  for(int pin=0; pin < 16; pin++)                          //
  {
    //int pin = 3;
    //   for (pinRead=0; pinRead < 16, pin++){
    hitavg = analogRead(pinAssignments[pin]);
    //Serial.println(hitavg);
    // read the input pin

    if((hitavg > PadCutOff[pin]))
    {
      if((activePad[pin] == false))
      {
        if(VelocityFlag == true)
        {
          //          hitavg = 127 / ((1023 - PadCutOff[pin]) / (hitavg - PadCutOff[pin]));    // With full range (Too sensitive ?)
          hitavg = (hitavg / 8) -1 ;                                                 // Upper range
        }
        else
        {
          hitavg = 127;
        }
        MIDI_TX(144,PadNote[pin],hitavg); //note on

        PinPlayTime[pin] = 0;
        activePad[pin] = true;
      }
      else
      {
        PinPlayTime[pin] = PinPlayTime[pin] + 1;
      }
    }
    else if((activePad[pin] == true))
    {
      PinPlayTime[pin] = PinPlayTime[pin] + 1;
      if(PinPlayTime[pin] > MaxPlayTime[pin])
      {
        activePad[pin] = false;
        MIDI_TX(144,PadNote[pin],0);
      }
    }
  }
}

//*******************************************************************************************************************
// Transmit MIDI Message
//*******************************************************************************************************************
void MIDI_TX(byte MESSAGE, byte PITCH, byte VELOCITY)
{
  status1 = MESSAGE + midichannel;
  Serial.write(status1);
  Serial.write(PITCH);
  Serial.write(VELOCITY);

}
Step 6: Have Fun!
That's it!
Everything is now connected and put together.
Have fun and annoy your parents with your new drum kit! :)

Participated in the
On a Budget Contest

Participated in the
DIY Audio and Music Contest


