

Introduction: Making a Cardboard Mario Kart Frame

Step-by-step instructions for creating a Mario Kart cardboard frame.
Step 1:

1. Begin by finding enough cardboard for the project; 4 or 5 large boxes will be sufficient.
Step 2:
2. Turn boxes into flat sheets by cutting one section in between the flaps that create the top and bottom of the box.
Step 3:
3. Draw out the pieces needed for the entire project.
a. You will need: a top, front, back, two sides, two stabilization strips, two spoiler wings, spoiler wedge, and spoiler legs.
Step 4:

4. Determine how long and wide you will want the cart to be.
a. This cart is 2/3 of the builder’s height and 18 inches tall. This determines the shape of the two sides and length of top. Make the width small enough to fit through doorways.
Step 5:

5. Determine the cutout location in the top piece of the cart, for you to stand in.
a. The cutout should be centered within the piece, leaving 2 inches on the sides of the top piece, and wide enough for the user to fit inside.
Step 6:

6. Once all of the pieces are cut out and ready for assembly, lay the top, and two sides on a flat surface face down, with the wheel cutouts on the sides facing away from each other.
Step 7:

7. With the pieces laying next to each other in the sequence of, side, top, side, tape the sides to the top with multiple strips of tape.
Step 8:
8. Once enough tape has been applied to connect the pieces together flip the now singular piece over onto the face side and repeat the taping process. This ensures a durable structure. Some tape should span the entire width of the cart.
Step 9:
9. Fold both ends of the stabilization strips to create two brackets.
Step 10:

10. With the cart’s sides folded down creating a frame, stretch the stabilization strips across the width of the car inside the wheel cutouts with flaps folding onto the face of the cart’s sides and tape in place.
Step 11:

11. Begin attaching the front of cart to the top and sidepieces. Some bending of the cardboard will be necessary but it will make the cart look less box-like. Use score lines to help the bending of the cardboard.
Step 12:
12. Tape the front to the sides first but make sure the top of the cart, with rounded side facing forward, is on top of the front piece. Apply tape on edges and stretch a piece the width of the car to keep it together furthermore.
Step 13:

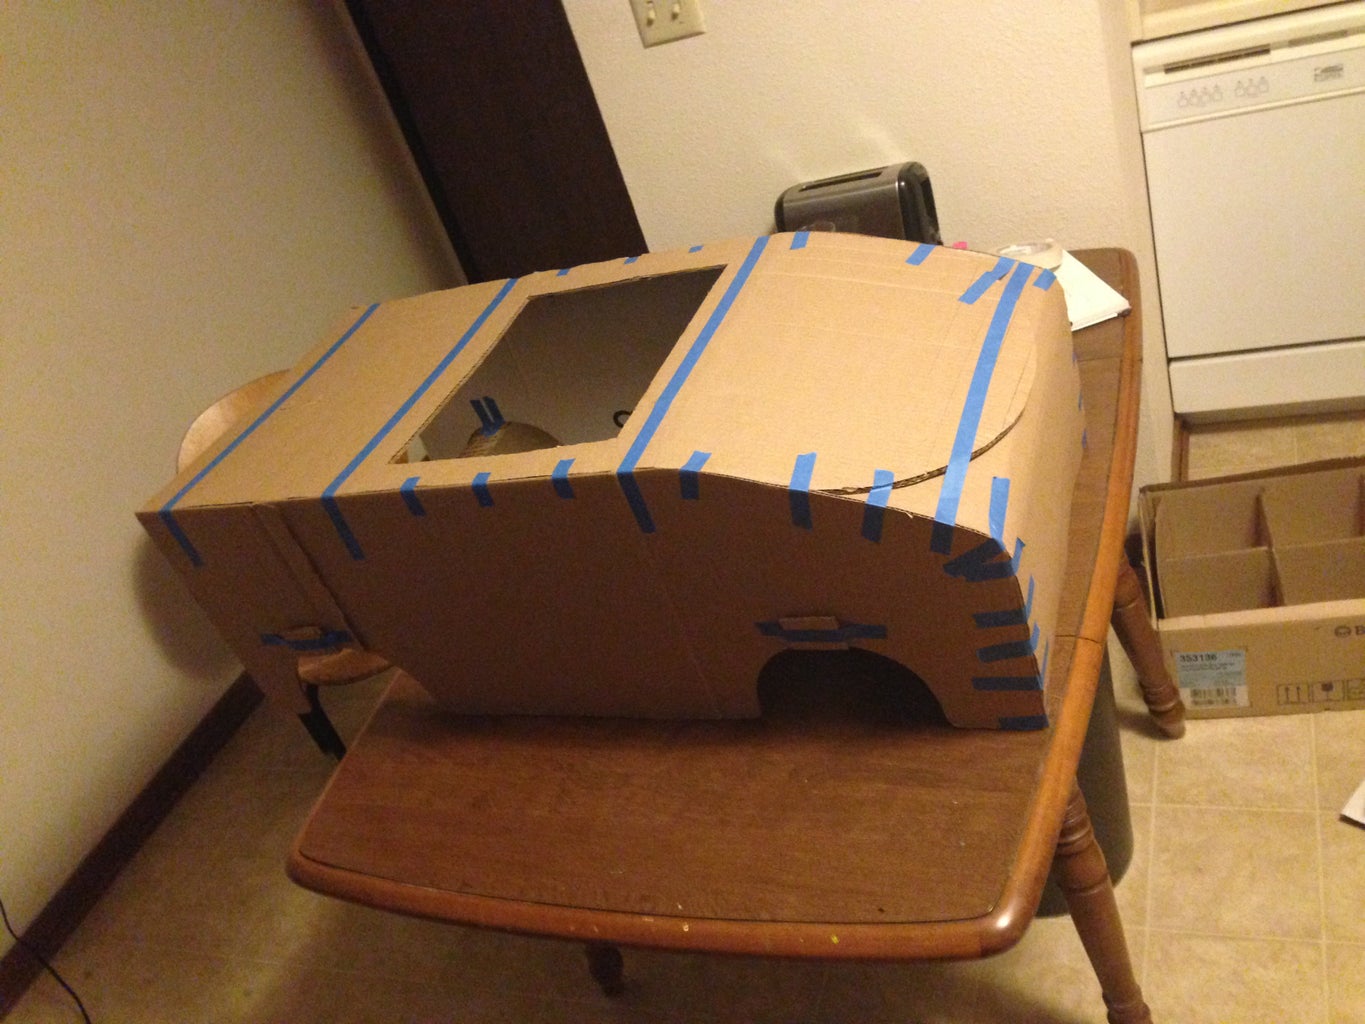
13. Start attaching the back of the cart onto the rest of the frame with the same taping process used to attach the front in step 11. I found running tape along the seams of the separate pieces keeps them together fairly well.
Step 14:
14. Begin assembling the spoiler by attaching the spoiler wedge to one of the spoiler wings, using adequate tape.
Step 15:
15. Attach the other wing to the opposite side of the wedge to create a full spoiler body. The width of the spoiler should be smaller than the width of the cart.
Step 16:
16. Attach the spoiler legs to each wing.
Step 17:

17. Locate a position on the back of the cart (I chose about an inch off of the back) to insert the spoiler into.
Step 18:
18. Once a spot is chosen, slice two slits the same width of the spoiler legs into the top of the cart. Make sure the slits are no thicker than the cardboard used for the spoiler legs.
Step 19:

19. Fit the spoiler legs into the slits that were just cut. Multiple slices help the legs slide in easier. If spoiler seems to fall through the slits, apply tape for stabilization.
Step 20:

You now have a frame for a Mario Kart cart. Apple tape to where frame seems weak. Prep frame for paint job.


