

Introduction: Pinguino Egypt - PIC Based Arduino


It 's been eleven years since I first started learning and building my first Microchip PIC Microcontroller circuit. I really like this Microcontroller family.
Recently, I started reading and trying some Arduino. Amazon DE
I really wished to build a similar circuit based on the Microchip PIC. Even I started to think to design a circuit of my own. I searched online and I found Pinguino.
Just like Arduino Amazon DE, there are many versions of Pinguino using different Microcontrollers from Microchip. I wanted to build the version using PIC18F4550.
I found Pinguino before this time and saw it among many other Arduino clones , but this time was really different.
I was ready to start making circuits with the PIC18F4550chip after I completed building the PIC18F4550programmer .
So I decided to start from where the others have reached.
I 've decided to build this magnificent circuit that brings all my dreams together,
PIC based , Arduinocompatible and Easy-to-build.
I was such excited to build it and try all Arduinoprojects with it. So, I started to collect the data and components to start working.
I also wanted to try the PC Software/Embedded Software communication.
Although I was determined to build the circuit on a copper board to stay with me and use it many times, I wanted to quickly assemble it on a bread board to try it ASP !!!
Here are some useful links:
http://wiki.pinguino.cc/index.php/PIC18F4550_Pinguino
http://wiki.pinguino.cc/index.php?title=File:Pin_pinguino_18F4550_%282%29.png&limit=500
http://blog.pinguino.cc/
http://www.hackinglab.org/pinguino/
http://jpmandon.blogspot.com/
https://sites.google.com/site/pinguinotutorial/home
بدأت تعلم المتحكم الدقيق منذ إحدى عشر عاماً . و كان أول ما تعلمته هو المتحكم الدقيق من عائلة
Microchip
و منذ فترة قصيرة حاولت تجربة الاردوينو و كنت أود تصميم دائرة الكترونية بسيطة مشابهة باستخدام المتحكم الدقيق من عائلة
Microchip
يمكنك قراءة هذه المقالة باللغة العربية
http://arabic-embedded-egypt.blogspot.com/2014/03/pinguino-egypt.html
You can find this instructable on my blog :
Here is my Channel on Youtube:
AeroArduino
Step 1: Components


Material I built my board with :
1 Copper Board ( VeroBoard or Stripboard or Perfboard) Banggood , Aliexpress
1 PIC 18F4550Amazon US, Amazon UK, Amazon CA, Amazon FR, Amazon DE or PIC 18F4550 (eBay)
1 40 Pin IC SocketAmazon US, Amazon UK, Amazon CA, Amazon FR, Amazon DE or 40 Pin IC Socket (eBay) , Aliexpress
1 USB Type B Socket Amazon US, Amazon UK, Amazon CA, Amazon FR, Amazon DE USB Type B Socket (eBay) Aliexpress , Banggood
1 20MHz Crystal Amazon US, Amazon UK, Amazon CA, Amazon FR, Amazon DE 20MHz Crystal (eBay) Aliexpress , Banggood
1 220nF CapacitorAmazon US, Amazon UK, Amazon CA, Amazon FR, Amazon DE 220nF Capacitor (eBay)
1 100nF Capacitor Amazon US, Amazon UK, Amazon CA, Amazon FR, Amazon DE 100nF Capacitor (eBay)
2 22pF Capacitors Amazon US, Amazon UK, Amazon CA, Amazon FR, Amazon DE 22pF Capacitors (eBay)
1 Push Button Amazon US, Amazon UK, Amazon CA, Amazon FR, Amazon DE Push Button (eBay)
1 Dip Switch Amazon US, Amazon UK, Amazon CA, Amazon FR, Amazon DE Dip Switch (eBay)
1 10k Ohm Resistor Amazon US, Amazon UK, Amazon CA, Amazon FR, Amazon DE 10k Ohm Resistor (eBay)
1 7805 Voltage Regulator Amazon US, Amazon UK, Amazon CA, Amazon FR, Amazon DE 7805 Voltage Regulator (eBay)
1 9v Battery Connector Amazon US, Amazon UK, Amazon CA, Amazon FR, Amazon DE 9v Battery Connector (eBay) , Banggood , Aliexpress
1 Female Pin Header Amazon US, Amazon UK, Amazon CA, Amazon FR, Amazon DE Female Pin Header (eBay)
1 1N4001 Diode ( or any other general purpose diode )
2 Rows of Pin Headers Amazon Rows of Pin Headers (eBay)
The first circuit is the circuit diagram on the Pinguino website.
And the second circuit is the one I 've built in detail.
Step 2: Start Soldering


There are many instructables and other online tutorials for soldering.
I used a large verro board because I didn't know how exactly the circuit will occupy.
I started to solder the components on the board.
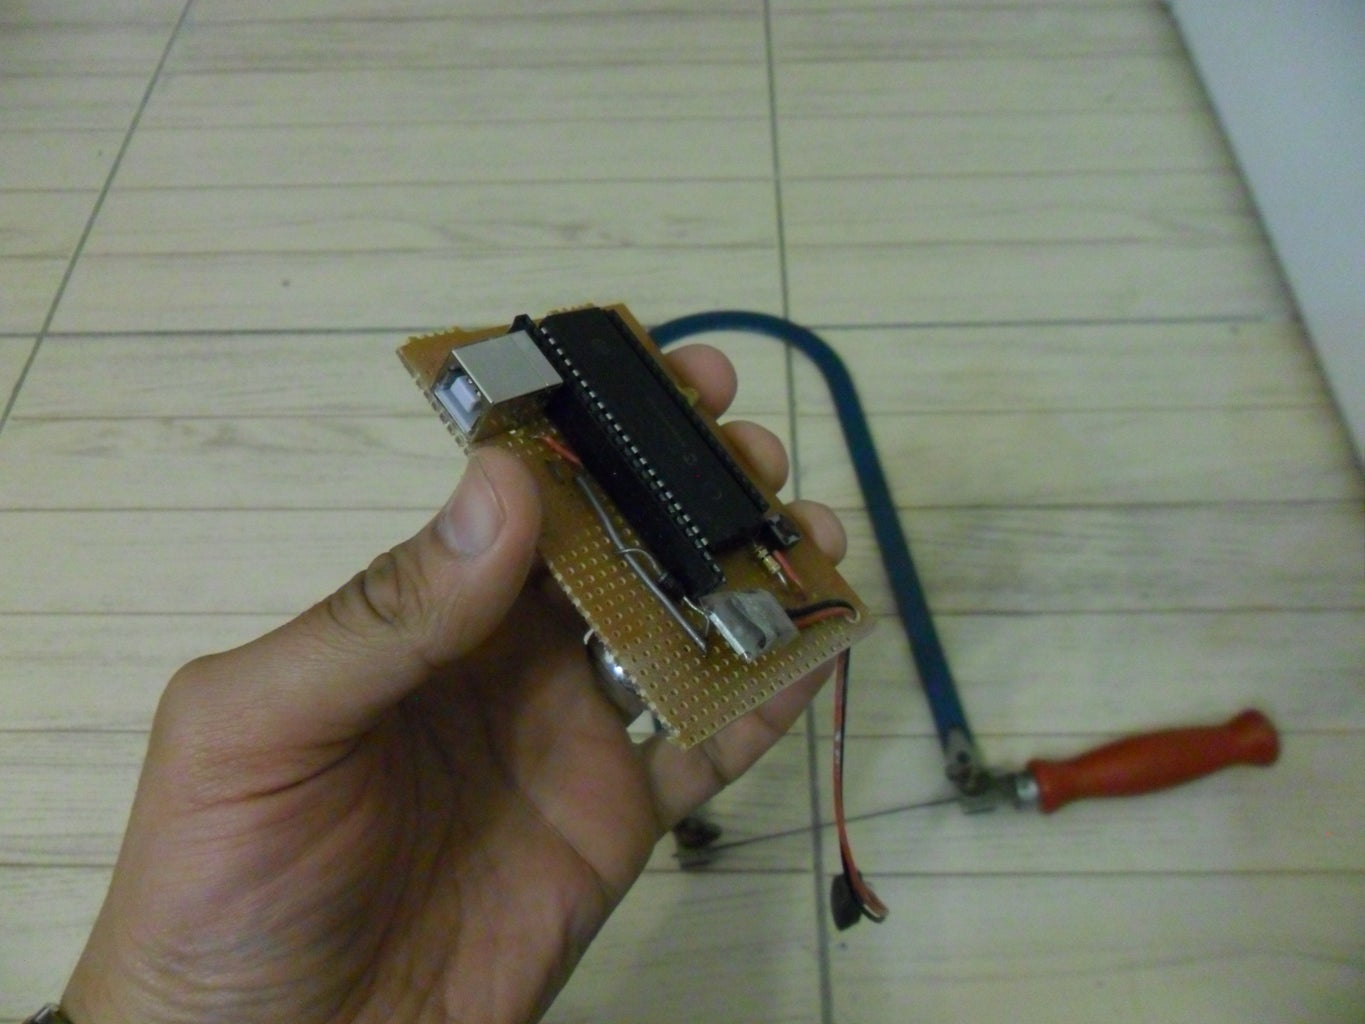
After I finished assembling and soldering, I used a fret sawto cut the board into the size which the components actually fit into.
Step 3: Install Pinguino Boot Loader


The boot loader is the initial software that enables the Microcontroller to communicate with the PC through the USB port.
It also enables the Microcontroller to self update its software sent on the USB port.
This is the link were you can get the boot loaders of your circuit. In my circuit, I 've chosen the PIC18F4550Microcontroller with the 20MHz Crystal.
http://pinguino32.googlecode.com/svn/bootloaders/8/usb/v4.x/hex/
The 18F4550 Microcontroller chip is a self programming Microcontroller.
This means that the Pinguino board can be used to update its Firmware to a new one making it capable of doing a new function.
Initially , the Microcontroller cannot directly communicate with PC using USB port. But it can be programmer as a normal Microcontroller.
You can program your chip on an external USB or Serial Microcontroller programmer.
You have to do this step only once. After this, when completing Pinguino, you will not have to use a programmer any more.
I installed the bootloader using a simple programmer I previously built. It is called JDM Programmer.
You can build it your self. It is simple and direct.
Here is a link for the Instructable of the programmer
https://www.instructables.com/id/18F4550-Programmer-in-Ten-years/
I used the PicPGM programmer with my serial JDM programmer to load the target bootloader file (Bootloader_v4.13_18f4550_X20MHz.hex)
After successfully install the Bootlader Hex file on the Microcontroller chip , you can insert it into the Pinguino board.
Congratulations , you have completed the Pinguino board Hardware part !!
Step 4: Pinguino IDE Installation


The Pinguino IDE is the software part of the Pinguino where you can develop code for your project, compile it and then upload it into your Pinguino board.
Here is how to install the Pinguino IDE on Windows Xp
http://wiki.pinguino.cc/index.php/Windows
It may looks a little bit long. But believe me , it's not complicated.
They are simple and strait forward steps.
Here what I 've done simply :
1- Download and extract Pinguino IDE for window form here
https://code.google.com/p/pinguino32/downloads/detail?name=Pinguino-IDE-snapshot-i386-unknown-win32-20131209-rev959.7z&can=2&q=
2- Download vcredist_x86.exe (for win32) --- If you encounter the message of not existing msvc*90.dll in Windows,it has to be installedfrom here
http://www.microsoft.com/en-us/download/details.aspx?id=5582&WT.mc_id=MSCOM_EN_US_DLC_DETAILS_131Z4ENUS22004
3- Download and Install Python from here:
http://www.python.org/ftp/python/2.6.6/python-2.6.6.msi
4- Download and install wxPython 2.8.12.1(unicode) for Python 2.6
http://downloads.sourceforge.net/wxpython/wxPython2.8-win32-unicode-2.8.12.1-py26.exe
5- Download and install pyusb-1.0.0a2-py2.6
http://sourceforge.net/projects/pyusb/files/PyUSB%201.0/1.0.0-alpha-2/pyusb-1.0.0a2.zip/download
To install Pyusb module , you have to follow the next steps :
- Add python path to the PATH variable .. for example c:\python27
- Extract pyusb folder on any location of your hard disk
- Open the command prompt and change directory to the pyusb directory.
- Run the command python setup.py install
- Make sure that the Pyusb module is installed by python directory and look for site-packages folder .. for example : C:\Python27\lib\site-packages if you can find usb folder inside then pyusb is successfully installed.
- You can now remove the Pyusb source folder.
6 - Download and install libusb-win32
http://downloads.sourceforge.net/libusb-win32/libusb-win32-filter-bin-0.1.12.1.exe?modtime=1174387137&big_mirror=0
(Don't discard this file yet. In some cases the library has to be installed twice to work.)
7- Download and install pyserial
http://sourceforge.net/projects/pyserial/files/pyserial/2.5/pyserial-2.5.win32.exe/download
Now , with a printer USB cable, connect your Pinguino board to the PC. You 'll get the Found New Hardware popup message.
8- Download and Extract Driver from here:
http://www.hackinglab.org/pinguino/download/driver%20pinguino%20windows/driver%20pinguino%20windows.tar.gz
Now, from the folder of Pinguino IDE ( ..\PINGUINO\x4-easy-rev959\ ) start pinguino.exe file.
That's it.
Now you can open any example or Arduinosketch, compile it and then upload it into your Pinguino board and start your application.
Thank you for visiting my instructable. Have fun.
You can also find my book Learn By Making on Amazon website.
If you like this instructable you can support us by many ways:
1. Leave comments stating your point of view about this article.
2. Buy our book on Amazon Learn By Making.
Thank you for visiting our instructable.
Here are some of my latest books on Amazon.
Step 5: Hello World


The example here
http://wiki.pinguino.cc/index.php/Basics#Hello_World
Show you how to send text on the USB port using CDC emulated RS232
Just copy and paste the code
/*
-------------------------------------------------
HELLO WORLD CDC
-------------------------------------------------
*/
void setup()
{
// put your setup code here, to run once:
}
void loop()
{
// put your main code here, to run repeatedly:
if (CONTROL_LINE) CDC.println("\n\r Hello World !!!");
}
And windows xp will ask for a driver software .
You can find it under Pinguino IDE Folder
..\PINGUINO\x4-easy-rev959\extra\drivers\CDC
Run Hyper terminal
with the following settings:
Speed (Baud): 115200
Data bits: 8
Stop bits: 1
Parity: None
Flow control: XON/XOFF
That's it.
.
Thank you for reading my instructable.
Do you like audio books and want to learn something new on the Go ?
This instructable is brought to you by Audible, the famous Audio Books Platform. You can now listen to free Audio Books from Audible.
Listen to Free Audio Books on Audible US ...
Listen to Free Audio Books on Audible CA ...
Listen to Free Audio Books on Audible UK ...
Listen to Free Audio Books on Audible DE ...
Listen to Free Audio Books on Audible FR ...
Wish you the best. And have fun ,Live free And Read Books on Amazon
You can also find my book Learn By Making on Amazon website.
If you like this instructable you can support us by many ways:
--------------------------------------------------------------------
1. Leave comments stating your point of view about this article.
2. Buy our book on Amazon Learn By Making.
3. Click on links of our sponsors without adding any extra cost on you if you make purchase from them. Actually, many of these offers are totally free. This means that you can enjoy something for free and still support our blog to keep posting useful stuff.
Amazon.com - Read eBooks using the FREE Kindle Reading App on Most Devices
This is the well-know Amazon Kindle platform. If you sign up for the free reader from Amazon to read any book, we get commission. There are many useful book for free on Amazon Kindle. Even you can find best sellers offered for free on Kindle format. The best part is you can have the application on any platform. You can even read any book without installing any application by using Amazon Cloud-Reader on your browser.
Join Amazon Kindle Unlimited 30-Day Free Trial
You can join Amazon Kindle for 30 days free to have access to many paid book for free. You can cancel you subscription anytime.
Try Amazon Prime 30-Day Free Trial
The Amazon Prime is a special paid service from Amazon that offers good promotions and one-day free shipment for Amazon Shoppers. You can try this service for 30 days. You can cancel you subscription anytime.
Shop Amazon - Give the Gift of Amazon Prime
Try Audible and Get Two Free Audiobooks
Audible is the audio books website from Amazon. Many Kindle books are sold on Audible. You can try this service for free and get 2 free book. You can cancel you subscription anytime.
Shop Amazon - Create an Amazon Baby Registry
If you have a new baby borne or expecting one, you can create your free baby registry to easily save products and get offers and promotions on baby requirements.
Thank you for visiting our instructable.
Here are some of my latest books on Amazon.

Participated in the
Full Spectrum Laser Contest

Participated in the
123D Circuits Contest


