

Introduction: Pinhole Camera
This instructable will provide instructions on how to create your very own pinhole camera. The pinhole camera is the world's earliest version of a camera and is rather simple to recreate, even with a cardboard box. Creating a pinhole camera, waiting through exposure times, and developing in the darkroom gives a glimpse into how the world's first photographers operated and transformed image capturing as we know it today.
Supplies
- Laser Cutter
- Cardboard
- Black and White Film Paper
- Black Paint
- Black Duct Tape or Electrical Tape
- Aluminum Foil
- Needle
- Hot Glue
- Adobe Illustrator
- Box Cutter
- Scissors
- Developer
- Stop Bath
- Fixer
Step 1: Create Your Box File

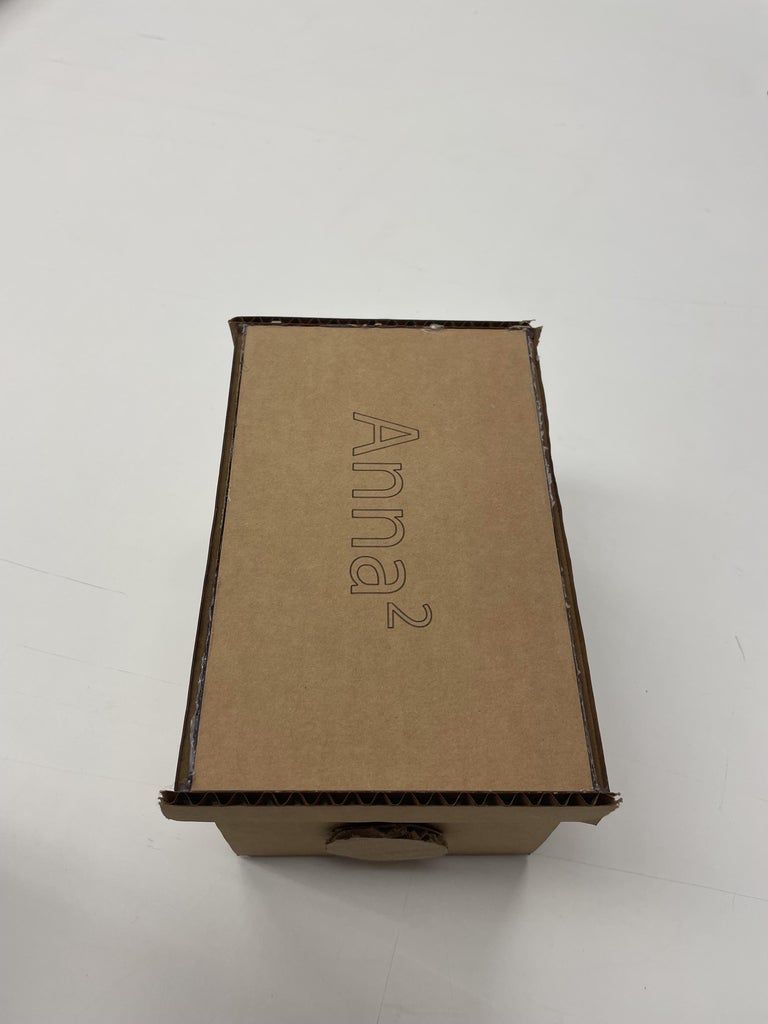
Using Adobe Illustrator, or by downloading a template from the internet, create a file for your pinhole camera to be uploaded to the laser cutter. Different colors within the file represent lines which are to be cut through versus etched as a design by the laser cutter. The camera will need to be light tight, fitting together perfectly, so that no light can enter the box except through the intended pinhole at the front of the camera. The file should account for a relatively larger circle cut out of the front of the camera, as the pinhole will be made by poking a needle through the aluminum foil covering this circle later.
Step 2: Laser Cutter


Take your finalized Illustrator file to be laser cut. The file can be scaled up or down in the laser cutter software for a larger or smaller camera. Note: the larger the pinhole camera, typically the more zoomed in the photos will be. Place a fairly large piece of cardboard in the laser cutter, or wood if you'd prefer your camera be made out of it instead. Adjust the power and speed settings for your specific laser cutter and material. Be careful to not look directly at the laser for long, as it can cause damage to your eyes. If there are any areas that did not cut fully through while you are trying to separate the pieces, carefully take a box cutter to finish slicing the incisions. If your pieces do not look like they will be aligned and properly fit together, consider recutting your design or altering your original file. Many pinhole camera templates from the internet already have ridged edges, like seen in the photo above. We ended up having to scrap this aspect from our design because the ridges would not line up properly, which is why our final camera had straight edges.
Step 3: Assembly


Lay out the pieces to your pinhole camera. Begin hot gluing the pieces together, as tightly as possibly. Once all of the pieces have been glued together, take precautions to ensure your pinhole camera will be light tight. For one, paint the entire inside of your camera black, including the hot glue that is showing. Cover all edges with electrical tape from the inside. Hold a flashlight inside of your camera to see if there are any areas that potentially need more tape, paint, or glue to keep out light.
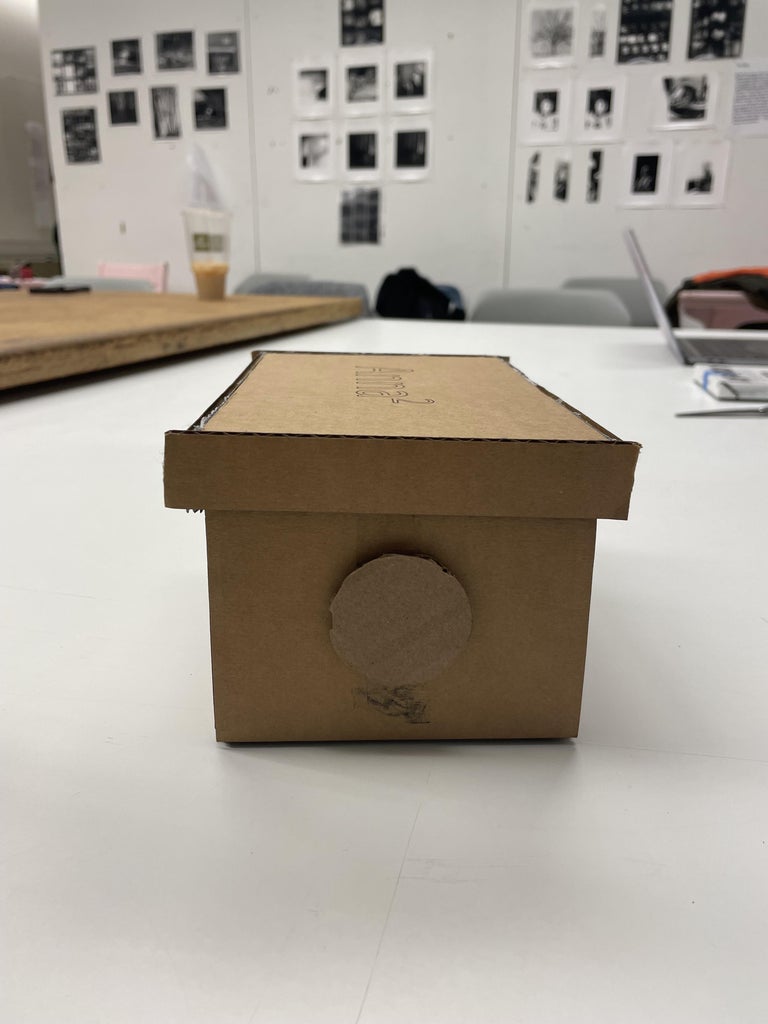
Step 4: Creating a Pinhole and a Shutter

Cut a square of aluminum foil large enough to fully cover the open circle in the front of your camera and then some. Be careful there are no rips or abrasions in the square or the pinhole will not work.Tape the aluminum foil over the circle from the inside of the box. Then, taking a small pin or sewing needle, barely poke a hole in the center of the aluminum foil. This hole should be the only place light will enter your camera in order for the photos to develop successfully.
A shutter can be made a variety of different ways. The way we sought to create one was by using the cardboard circle from our file that is slightly larger than the circle cut out in the front of the camera. Put folded over electrical tape or blue painters tape (so the shutter will be easy to remove) on one side of the shutter so that it can be stuck over the pinhole. Again, you may want to use your flashlight on the inside of the camera, now with the shutter on, to ensure the shutter makes the box light tight. You can always add more electrical tape to the shutter until it adequately blocks light from the pinhole.
Step 5: Taking Photos

Set up your camera for taking a photo by going into the dark room and placing your photo paper in the desired slot, with the shiny side facing the pinhole. Only take out the photo paper while in the dark room to avoid exposure. Next, choose your photo location, preferably outdoors because indoor photos and lighting creates strange exposure times.
Figuring out the correct exposure time for your camera will likely require a few attempts, depending on the weather, the size of your camera, and the distance between the pinhole and your photo paper within your camera. The sunnier it is outside, the shorter your exposure time. The smaller your camera, the shorter your exposure time. The shorter the distance between the pinhole and photo paper, the shorter your exposure time.
Remove your shutter from the pinhole camera and keep your camera still. If it is a bright sunny day, I would recommend starting your exposure time at approximately 30 seconds, but this could still be too long depending on the size of your camera. If it is a cloudy and overcast day, I would recommend starting your exposure time at around 1 minute. Be sure to keep track of how long you are exposing your camera, so you can lessen or lengthen the time for your next test depending on the results of the photo.
Step 6: Developing Photos

After covering the shutter once again, take your pinhole camera back inside to the dark room. Once in the dark room, you may open up your pinhole camera and remove the photo paper. Begin the developing process by placing the photo paper in the developer liquid with tongs for the designated amount of time. Once that amount of time has passed, move your photo paper to the stop bath and wait once again. Repeat this process for the fixer fluid. Finally, rinse your photo paper off with water for the designated amount of time.
Once you have completed that whole process, your photo will be developed and it is free to be taken into the light. Remove your photo from the dark room and squeegee down any excess liquid. Place the photo on the drying rack. At this point, you should be able to see if your photo was successful. If the photo seems excessively dark, the photo is overexposed and needs a shorter exposure time for your next trial. If the photo is excessively light, the photo is underexposed and needs a longer exposure time for your next trial. More than likely, you will be facing issues with overexposure, especially depending on the weather.
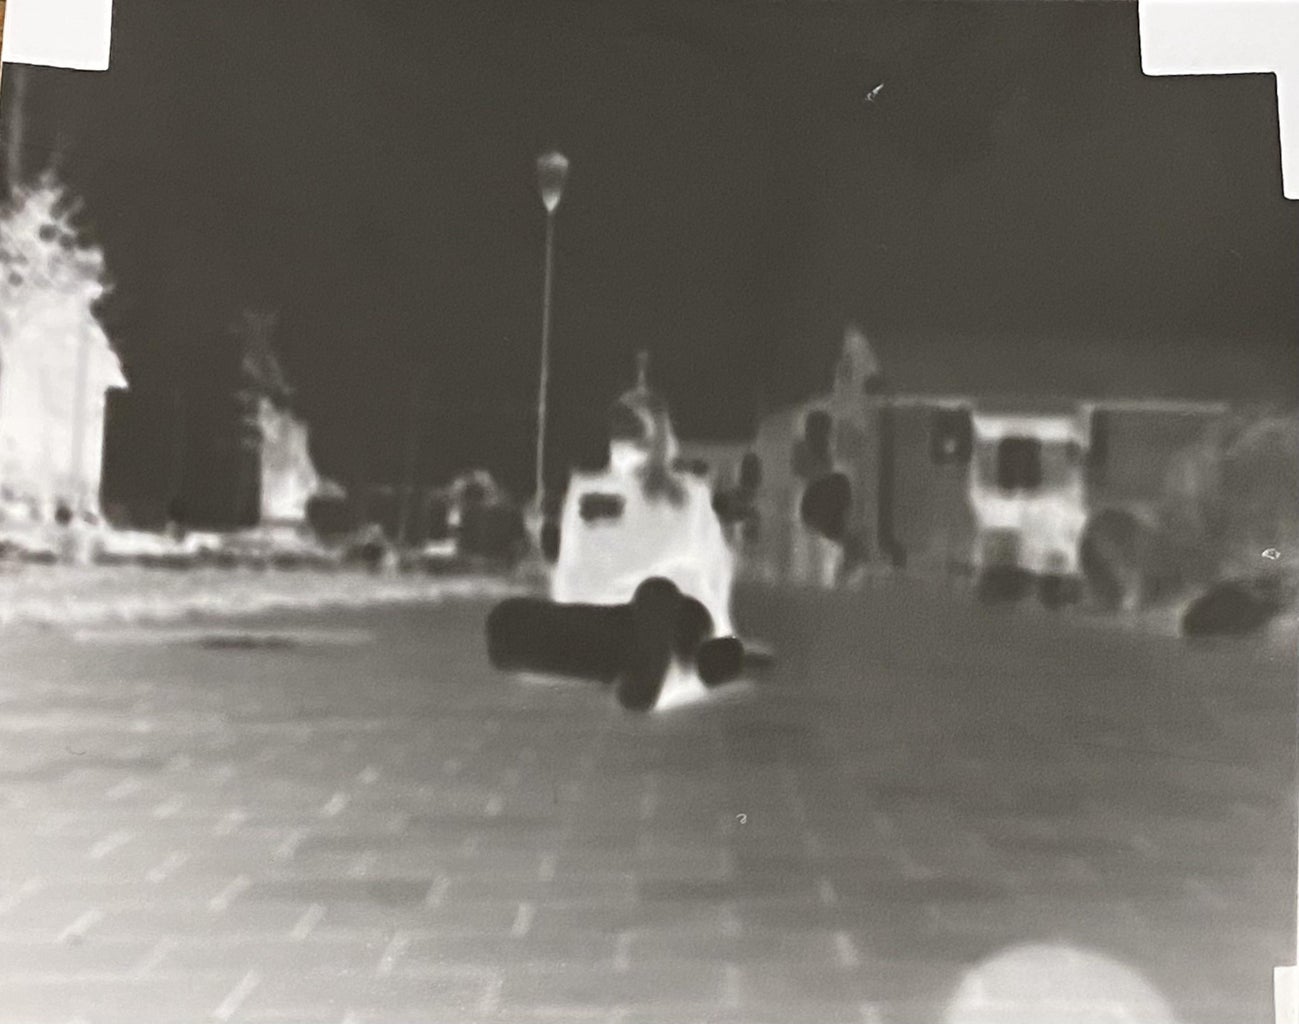
Your final photo will be inverted, so you can take a photo and invert the colors to see the actual composition. The black photo shown above is what come directly out of the dark room for us, and the lighter photo is that same photo digitally inverted.
Congratulations on taking a photo with a cardboard box!


