

Introduction: Pinning Liquid Crystal Displays


When my Arduino UNO kit came in the 16 x 2 Liquid Crystal Display didn’t have connecting pins or wires connected to it and salvaged liquid crystal displays don’t always have pins or wires you can use. In this Instructable I will show how to add connecting pins to your Liquid Crystal Displays so you can plug them into breadboards, circuit boards or attach them to leads.
Step 1: The Liquid Crystal Displays
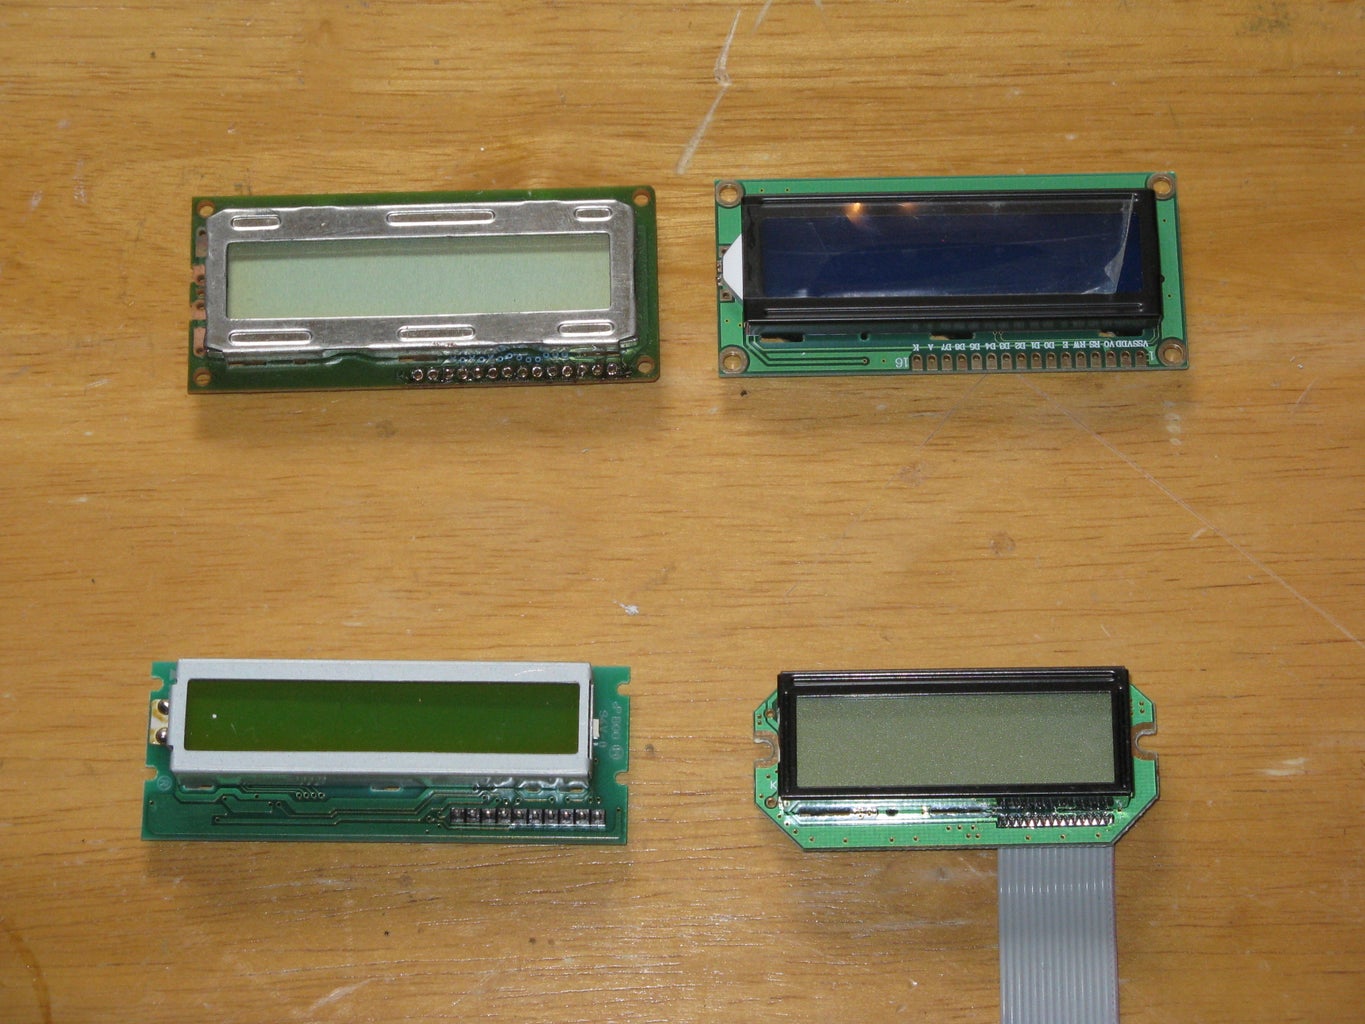

Other than the 16 x 2 liquid crystal display I got with my Arduino I have a number of displays I salvaged from electronics I dissembled for the useful parts.
The Arduino is a 16 x 2 LCD with 16 through holes for wires or connecting pins, 8 data inputs and 2 for LED light.
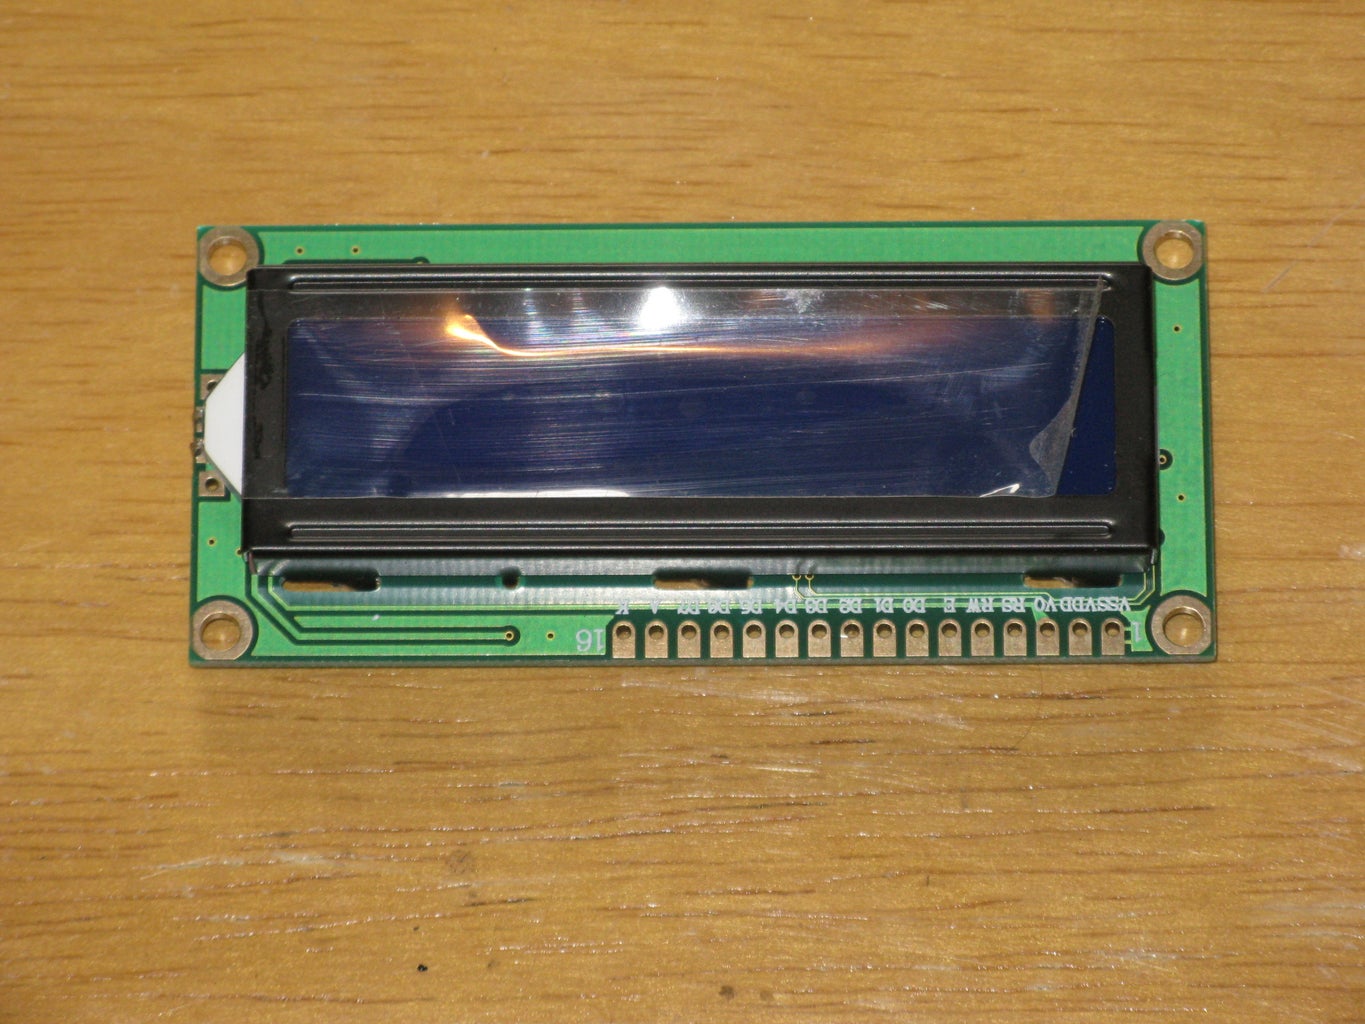
The LCD beside the Arduino LCD is a 16 x 2 LCD with 14 through holes for connecting pins or wires, 8 data inputs.
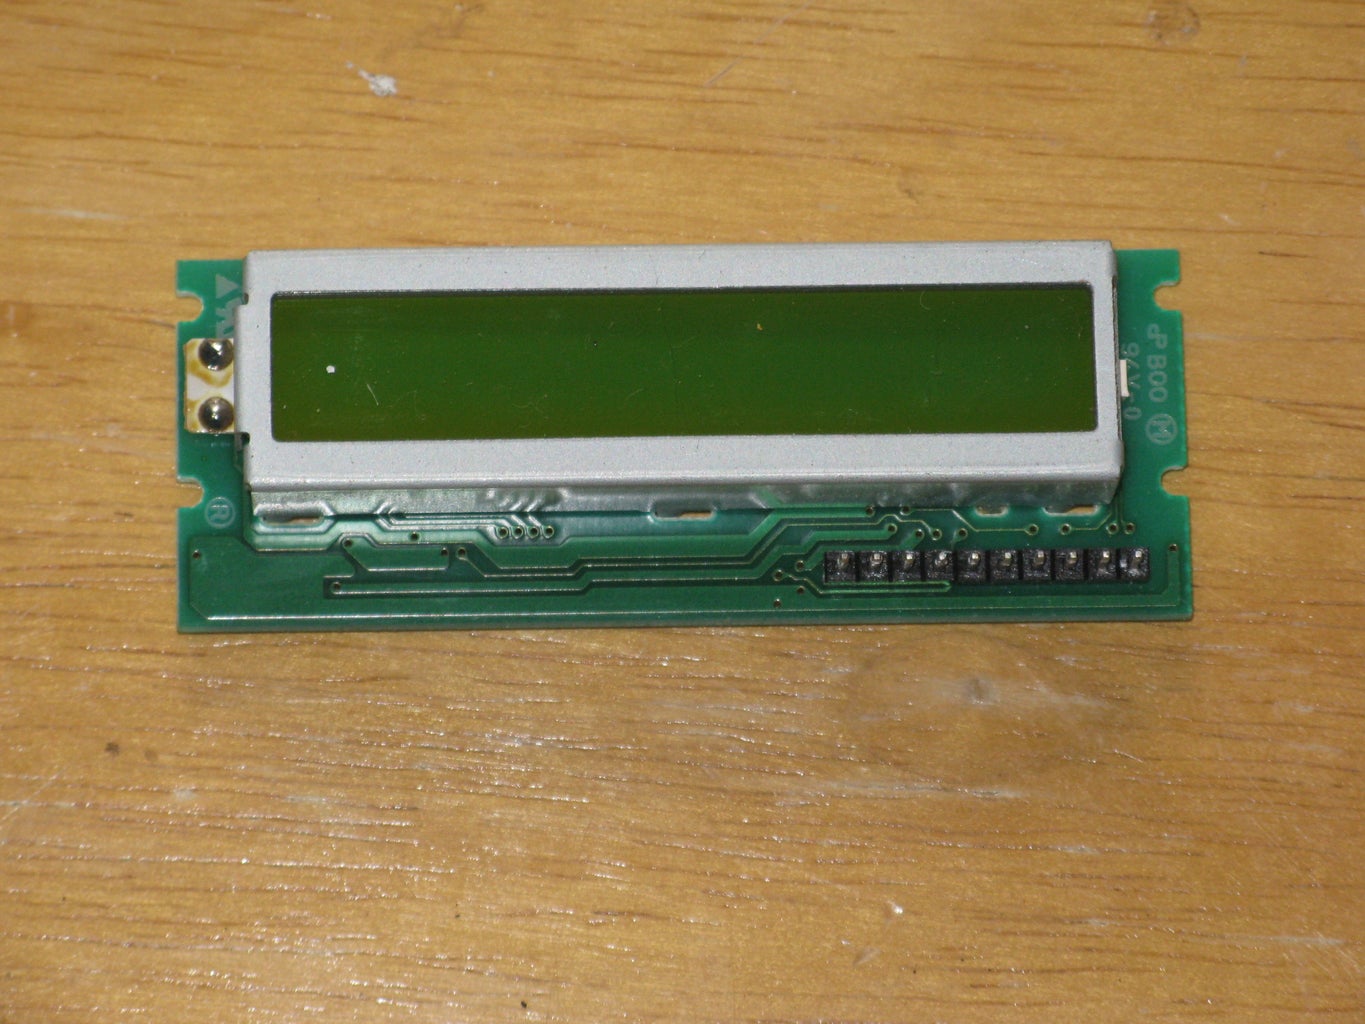
The next LCD is a 16 x 1 LCD with 10 straight connecting pins 4 data inputs.
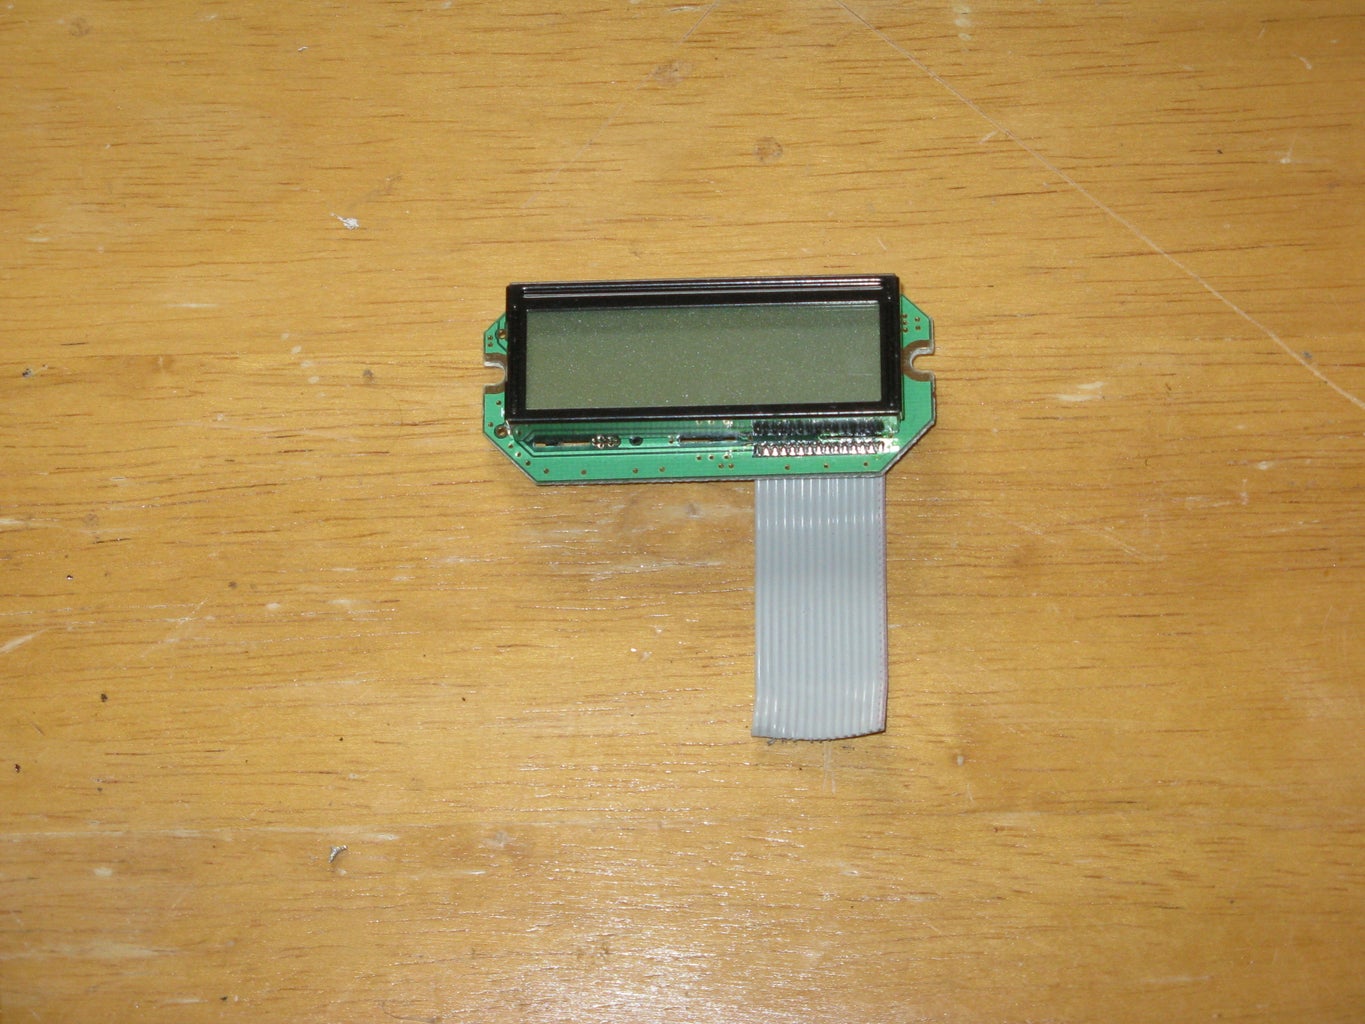
And the last LCD is a 16 x 2 LCD with long enough leads to keep as is, 8 data inputs and 2 for LED light.
The LCDs I am going to add pins to are the first two.
Step 2: Tools

Propane Blowtorch
Lighter
Soldering Iron
Solder
Long Needle Nose Pliers
Spring Loaded Tweezers
Soft Wire Brush for cleaning the soldered joints.
Step 3: Connecting Pins


Heat sinks, IC sockets, and connector pins just to mention a few can number in the hundreds of dollars when you are building a project. Now you can go to the local electronics store and try to buy connecting pins or you can salvage them like I do. (This is where the blowtorch comes in.)
I start with a circuit board that has the components I want like this mother board.
To hold onto and add weight to the component I want, I clip the spring loaded tweezers to the component and heat all the soldered joints at the same time with the blowtorch with a low flame.
When the soldered joints are melted the component will fall out of the circuit board and if you are good at it you won’t scorch the circuit board.
These are the pins and connectors I salvaged from this motherboard.
Step 4: Selecting the Pin Connectors


For the LCDs I want connectors with at least 16 pins.
Since the connectors have different sizes and spacing of pins I select the connectors closest to the through holes of the LCD.
Last I chose whether I want straight pin connectors or bent pin connectors, for the two LCDs I am doing today I will be using bent pin connectors.
Step 5: Fitting the Connector


This liquid crystal display has 14 through holes so I remove all the pins but 14 of the ones I want and attach the connector to the LCD making sure all the pins are lined up the same, evenly spaced, and ready to solder.
Don’t through the unused pins out they can be used on another project or collect them for the gold and take them to a smelter.
Step 6: Soldering the Pins


When your soldering iron is hot, start by soldering the two outside pins then check that the pins are still lined up. If they need adjusting heat up one outside pin joint and realign the pins.
When you are happy with the alignment solder the inside pins then remove the plastic part of the connector that was keeping the pins in place and clean the excess soldering past off the joints with the soft wire brush.
Follow the same steps with the 16 pin Arduino LCD and you are done pinning your LCDs.
Step 7: The Finished Liquid Crystal Displays


Now that you have connecting pins on your LCDs you can plug the LCDs into a bread board or attach jumper wires to them and start building electronics with LCD displays.

Participated in the
Weekend Projects Contest

Participated in the
Arduino Contest


