

Introduction: Security System and Access Control With Arduino and RFID


Security System and Access Control with Arduino and RFID
This project is an evolotuin of my first project called "Arduino - Security System and Access Control"
As you can see at the blog http://arduinobymyself.blogspot.com.br/2012/03/arduino-sistema-de-seguranca-controle.html (sorry but this project still be in Portuguese).
Instead of using a matricial keyboard, to enter passwords and to allow access to a door or to drive an electronic device, now we will use a RFID (Radio Frequency Identifier Device).
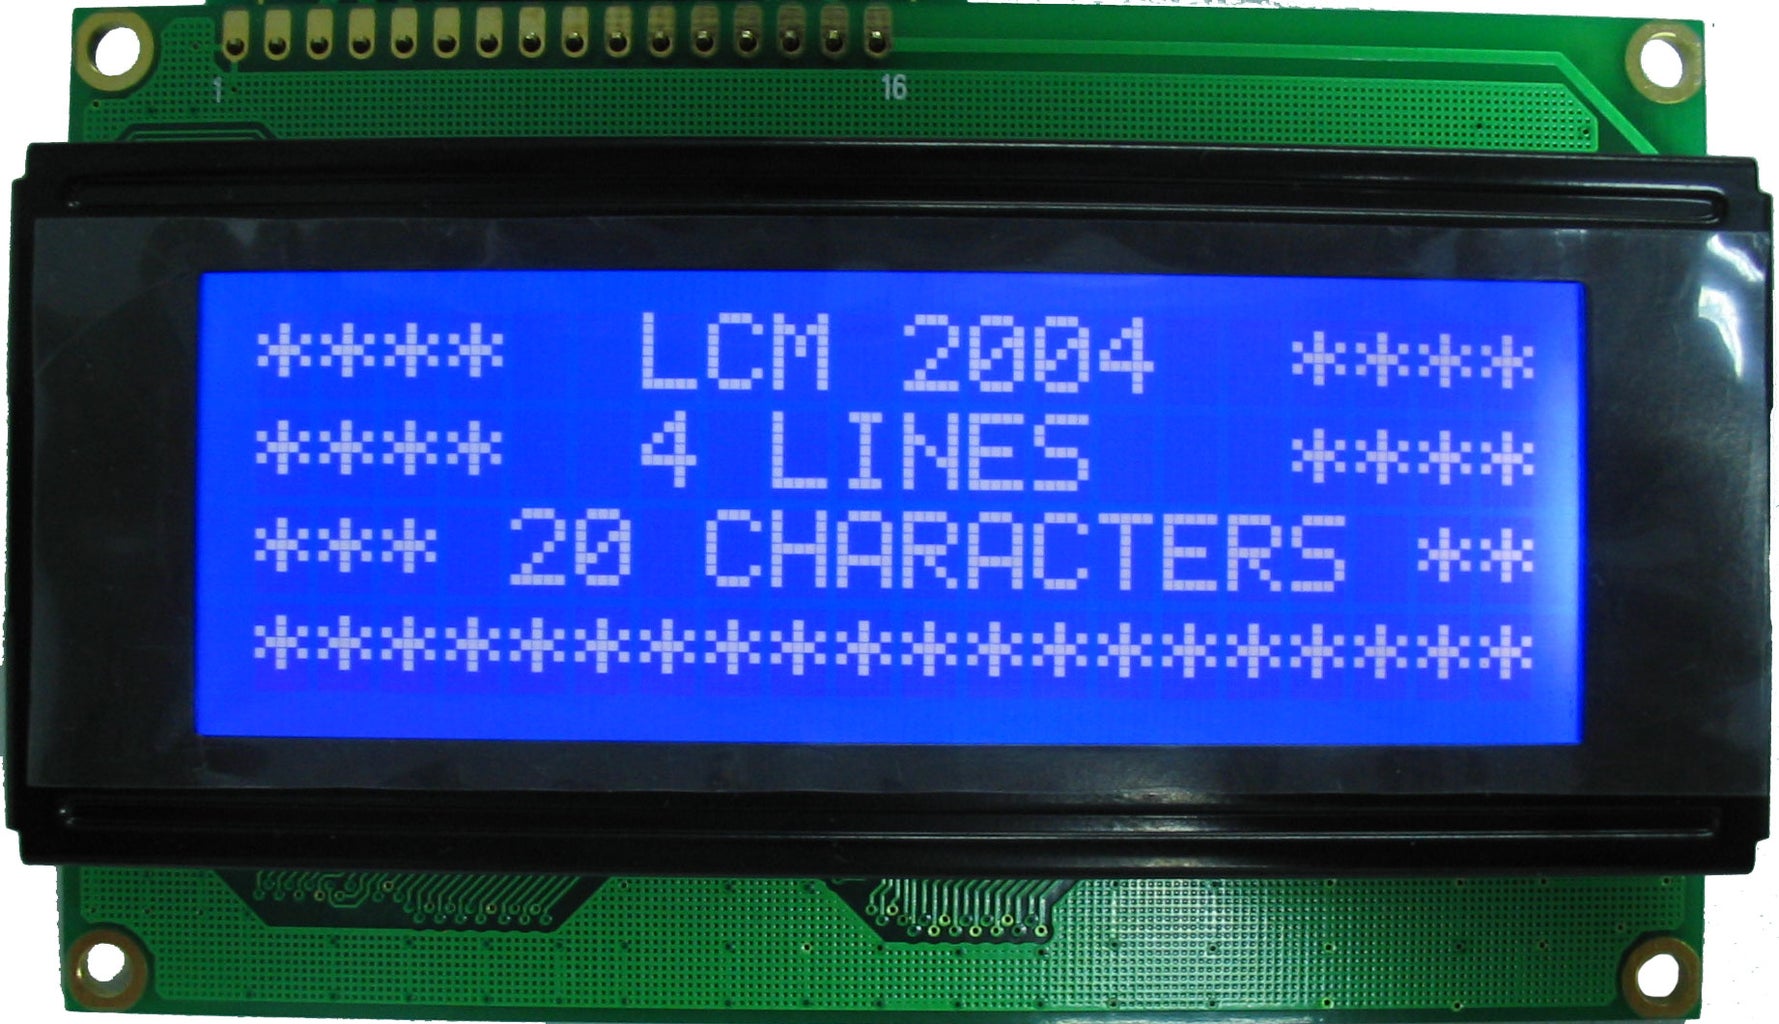
We also will use a LCD Display with 20 character and 4 lines to show some messages from the system, besides a servo-motor to drive an mechanical device like (door's locks, turnstile, etc...).
The electronic device used it is the MFRC522AN RFID (13.56MHz MiFare RC522AN with SPI communication) which can be easily found on electronics shop or on the internet sites at an affordable price.
Like this: http://www.fystore.com/p42892/RFID-module-Kits-S50-13-56-Mhz-6cm-With-Tags-SPI-Write-amp-Read-for-arduino-uno-2560.html
Step 1: Operation


OPERATION:
Users will have cards or tags registered to access the system.
When approaching the card/tag to the RFID sensor (approximately 6 cm), the
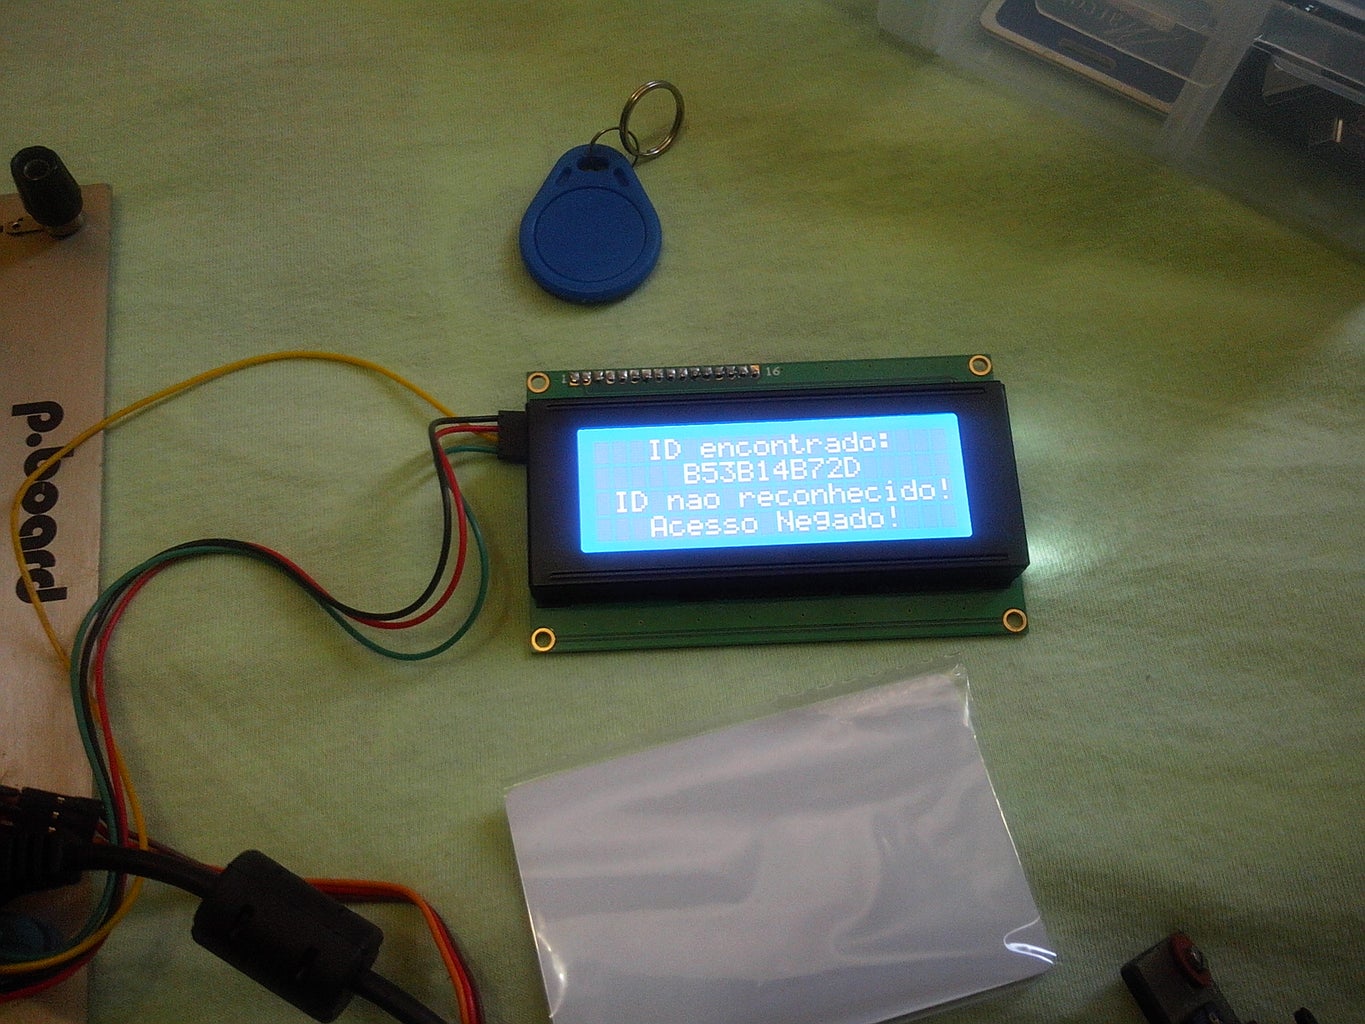
serial number of this card/tag is detected and so compared with a serial number that are recorded in the software or in a database on a memory card; if it is a registered serial number, the system will release the entry of this user. A green LED will be lit and some messages will be appearing in the LCD display ( user recognition and user welcome), besides that a servo will be drived to release a mechanical device.
Otherwise, the system does not release the user access, and a warning red LED will be lit and will be showed a message on the LCD advising the user to contact the account manager.
During this process of release or rejection of users, characteristics beeps will be played on a buzzer (just like a sound announcement).
See the explanatory video at the "Video and Picture" section.
Step 2: Stuff and Materials


STUFF and MATERIALS:
1 x Arduino UNO, MEGA, Duemilanove ou Teensy, etc...
1 x RFID MFRC522AN (SPI communication)
1 x servo-motor 9g
1 x LCD 20x4 (I2C comunication)
1 x green LED
1 x red LED
2 x 220 Ohm reistor
1 x Buzzer
1 x Bread Board
wires and cables to the connection
Step 3: Device Interconnections


INTERCONNECTIONS:
Interconnections from the RFID to the Arduino pins:
Reset > Pin 5
SS > Pin 10
MOSI > Pin 11
MISO > Pin 12
SCK > Pin 13
Ground > Ground
3.3v > 3.3v
Interconnections from the LCD (I2C) to the Arduino pins:
GND > GND of the Arduino
VCC > +5V of the Arduino
SDA > A4 pin of the Arduino
SCL > A5 pin of the Arduino
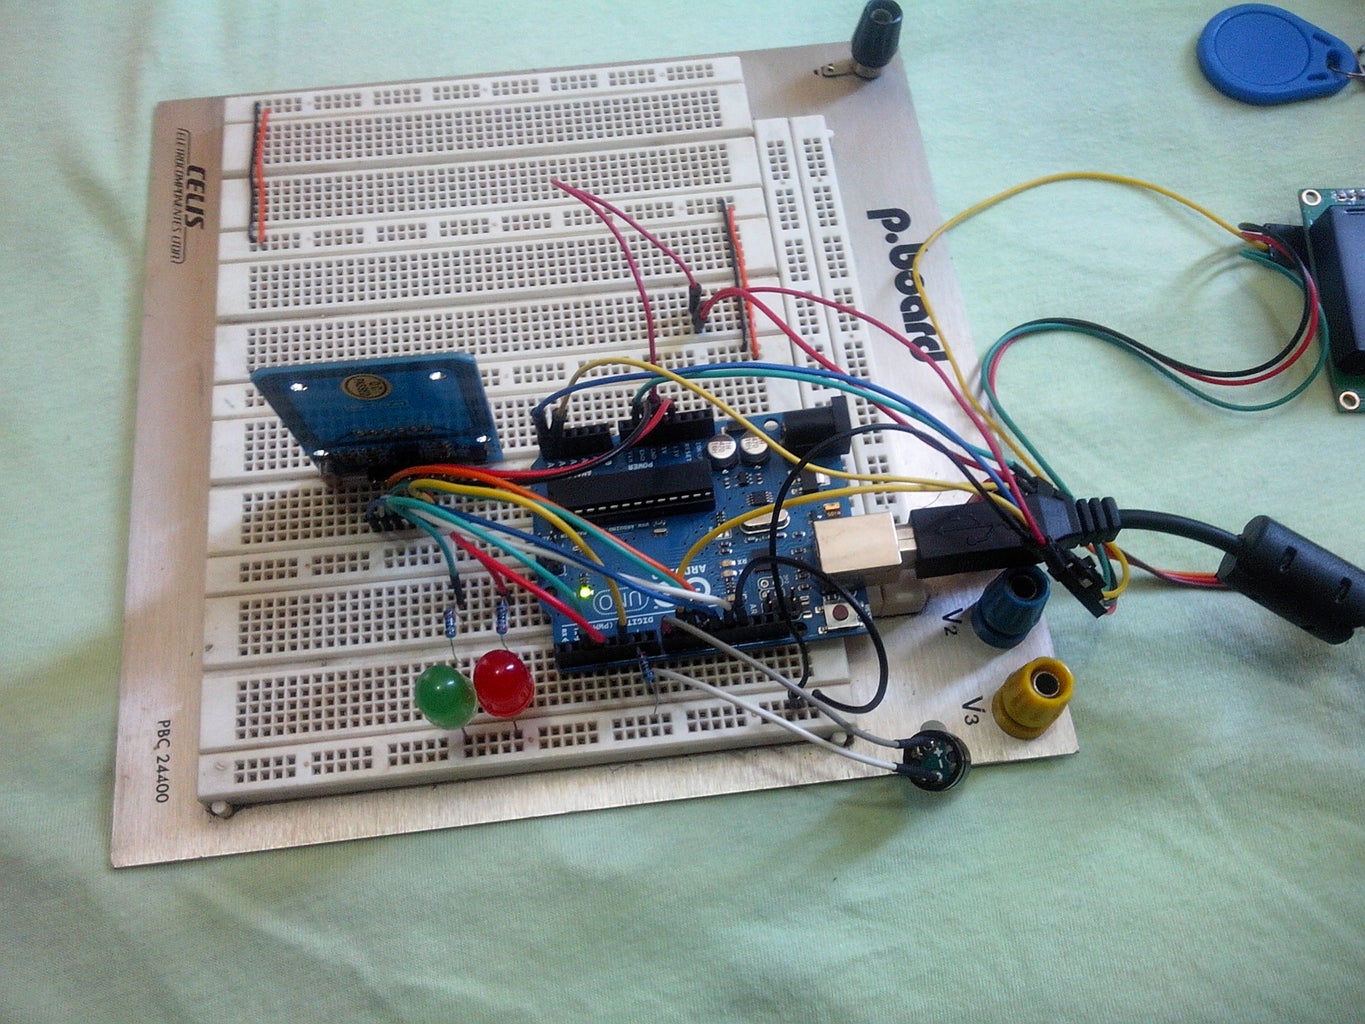
Step 4: The Whole Project Interconnections

The whole project:
Remember that the LCD is a 20x4 display and the RFID is the MRFC522AN device.
The Buzzer and the servo motor are general purpose devices.
Step 5: Programming

The files were deposited in google drive, to access, you need to create your own account or ask me to share the file with you.
Below you have the Arduino's sketch, that should be placed in a folder with the same name of the file.
https://docs.google.com/file/d/0B_YlEklLDDS7SzhtU1BhZGMxMW8/edit?usp=sharing
In the next link you have the file "pitches.h" it is necessary to play the musical notes and the sounds, it must be in the same folder of the Arduino sketch.
https://docs.google.com/file/d/0B_YlEklLDDS7cmVDQmRpT29xRlE/edit?usp=sharing
Libraries:
https://docs.google.com/file/d/0B_YlEklLDDS7Qy1pemh3bGgwQTg/edit?usp=sharing
https://docs.google.com/file/d/0B_YlEklLDDS7dDVkaHNVVG5vcjQ/edit?usp=sharing
https://docs.google.com/file/d/0B_YlEklLDDS7dDVkaHNVVG5vcjQ/edit?usp=sharing
https://docs.google.com/file/d/0B_YlEklLDDS7WTJQcU1FU083UG8/edit?usp=sharing
https://docs.google.com/file/d/0B_YlEklLDDS7Mkp1RnZTTlhEeDA/edit?usp=sharing
Get all files on GitHub:
https://github.com/Arduinobymyself/ArduinoRFID.git
Step 6: Videos and Pictures


This is a preliminary video, only to see the general operation of the system.
See on youtube:
http://youtu.be/2O7IVOfFptA
http://youtu.be/fuWf0W6yNo4

![Tim's Mechanical Spider Leg [LU9685-20CU]](https://content.instructables.com/FFB/5R4I/LVKZ6G6R/FFB5R4ILVKZ6G6R.png?auto=webp&crop=1.2%3A1&frame=1&width=306)


