

Introduction: Silicone Flash Filter


Usually it's funny test new ways to obtain some results.
I've two Canon 580EX flashes and I'm already comfortable with coloured filters which fit under the plastic flap. Anyway since I though up a way to make a filter from a commonly used tool, I wish to show you this brain-child.
Step 1:

I bought these silicone molds for about 1$ each. They're of the right size to fit on a common flash for photography. And furthermore silicone lets light passing through with a nice coloured effect.
Step 2:
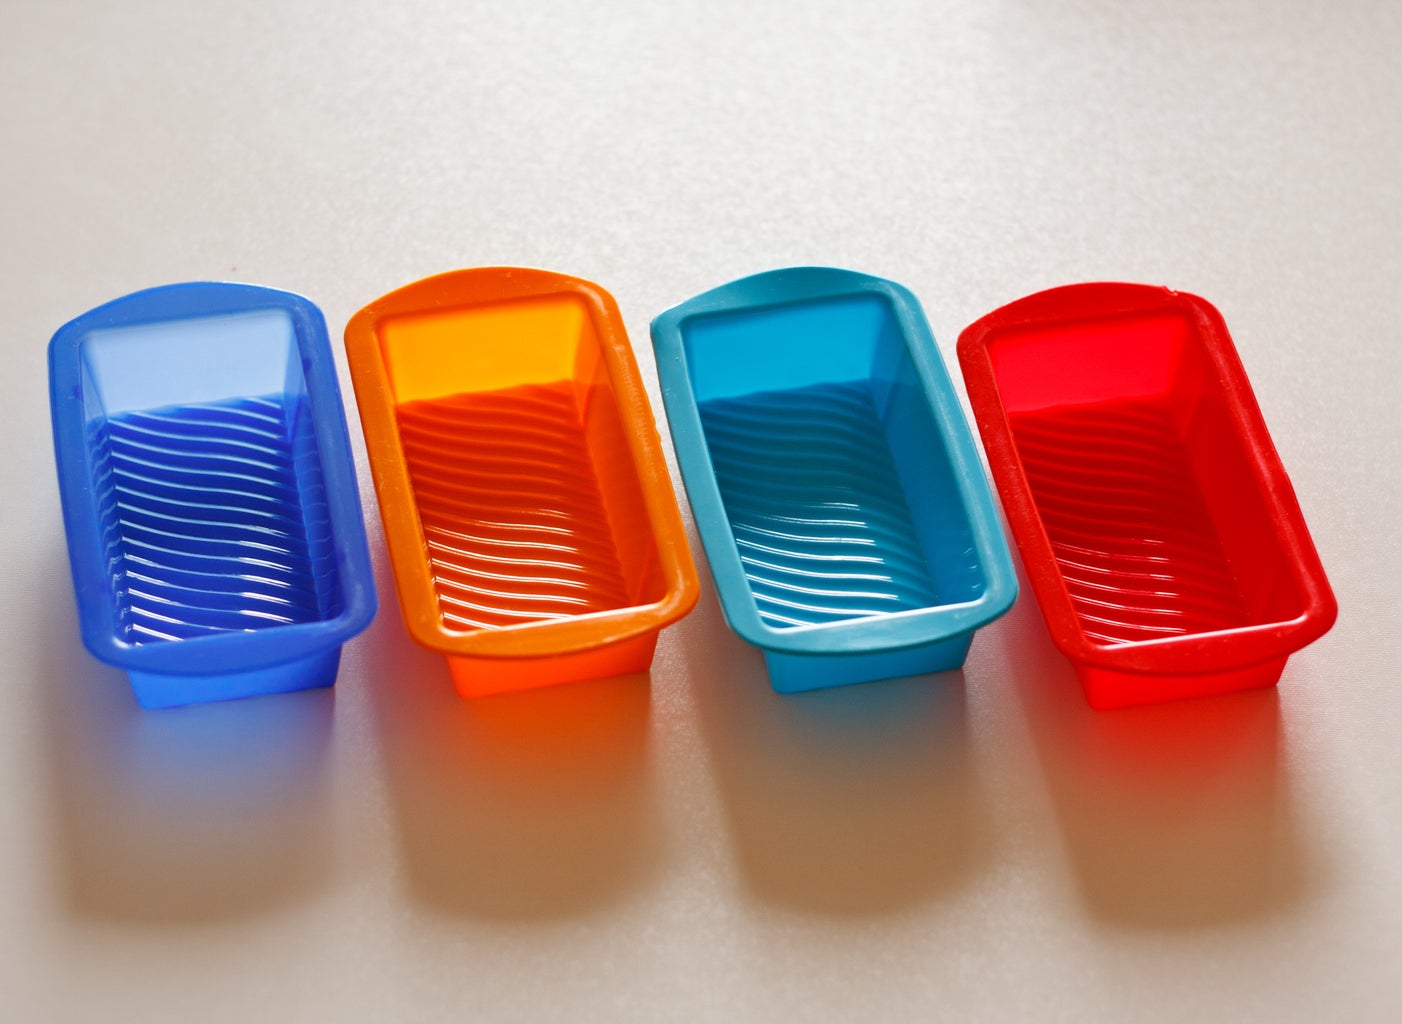

As you see from the picture, I noticed that cyan container, although it's indeed lighter than the blue one, lets passing less light than the others. So it's not much useful for our purpose. So I decided to use the red, blue and orange molds to create three coloured filters.
You'll see as these filters can be handy attached to any flash.
Step 3:


Cut the molds with the same width of the flash head, and draw a rounded shape on the shorter sides of the front surface, cut following the curve.
Do that for all three containers and keep the silicone scraps for other projects.
Step 4:

Now find an elastic of the right size and fit your new filter on the flash... not much to say about that ;-)
Step 5:


These are your new coloured filters, you can roll them up to keep them in your pocket, believe me, they're very handy, and they don't crumple as plastic sheets.
Step 6:


Test them with a fixed white balance (I used cloudy weather) and enjoy new effect. In this way you can use the second flash as backlight and change the colour of the background in a portrait session.

Participated in the
Epilog Challenge V


