

Introduction: Turn Your Arduino Uno Into an USB-HID-Mididevice

While building an Arduino Uno based Midi-Controller for Ableton Live, I came across the HIDUINO project ( http://code.google.com/p/hiduino/ ). It allows you to turn your Arduino Uno (or any other device using an AVR-USB chipset like the 8u2) into a driverless HID/Midi device. It's much more comfortable than using a software based serial to midi converter which has to run in the background all time.
The only downside is that you loose the ability to upload your sketches over USB while using the custom firmware. Therefore an ISP programmer is helpful!
This is just a short Instructable describing how to set up your Arduino as an HID/Midi device with the help of an ISP programmer.
More informations are avaliable under: http://code.google.com/p/hiduino/w/list
Step 1: Gather Your Materials

Things you need:
- A compatible Arduino board. I'm using the Arduino Uno here.
- An AVR-ISP programmer. The AVRISP mkII works great and is used here.
- Software to use your ISP programmer; up and running. I'm using the AVR crosspack with avrdude on my MacBook Pro.
- The HIDUINO software from here http://code.google.com/p/hiduino/downloads/list
To get ready for the next steps you have to unpack the HIDUINO archive.
In the unpacked file move to the folder "Arduino Libraries". Inside you will find another folder called "HIDUINO_MIDI_Lib".
Move this folder into your Arduino - Libraries folder.
The final result should look like this /Users/phil/Documents/Arduino/Libraries/HIDUINO_MIDI_Lib
We haven't moddified the original USB firmware yet, so it's still intact and you can use it to flash an example sketch to your Arduino.
Try the first sample from the HIDUINO archive. It's located under "Arduino Example Sketches" and really easy to understand.
You don't have to do this yet, but it allows you to test your device immediately after reflashing the USB firmware.
Step 2: Programming the New USB Firmware

Okay, the first thing we want to do is to reflash the Uno's 8u2 chip.
Therefore we need to do the following:
- Connect your ISP to your Arduino. (Be sure to connect it in the right way! The pinheader should be marked with a little white dot! It marks pin number one! On the ISP cable it's marked with a little arrow.)
- We want to flash the following file: HIDUINO/CompiledFirmwares/HIDUINO_MIDI_Uno.hex
- I'm using avrdude in a terminal window on my Mac. I used the following command for an Arduino Uno and an AVRISP mkII:
avrdude -p at90usb82 -F -P usb -c avrispmkii -U flash:w:HIDUINO_MIDI_Uno.hex -U lfuse:w:0xFF:m -U hfuse:w:0xD9:m -U efuse:w:0xF4:m -U lock:w:0x0F:m
- after 6-10 seconds the new firmware should be flashed successfully! Your device should show up in your system profiler now! If not just unplug it and replug it back again :) Then you can move on to the next step! :)
- In case you want to restore the original frimware of the 8u2 you can find it in your Arduino application folder. On a Mac its located under:
/Applications/Arduino.app/Contents/Resources/Java/hardware/arduino/firmwares/UNO-dfu_and_usbserial_combined.hex
- Reflash it using avrdude an this command:
avrdude -p at90usb82 -F -P usb -c avrispmkii -U flash:w:UNO-dfu_and_usbserial_combined.hex -U lfuse:w:0xFF:m -U hfuse:w:0xD9:m -U efuse:w:0xF4:m -U lock:w:0x0F:m
There are tons of instructables and tutorials on how to flash an AVR using avrdude. This is just a short sum up of paths and commands ;)
Step 3: Programming the Uno Using ISP


After successfully flashing the USB firmware you can't upload sketches over usb anymore.
I wanted to keep the ability of using the Arduino software to upload the sketches over ISP.
Therefore you have to edit the boards.txt located under: /Applications/Arduino.app/Contents/Resources/Java/hardware/arduino/boards.txt
Add the following code to the textfile and save it.
##############################################################
avrispmkii.name=AVRISP mkII w/ ATmega328
avrispmkii.upload.protocol=avrispmkii
avrispmkii.upload.maximum_size=32256
avrispmkii.upload.speed=19200
avrispmkii.upload.using=avrispmkii
avrispmkii.bootloader.low_fuses=0xff
avrispmkii.bootloader.high_fuses=0xde
avrispmkii.bootloader.extended_fuses=0x05
avrispmkii.bootloader.path=optiboot
avrispmkii.bootloader.file=optiboot_atmega328.hex
avrispmkii.bootloader.unlock_bits=0x3F
avrispmkii.bootloader.lock_bits=0x0F
avrispmkii.build.mcu=atmega328p
avrispmkii.build.f_cpu=16000000L
avrispmkii.build.core=arduino
##############################################################
Now it shows up in the Arduino software.
Just choose the newly created board, connect your ISP the right way and upload your sketches like you always do :)
Browse to your HIDUINO folder and upload the following example (if you haven't done it already ;)): /Users/phil/Downloads/HIDUINO/Arduino Example Sketches/HIDUINO_MIDI_Example01/HIDUINO_MIDI_Example01.pde
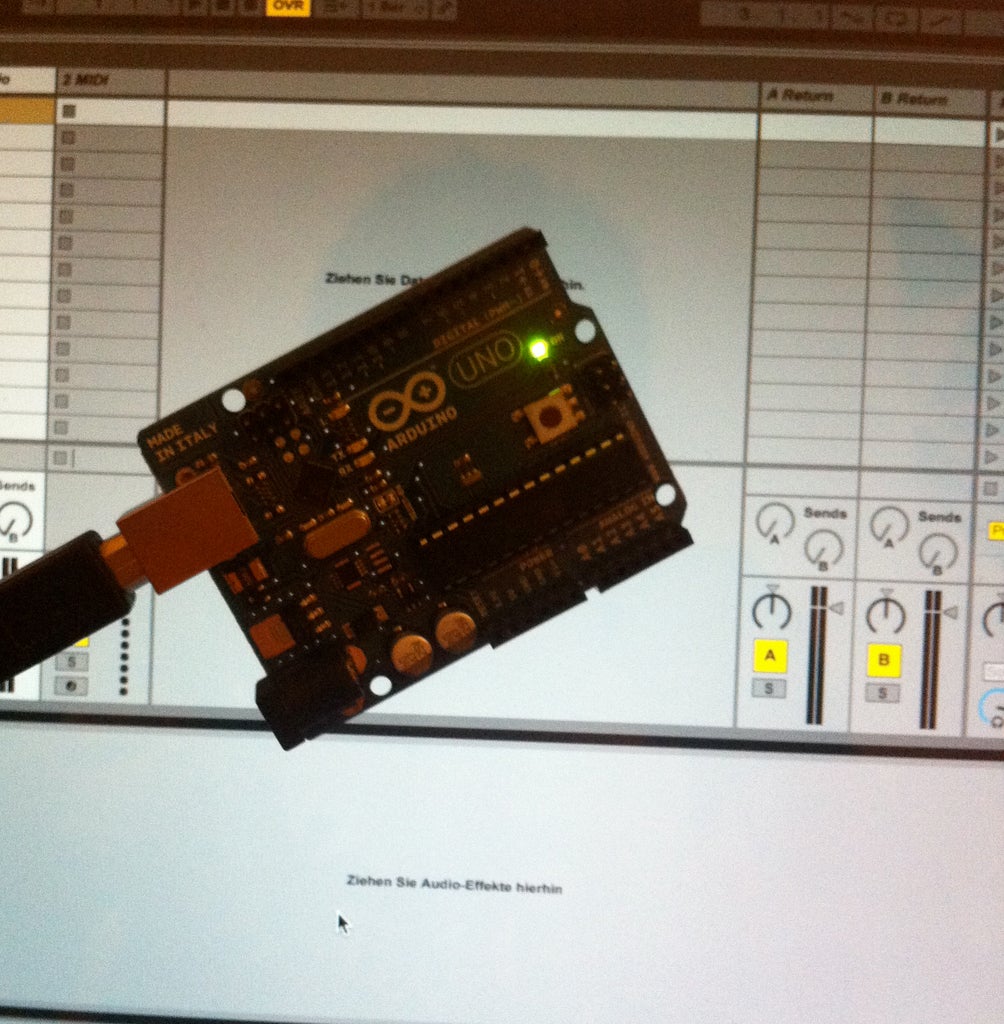
Thats it!! Fire up Ableton Live or any other music program and listen to your Arduino generated notes!! (Don't forget to configure you music program to talk to your device.)
It's my first Instructable and I hope it helped you a bit to get the HID/Midi running :)
In a few weeks I'll show you how to create the hardware for a 4-channel midi controller :)

Participated in the
4th Epilog Challenge


