

Introduction: Persistence of Vision Display (POV)


Hi guys!!! This is my first Instructable so if any make any mistakes just tell me. OK let’s get started!
WHAT YOU WILL NEED
-Arduino uno
-solid core wire or ribbon cable
-9v battery snap
-6v motor (I got mine from a CD player)
-scrap wood
-screws
-2 washers
-largish gear for your motor
-strip board
-6 common ANODE RGB LEDs
-glue
-male header pins
-6v AA battery pack
-soldering iron
-drill
-screw driver
-knowledge
-common sense
-18 200 ohm resistors
So persistence of vision is just a fancy way of saying optical illusion. What it does is just flash LEDs so fast that your eyes are tricked into seeing things. I used Arduino's PWM to flash the lights and used a motor to turn it displaying a message.
DISCLAIMER
I am not responsible for your stupidity and breaking things like people and vases because this project spins and stuff could fly off. Just use your brain and make sure everything is attached so you don't have and Arduino lodged in your gut.
Step 1: LED Panel


First off we need to make the LED panel! start by getting your self some strip board 30-35 by 5-6 holes big. Now your going to want to sand of any rough edges I used a drill with a grinder for this. Then take a drill or drill press and make breaks the 3rd hole in all the way down the long side. Next, inspect your breaks for and shorts across you gaps.
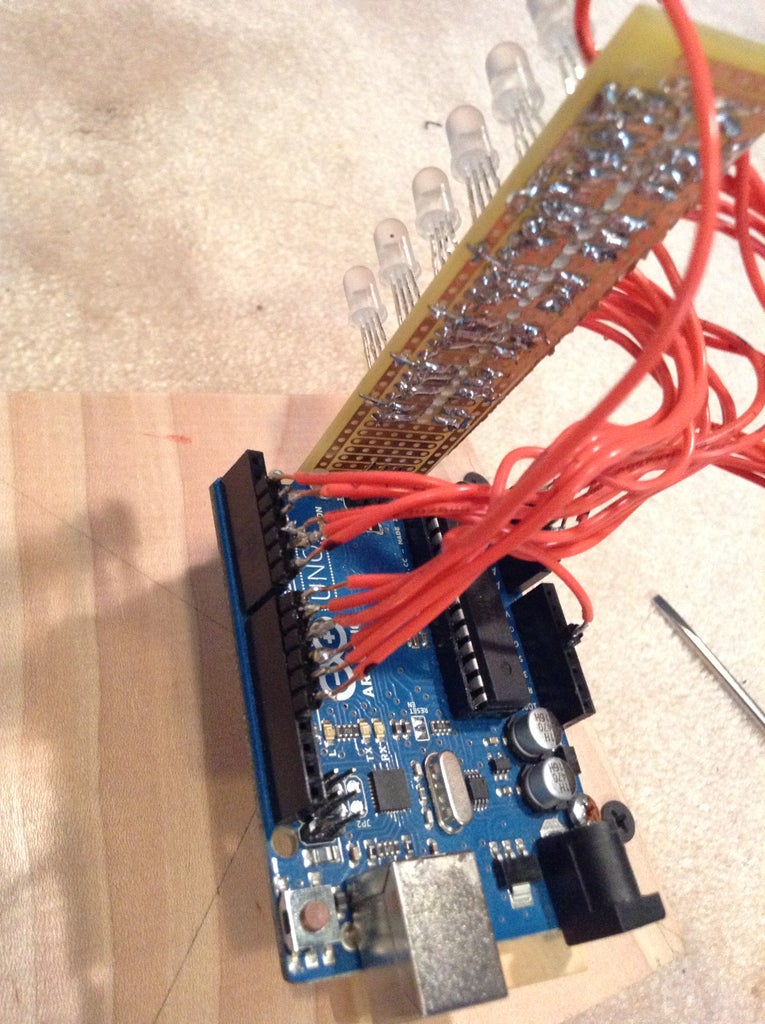
Step 2: Let's Solder!!


Now its time for some soldering! before you begin make sure all your stuff is ready to go and your soldering iron is hot. First, take your LEDs and solder them on the edge of the long side making sure each flat side of the LEDs are facing the same way, this is very important. I used two pencils to make sure all the LEDs were the same distance from the strip board. Now solder a resistor over your bridge for every pin on the LED except the longest pin. Now your going to connect all the anodes (the long pin) together. Once your LEDs and anodes are soldered and the anodes connected its time for jumper wires. each jumper wire will need to be 6 inches or more long. Now solder one header pin to one of your wires and connect it to all the anodes, this will go to 5v on the Arduino. now starting from the top of the strip board solder wires to the other ends of all the resistors. Last, every six wires solder a row of 6 header pins, you should end up with 3 groups of 6.
Step 3: Wood Working Time!!


The base is very important yet simple to make. Because you will be using scrap wood everybody's will be a little different so this step is pretty much your design. I will give a few pointers though...
-the bigger the better as it makes it more stable
-the hole for the motor should be in the middle
-leave space for wires going to your motor
-be creative
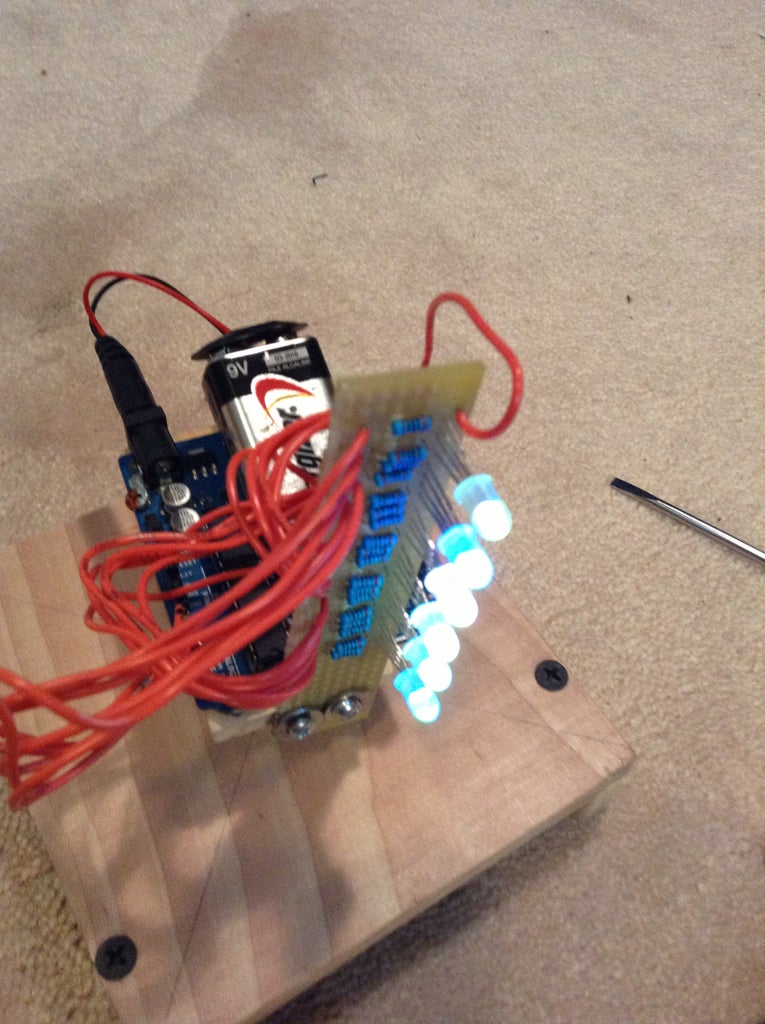
Step 4: The Motor and Assembly


This part is pretty straight forward and there shouldn't be to many problems. The motor should be capable of spinning your Arduino, led panel, and a small piece of wood. All you have to do is measure your motor and drill a hole in your base, if your hole is too big wrap your motor in tape enlarging the diameter. Next, screw the Arduino to a small piece of wood the lightest you can find. use the holes on the Arduino for this. Now, screw the LED panel to one side of the board using washers, be careful not to tighten the screw to hard as the strip board will shatter. This is really hard but now find the center of gravity of the Arduino assembly and glue the gear on it. I used JB weld but I'm sure you can use other types. Now let it dry. After you let it dry attach your 4 AA battery's to the motor. you might have to play around with the polarity later to correctly display what you want. Also, Iplan on making an update for a 555 timer based speed controller but for now this works.
Step 5: The Code
The code is pretty simple just flashing a lot of LEDs if you want to change the message just change the part with all the 0,1,2,3,4,5,6,7 with what ever you want. Also, each number makes a different color appear so play around with that. If you need help just comment and i will get back to you. Also, sorry it's in a .txt file that what worked, just copy and paste it on to your Arduino. If its not working check your LEDs and make sure there are not any short and they all work. then try reversing the way the pins are plugged in. Also make sure your device doesn't wobble to much as it spins because i found that sometimes affects rpms. Thanks so much for reading this and please vote for it, again if you need help just comment and I will get back.
P.S. post your finished projects as i would love to see them
Attachments


Participated in the
Battery Powered Contest

Participated in the
Kit Contest

Participated in the
Arduino Contest


