Big Cheap Glass Greenhouse Made From Old Windows
Intro: Big Cheap Glass Greenhouse Made From Old Windows
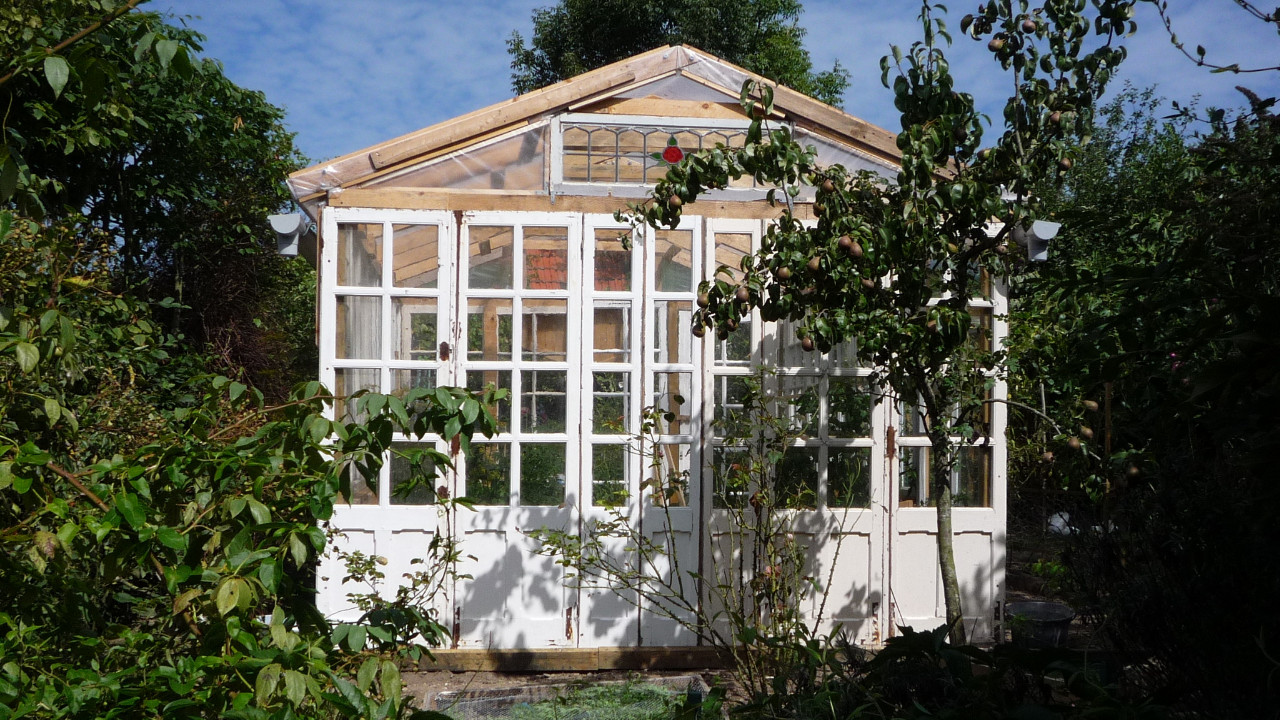
There are two ways to go when designing a glass greenhouse, you can either plan it around available materials or you can plan it first and then search for the windows to fit. We actually were lucky, in that five years ago PVC mania hit our part of the coast and we had a plethora of great windows to choose from. In effect, the whole design was built up around the French windows, matching panels and leaded light, which were really elegant when placed together. The planning of the design was in fact the most difficult part of the whole operation, in that the location of the windows had to match the desired length for each side. Furthermore, any difference in window height had to be accounted for in the construction of the pallet wood walls to ensure that the overall height was respected. In conclusion though, we were left with a unique bespoke greenhouse which would have cost us several thousands of Euros.
There is a film to accompany the text at the end of this project.
STEP 1: How & Where to Get Supplies of Old Glass
For a supply of general glass windows and doors though, there is nothing like your local joiner's shop or double-glazers. I made contact with the owner of our local one, having seen a huge pile of material in his yard and he was delighted we wanted to take it away and make use of it. We also sent him photographs and film links for everything we made and when we were looking for a front door for the house, he even carefully got us a door with the doorframe and keys intact! As a matter of fact over the past five years, from just this one source, we and our friends have glazed two entire houses (one of them completely doubleglazed) and built several greenhouses.
STEP 2: Stand Alone Greenhouse - the Basic Design Criteria
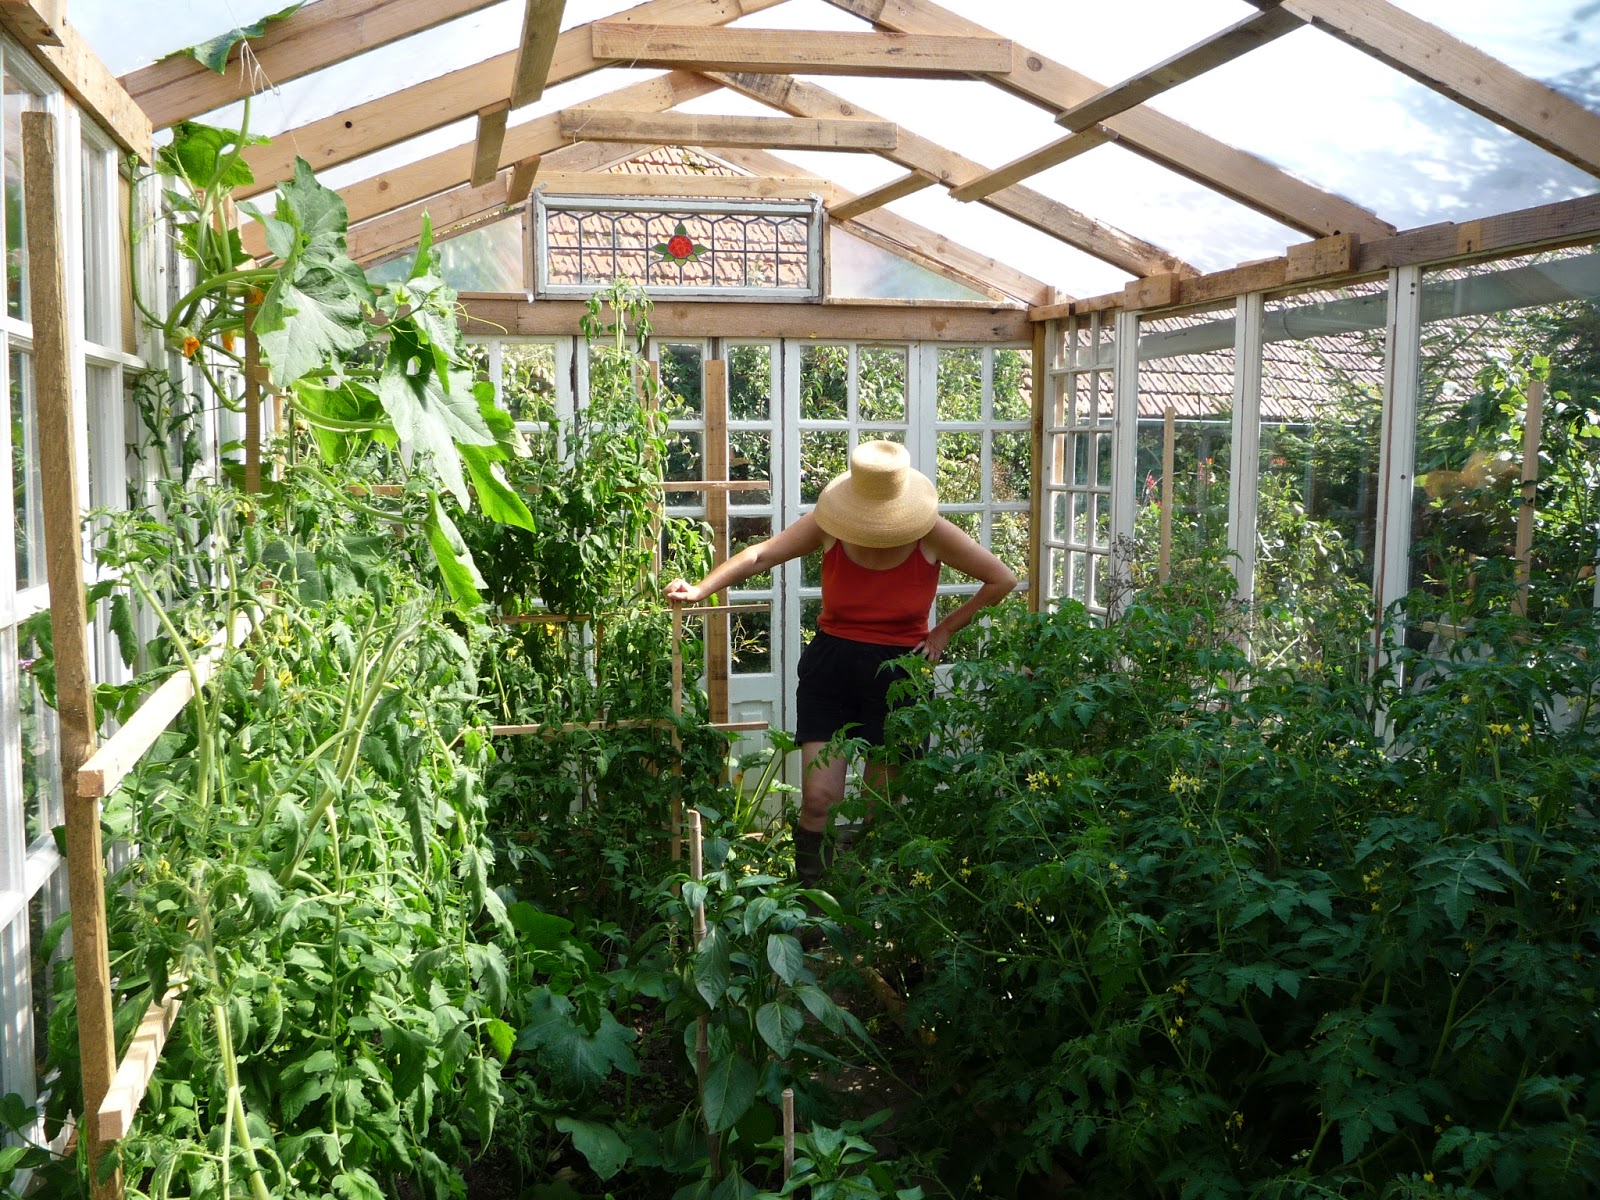
The idea for the greenhouse was to have something that was both decorative and practical. In particular as it was going to form the centrepiece for the flower garden. We wanted plenty of height both for aesthetics and because we intended to grow many climbing vegetables and flowers and also to incorporate our solar shower.
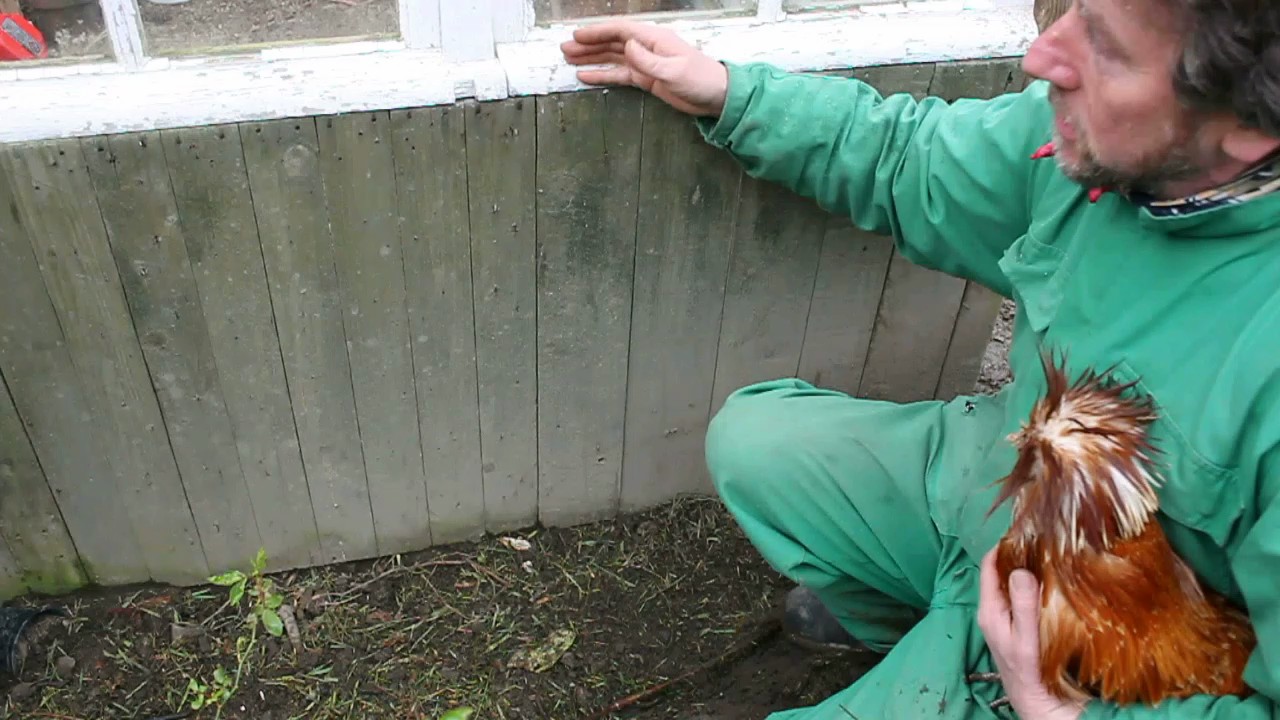
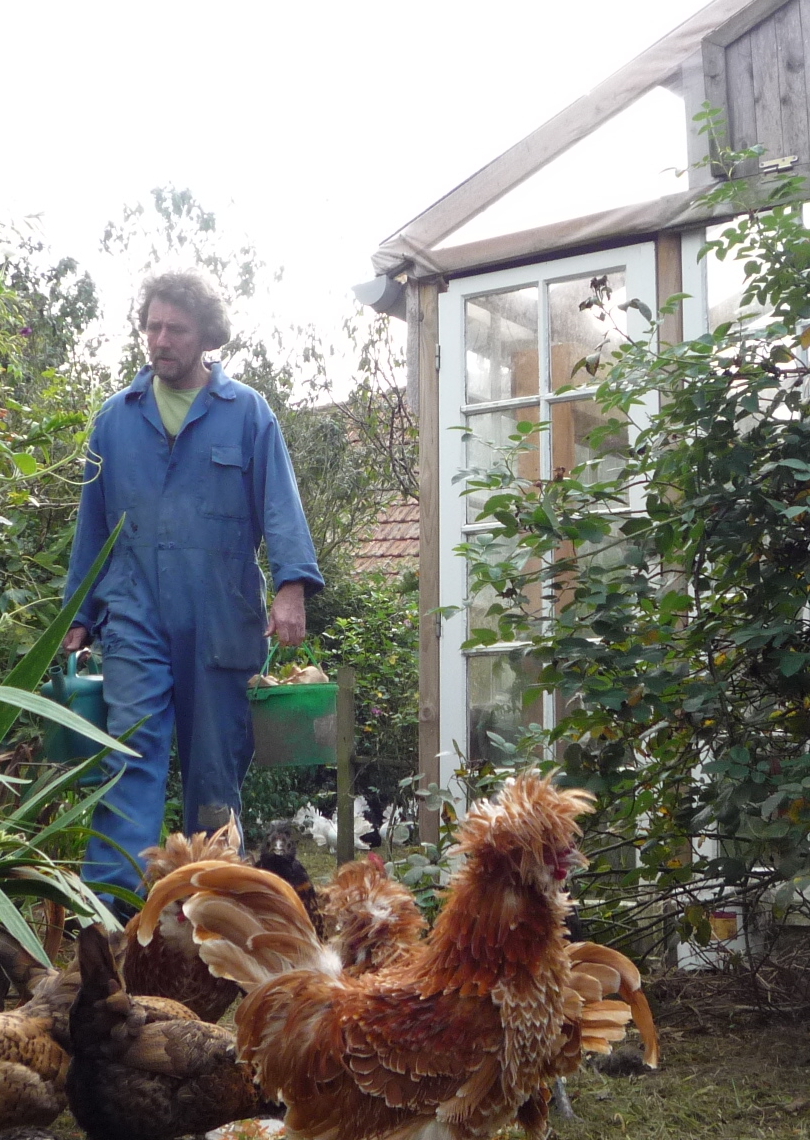
We had been collecting suitable materials for some time and in all we used 24 windows/French windows of various ages and designs but which overall seemed to fit pleasingly together. The sides and the back were to be made of windows set on pallet wood walls, similar in design to those of the hen house. On each side there was also to be guttering for the collection and harvest of rainwater.
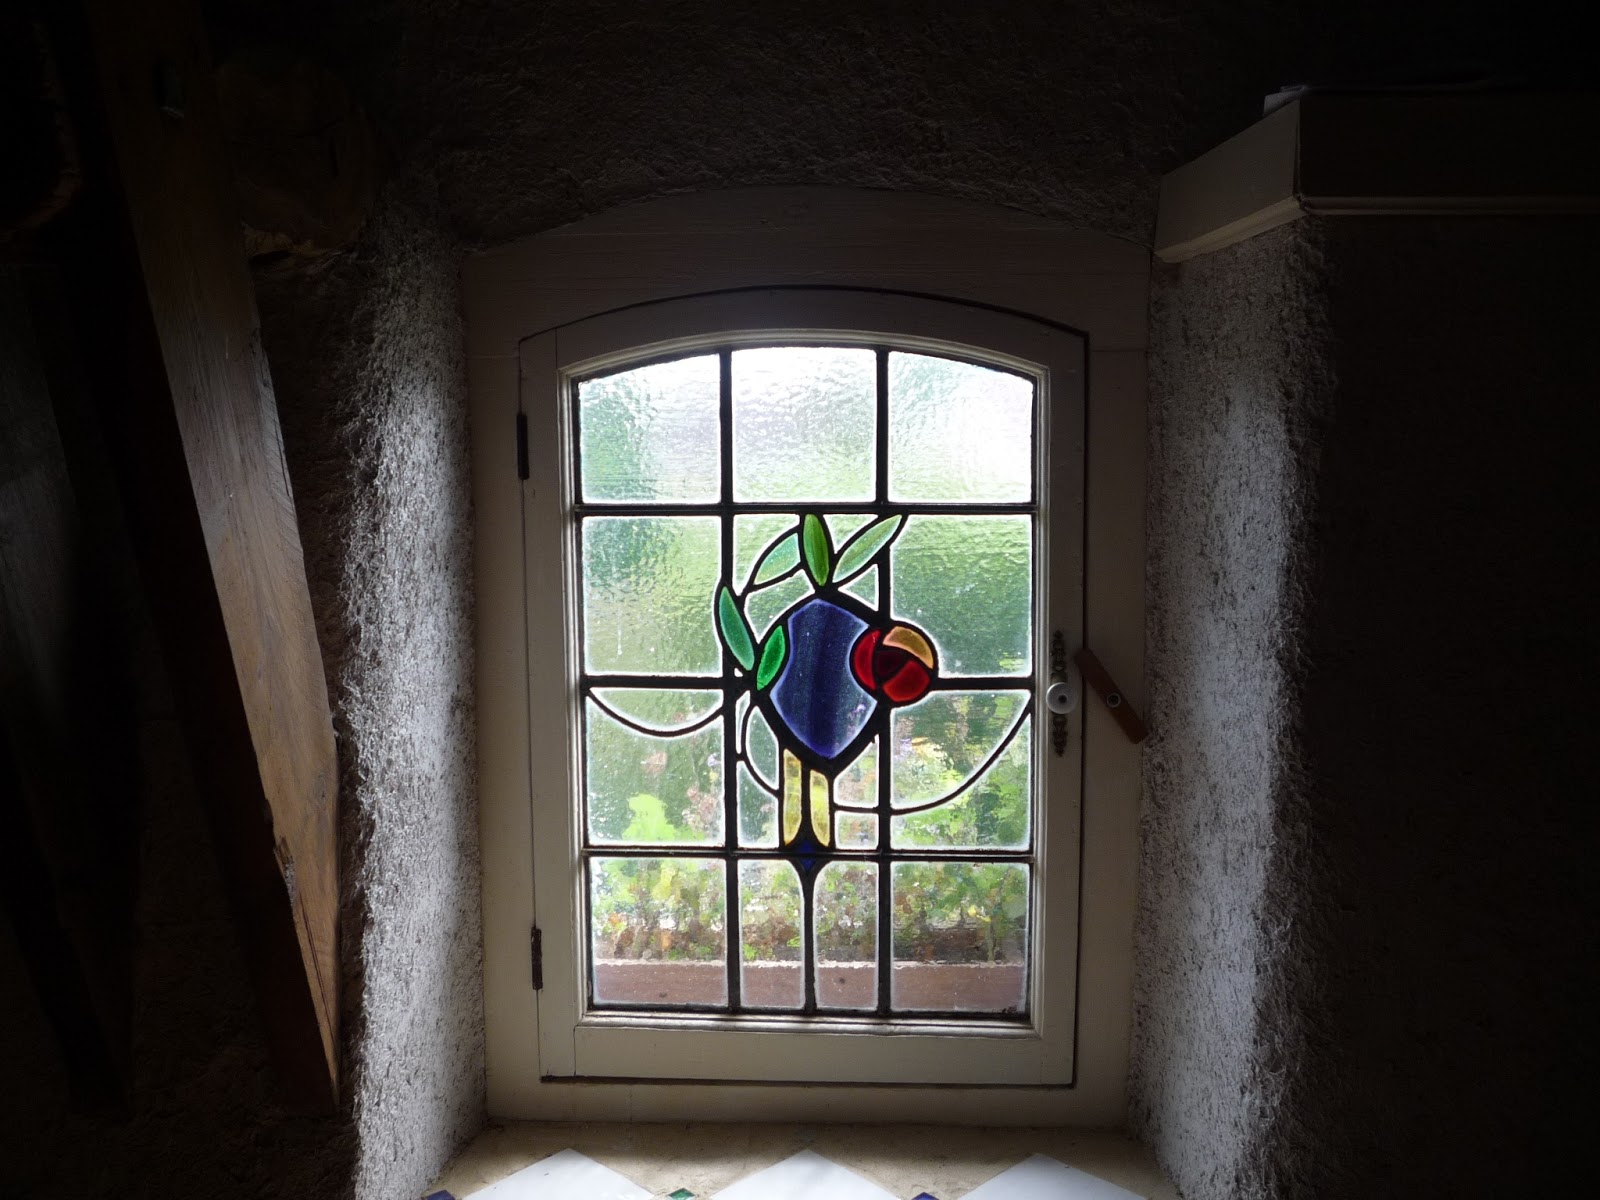
The front was designed to incorporate a matching set of old French windows and glazed panels with the addition of a panel of leaded lights incorporated into the gable end. The French windows and the door on the rear elevation were both of the same height and these together set the height for the greenhouse.
STEP 3: Deciding on Size and Location
The very first step in constructing the greenhouse was to decide on the size for it. We'd earmarked a vegetable plot where it was to go and as it had a hedge along one edge and a rose border on another, both of which we wanted to retain a practical size of 5m long by 3m wide - approximately 16' by 10' was decided. This gave adequate space for access with ladders or steps during construction.
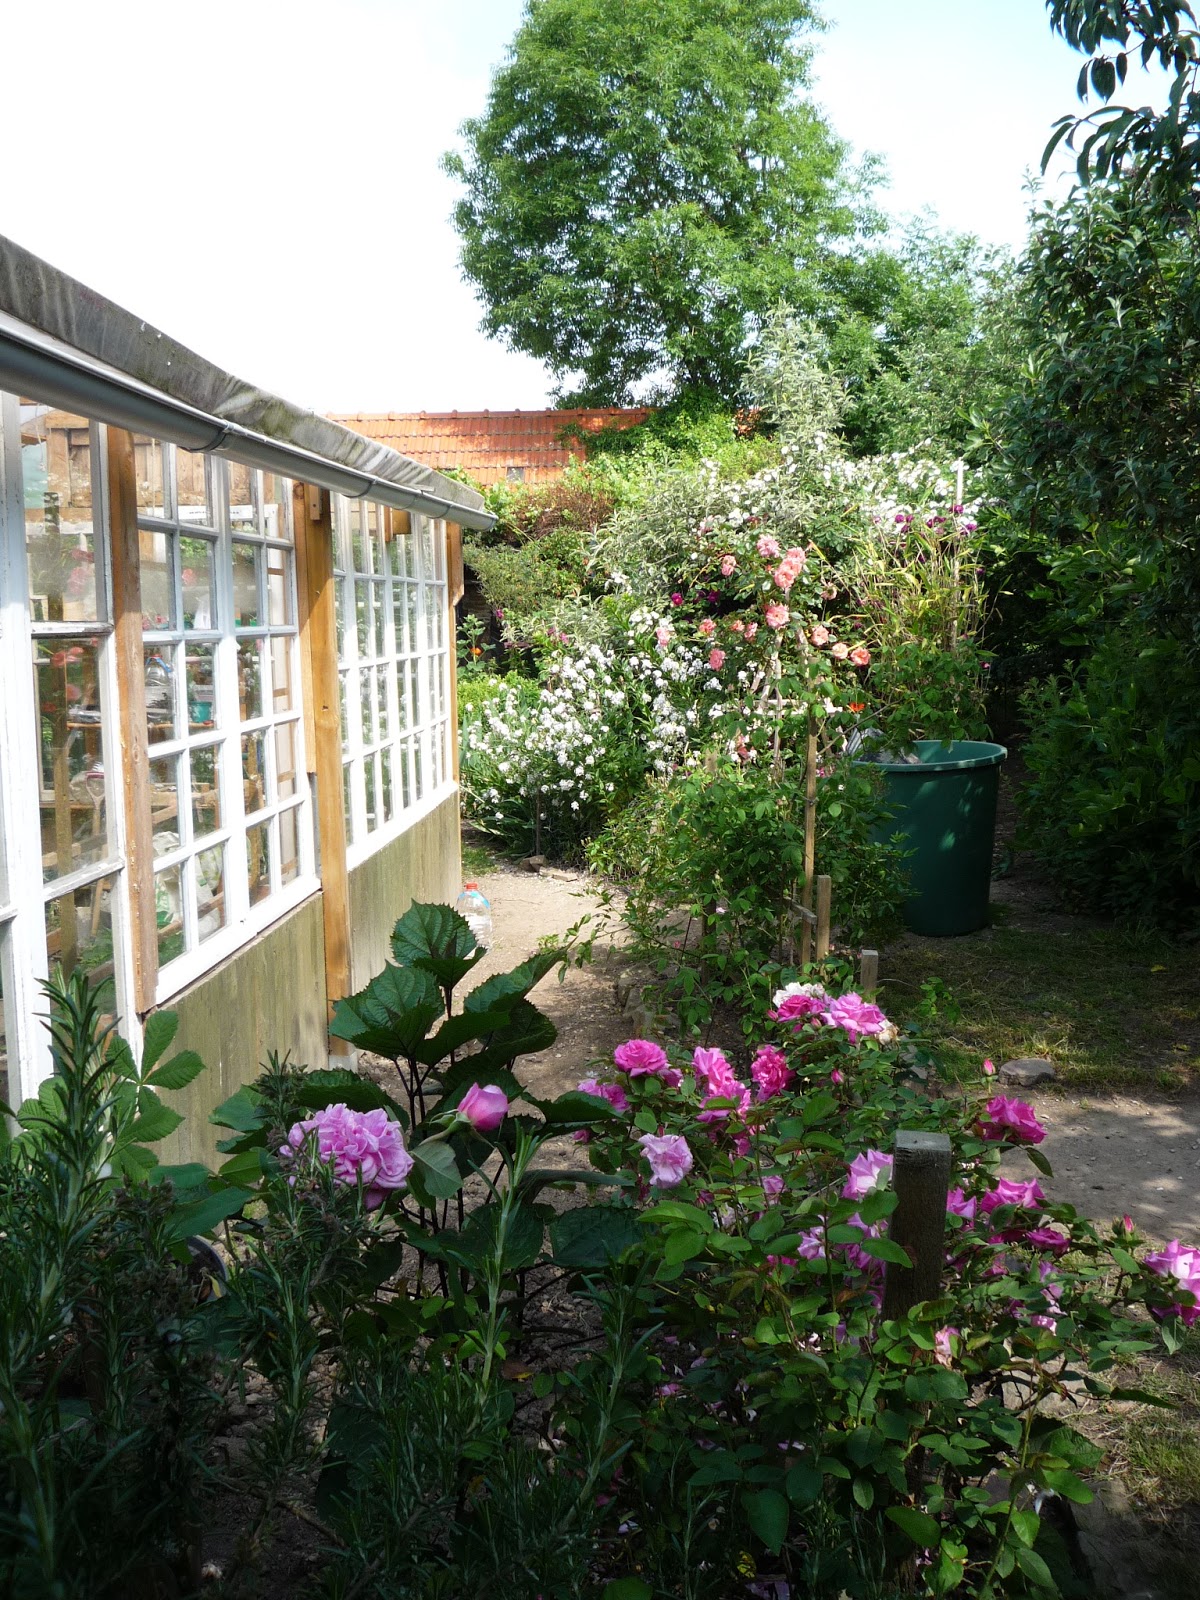
Although it is a large sized greenhouse and in itself quite an imposing feature, it actually fits very well into its surrounding landscape. Being surrounded by greenery as it is now, obviates the need for shade cloths, which in the early days were necessary to prevent the scorching of leaves in the very hot, clear days of Summer. We live near the sea and at times the light here can be very intense.
STEP 4: Preparing the Windows
Having now decided the overall dimensions of the greenhouse the preparatory work could begin.
All of the windows I'd collected were casement windows, that is, windows that open on hinges attached to one vertical side of the frame. Most of them were paired and had a weather strip where the two windows met in the middle.
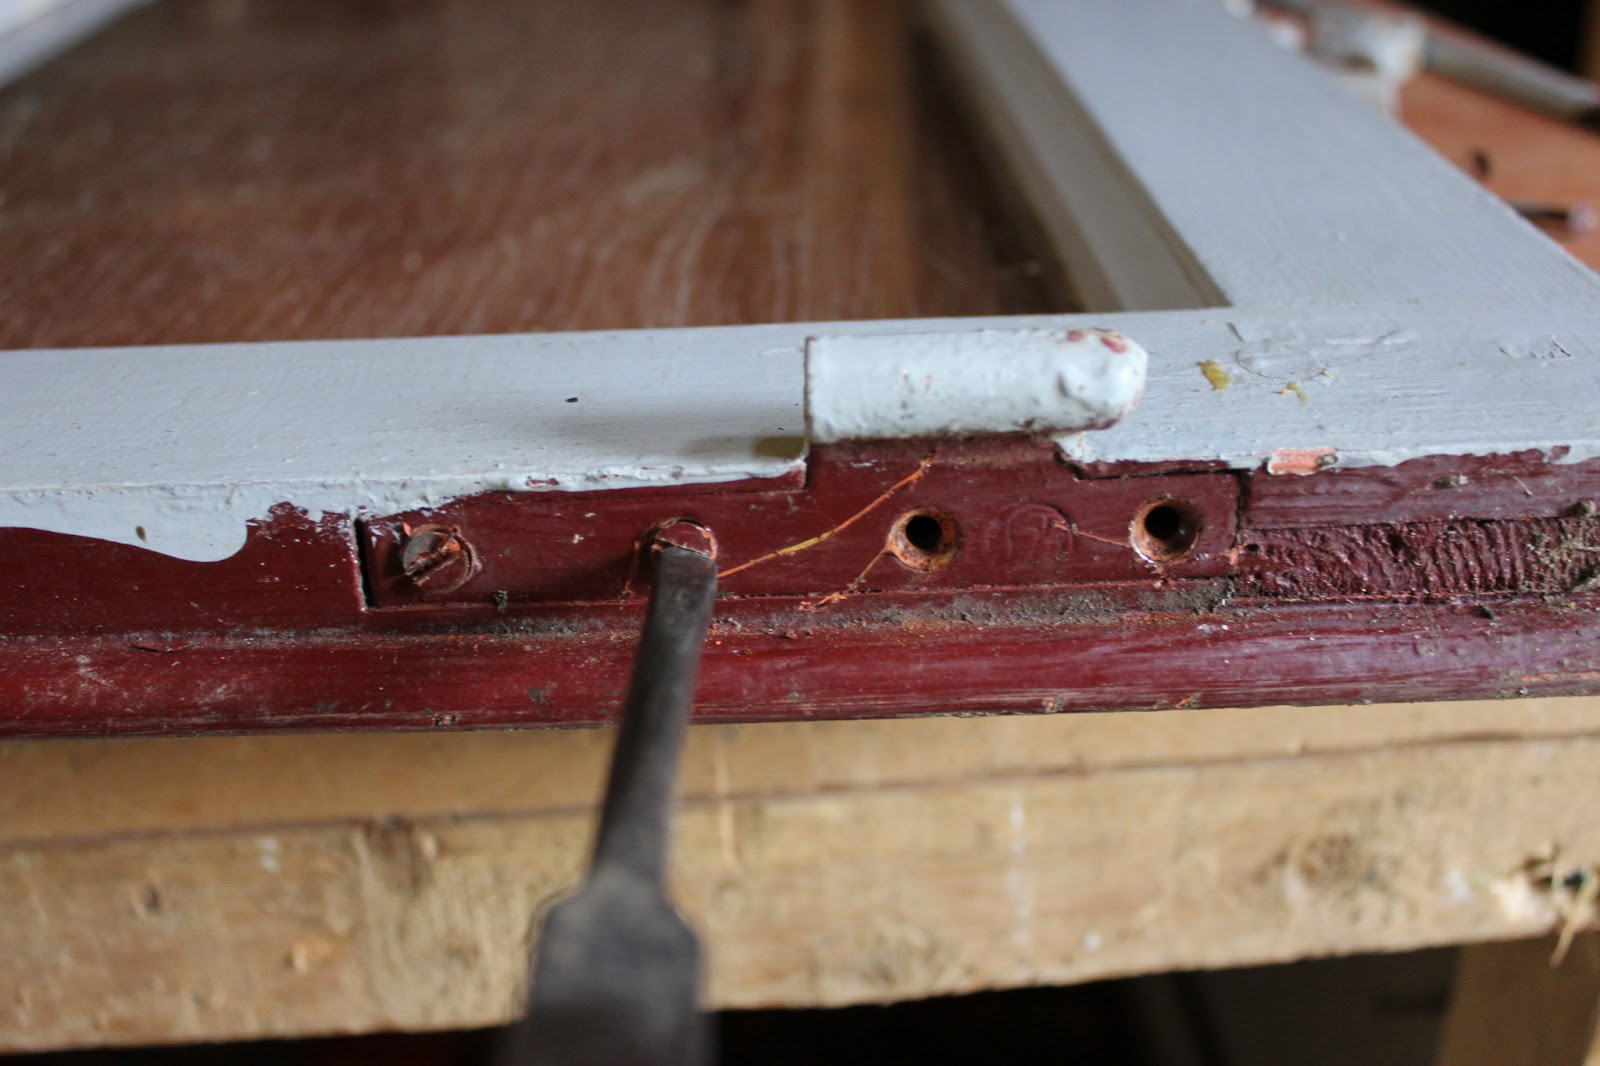
Along the bottom edge of all these windows was a weatherboard to deflect rain running off the window onto the window sill. As the casement window fits into a frame this moulding is not flush with the bottom but is attached about 10-20mm from the bottom edge.
The hinges need to be removed as they will interfere with the fit.
Some hinges can be removed by unscrewing but, bearing in mind that these are old windows, the screw heads will usually be sealed under several coats of paint. Nevertheless, with a little care they will usually come out. I clean the paint away from around the screw heads with a sharp awl and ensure the screw heads have all the paint removed so that the screwdriver fits tightly. If after all this effort the screws refuse to budge then you have to resort to drilling out the heads, it won't matter if the rest of the screw remains in the frame. Alternatively, you can use a hacksaw or angle grinder to remove any protruding part of the hinge and leave the remaining metal plate complete with screws in place.
To bring the windows' heights to that of the French windows I decided to support them on walls made from pallet wood. Now that I knew the wall lengths I could sort the windows to fit, number them and mark their position on a plan.
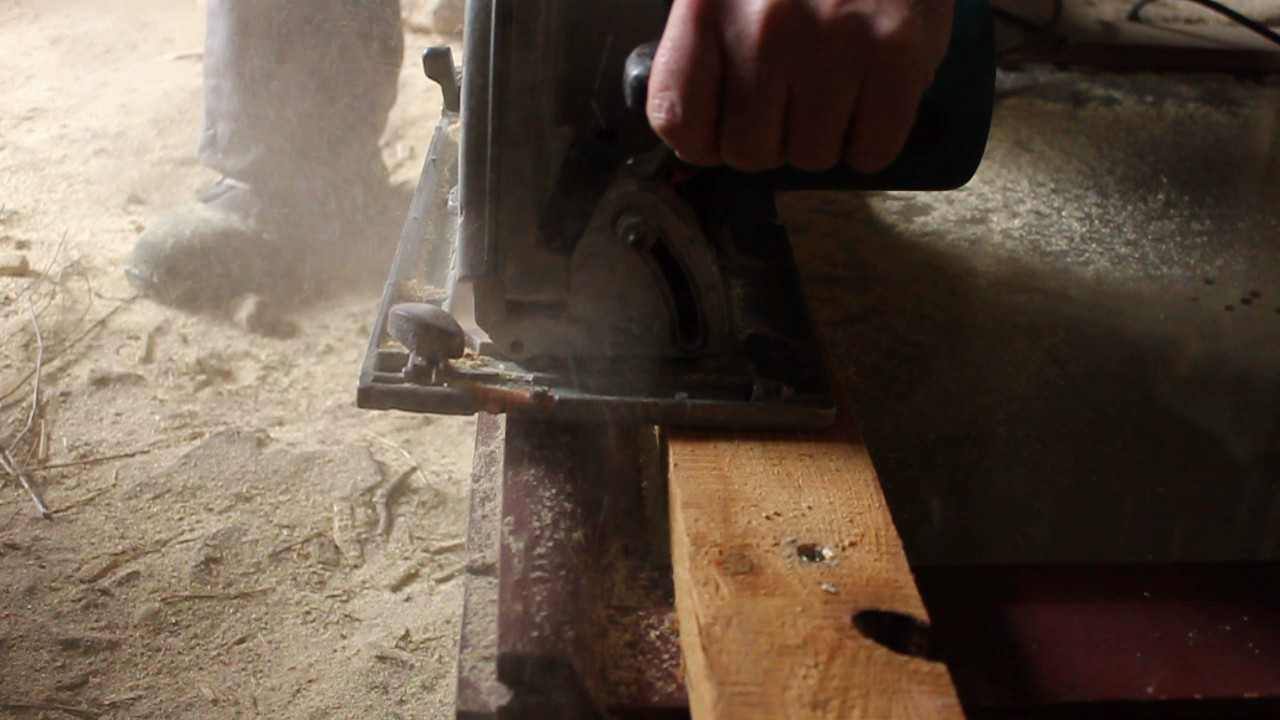
Before making the walls, the bottom of each window projecting beyond the weatherboard was sawn off providing a wider face to rest on the wall.
TIP: (photo above) Screw a plank of the appropriate thickness to the face of the window so as to ensure that the saw blade will cut a square face to the bottom of the window.
STEP 5: Making the Walls
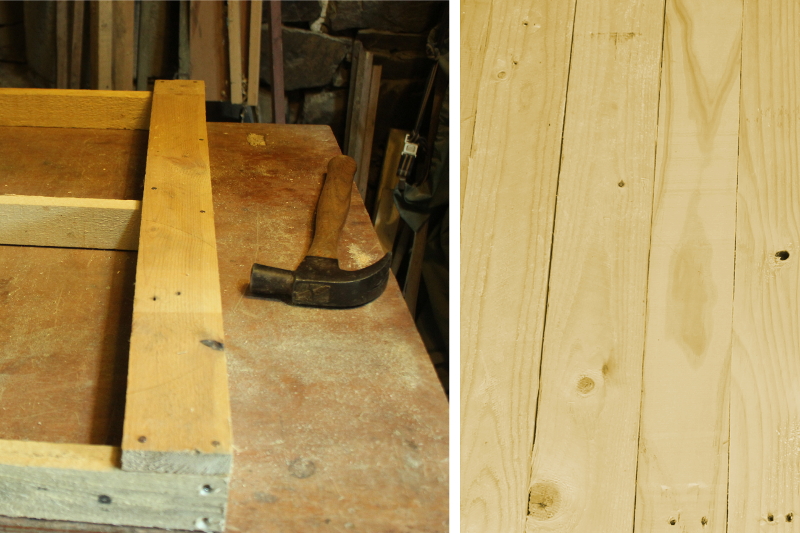
The wall panels were made from untreated pallet wood planks nailed to a rectangular frame. Each frame was also of pallet wood but I selected planks for this from more robust pallets approx 100mm x 22mm or 4" x 1". These planks were screwed together to form the frames and the pallet wood planks were nailed to what was to become the outside face thus forming a box.
Each frame was tailored to its respective pair of windows but obviously where pairs were identical, such as in the west elevation, I could go into mass production!
STEP 6: Reinforcing the Structure
As you can see from the photo below the pairs of windows were joined together both outside and in with a reinforcing pallet wood plank, whereas the individual pairs were angle-screwed to each other. All the windows were screwed to the top of their wall panel. At the top the windows were secure with two long pallet planks, spanning each side and both ends of the greenhouse.
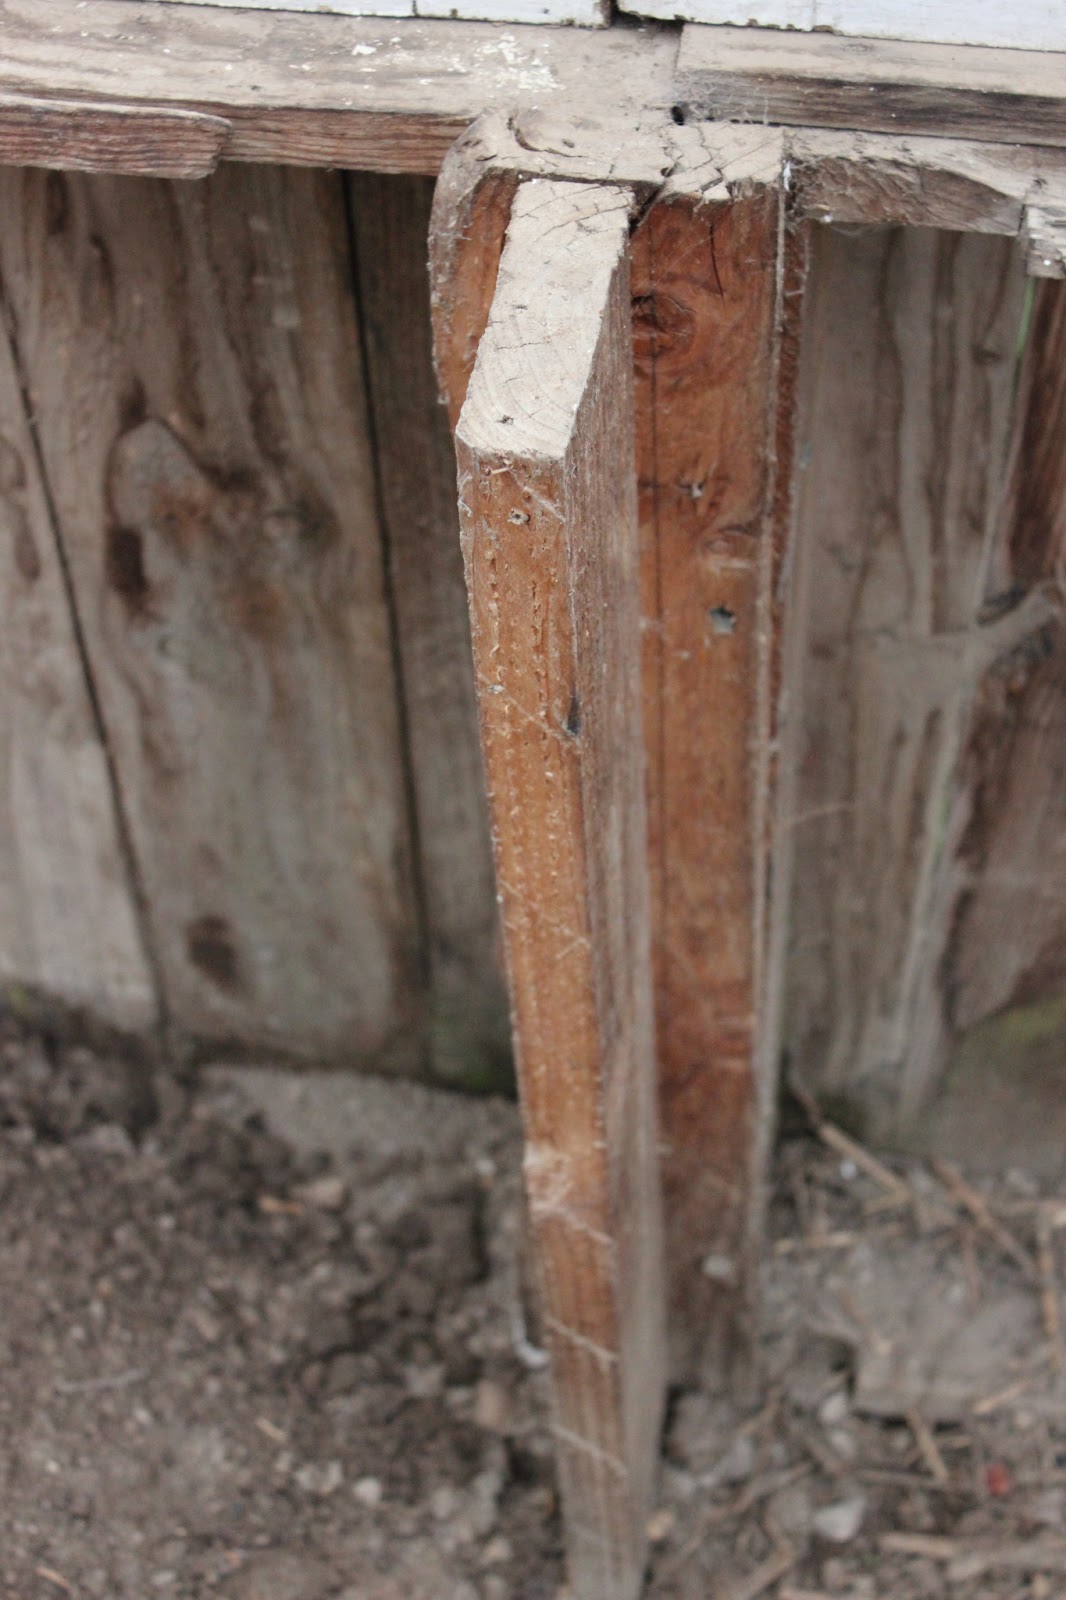
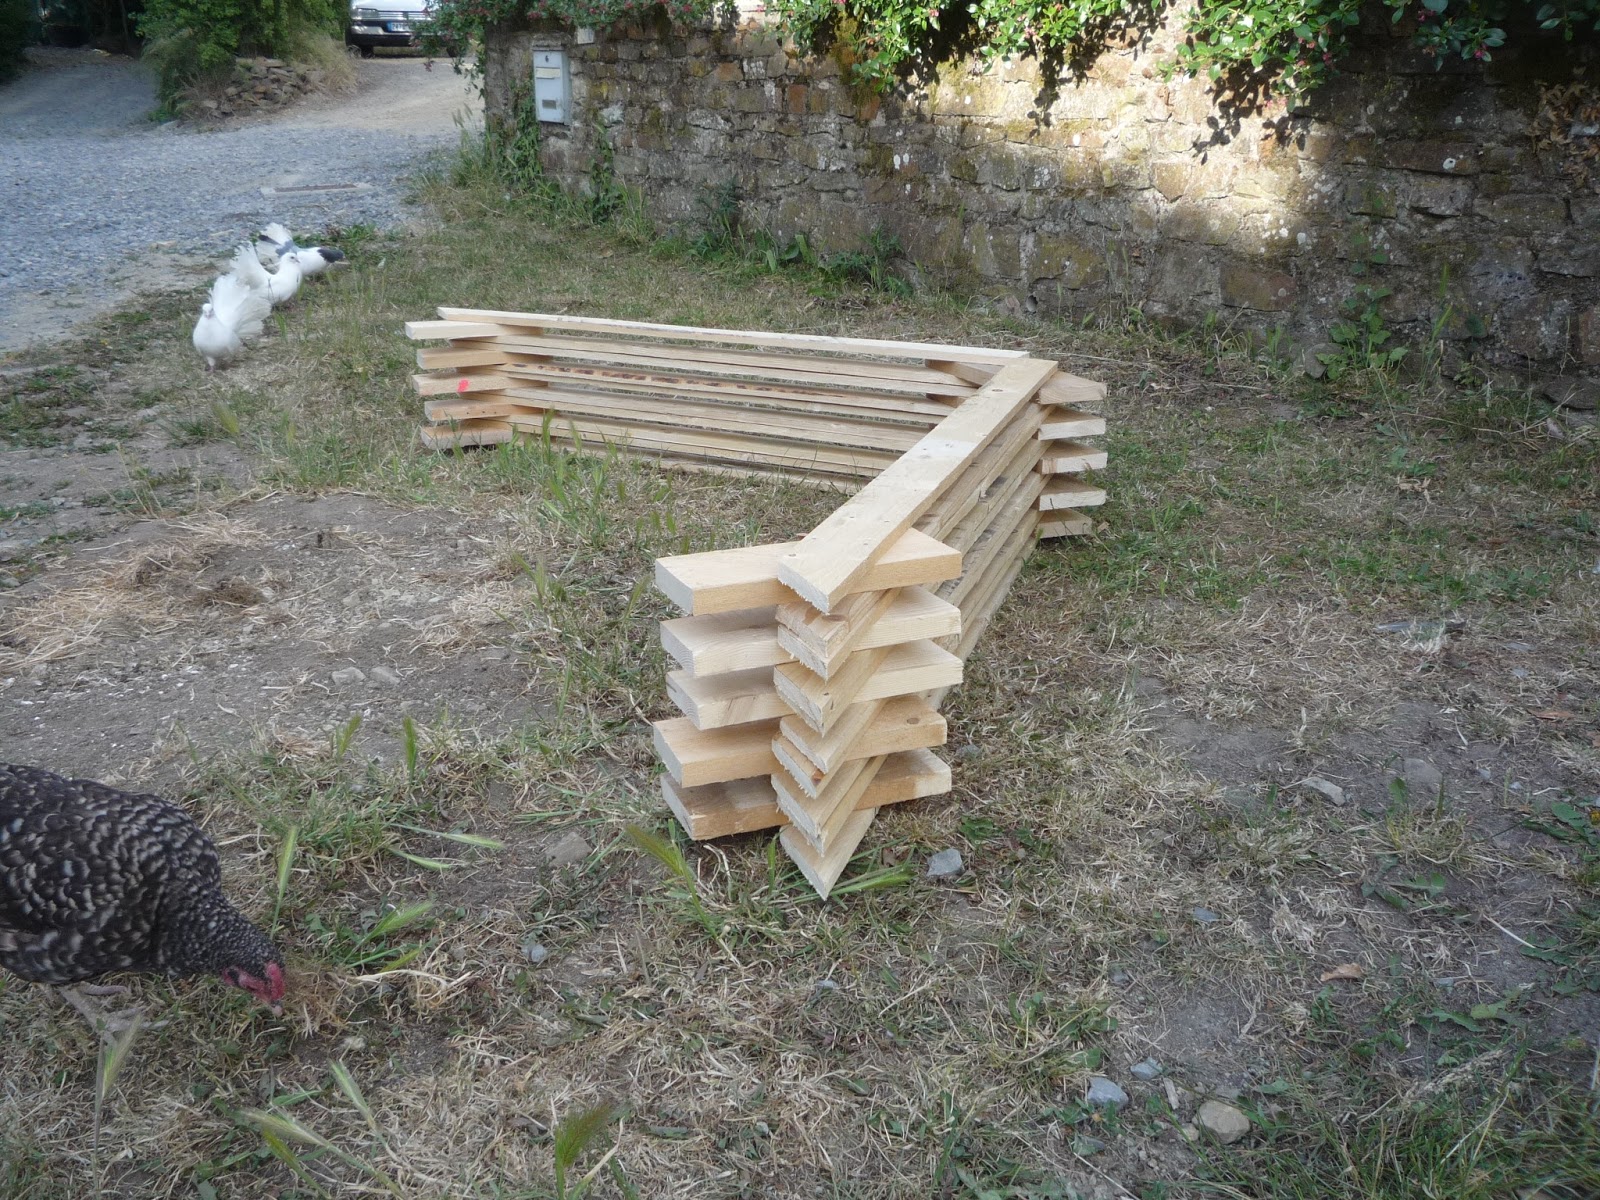
There were seven 75mm - 3" square wooden posts, each bolted to a galvanised steel stake driven into the ground (one at each corner, one midway along the longest sides and one to form the doorway). A line running from post to post marked the perimeter to which the wall panels needed to abut.
In addition, I made T (Tee) shaped stakes from 22mm - ⅞" thick pallet wood, which were to be driven into the ground on the inside of the greenhouse. These would provide a solid support for the wall panels
All the above preparation meant that when we finally came to construct the greenhouse it went together as a kit.
The roof trusses too we pre-fabricated in the workshop but for clarity I'll deal with these in the next step.
STEP 7: The Roof
The roof can be the crowning glory of the greenhouse and for this reason we decided to include a piece of leaded light in the design. England's old industrial heartlands of the Midlands and North are ever in a state of flux, a constant cycle of demolition and rebuild. You can if you are lucky still pick up some great examples of glass work, we have used many pieces in the house and in previous houses and gardens. My sister-in-law once obtained a few hours reprieve on an old Northern tram station, huge panels of leaded lights and thick pine panelling before the breakers got to it. If you see someone about to demolish aka smash up some great building and its materials, it's always worth just asking.
The roof covering was to be of 200 micron polythene UV stabilised (polytunnel material) and this could be purchased here in France by the metre and was 7.5 metres wide. As the roof was to be gabled we bought a 4m length, the polythene width was more than enough to cover the greenhouse length.
There was a hatch-type opening made for the Northern elevation to allow for air flow and bees!
As all of these trusses had to have the same angle, I made a jig to ensure that this could be easily attained. I used the exact same method when I built the 5 Euro greenhouse so photographs from that jig (above) will give you an idea, as at the time of building this glass greenhouse I didn't have a digital camera!
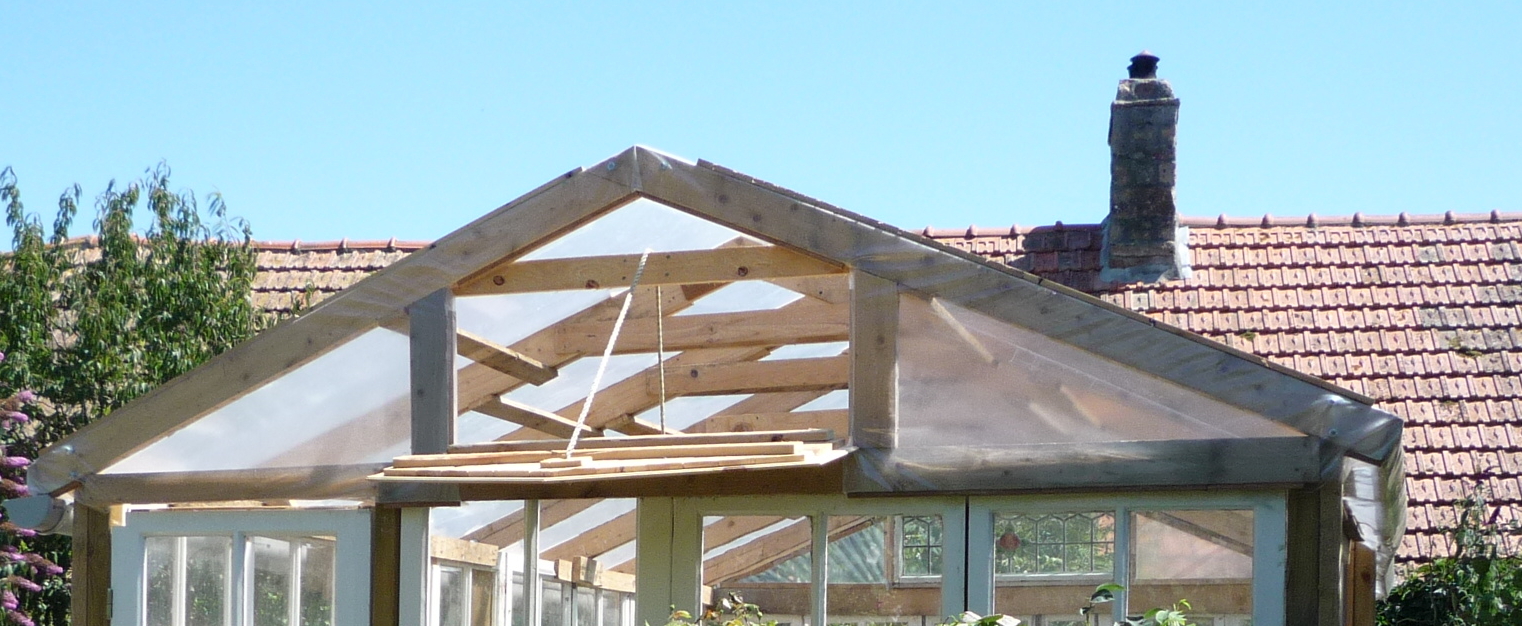
The gable-end trusses and the central truss were bolted to the 3" square wooden posts, the other 4 trusses were screwed to the top-edge of the windows. The trusses were joined to each other with pallet planks screwed to the underside face of the truss. These planks acting as purlins stiffened the whole roof structure.
IMPORTANT NOTEIn the subsequent two greenhouses I've built, the trusses were connected with pallet planks at the apex of the structure. I've found that this ridge purlin arrangement looks more aesthetic than that in the glass greenhouse. Also, for the glass greenhouse roof I rounded off the apex of each truss so as not to pierce the roof covering in severe loading conditions.
Using the ridge purlin arrangement the whole roof cover would be much better supported. Nevertheless, even in heavy snow conditions the roof material has never been compromised.
One other important feature of this construction is that the two steel-staked posts that were half way along the greenhouse were driven in place after the pallet walls were assembled. This was because I thought it was too difficult to obtain an exact matching point as the windows within each wall were of differing widths. I found that it was much easier to put the post in once the walls and windows were up. I chose the nearest window to the midpoint aligning the post to the window's stile (vertical part of the frame). A thick piece of timber (approx. 50mm 2" and pictured above far right) filled the gap between the post and the stile. I knew that the posts would not be directly in line with each other but decided that the central roof truss could be attached to the opposite faces of the posts to compensate for this.
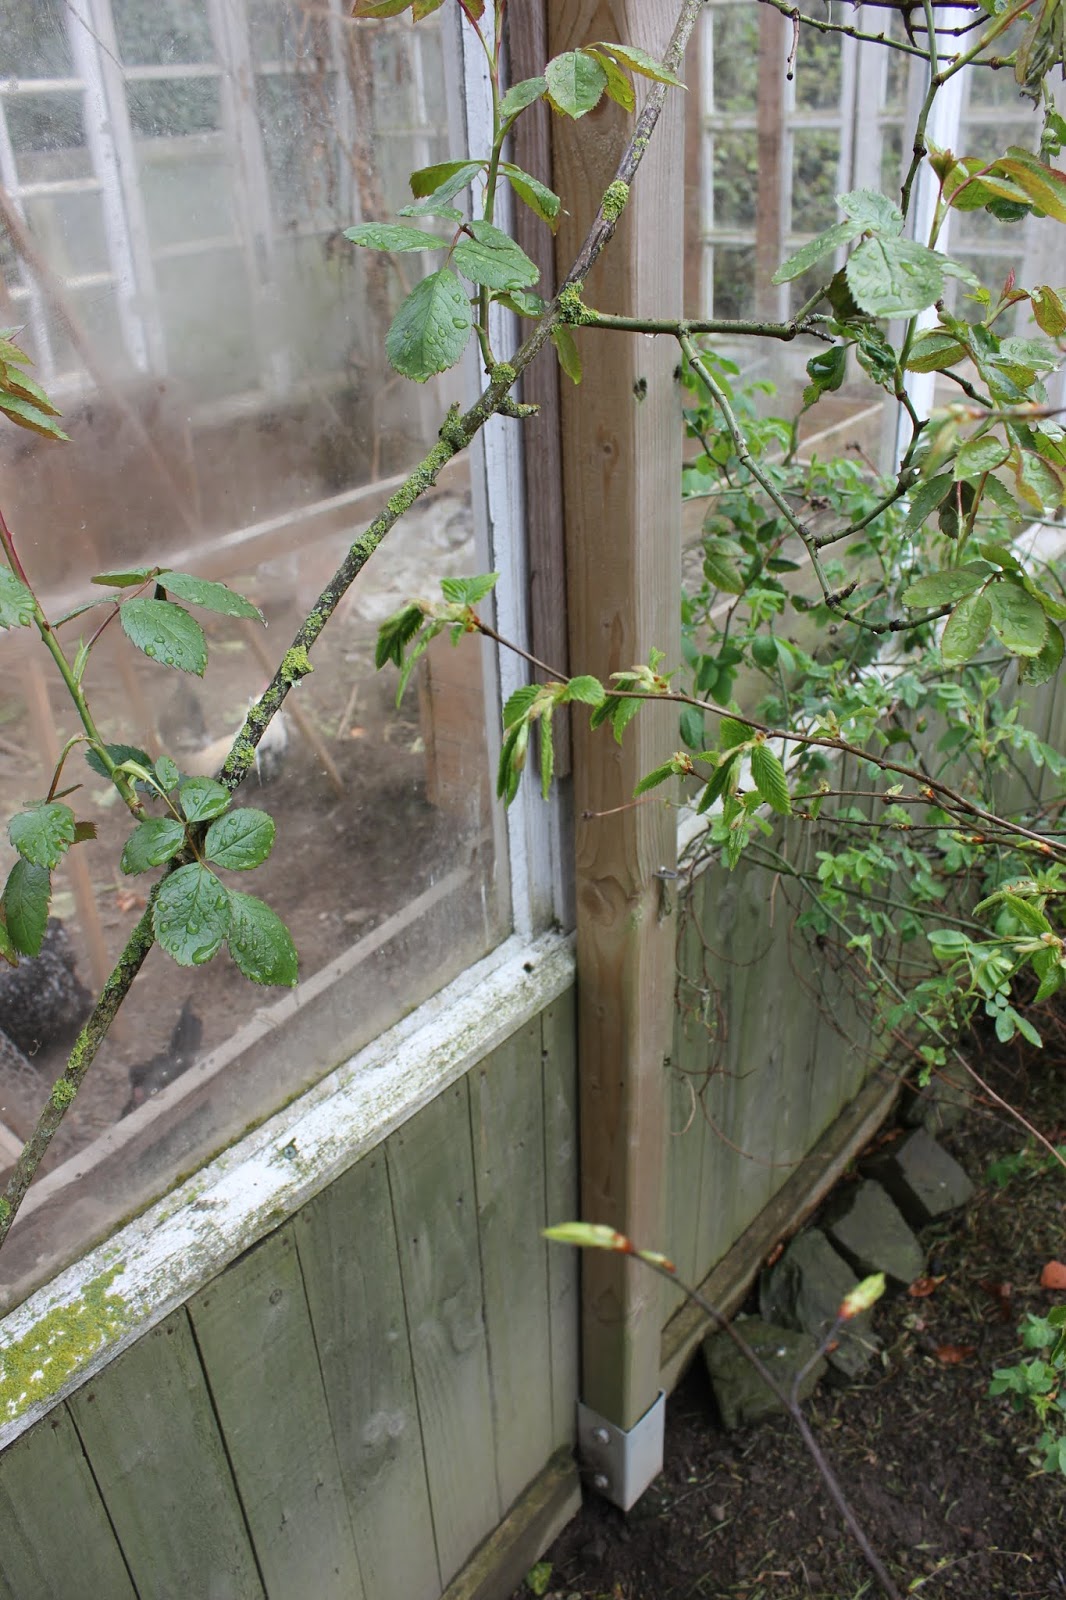
Covering the roof The roofing material of 200micron UV-stabilised polyethylene, was held in place with wooden laths screwed through it into the truss and window timber. Initially I was concerned about piercing the material fearing at best a leaking roof and at worst a point of propagation for tears. Neither has happened despite several Winter's worth of gale force winds, although in fairness we have grown shelter belt hedges in the garden to reduce the effect of the wind. A fascia board of pallet wood ran along the two long sides of the polythene and also provided an attachment for the guttering.
Rainwater recovery from the roof is via gutters along each side of the greenhouse emptying into barrels. We have also found it beneficial for the barrels to be inclined slightly such that in the event of their overflowing the water runs towards the greenhouse.
Here is the film:
Hope you enjoyed this project and will have a go at making one. We can not imagine how we could live without our greenhouse now. It has so many uses apart from the major one of growing food: in particular we can now grow exotic foods and spices in the Summer and provide fresh food for our table even throughout the Winter.
11 Comments
doing2much 3 years ago
littlebadwren 3 years ago
Organikmechanic 3 years ago
TKinTX 3 years ago
Organikmechanic 3 years ago
brianchadorourke 3 years ago
Organikmechanic 3 years ago
cronarenan 3 years ago
Organikmechanic 3 years ago
obillo 3 years ago
Organikmechanic 3 years ago