

Introduction: DIY Arduino Color Sensor


How to make a DIY Arduino Color Sensor
Step 1: Parts


4 Leds (Green,Blue,Red,Yellow)
4 220ohm resistor
1 LDR
1 10k resistor
Female Pins
PCB
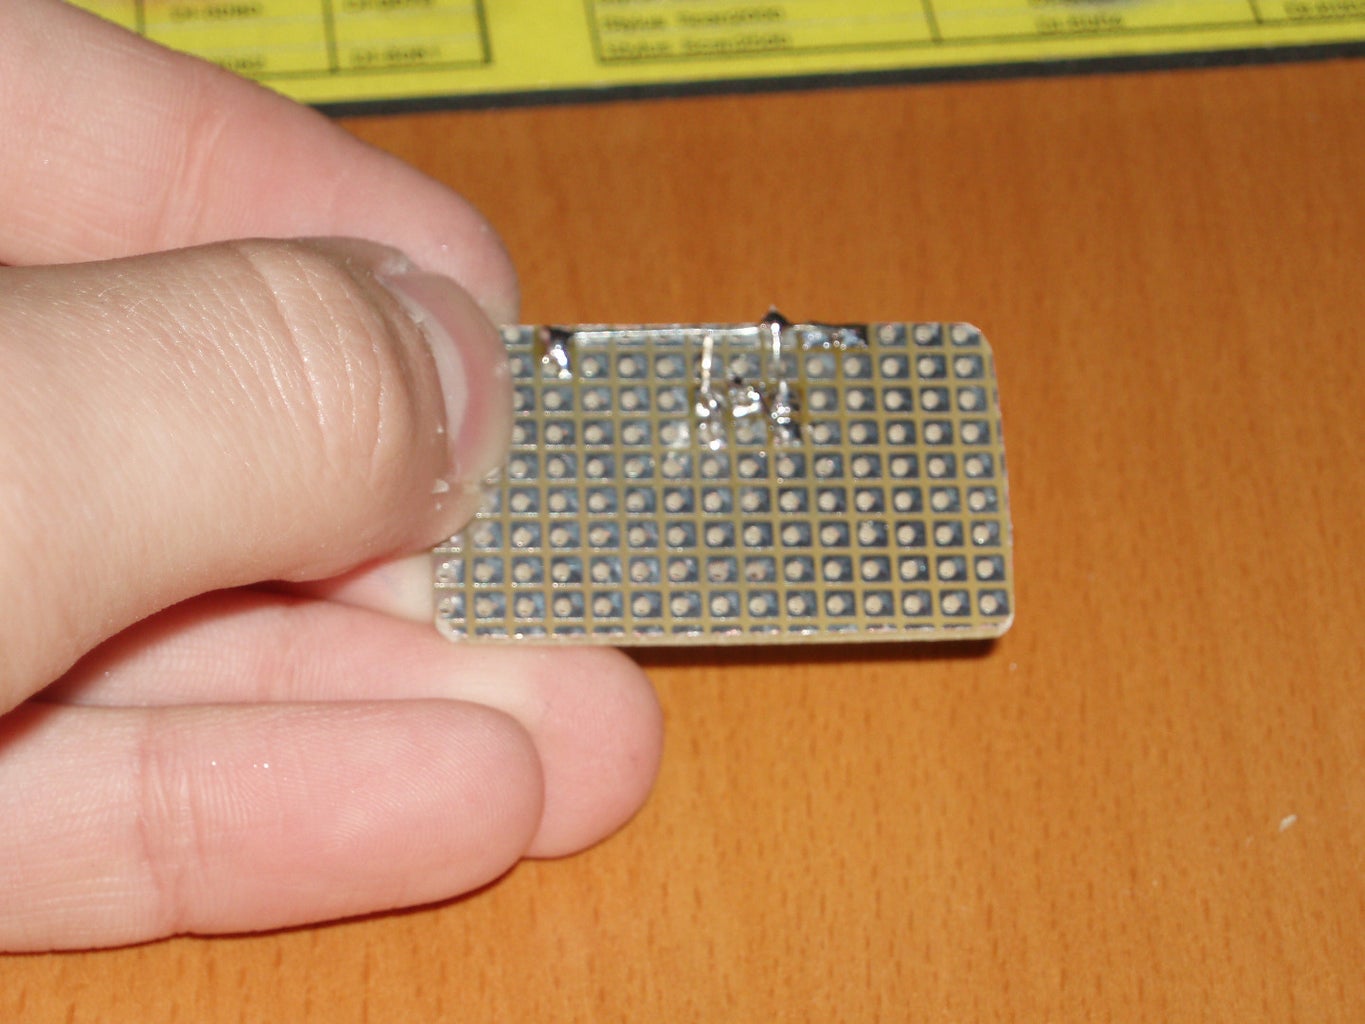
Step 2: Cut the PCB


Shape your design to the PCB. Then cut it. I used 3.5cm by 2.5cm
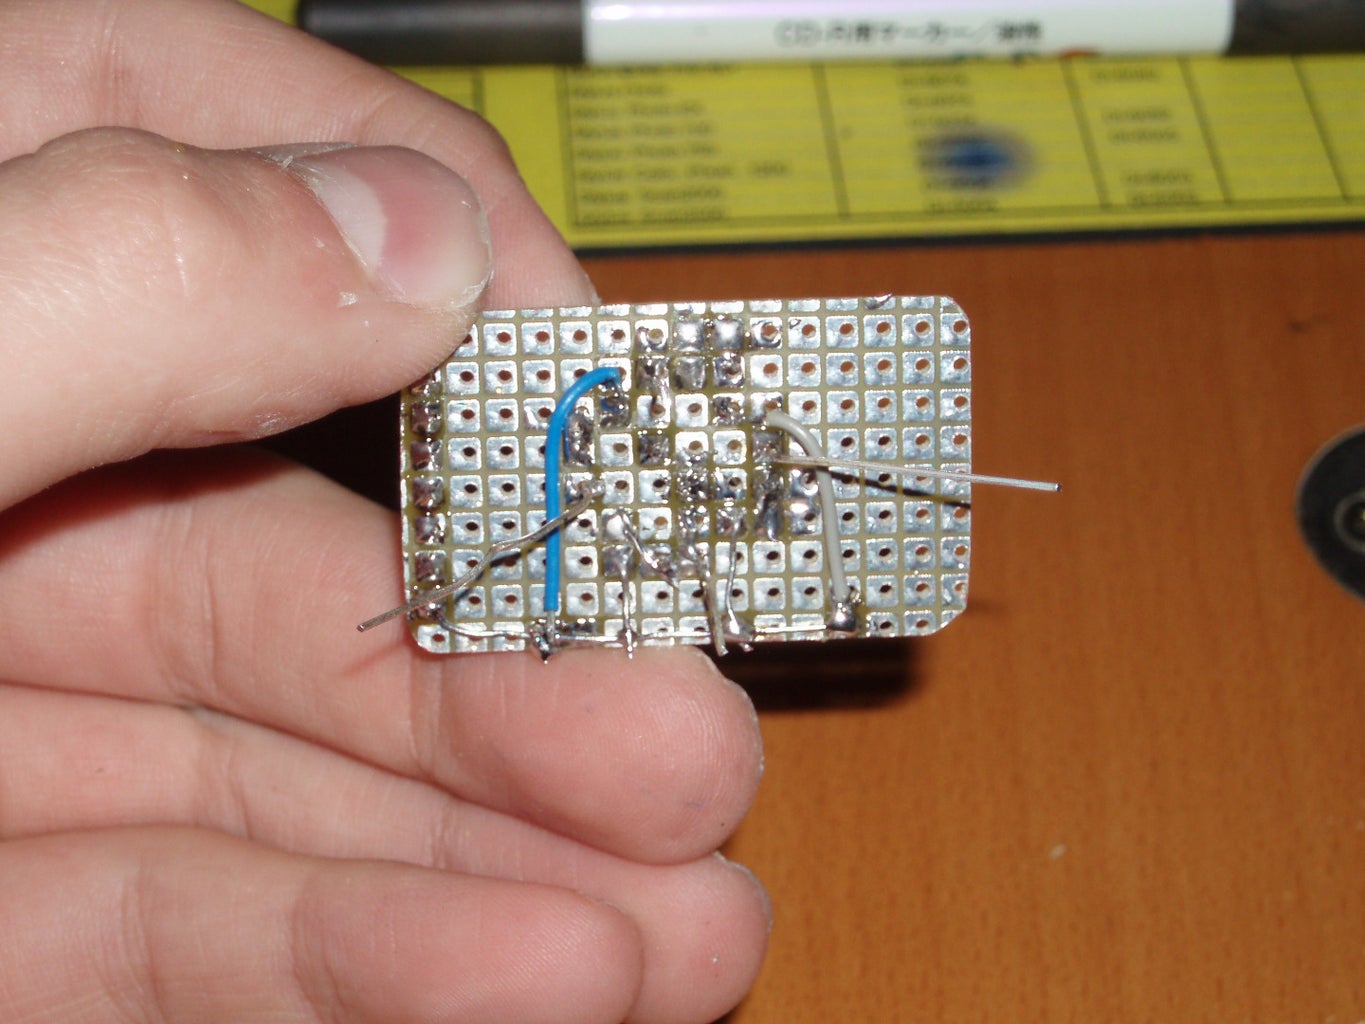
Step 3: Start Soldering Part 1

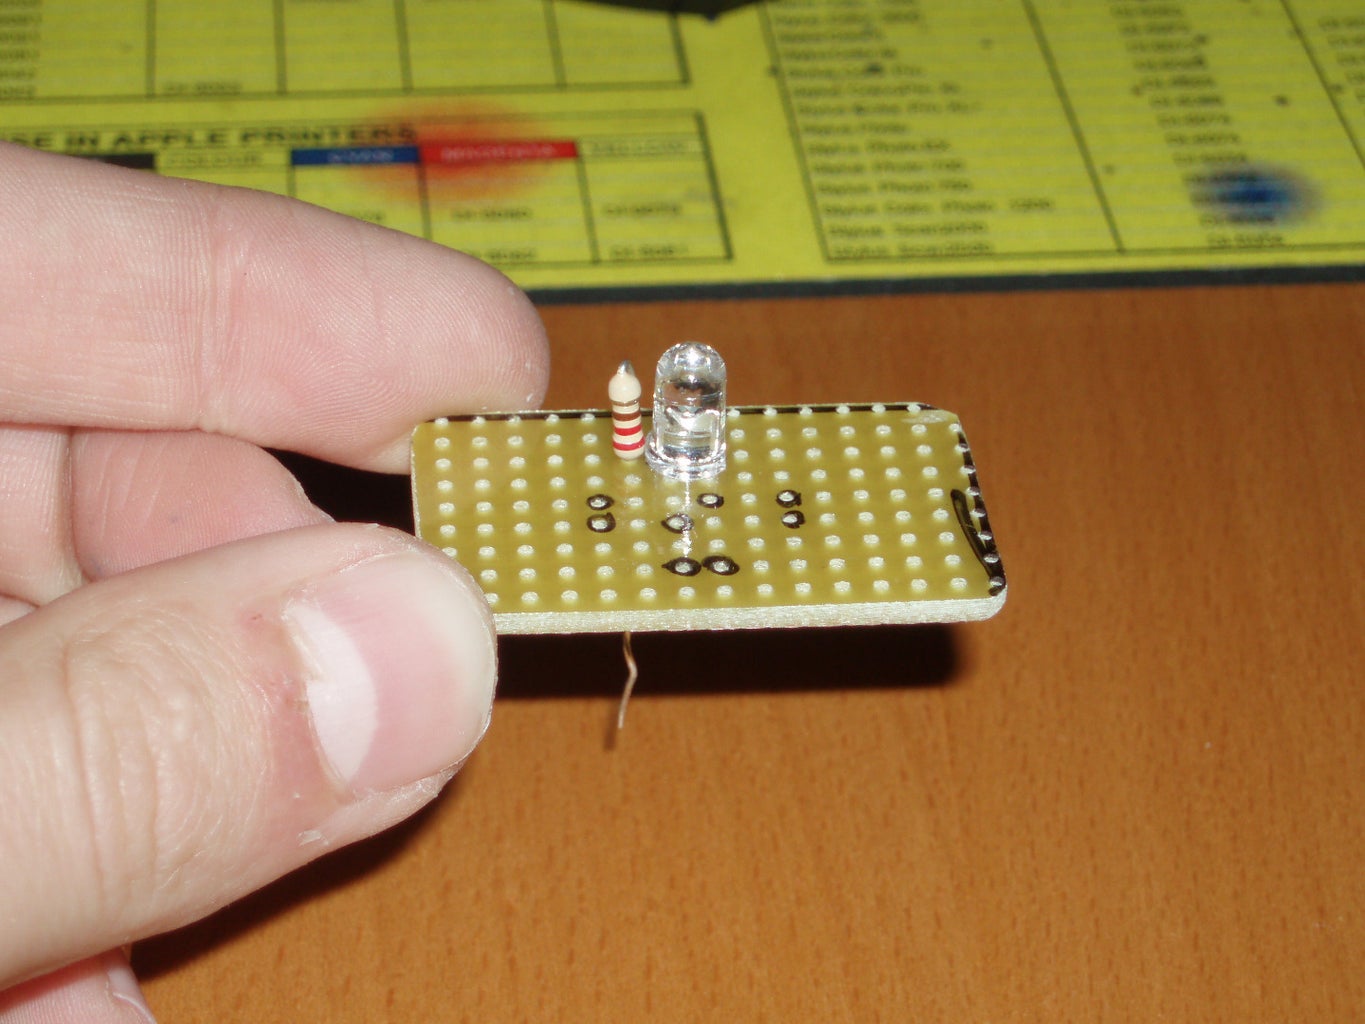


Start Soldering the Leds like the schematic.
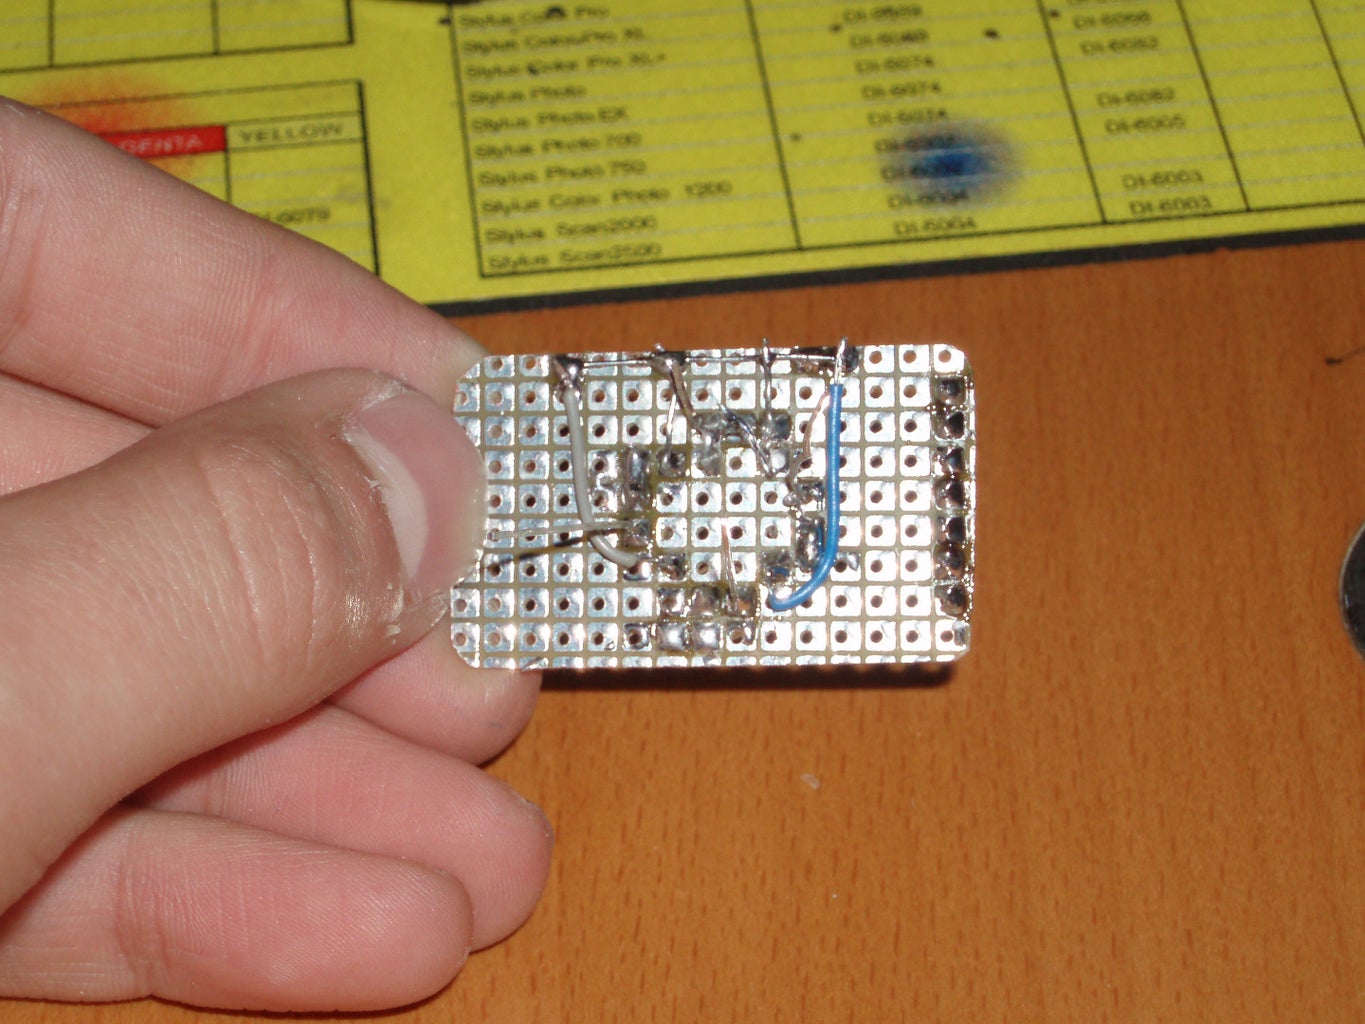
Step 4: Soldering Part 2


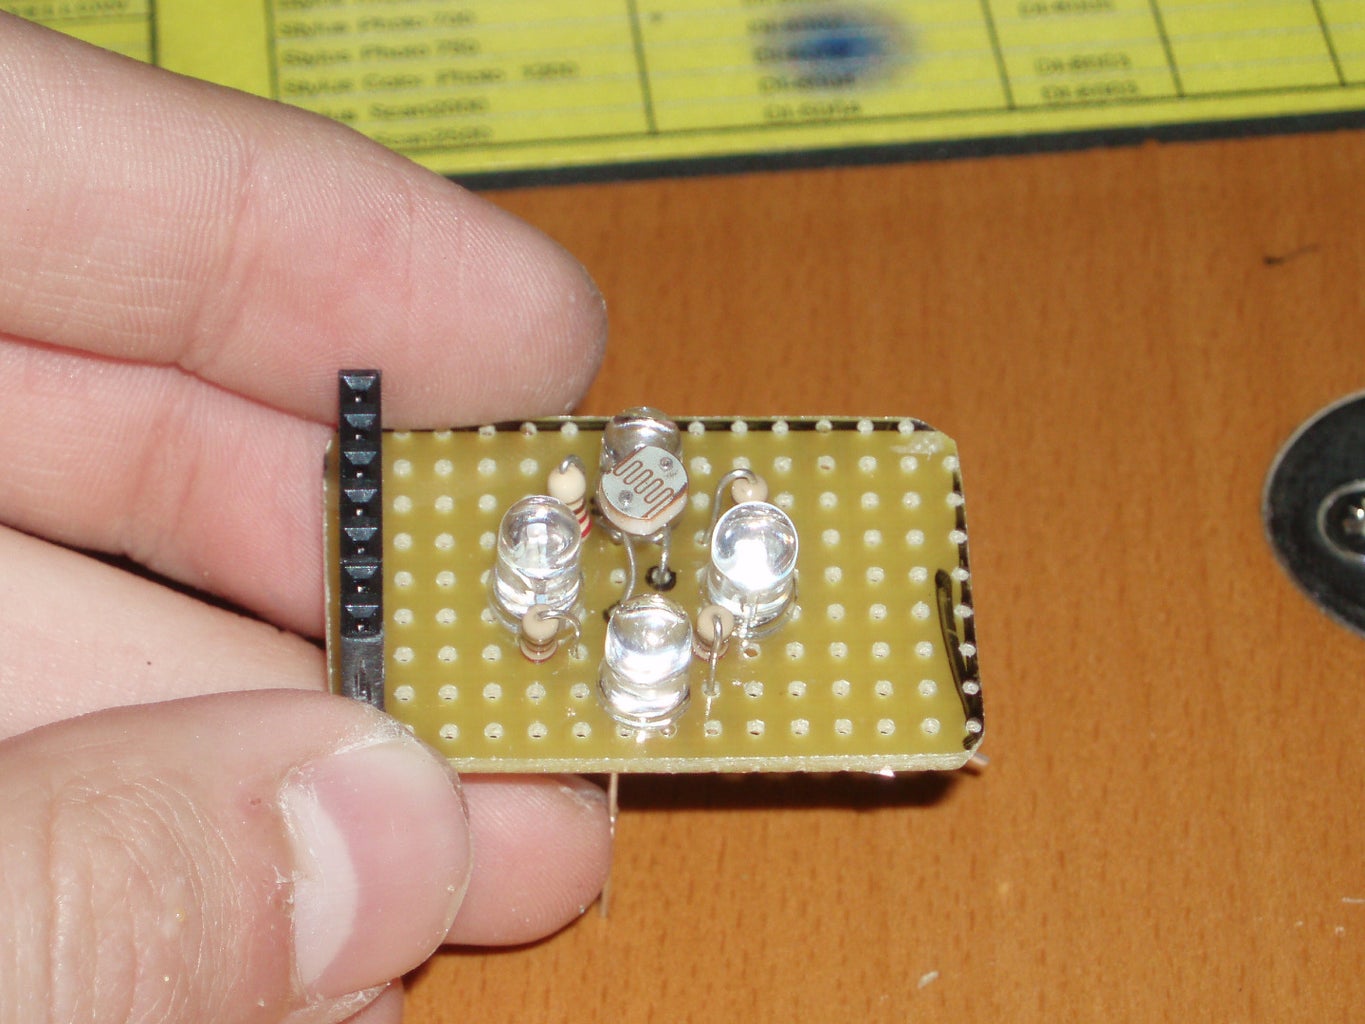

Solder the LDR with the 10k resistor and the Pins like the schematic.
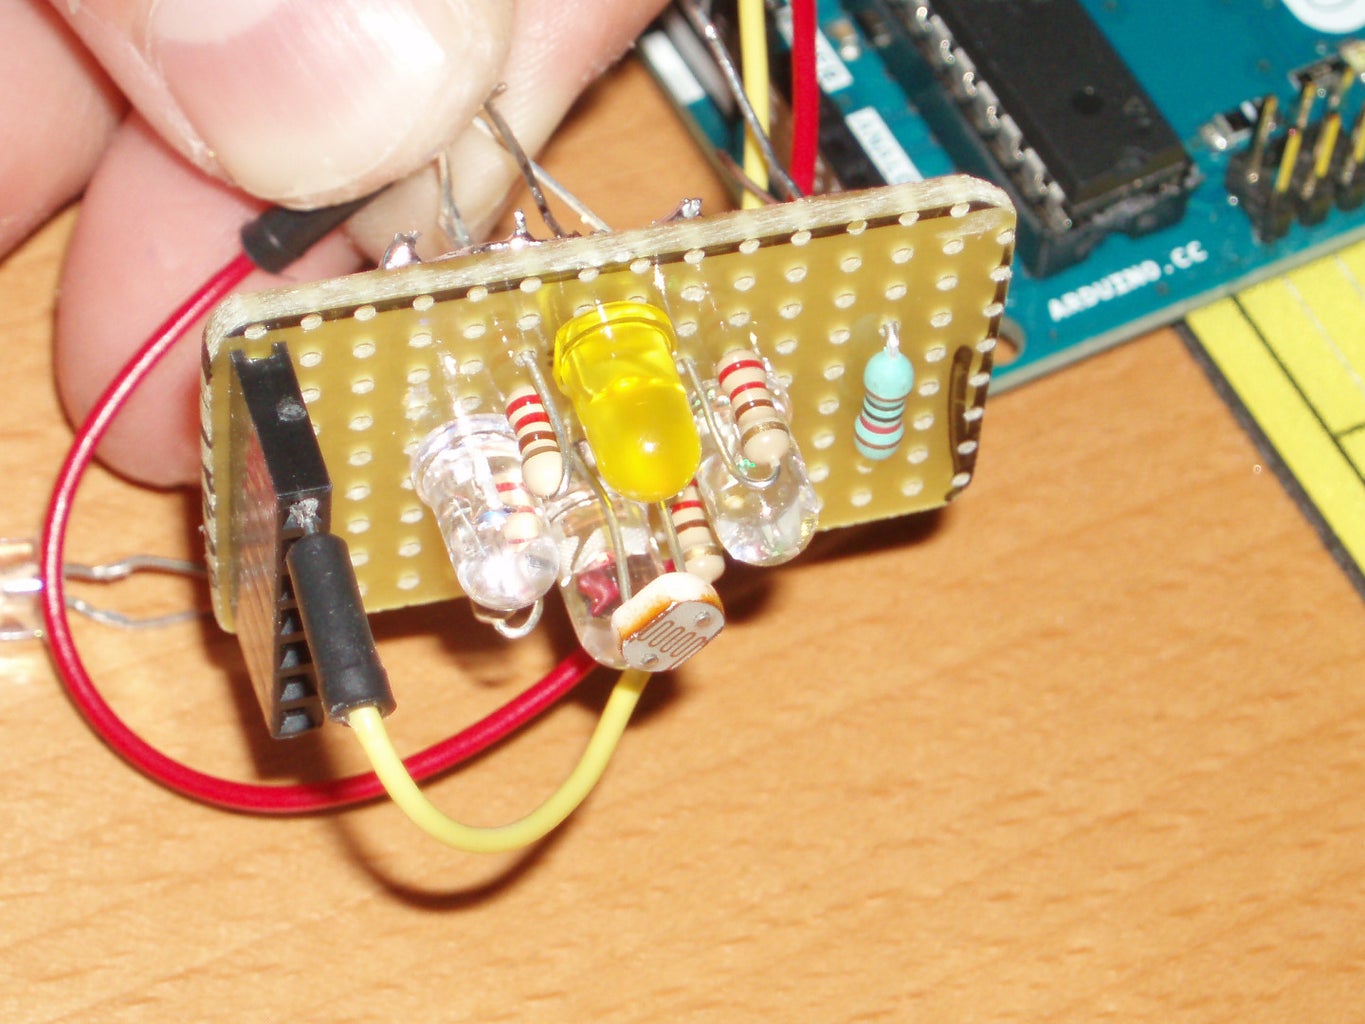
Step 5: Connect It and Upload the Code
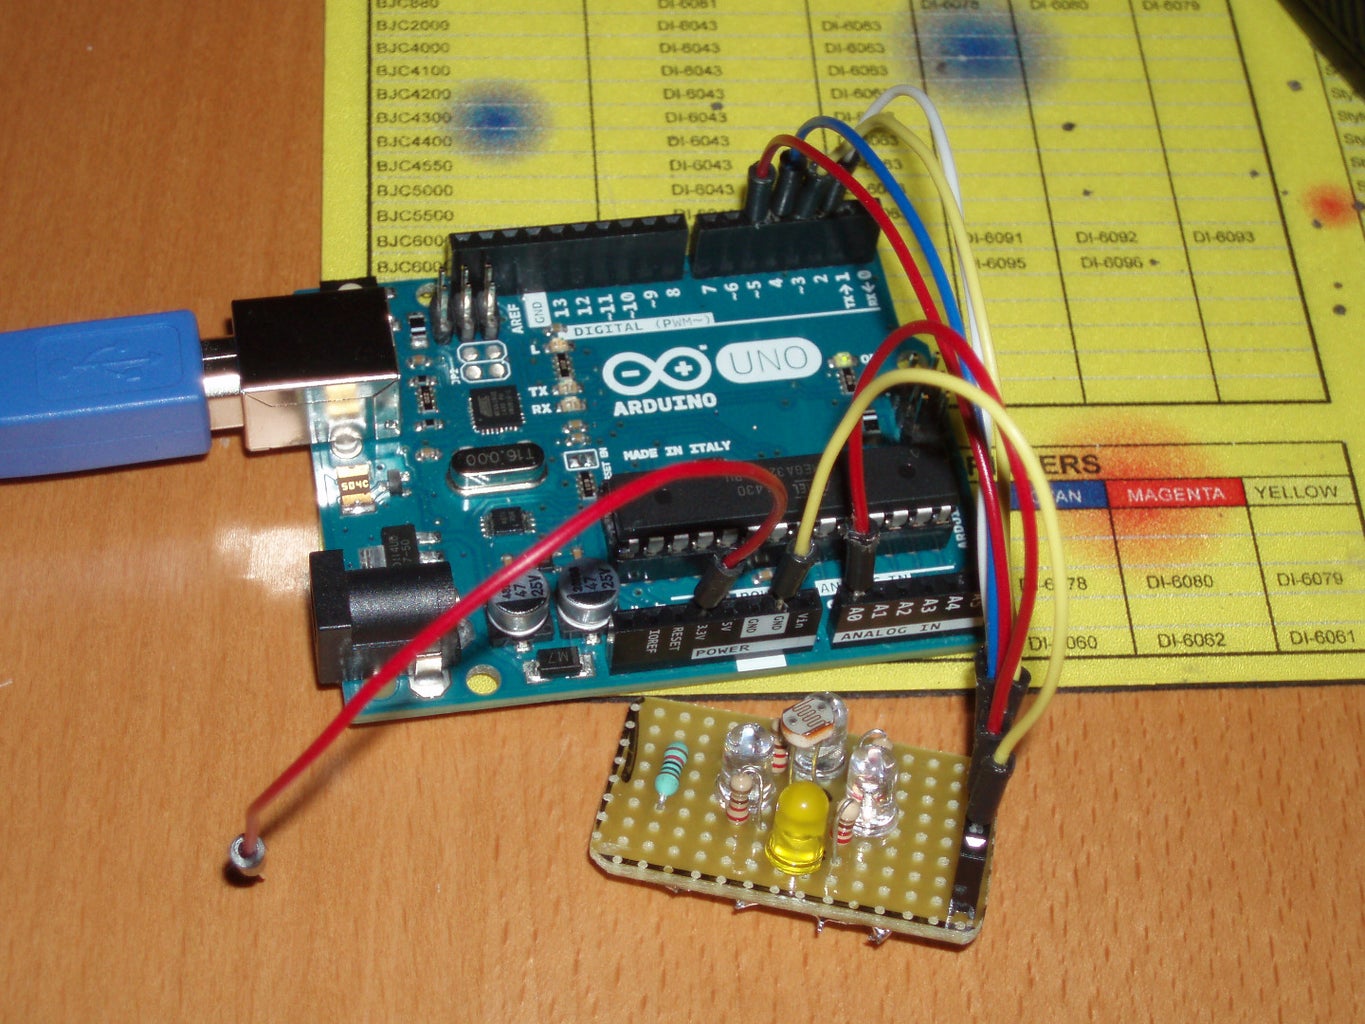
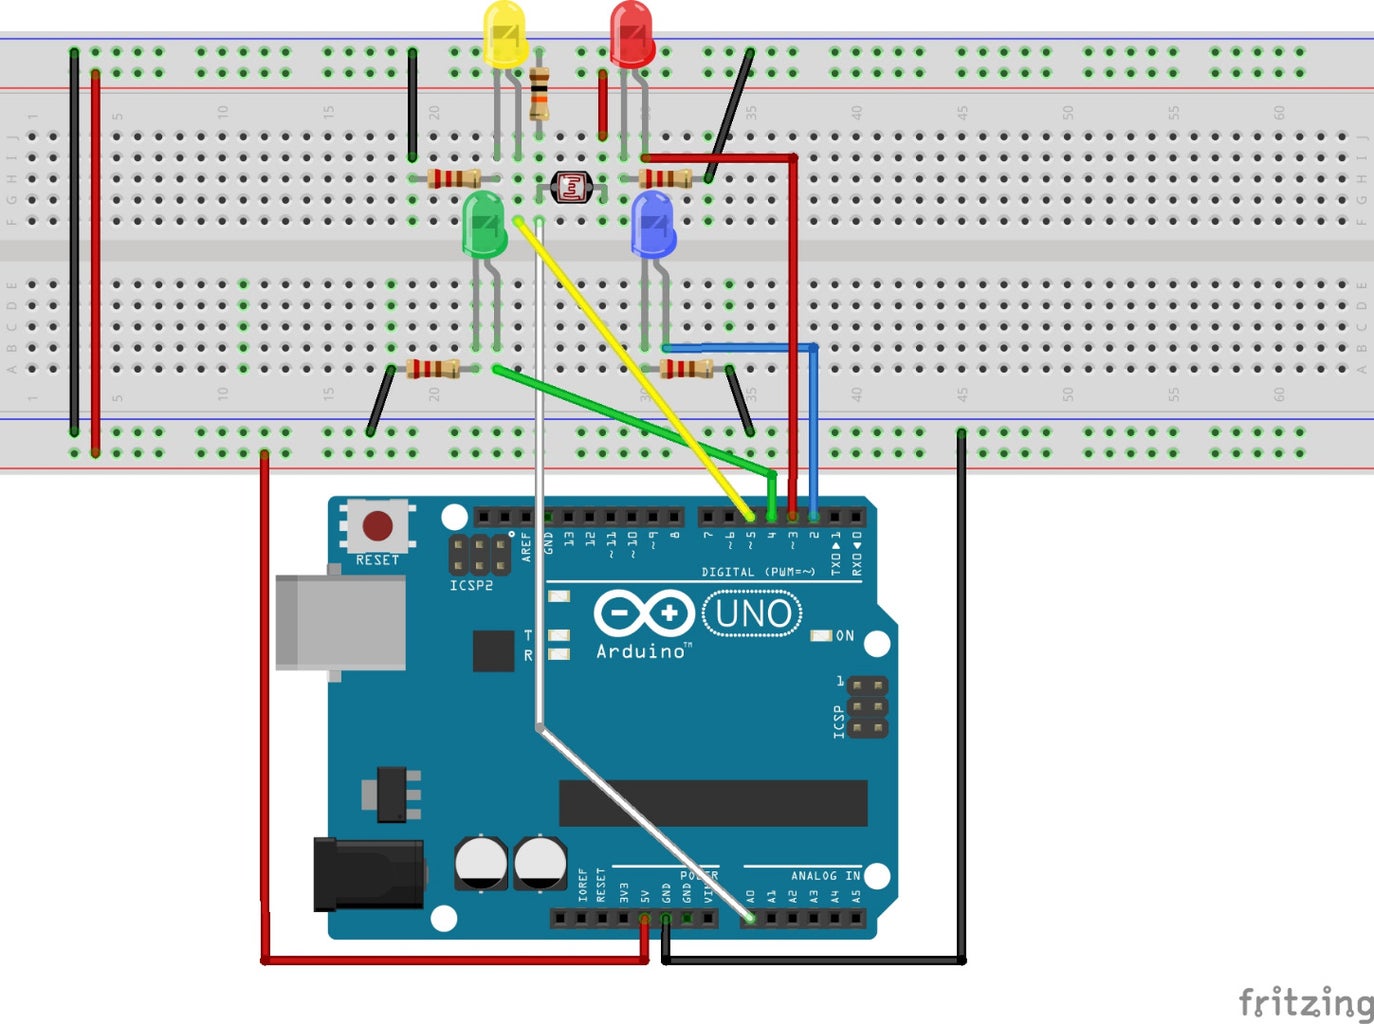

Connect the Pins like the Schematic and Upload the Code.
Attachments

Step 6: Done!!!


After you have Upload the code, see how your DIY sensor finds the colours.If a colour matches,the led colour will flash 3 times.Hope you enjoy!!
