

Introduction: Voice Controlled Arduino Drone

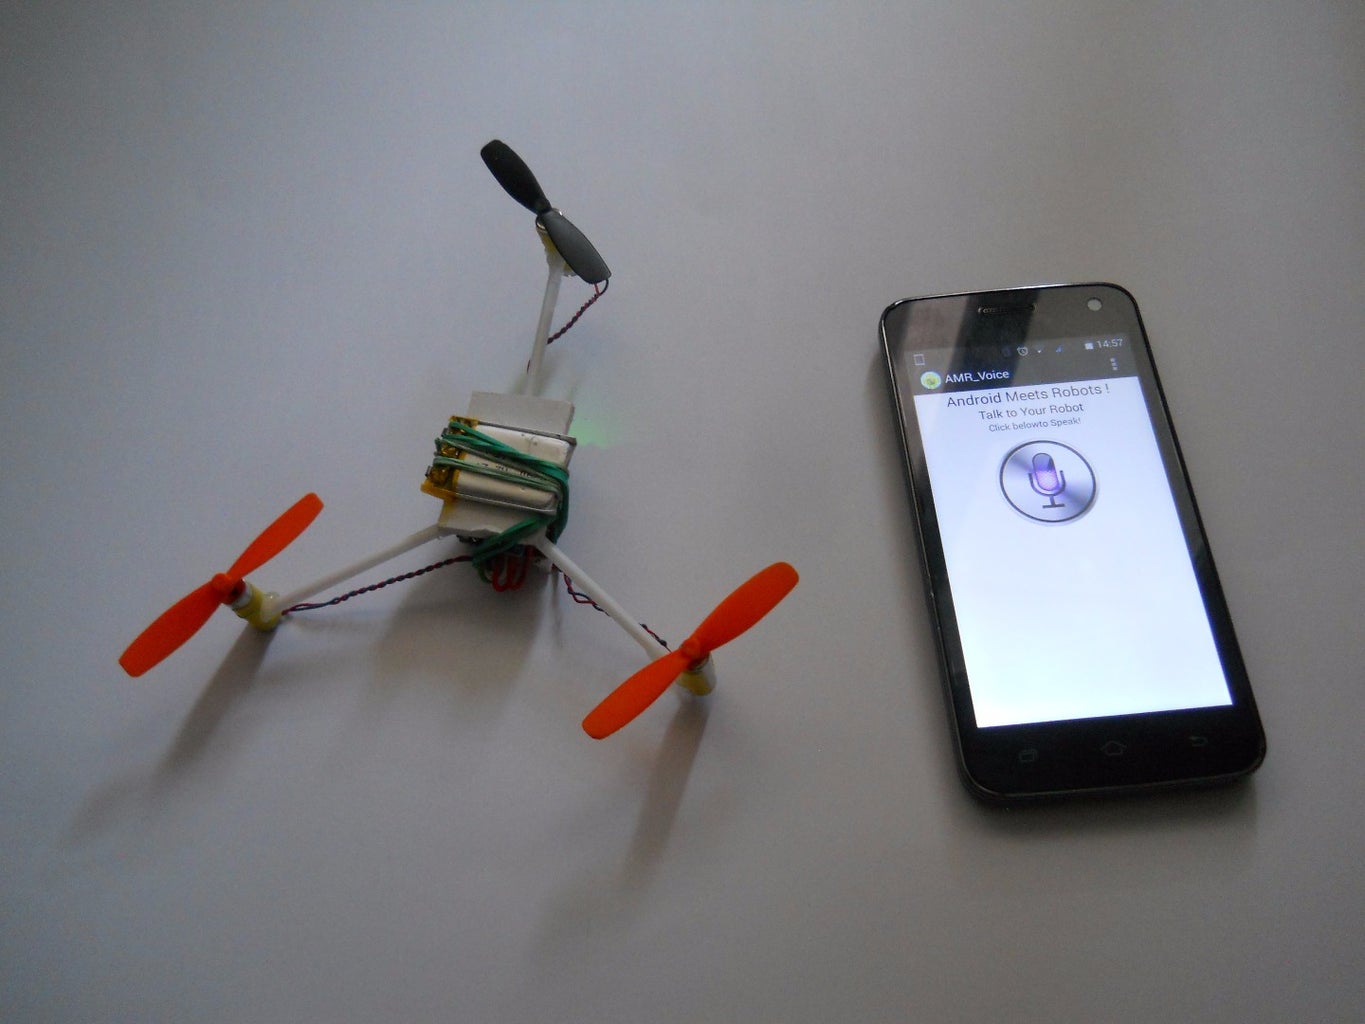


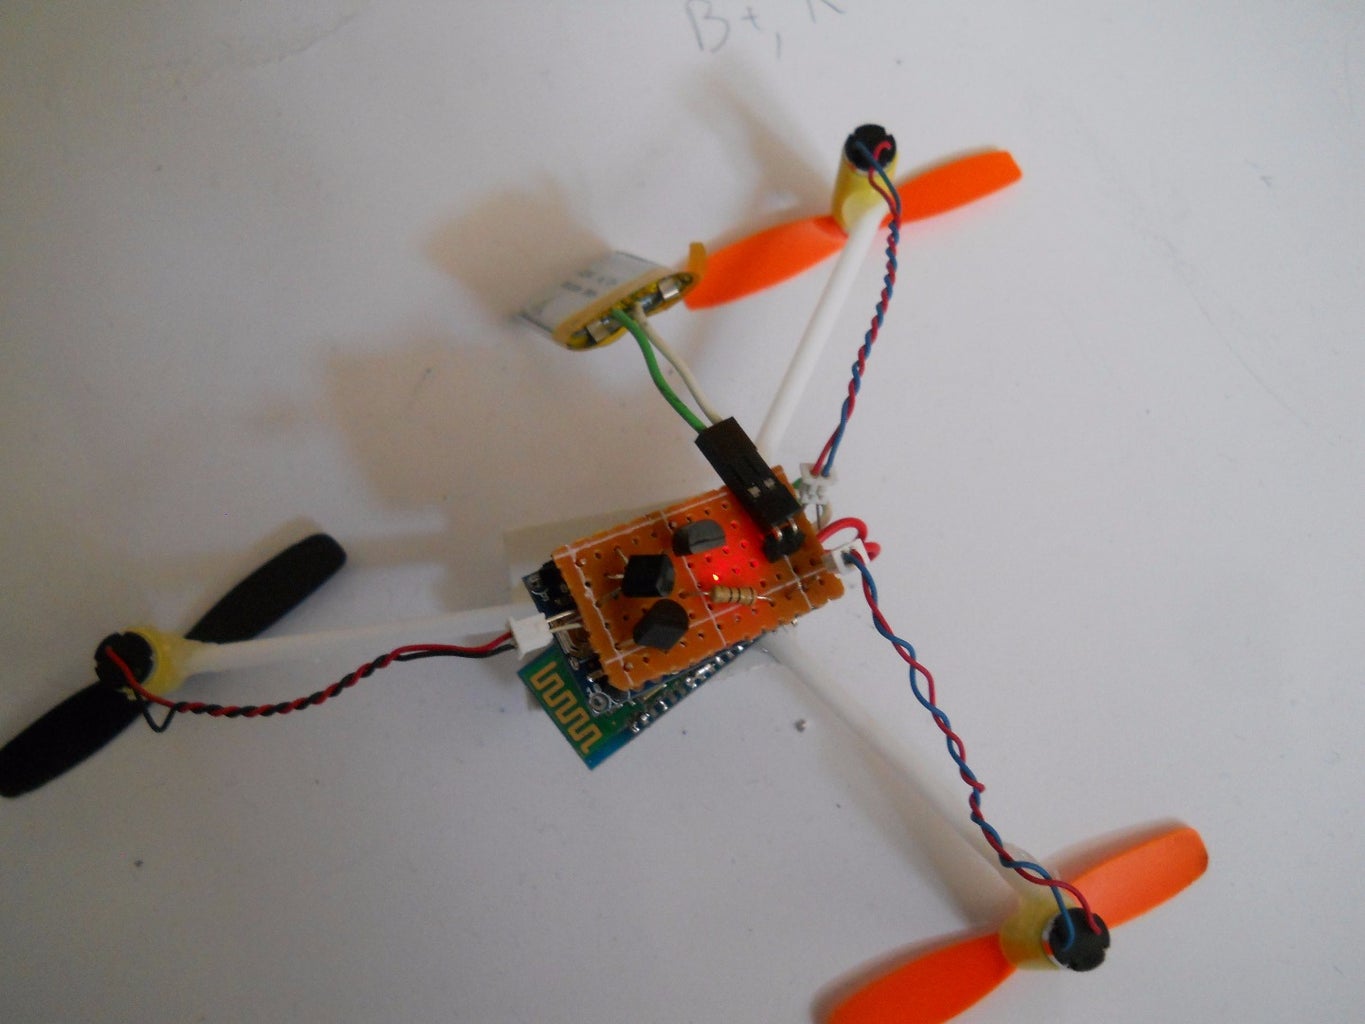
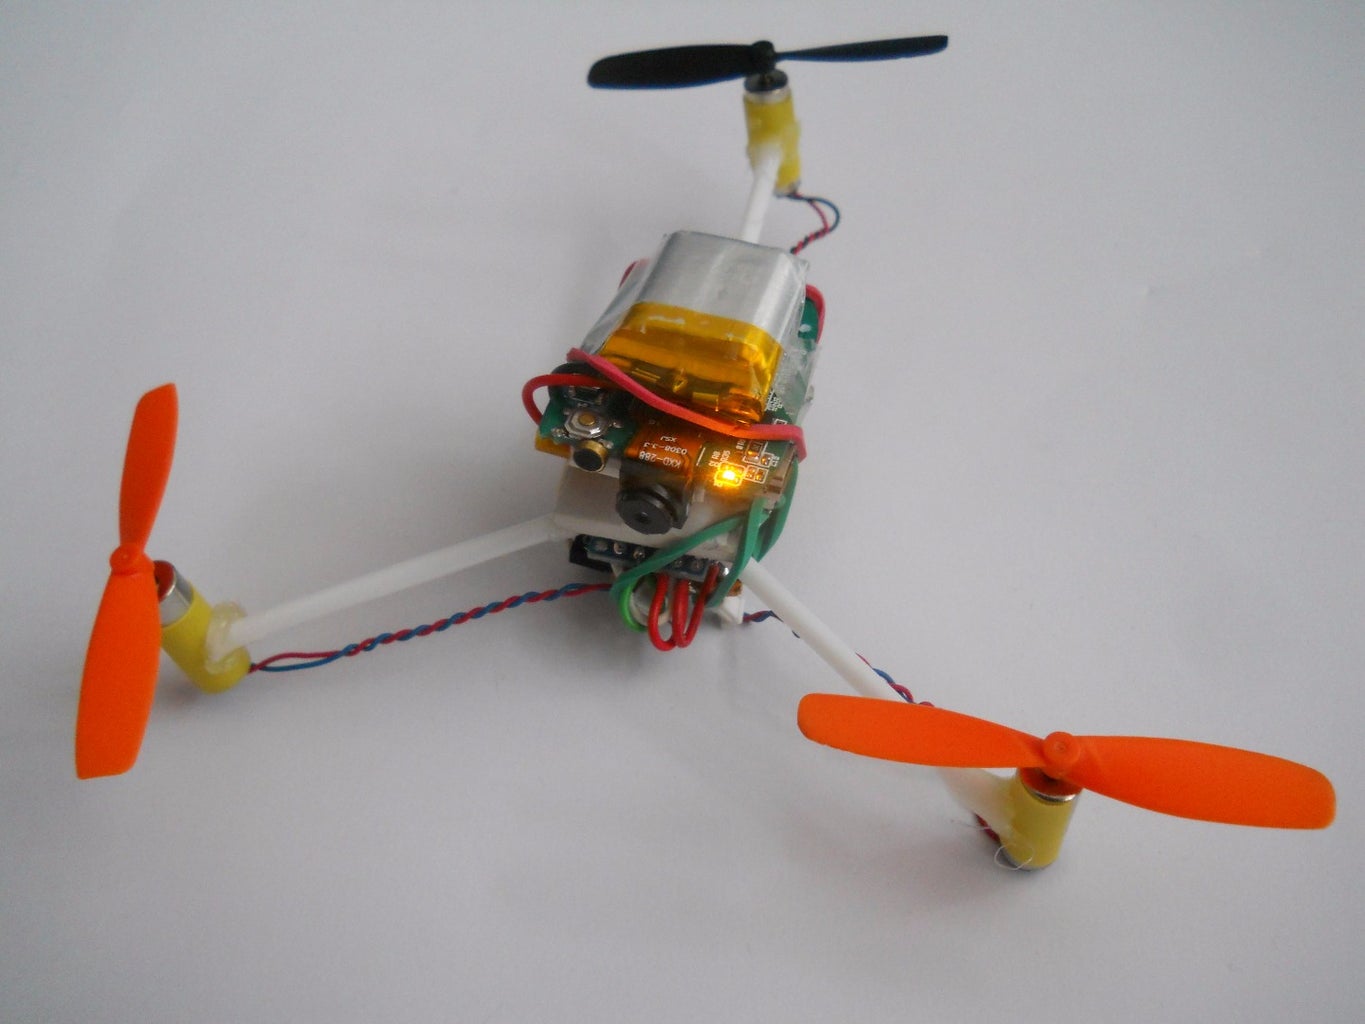
The drones are very good toys and tools, but usually they haven't any extra skills. I love to fly any R/C model and I just wanted to make a R/C drone that's a little bit smarter than the usual models. That's why I developed this mini voice controlled tricopter robot. The main concept is pretty easy, the drone is based on an Arduino Pro Mini board, the motors can be controlled through PWM pins. I made a bluetooth connection with my Android smartphone and using an app the phone transmits words through serial communucation to the HC-05 bluetooth module to the Arduino board. The best thing is that this project didn't costs more than 11 dollars.
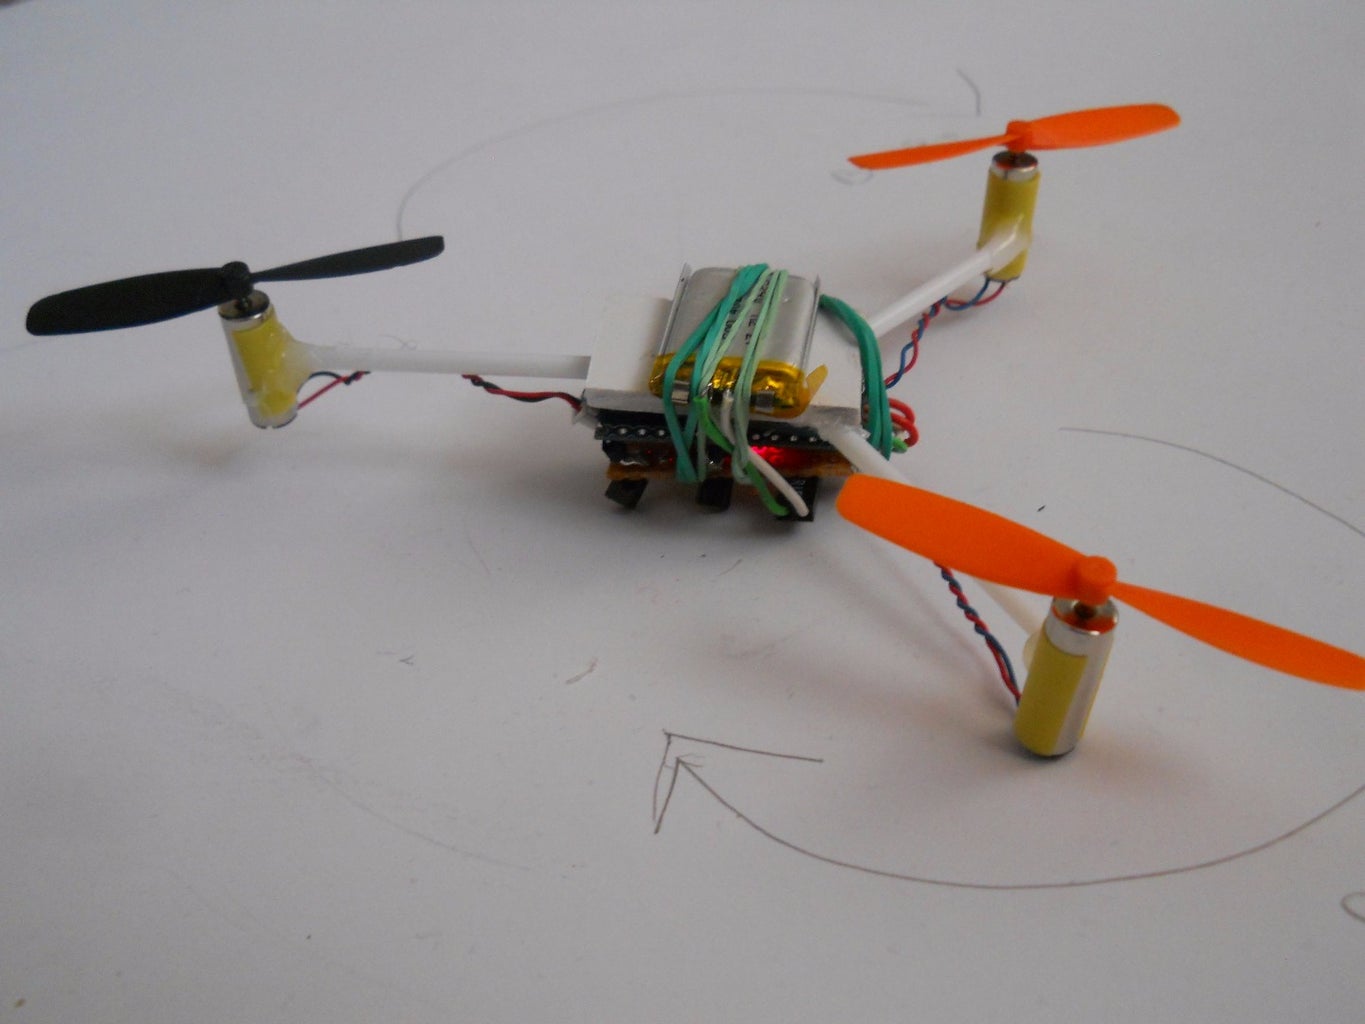
I made a "motor shield" or something like that using a few transistors that increase the current of the digital output pins. I used 2N2222, but would be better to use a SMD power transistort. The drone works well with both. The propellers and the motors are bought from eBay.
Some features:
• speech controlled
• Arduino Pro Mini based
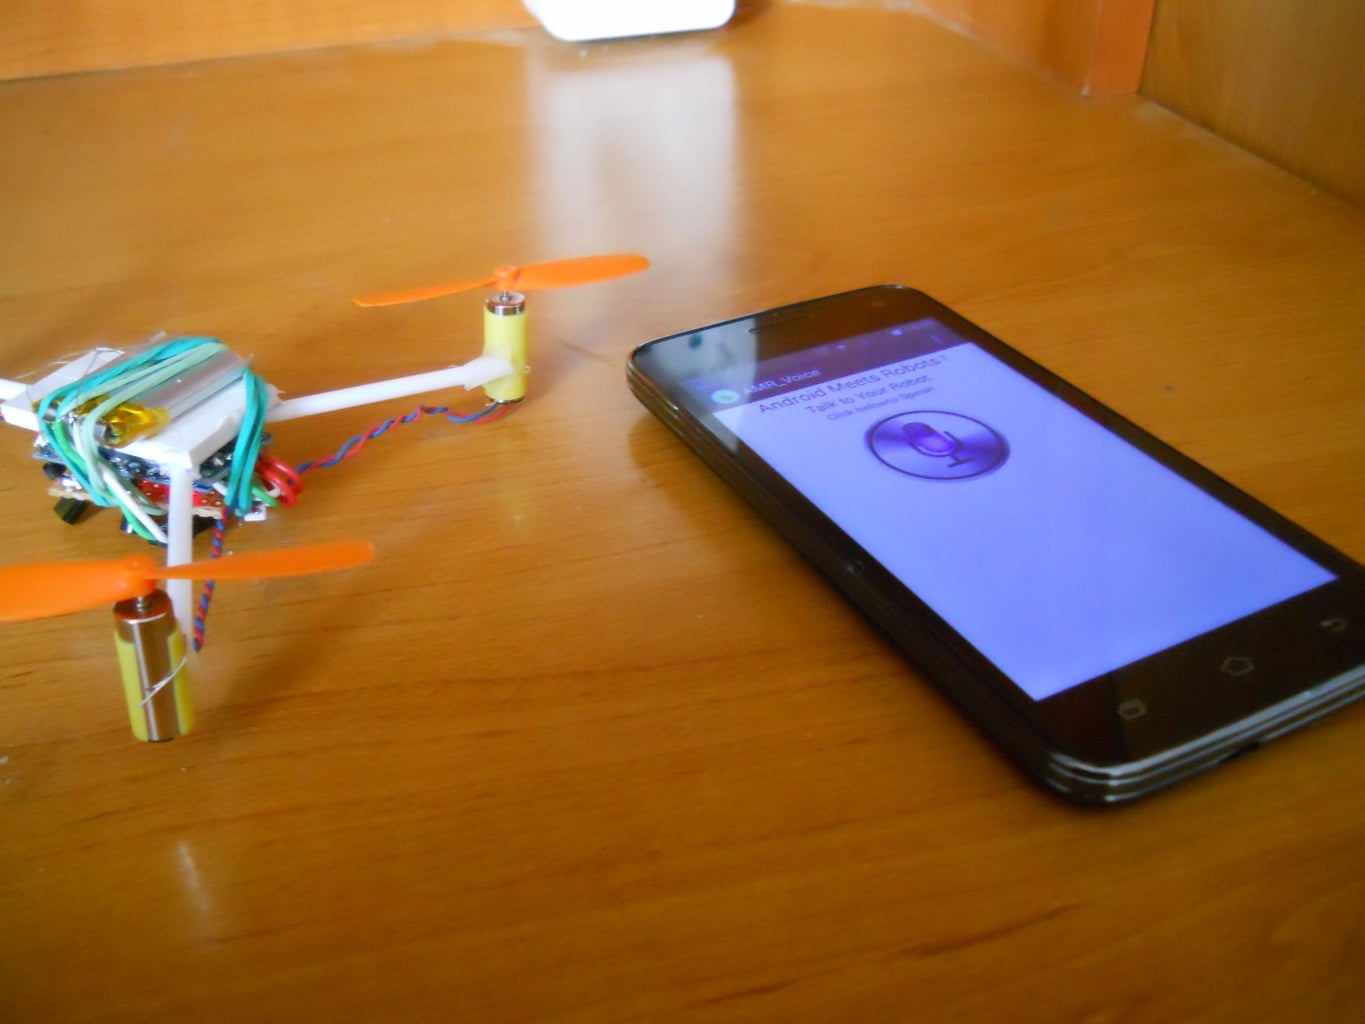
• voice recognition with a smatphone
• moves left, right, backward, forward, upand down
• hasn't build in gyroscope, you should make a code that holds the drone in balance, this can be made after a few experiments
• low weight, 22 grams, you can add 5 extra gramms
I made a tricopter because I have only 3 motors with propeller, but of course you can make a quad or hexcopter.
You'll need some experience in soldering, but isn't so hard. Only the motor shield requires some skill.
Step 1: The Sofware


Before gathering materials write upload this code to your Arduino Mini Pro. If your drone is made perfectly this code will work. If isn't you should modify the code at the end. To programm the Arduino Mini I used an Arduino Uno that was set on 3.3 volts.
1. Arduino Mini Pro to Arduino Uno
2. RX --> TX
3. TX --> RX
4. VCC --> 3.3v
5. GND --> GND
6. RST --> RST
Now upload the code and you'll have a programmed board. I wrote some explanations in the sketch, but if you have questions feel free to ask. The Arduino analyzes the word through serial reading and reacts to them.
Step 2: How the Code Works?
The code is relatively simple. Analyzes the voice variable and reacts to them by controlling the motors. After turning left or right the Arduino quickly changes its value to the original, so your drone doesn't need a gyroscope, because automatically turns back in his oroginal position thanked to the sofware. This makes your flight safe and fun. :)
//copy this code in the IDE
<p>String voice;<br>int motor1 = 3; //Connect motor 1 To Pin #3 left motor
int motor2 = 9; //Connect motor 2 To Pin #9 rear motor
int motor3 = 11; //Connect motor 3 To Pin #11, right motor</p><p>//--------------------------Call A Function-------------------------------//</p><p>//the values after each anlogWrite commands are controlling the motor's speed, the max value is 255</p><p>//if your drone isn't in balance try to modify the values, example change 130 to 135 if your drone goes backward </p><p>void middlespeed() {
  analogWrite(motor1, 130);
  analogWrite(motor2, 130);
  analogWrite(motor3, 130);
}
void fastspeed() {
  analogWrite(motor1, 255);
  analogWrite(motor2, 255);
  analogWrite(motor3, 255);
}</p><p>void lowspeed() {
  analogWrite(motor1, 100);
  analogWrite(motor2, 100);
  analogWrite(motor3, 100);</p><p>}
//-----------------------------------------------------------------------//
void setup() {
  Serial.begin(9600);
  pinMode(motor1, OUTPUT);
  pinMode(motor2, OUTPUT);
  pinMode(motor3, OUTPUT);
}
//-----------------------------------------------------------------------//
void loop() {
  while (Serial.available()) { //Check if there is an available byte to read
    delay(10); //Delay added to make thing stable
    char c = Serial.read(); //Conduct a serial read
    if (c == '#') {
      break; //Exit the loop when the # is detected after the word
    }
    voice += c; //Shorthand for voice = voice + c
  }
  if (voice.length() > 0) {
    Serial.println(voice);
    //-----------------------------------------------------------------------//
    //----------Control motors----------//
    if (voice == "*start motors") {
      lowspeed(); //The motors start spin, and the drone slowly comes downer if already flies
    }
    else if (voice == "*fly low") {
      middlespeed(); //Fly the drone, stay in one place
    }
     else if (voice == "*fly higher") {
      fastspeed(); //Maximum motor speed, the drone will go upward very fast
    }</p><p>    //----------Directions----------//
    //The drone can be controlled the best in middlespeed state
    else if (voice == "*go left") {
      analogWrite(motor1, 100);
      delay(450);
      analogWrite(motor1, 130);
    }
    else if (voice == "*go right") {
      analogWrite(motor3, 100);
      delay(450);
      analogWrite(motor3,130);
    }
    else if (voice == "*go backward") {
      analogWrite(motor2, 100);
      delay(300);
      analogWrite(motor2, 130);
    }
     else if (voice == "*go forward") {
      analogWrite(motor2, 200);
      delay(350);
      analogWrite(motor2, 130);
    }
     else if (voice == "*right back") {
      analogWrite(motor1, 200);
      delay(350);
      analogWrite(motor1, 130);
    }
     else if (voice == "*left back") {
      analogWrite(motor3, 200);
      delay(350);
      analogWrite(motor3, 130);
    }</p><p>    //-----------------------------------------------------------------------//
    voice = "";
  }
} //Reset the variable after initiating</p>
Attachments

Step 3: Parts and Tools


Tools:
For this project you'll need a soldering iron, a glue gun, a variable power supply unit and a PC with Arduino IDE.
Parts:
Main, most important parts:
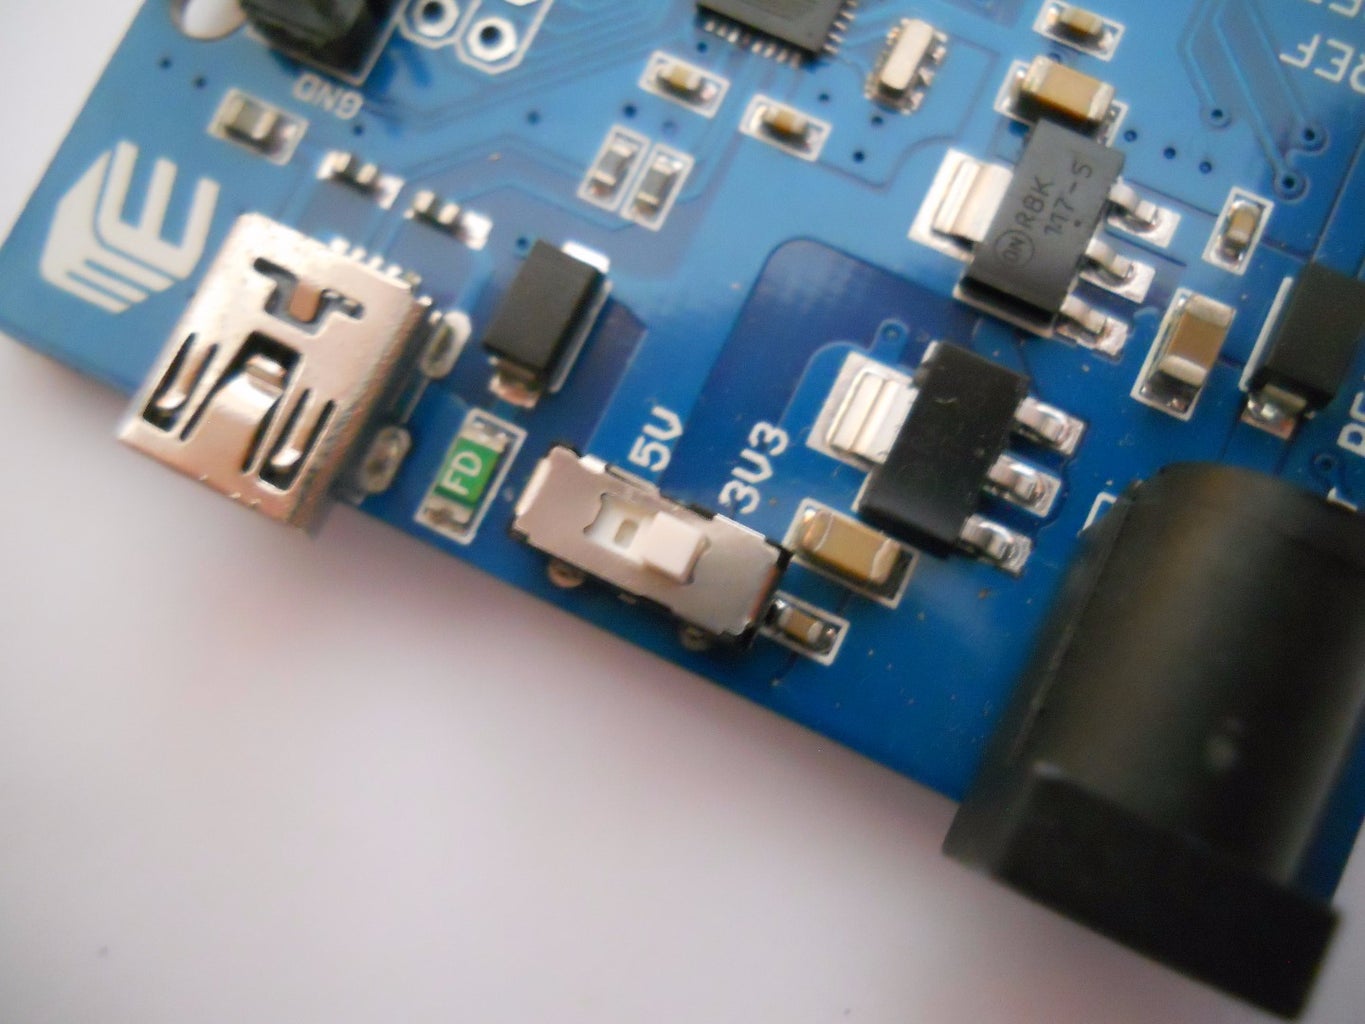
• Arduino Pro Mini 3.3v clone, but it's better to buy the original Arduino Mini 05 board
• 3 Motors
• HC-05 Bluetooth Module
Secondary parts:
• 2N2222 transistors (local hobby-shop, $0.1)
• 3 Propeller Blades (you can buy together with the motors)
• A Battery (mine is from an MP3 Player)
• Straws and a small lightweight plastic piece (from any store)
• Rubberbands (from a store)
• 100Ohm resistor (local hobby-shop, $0.05)
• Some Wires (local hobby-shop or salvage from other electronic stuff)
You can buy all main parts on the eBay. Click on it to open the link.
Step 4: Soldering...


- Arduino Mini Pro to HC-05
- RX --> TX
- TX --> RX
- VCC --> 3.3v
- GND --> GND
Solder the two circuits together using short wires. It's very easy.
Step 5: How to Build the Tricopter's Frame?


Insert the motors in the bigger straws and glue a frame with the other straws, just like on the pictures. I bought very strong straws from a local supermarket and they hold the motors very strong, so they won't fall down. Behind the design are a lot of physics calculations. I can't explain these now formulas and rules but if you're interested read this article. Using those formulas given in link, you can design an own frame and drone.
Step 6: The Rear Motor


You need to make a small difference between the vertical axis and the rear motor's axis otherwise the drone will spin. 10 degrees are enough for this.
Step 7: Motors


You can see some metal sticks on the first picture, I plugged them into the endings of the motors. This is important, because you'll have a joining piont for soldering.
Step 8: Check the Polarity!
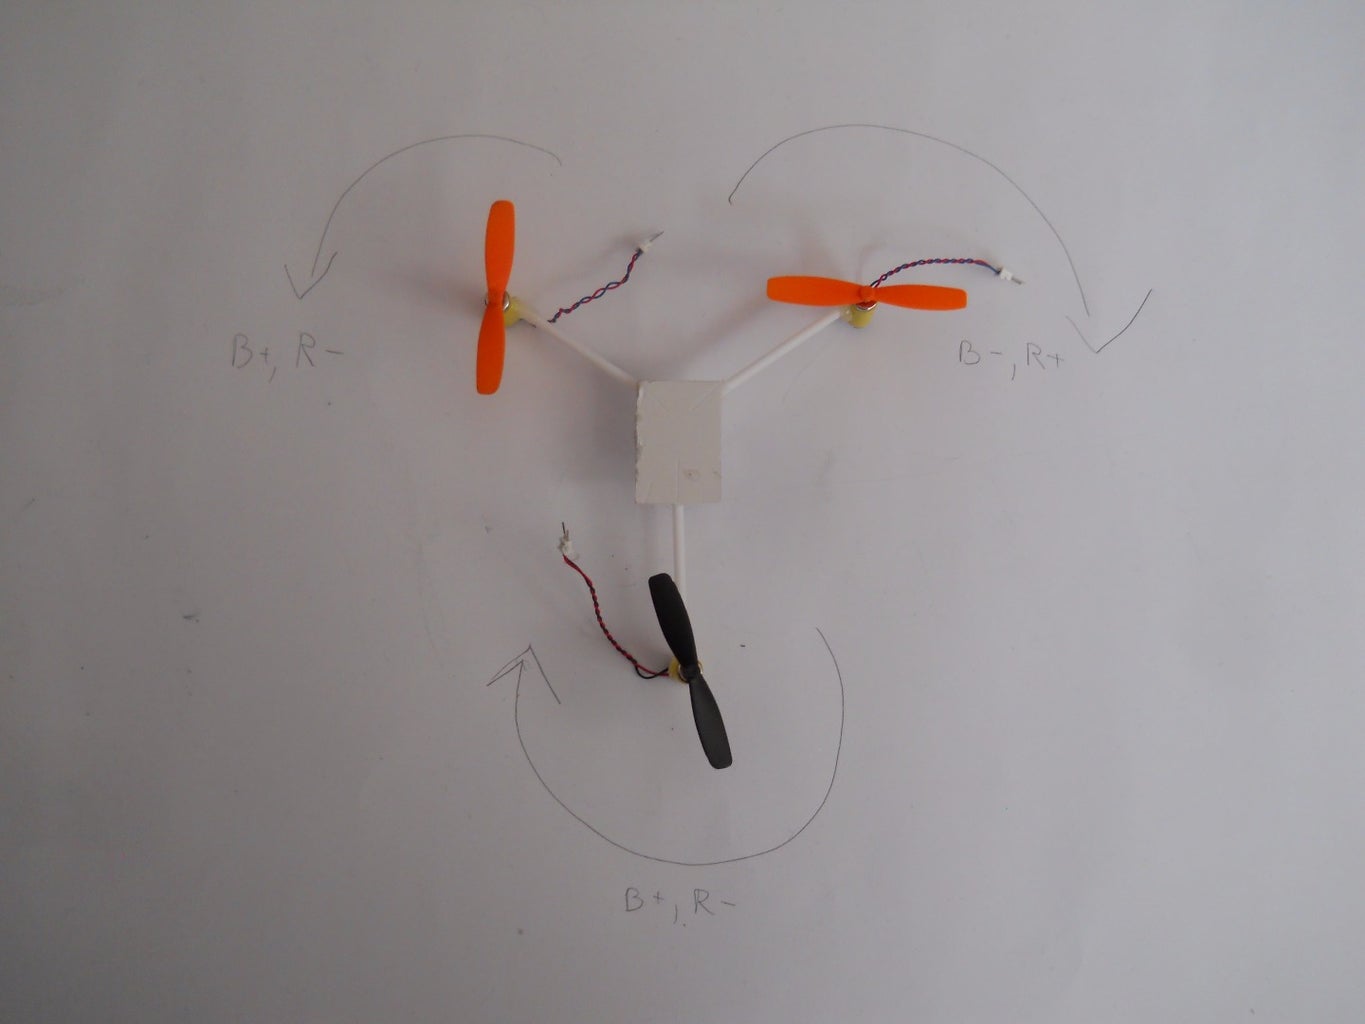


On the pictures you can see how my motors should spin. I used my PSU unit and tried out every motors on 2.1 volts.
Step 9: The "motor Shield"


Now you should make a small circuit that can be easily attached to the Mini Pro board. The circuit schematic shows you the connections but I missed the 10kOhm resistor because its value is too high, so it's better to use 100Ohm resistors. This circuit should be very small. Solder connection legs to the 9, 3, 11, GND and VCC pins just like me.
On the schematic are corrected the RX and TX with red font color.
Step 10: Soldering the Transistors

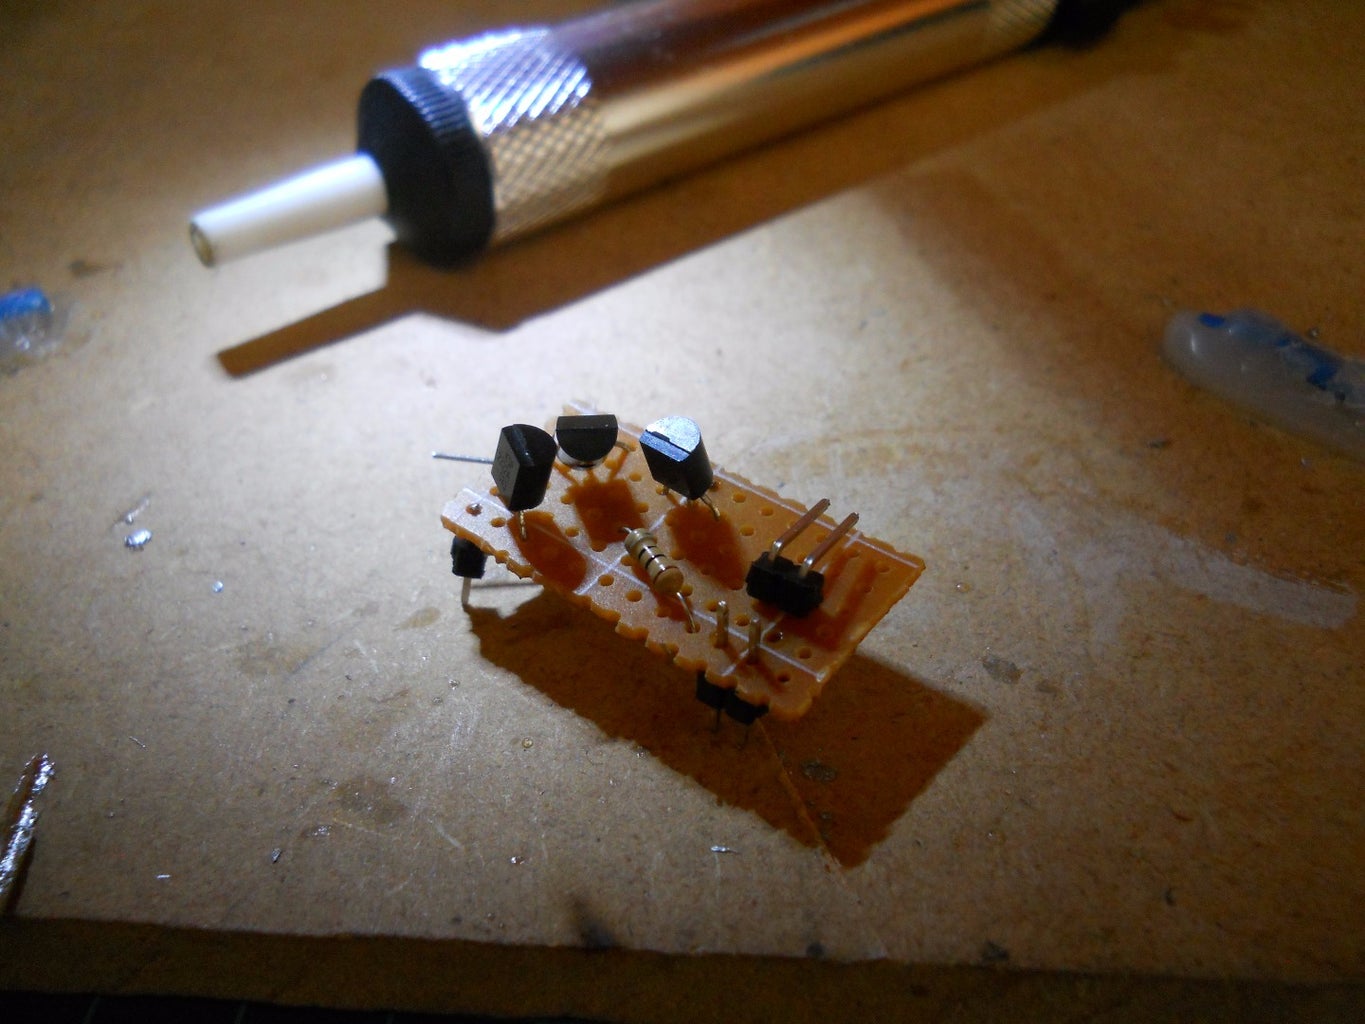


The appearence of this circuit is bad, but it's small and has a low weight. I soldered one more connector for the battery.
Step 11: Adding the Motors


And now it's time to use your soldering skills to solder the motors to the positive voltage source and to theirs transistor's collector. Sorry I haven't more pictures for this step, but I hope it's clear what should you do.
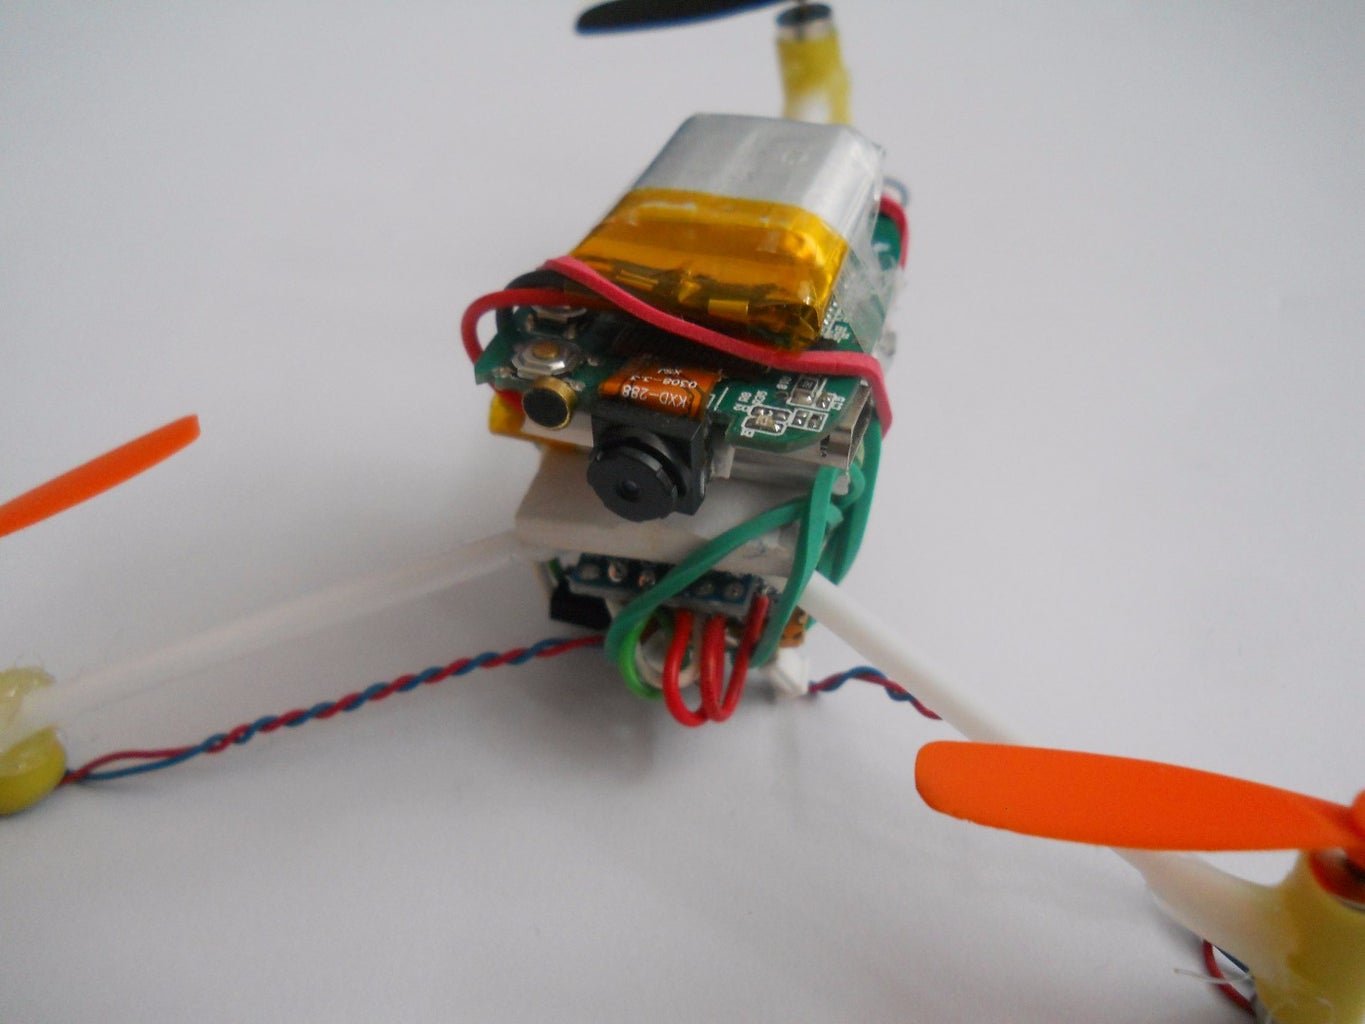
Step 12: The Done Circuit
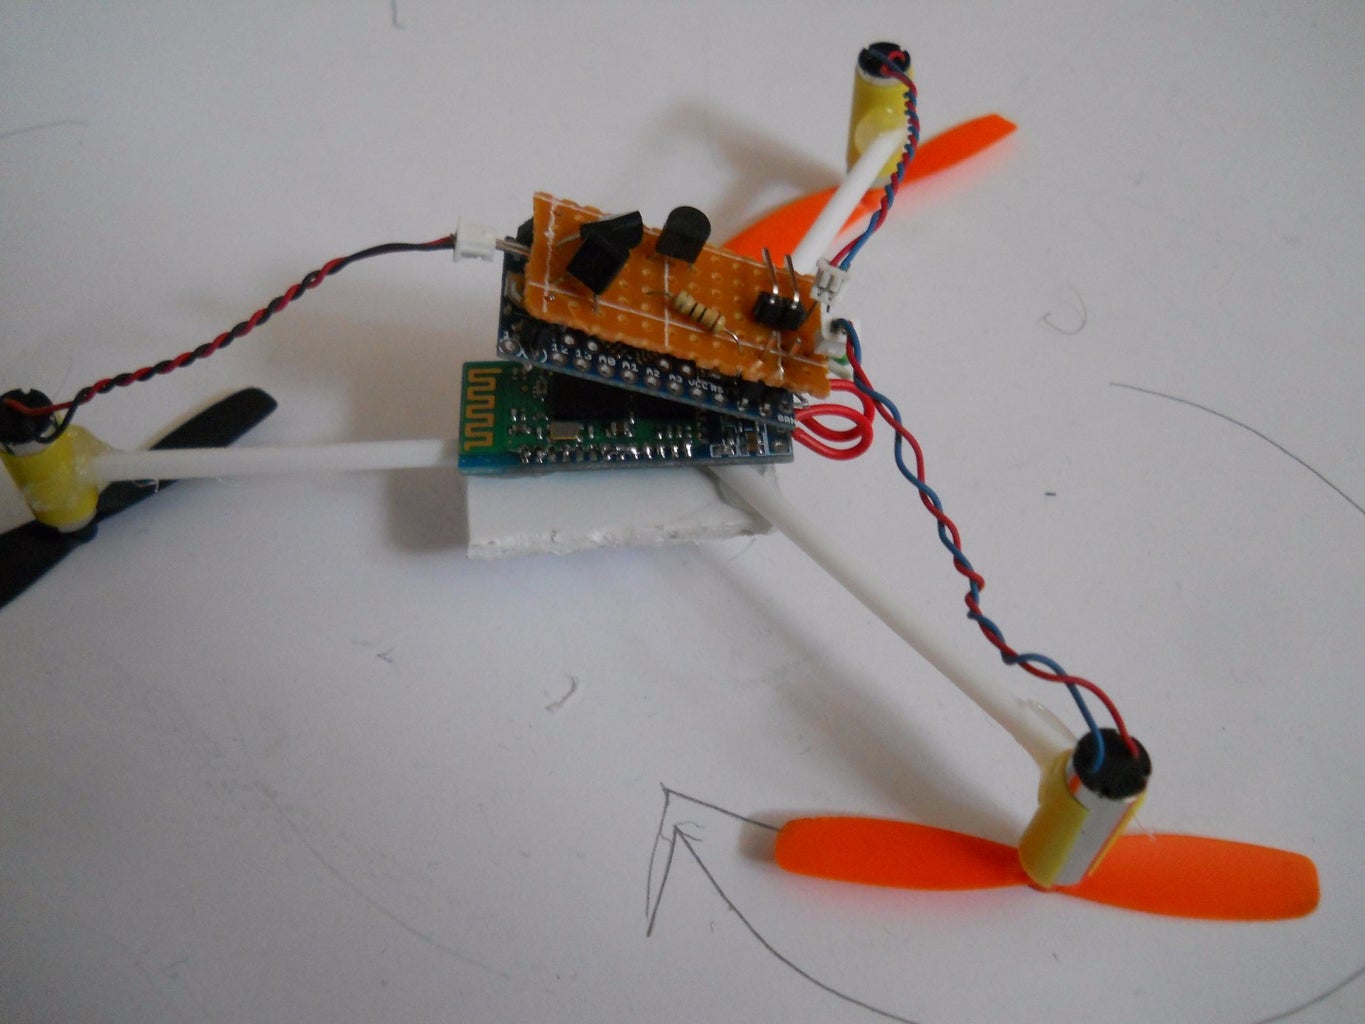


The harder part is done. We are close to finish the project. Take your Arduino board and slowly connect to the motor shield. Be careful, do not damage or shortcircuit the circuits. Connect the battery to the device, and if the circuit's power LED lights you did a good job. :)
Step 13: Stabilize the Circuit!


Use two rubberbands and fix the circuit on the frame.
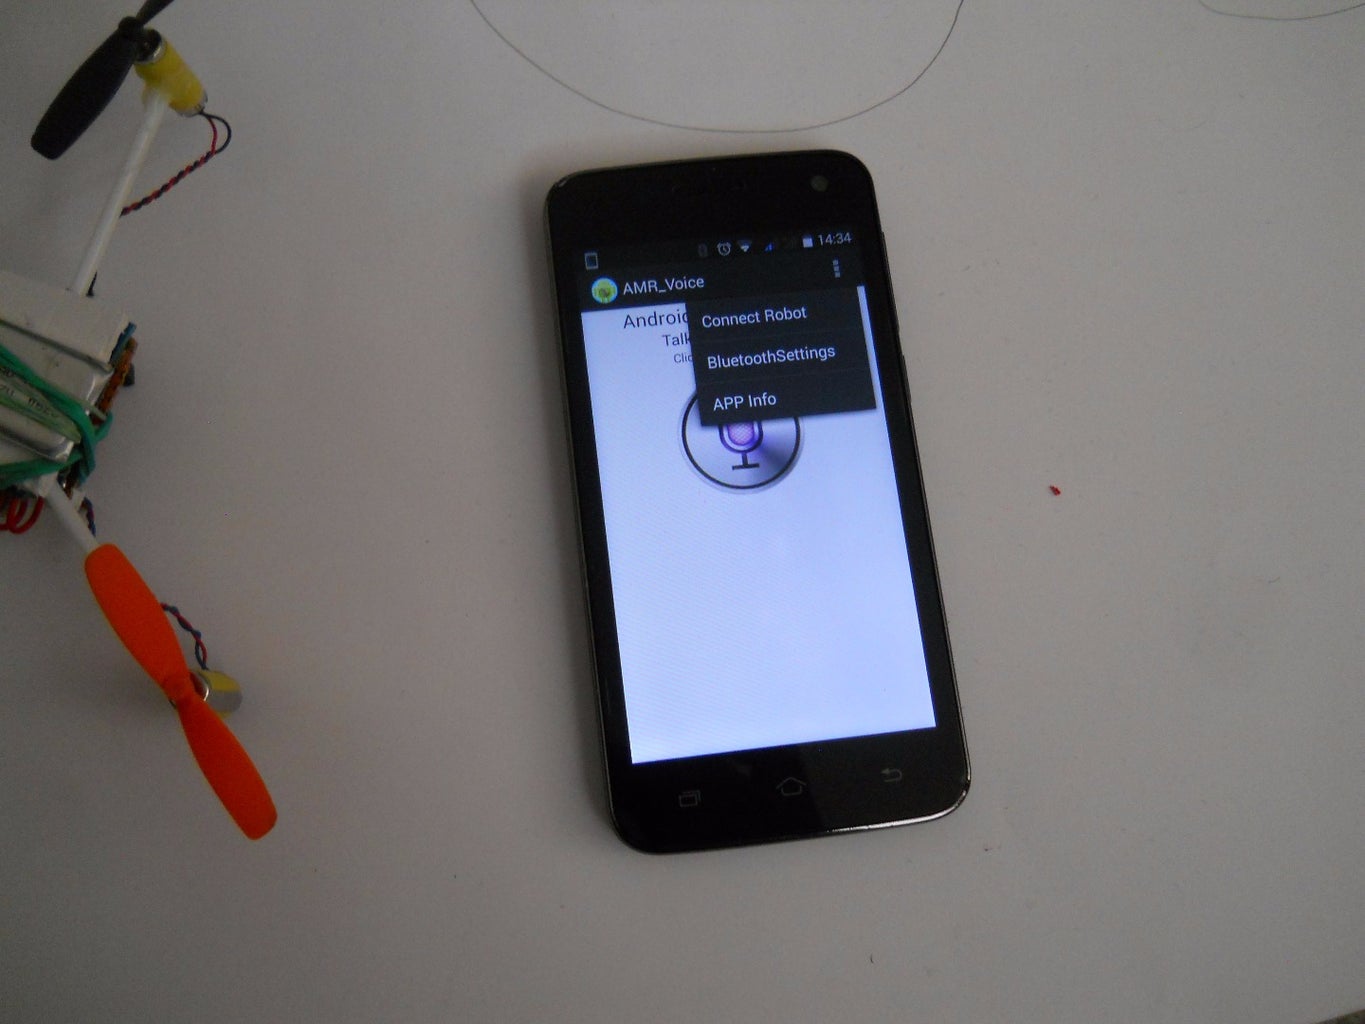
Step 14: The Application

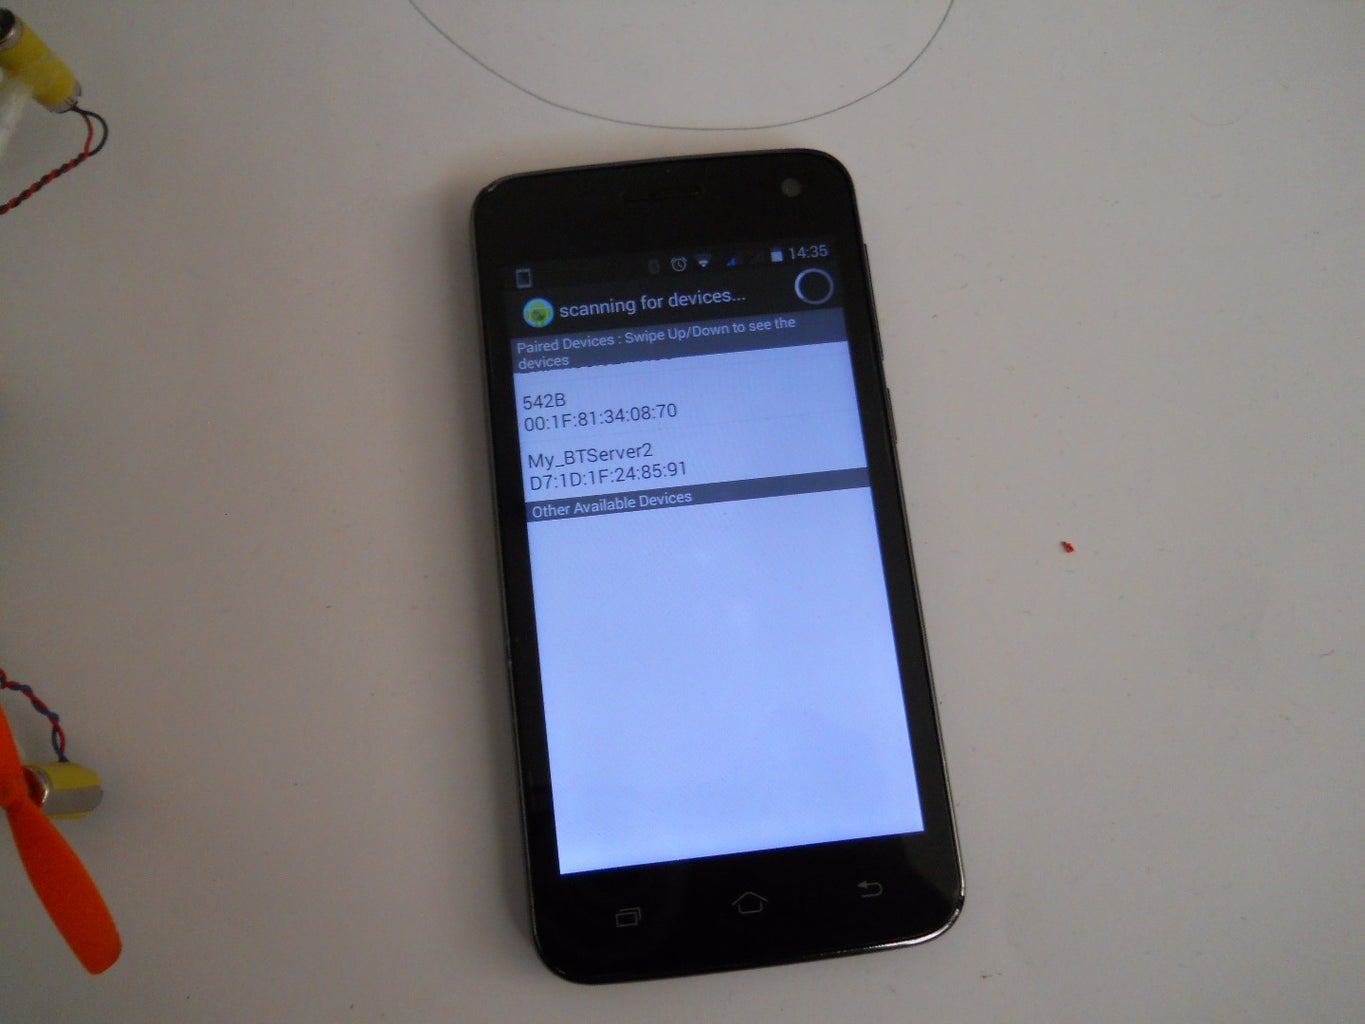


Download this application from the Playstore: BT Voice Control for Arduino. Charge up your battery with a PSU or with a lithium polymer battery charger. If you're done try it out.
Step 15: First Flight


As you can see at the first time I din't flew very good, but later after an hour of practice I became a good pilot. Sorry for the bad pictures, but the drone moved in the air. I crashed a few times, but nothing happened with my new gadget.
Step 16: How to Balance in the Air?
If your drone can't stay in one place in the air modify the analogWrite values in the code.
Step 17: Video

This video is made by a $5 Keychain Car Camera and has a very bad resolution and date is bad too: 2012... I don't know why. But you can see how the drone flew up the came down. The commands cannot be heard because of the very bad microphone of the camera. And wasn't very stable, because of the weight of the camera, so I can't move right or left in this video, only up, down, and forward.
Attachments

Step 18: The End

Thanks for watching! If you liked don't forget to give me a kindly vote. I really hope you'll enjoy to build this drone, it's very fun to make and to fly with this gadget.
