

Introduction: Arduino Chess Clock - Multi-game Box


CHECK OUT MY OTHER PROJECTS >>
Alarm Clock with Infrared and Bluetooth Speakers
Arduino Pedometer Watch, With Temperature, Altitude and Compass!
Hey folks! After making an Arduino smartwatch just last week, I received many complaints,or tips, to use a RTC (real-time clock) module. That's because the Arduino timer is not very precise, it can lose a couple a minutes along a full work day. Luckly, I had one of those modules at my home, I decided to give it a try. However, I faced some challenges along the way, as I can show you here.
This is my weekend project: an arduino chess clock, and also a creative multi-game box. Multi-game because, although I programmed two modes, one regular clock and one chess clock, it can be programmed in many more ways, to play a lot of games. For example, you can have a quiz with your friends, to see who presses the buttons first, after each question, while displaying points for each player, or you can adapt a homemade version of the Simon memory game, making it generate a random sequence of sounds and buttons, each time longer. This could prove very usefull for kids learning and developing their memories. Imagine one of these on your family meetings, the kids could play with each other, without having to run around like they usually do (laughts).
I took around 6 or 7 hours to make, and it looked really cool, so I wanted to share with you guys. I included images, a video, the links to the pieces and the code. If you like, please share! And take a look at my other projects!! Thanks! Let's begin!
Observation: forgive me if my english is not good enough, this is not my native language, for I am brazilian. XD
UPDATE: I got help with the Real-time clock from Enrico Cotulelli, who I have to apologize for not mentioning on the original post. His profile, for who want to know more about the RTC and his work is here.
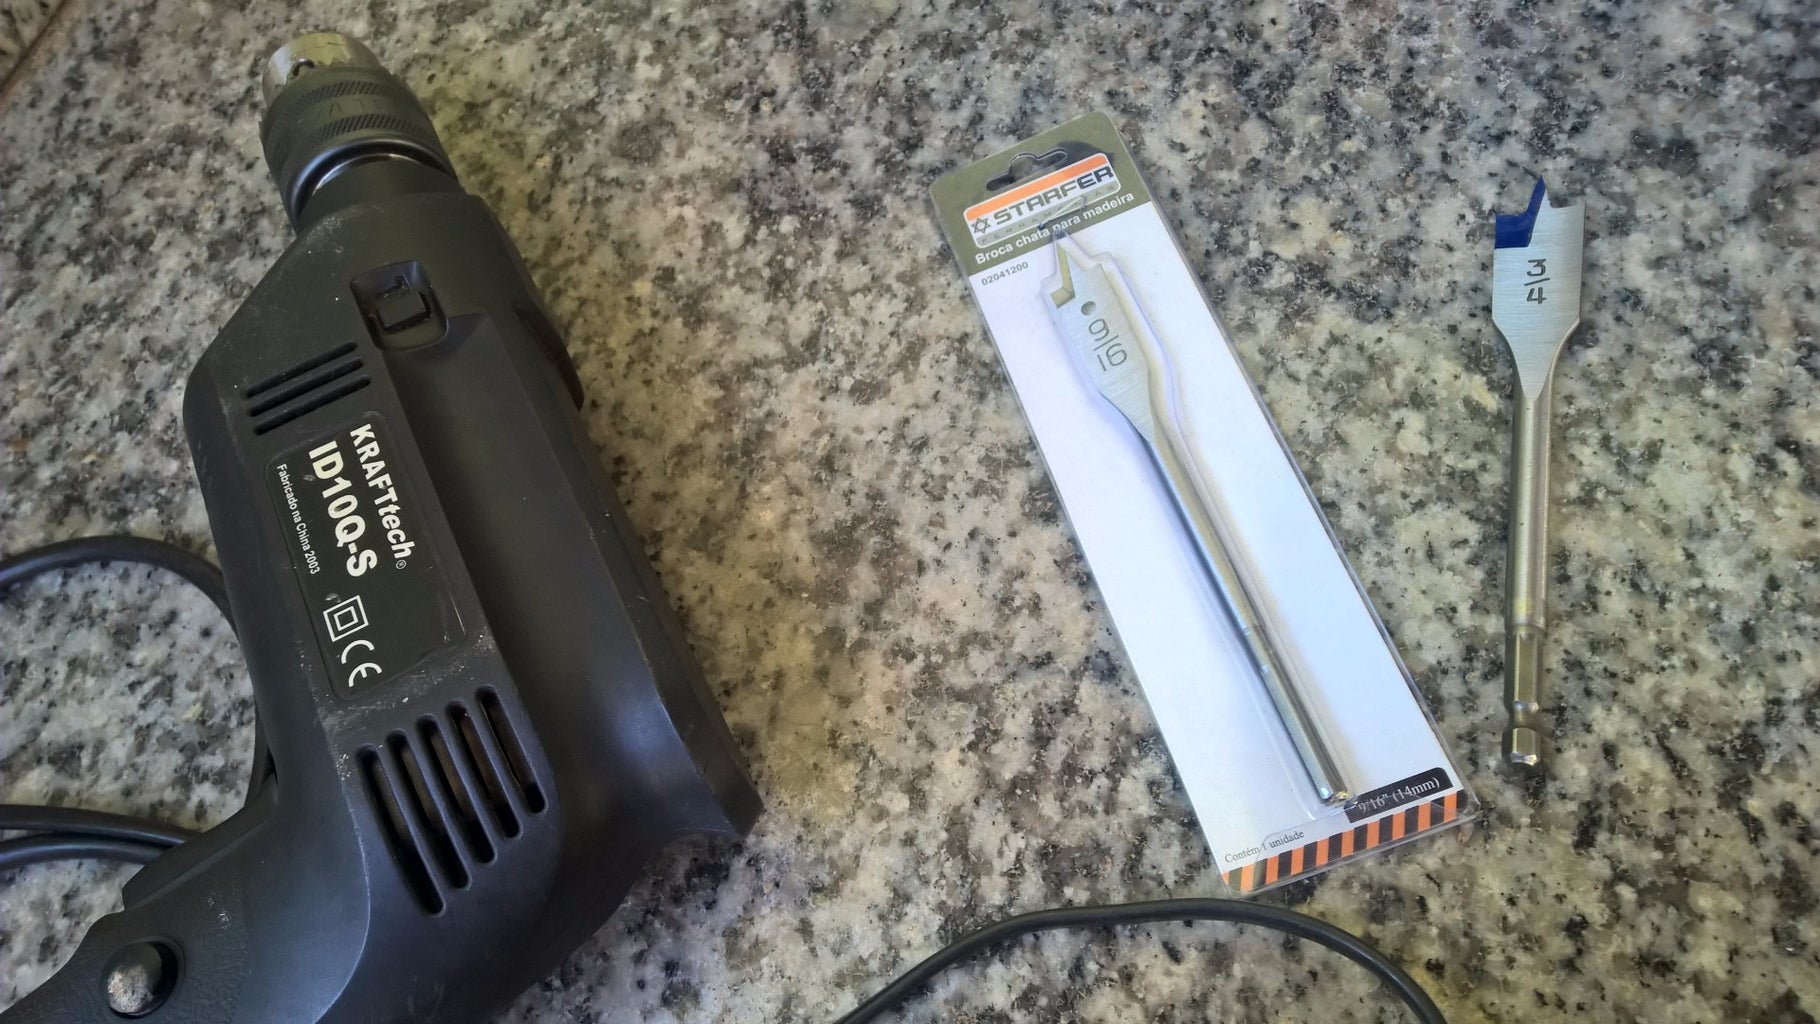
Step 1: The Parts


Step 2: Connecting the Parts:


First of all, I used an Arduino Uno Shield. But it's not necessary. First connect it to your Arduino, then connect the buzzer, the RTC module, and the 7-segment display. There is a catch with the RTC module however. It seems, and I just found out with some help from my friend Enrico Cotulelli (thanks Enrico!), that the clock module usually comes with a charging circuit and a not rechargeable battery. This means that with time, when the battery runs with low power, it will implode and burn your module. So you have two options: either you can buy and guarantee you have a rechargeable battery, or you can desolder the charging circuit. For me I've had to desolder resistors 1, 2 and 3 from schematic and short circuit where resistor 2 was. The schematic is a PDF to download on this step.
Connect as follows:
- Arduino Uno (or shield):
- Vcc > Battery +, buzzer VCC, RTC VCC, Display VCC;
- GND > Battery -, buzzer GND, RTC GND, Display GND;
- Pin 7 > Buzzer Input pin;
- Pin 8, 9, 10 > Display Pins DIN, CS, CLK respectively;
- Pin 11, 12, 13 > Button 1, 3 and 2 Outputs;
- A5 SCL > RTC SCL;
- A4 SDA > RTC SDA;
Attachments

Step 3: The Code
I used the libraries:
- LedControl.h (included to download on this step);
- Time.h (included to download on this step);
- DS1307RTC.h (included to download on this step);
- Wire.h (comes with the arduino IDE);
The code is really simple.You just have to check the button on the middle to see if it goes to the regular clock mode, or the chess game mode (it's a increment to a variable each touch of button). More modes could be added, for extra games, so you can use your creativity. If the chess mode is on, then the players can configure the total amount of time, in minutes, each one will have, and then the extra seconds after each move. After all four parameters have been set, the first side to touch its button will start the ticking of the opponents clock, and the game is on!
The game can end by either two ways: by time, in which case the buzzer will start warning the player in the last 10 seconds, and also sending a long sound after the time runs out, or by pressing the button on the middle at any time (in the case of a checkmate).

Step 4: Conclusion


As written before, this was just a weekend project (actually 6 to 7 hours project) for me to improve my skills with the DS1307, that is the real-time clock module I am planning to use on the next version of my Arduino Pedometer Smartwatch. The chess clock got really cool, so you can use it as also a regular clock. The fact that it has three buttons and that it has a display makes it easier to implement other games: you just have to be creative. Could be really useful to make one of these to let the children play on family meetings, or so.
If you liked the project, please take a moment to share, I would really appreciate. O intend to make another Instructable next week, so I'm full ears to your suggestions! Please tell me if you have something cool in mind, I would love to make. Leave a comment! Look at my Instructable member page! Thanks!


