

Introduction: Arduino I2C


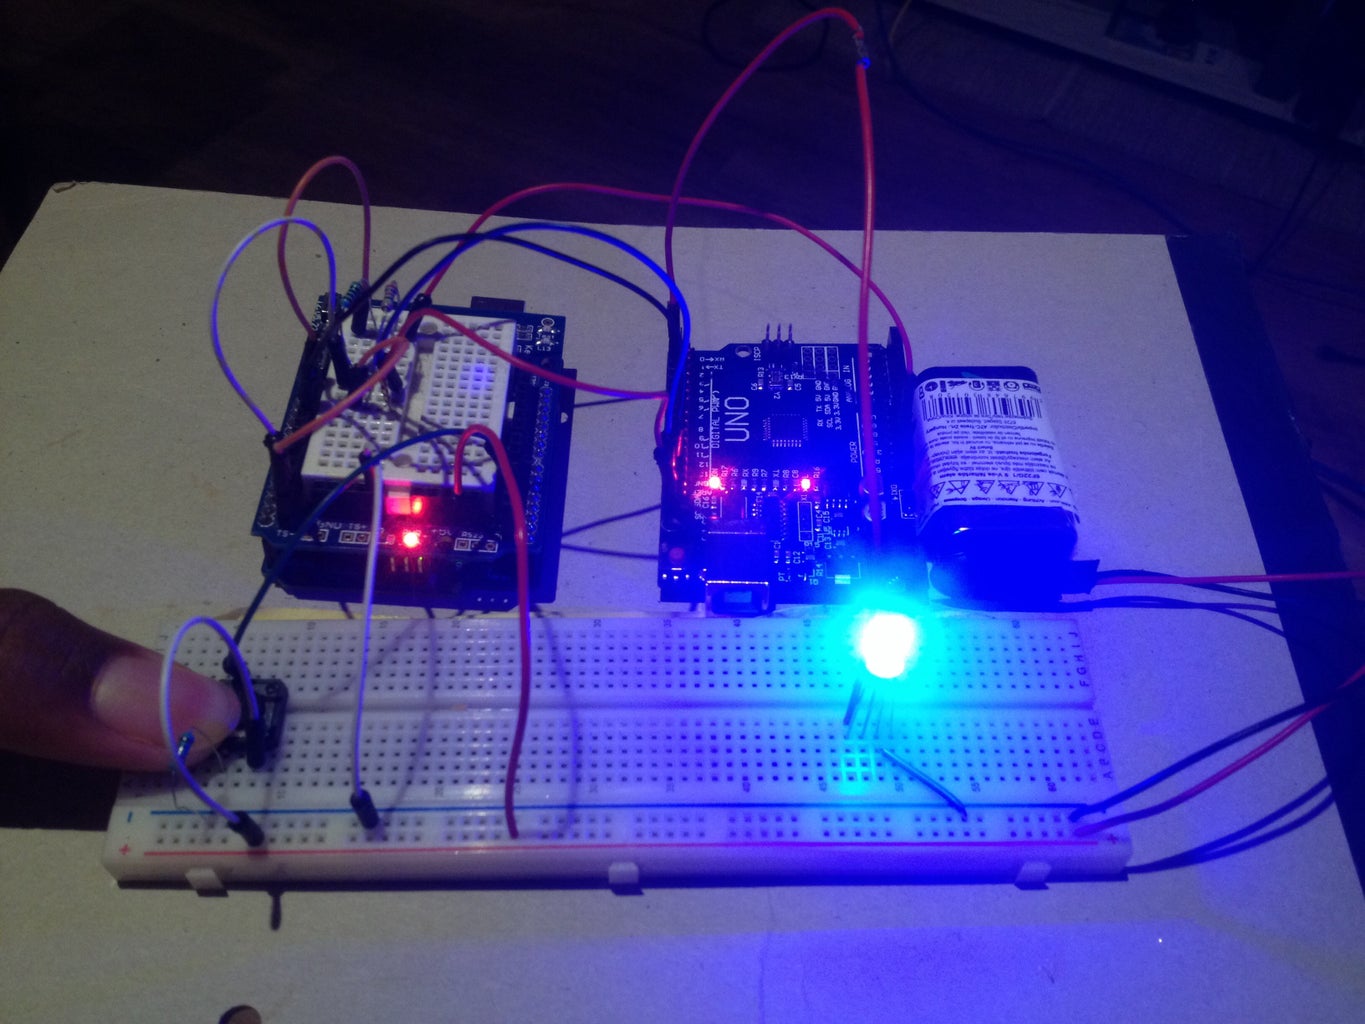
I2C(I square C) is a serial master-slave protocol, it involves communicating between 2 or more Arduinos with one Arduino working as a master and the other as a slave. This process can also be used to extend number of ports if you wish to make a project that requires more ports than the regular Arduino board has. In this project I created communication between two Arduino boards, I connected a Pushbutton to the master board and an LED the slave board and when I push this button the LED lights up. I have seen examples where serial monitor was used to send commands, but I decided to make something with hardware implementation thus Pushbutton and LED.
Step 1: What You Will Need!

- 2 Arduino boards
- 3 Resistors
The I2C pins on the Arduino board A4 and A5 are LOW so we need to use pull up resistors to pull them to HIGH the other resistor is for the Pushbutton.
- 1 LED - output device/ indicator
- 1 Pushbutton- input device / control
- Breadboard and some jumpers
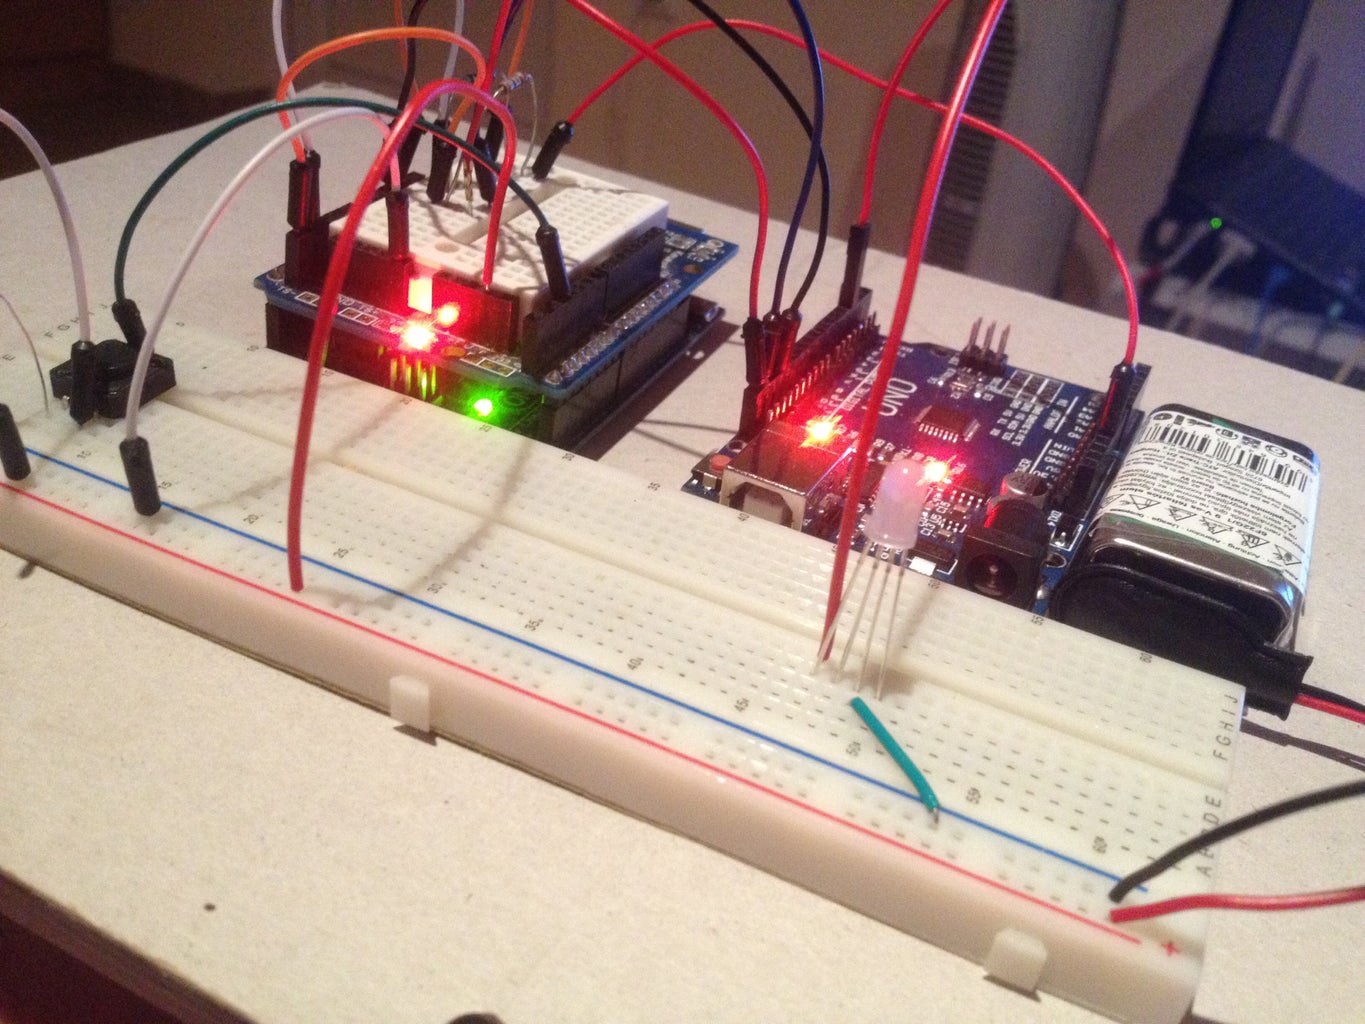
Step 2: Connecting the Devices.


First, we connect resistors to A4 and A5 using jumpers. The first end of the resistors connected to A5 and A4 will be connected to SCL and SDA of the slave Arduino(these pins are found after GND) the second end of the resistors will meet at a single rung on the breadboard.
Second, Connect the meeting point of the two resistors to the +5v of the two Arduinos and connect the ground of the two Arduino together. This way the don't only share communication but they share power as well.
Third, Connect the Pushbutton to GND using a resistor and to +5V using a jumper and then connect then connect the Pushbutton to pin3 of the Mastet uno.
Finally, Connect your LED to GND and to Pin3 of the Slave Uno.
And don't forget to supply power to the breadboard.
Step 3: Program / Code
We are going to write two sets of code
The master code and the Slave code.
The master basically writes commands and the slave reads them and obeys. The Master and Slave recognize each other by the use of function code e.g the modbus function code 05 set in the master tell the slave to force a single output. So the function code setting for the master has to be the same for the slave.
We will need to use the Wire.h library here. If it is not in your library you can download it from the Arduino.cc website.
Remember the pushbutton is connected to the master and the LED is connected to the slave, so when you push the button the master gives the slave a command to turn on the LED, and when you push again it gives another command to turn off the LED.
<pre>#include //include the wire library MASTER CODE<br>
int state;//state of the pushbutton
int PB=3;//declare pushbutton pin on master arduino
int current;//current state of pushbutton
void setup() {

  Serial.begin(9600);//set the serial baudrate
  Wire.begin();//begin the wire library
}
void loop() {
 state= (digitalRead(PB));// state reads the value at pin3

 if(state==HIGH && current==LOW)//if the state is high and current button is low
 {
   Wire.beginTransmission(5);//begin transmission(force single output)
   Wire.write(HIGH);//master writes a high value
   Wire.endTransmission();// end transmission

   state=LOW;//set state to low
   current=HIGH;//current to high
 }
 else if(state==HIGH && current == HIGH)//if state is already high and current is high too
 {
   Wire.beginTransmission(5);//begin transmission
   Wire.write(LOW);//master writes low value
   Wire.endTransmission();// ends transmission

   state=HIGH;//set state to high
   current=LOW;//set current to low
 }
}
<pre>#include //include wire library //SLAVE CODE<br>
int LED=3;//declare led pin as pin3 on slave arduino
void setup() {
  Serial.begin(9600);//begin serial monitor and set baudrate
  Wire.begin(5);//start wire library, with address 5 (force single output)
  Wire.onReceive(Event);//set to recieve variable

  pinMode(3,OUTPUT);//set pin3 as output pin
  digitalWrite(3,LOW);//set output pint to low
  // put your setup code here, to run once:
}
void loop() {
  // put your main code here, to run repeatedly:
}
void Event(int number)//start an event
{
while(Wire.available())//if wire is avaliable
{
int state=Wire.read();//state read the recived command from master, high or low
if(state==HIGH)//if state reads high from master
{
digitalWrite(LED,HIGH);//slave will obey master and set ouput to high
}
else if(state==LOW)//but if slave reads low from master
{
digitalWrite(LED,LOW);//slave will obay and set output to low.
}
}
}
I am making a four wheel robot using two H-bridges which takes 12 digital ports and an uno only has 13, so i decided on using 2 arduinos, the sensors will be connected to the master and h-bridge to the slave.when the robot is comlete i will upload it here as well. I want it to work like a bobCAT :P, so i need to have individual control over all 4 wheels. please, leave all questions as comments and i will reply. Thank you.


