

Introduction: Building the Simplest, Best Sounding, Yet Most Inefficient Audio Amp!


In this project I will be showing you how to create a class A audio amp. The great thing about such amps is that they only require a few components and sound awesome. On the other hand though, their efficiency is not that great. But since I will be creating this amp for a smartphone with a USB Type-C port for powering the amp, it should be just fine. So let me show you how to calculate a design for such an amp and how to build it! Let's get started!
Step 1: Watch the Video!
The video gives you pretty much all the general information when it comes to building a class A audio amp. During the next steps though, I will present you some additional details.
Step 2: Order Your Components!

Here you can find a parts list with example seller (affiliate links):
2x BC337 NPN BJT: https://s.click.aliexpress.com/e/_9I1F1z
2x 100Ω, 2x 22Ω, 2x 3.3kΩ, 2x 1kΩ Resistor: https://s.click.aliexpress.com/e/_dTPpXjt
4x 10µF Capacitor: https://s.click.aliexpress.com/e/_d7dOwRz
1x USB Type-C breakout board: https://s.click.aliexpress.com/e/_AonKUJ
1x Audio jack: https://s.click.aliexpress.com/e/_9IfcXd
1x Audio plug: https://s.click.aliexpress.com/e/_ABC7UL
1x Perfboard: https://s.click.aliexpress.com/e/_A5V4B5
Step 3: Build the Circuit!


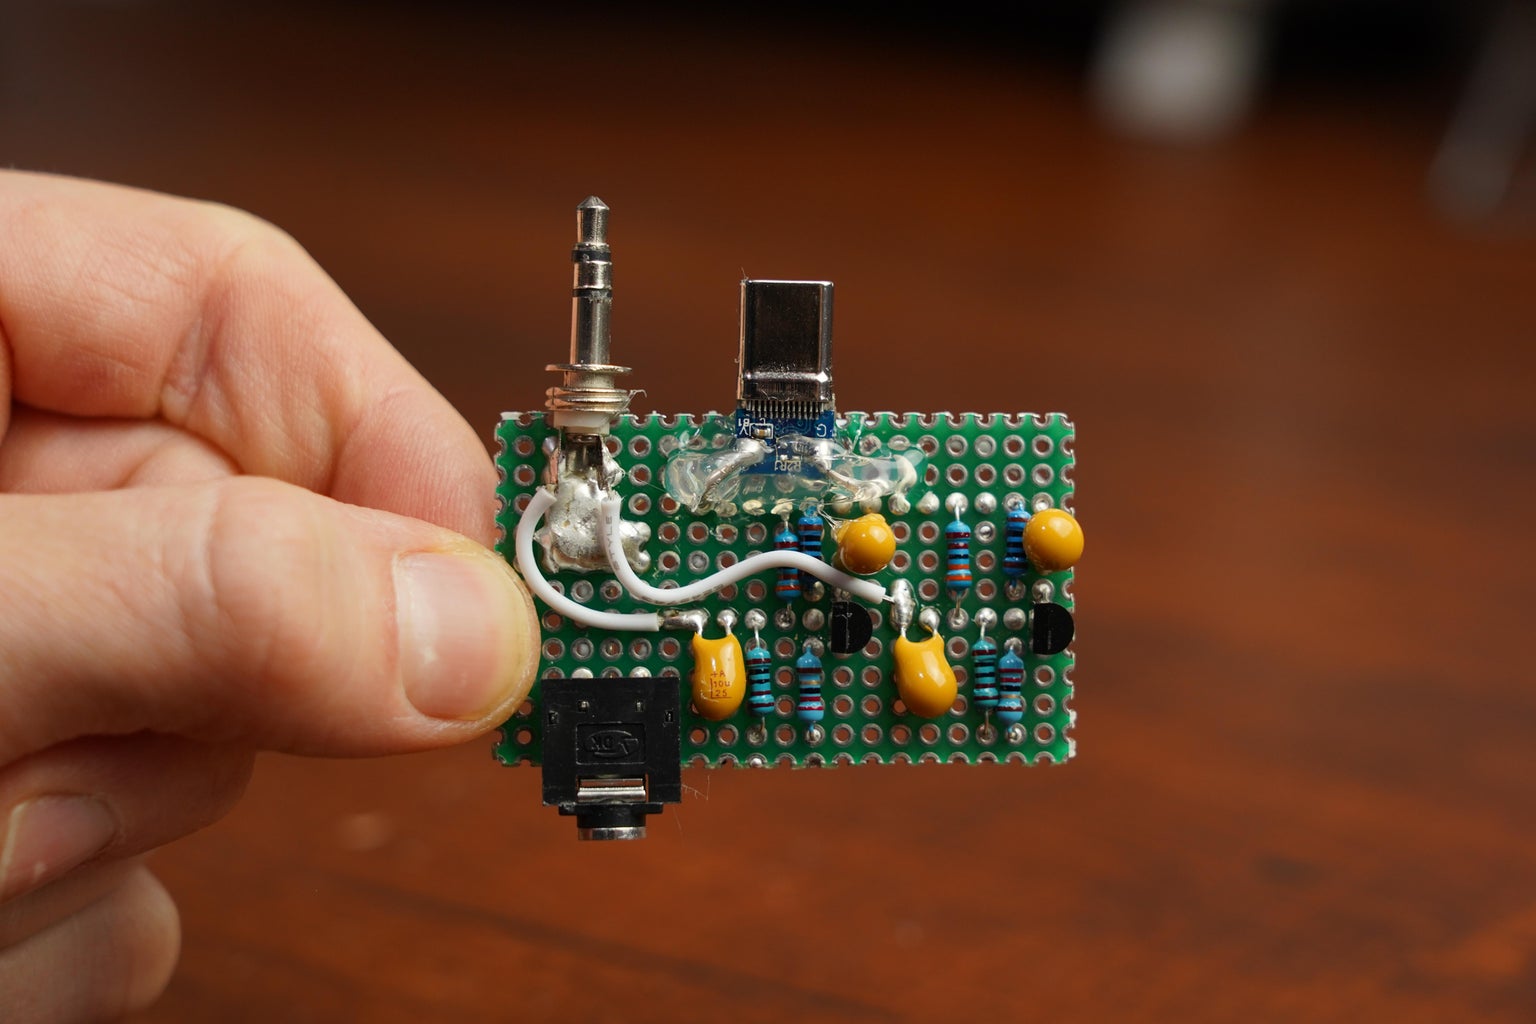

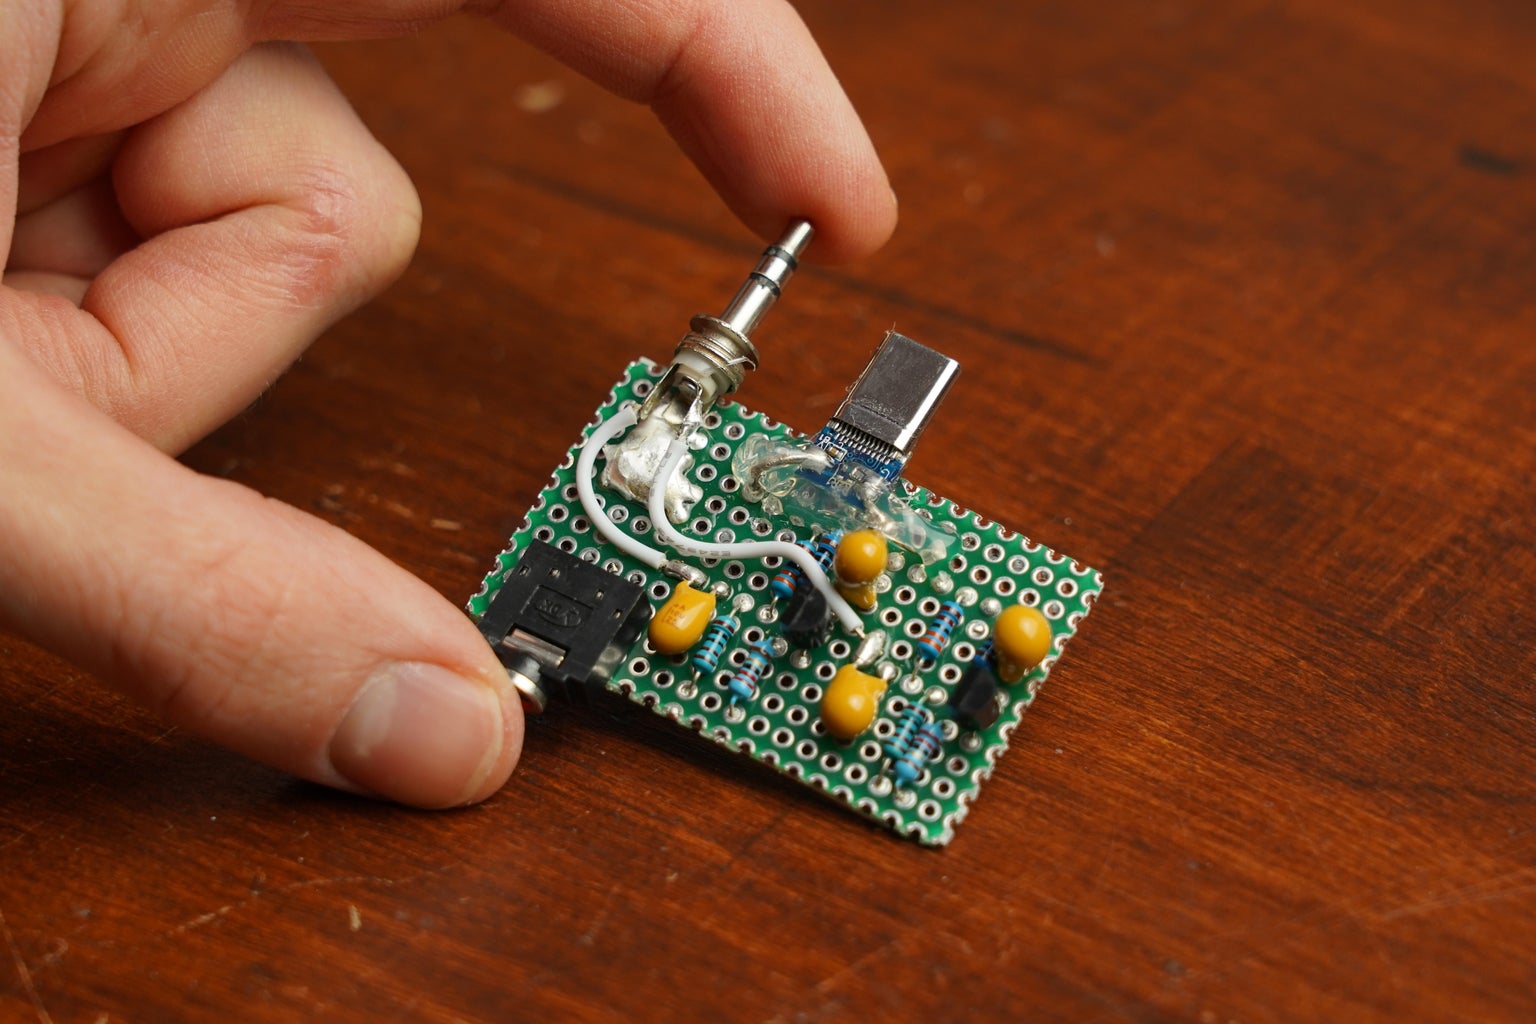
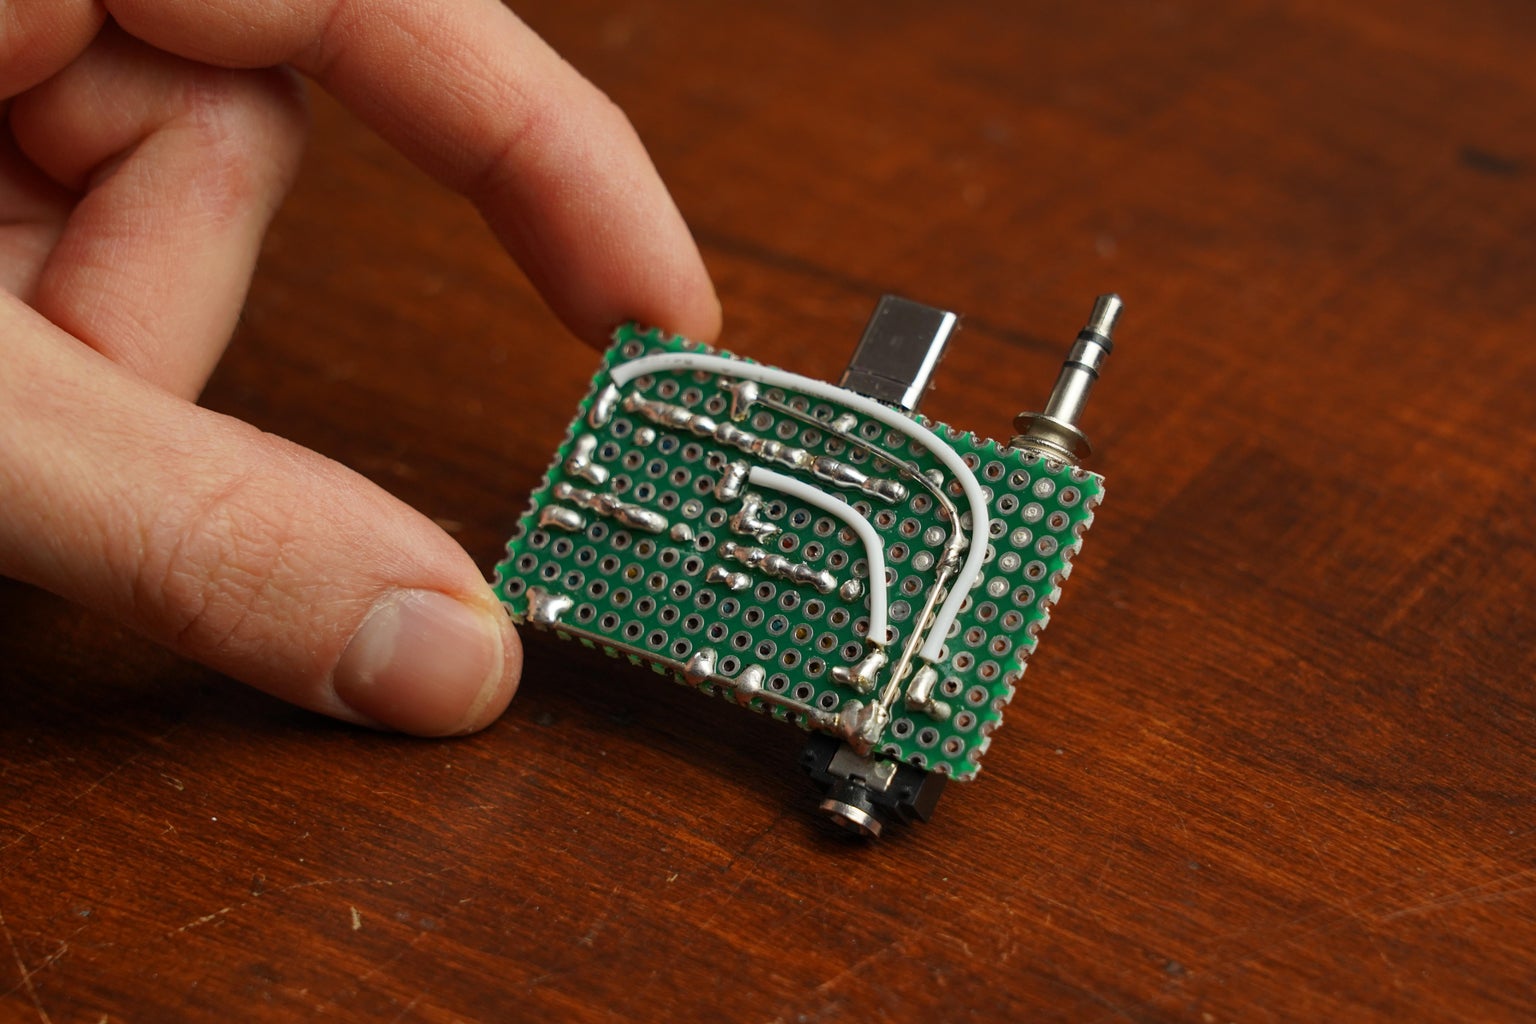
Here you can find the schematic of the circuit along with reference pictures of my own board. Use it to solder up your own amp.
Attachments

Step 4: 3D Print the Enclosure!


Here you can find the .stl files for my enclosure. Print it with your 3D printer and put your class A amp inside!


Step 5: Success!

You did it! You just created your own class A audio amp!
Feel free to check out my YouTube channel for more awesome projects:
http://www.youtube.com/user/greatscottlab
You can also follow me on Facebook and Twitter for news about upcoming projects and behind the scenes information:
https://twitter.com/GreatScottLab
https://www.facebook.com/greatscottlab


