

Introduction: Create Your Word Block


The following information is a single lesson in a larger Tinkercad project. Check out this and more projects on Tinkercad.
Return to Previous Lesson: Create Your Block
Lesson Overview:
Now we're going to finish it up!
Step 1: Import and Position the Word and the Block

In the final lesson, you will need to import both the word and the block that you made in lessons one and two.
Instructions
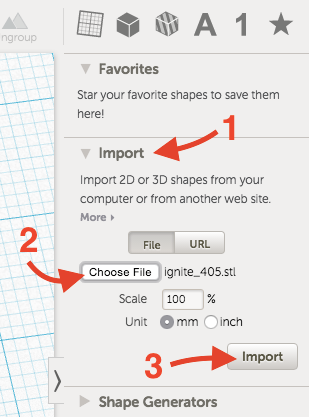
- Click "Choose File" from the Import section. Select the .STL file (your word) you downloaded in lesson one. Click the "Import" button. Note: You can change the color of the imported shapes so the word is easier to see.
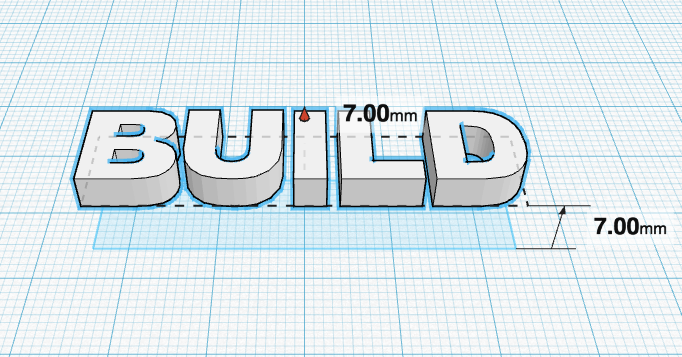
- Click and drag the round, black arrow at the top of your word to raise it 7mm above the workplane.
- Instruction imageClick "Choose File" from the Import section. Select the .STL file (your block) you downloaded in lesson two. Click the "Import" button.
- Continue to the next step.
Step 2: Cut the Word From Your Block

Now you will cut the word from the block by making it a hole.
Instructions
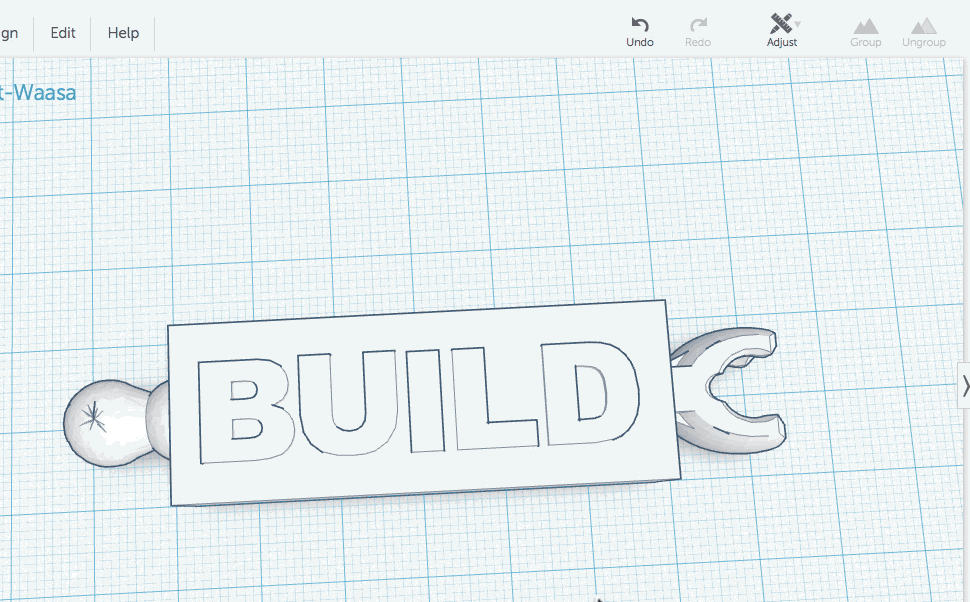
- Select the word and change it to a hole.
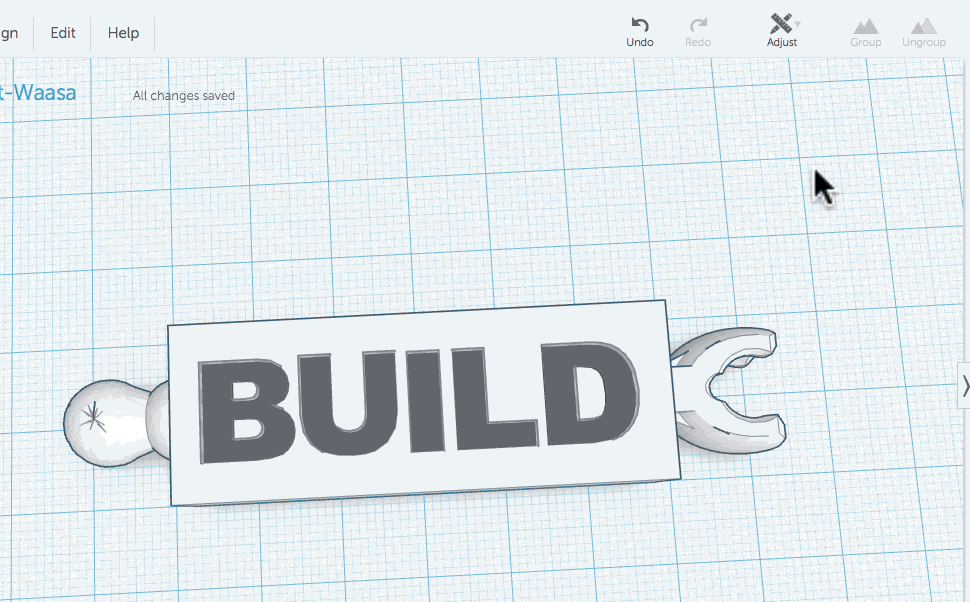
- Click and drag a box around both shapes to select the block and the word. Click the "Group" button.
- Continue to the next step.
Step 3: Print Your Word Block

Congratulations! You have created a Word Block and it is ready to be printed.
Instructions
- From the Design menu, click "Download for 3D Printing."
- Choose the .STL option.
- Load the downloaded file into your 3D printer software.
- Print!
Congratulations, you have completed this project!
Check out other great projects on Tinkercad.


