Introduction: Create Your Word
The following information is a single lesson in a larger Tinkercad project. Check out this and more projects on Tinkercad
Project Overview:
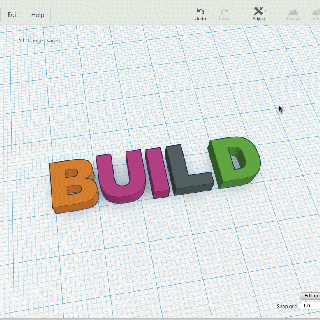
In this project, students will create a word block that can be interlocked with other word blocks to form fun phrases and messages.
Instructions
- Continue to the next step.
Step 1: Using the Ruler in Tinkercad
In this step, you will learn about the ruler in Tinkercad. The ruler can be used in any project to help you measure and line up your shapes.
Instructions
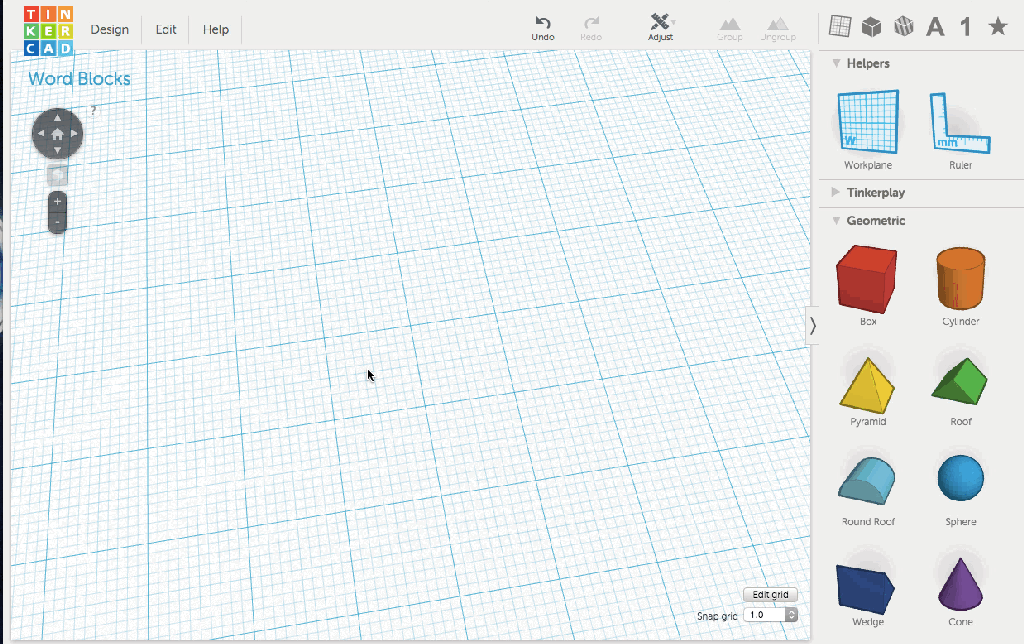
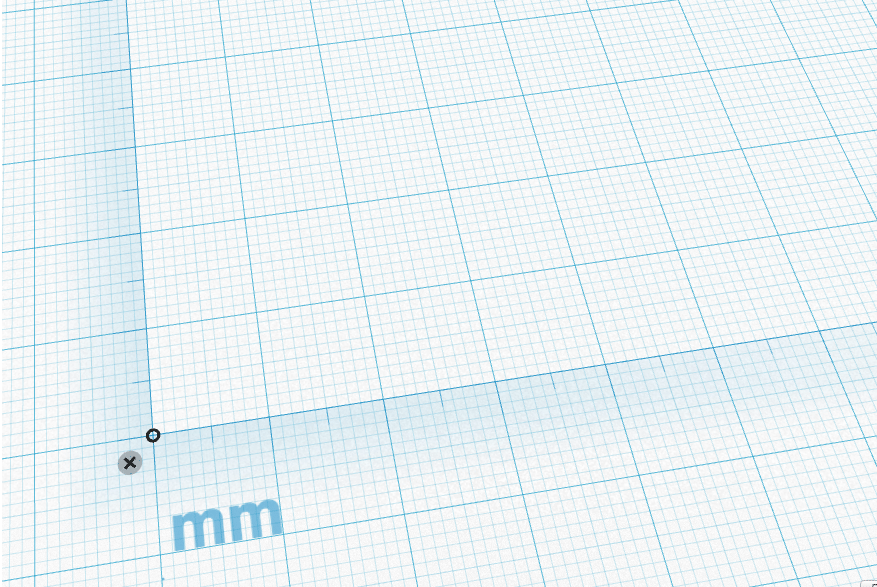
- Find the "Ruler" under the "Helpers" section. Click and drag the ruler to the workplane.
- Drag the ruler into a position so it lines up with the dark grid lines of the workplane.
- Notice that the ruler has marks every 5 and 10 millimeters. This can help you decide how to position and re-size shapes on the workplane.
- Continue to the next step.


Step 2: Add Letters to the Workplane
Next, you will create your word. The length of your word is limited by the size of your 3D printer. Ask your teacher how long your word can be.
Instructions
- Select a word that you want to turn into a Word Block. Remember, your Word Block will connect to other Word Blocks to create a phrase or sentence. Choose a word that you think will match with other words nicely. If you have a phrase in mind, you may want to team up with partners so each of you can build Word Blocks that will create your phrase.
- Write your word down on a piece of paper. Make sure it is spelled correctly. Have the teacher or another adult check it for you.
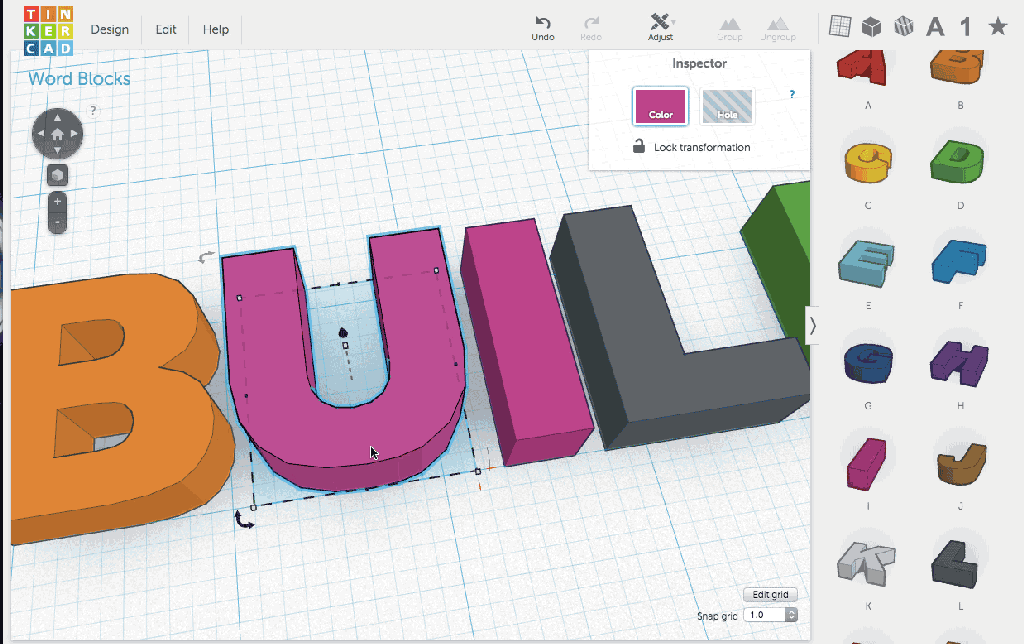
- Drag the word's first letter to the workplane so it lines up with the ruler. Be careful not to change the size of the letter. We will use each letter's default size.Drag the other letters of your word into place.
- Continue to the next step.
Step 3: Positioning the Letters
Now you will group your letters into one shape.
Instructions
- To select all the letters of your word, click and drag a box around them.
- From the Adjust menu, click the "Align" option.
- Click the bottom dot to make sure all the letters are in line.
- Use the arrow keys to position the letters so they are properly spaced apart.
- Click and drag a box around all the letters to select the word. Click the "Group" button to group the letters.
- Click on the block and place your pointer over one of the corner adjustment blocks. This will display the word's width. Write the width down on a piece of paper. You will need this measurement in lesson two.
- Continue to the next step.


Step 4: Download Your Word
Your word is complete. To use the word in the next lesson, you will need to download it first.
Instructions
- Click "Download for 3D Printing" from the export menu.
- Choose the .STL option.
- Continue to the next lesson.
In the next lesson you will learn to make the block!
Next Lesson:Create Your Block


