

Introduction: DHT11 Temperature & Humidity Sensor With Arduino


Today I'm going to teach you how use the KY-015 Temperature and Humidity Sensor module which contains the DHT11 temperature and humidity sensor.
If you prefer learning from videos, here is a video tutorial I made!:
Step 1: Parts


- KY-015 Temperature and humidity sensor module or a different module which uses the DHT11 temperature and humidity sensor.
- Arduino Uno
- Breadboard
- Some jumper wires
Step 2: Connections


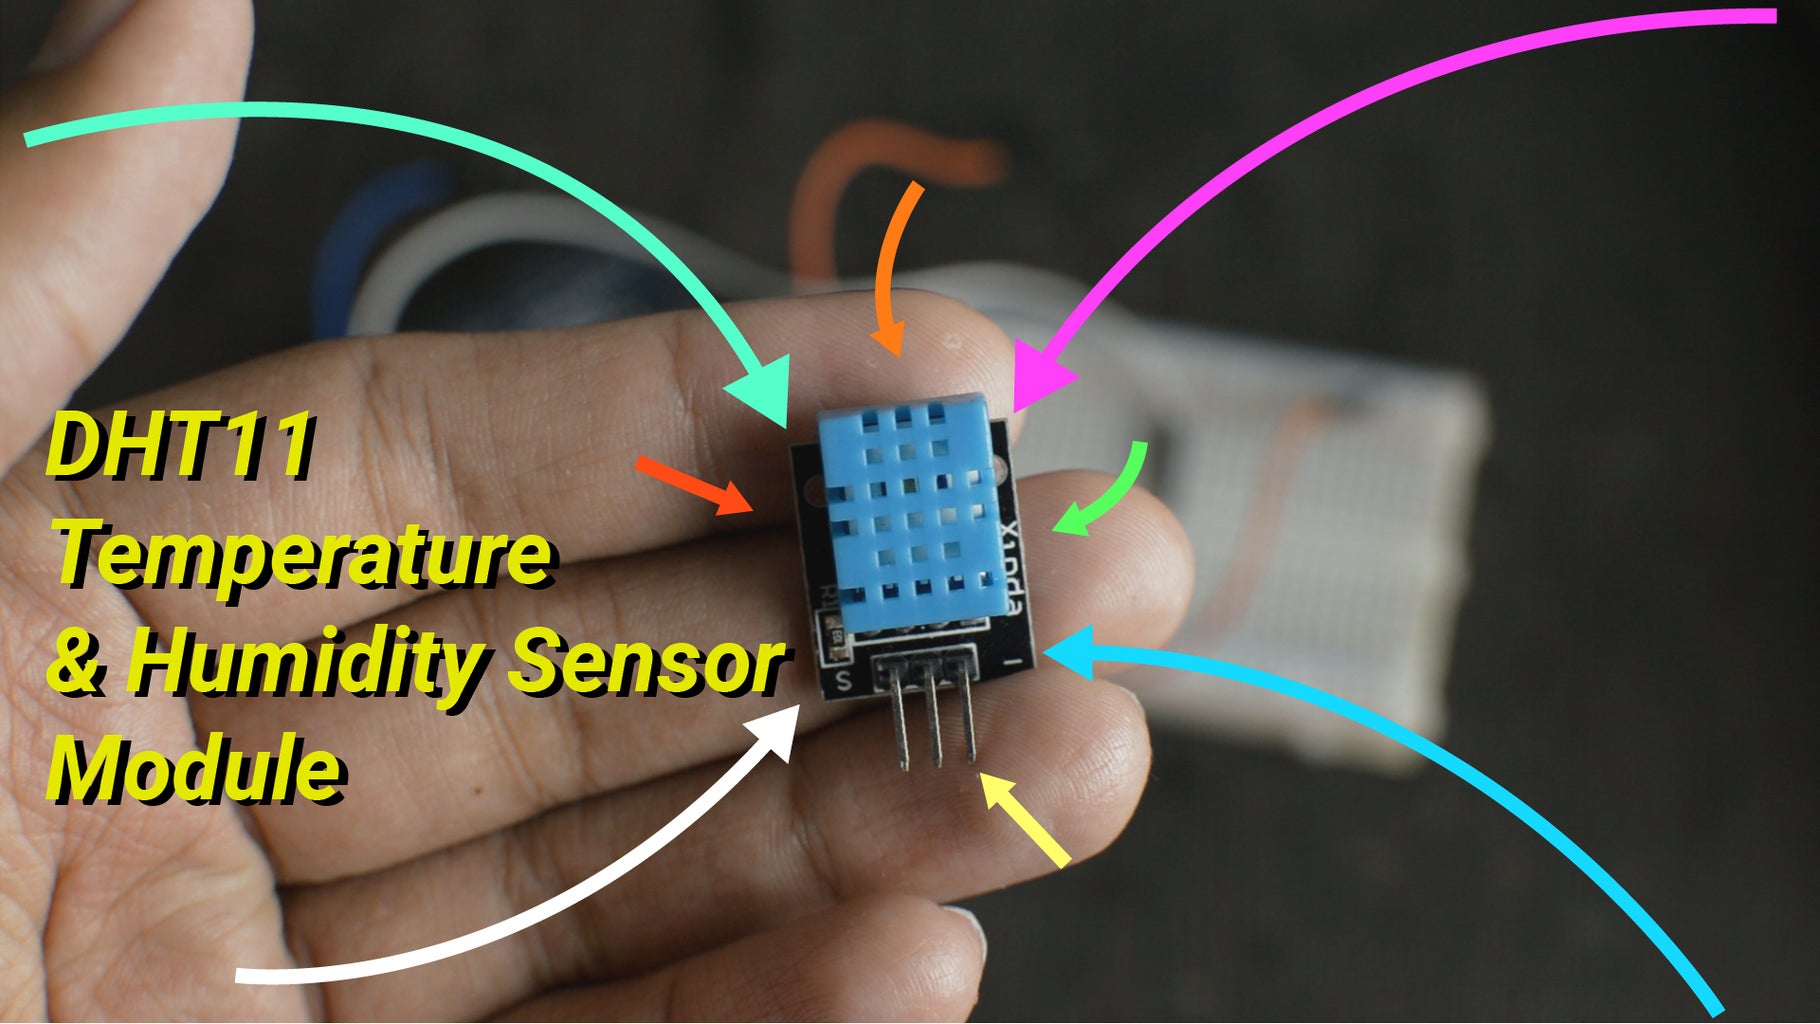
First of all, something I want to make clear. The DHT11 can also be used in its bare form but it’s easier to use it as a module. This article focuses on how to use the module. There are a few different modules with varying pinouts and location of the pins. On the module I have, the KY-015, the leftmost pin is signal, the middle pin is 5 volts power and the rightmost pin is negative or ground. If you have a different module, you may need to google and find out the pinout of your one. So I’m making the connections, the signal pin to pin 7 of the Arduino, the 5 volt power to the 5 volt pin of the Arduino and the negative pin to the ground pin of the Arduino.
Step 3: Programming


Now I’m connecting the usb a to b cable from the arduino to the computer and I’m going to upload the code. First you need to download a library to use the sensor. After downloading the library and the code, open the code I have provided, inside the arduino ide go to sketch, include library then add .zip and then select the zip file of the library.So now to upload the code, go to tools and then beside boards select arduino uno. Then beside port select the com port where the arduino is connected. Then hit upload.
Download the library zip file: https://drive.google.com/open?id=1ZlKcflaK6N4aPENo...
Download the Arduino IDE: https://www.arduino.cc/en/main/software

Step 4: Reading the Values From the Code!


To view the readings of the sensor, open the serial monitor which is the icon that looks like a magnifying glass located on the upper right corner of the Arduino IDE. Now in the serial monitor we can see the humidity and temperature values the sensor is reading, it refreshes about every 4 seconds because of the delay function in the code. I blew air with my mouth towards the sensor and the humidity values increased for sometime, it was 59 then it was around 64 after blowing air.
Step 5: Done!
So that was how to use the DHT11 Temperature and Humidity Sensor Module! I hope this article helped you!
If you are interested in videos about electronics and robotics projects then please check out my YouTube channel: youtube.com/aymaanrahman05

![Tim's Mechanical Spider Leg [LU9685-20CU]](https://content.instructables.com/FFB/5R4I/LVKZ6G6R/FFB5R4ILVKZ6G6R.png?auto=webp&crop=1.2%3A1&frame=1&width=306)


