

Introduction: DIY Arduino Bluetooth Controlled Robot!
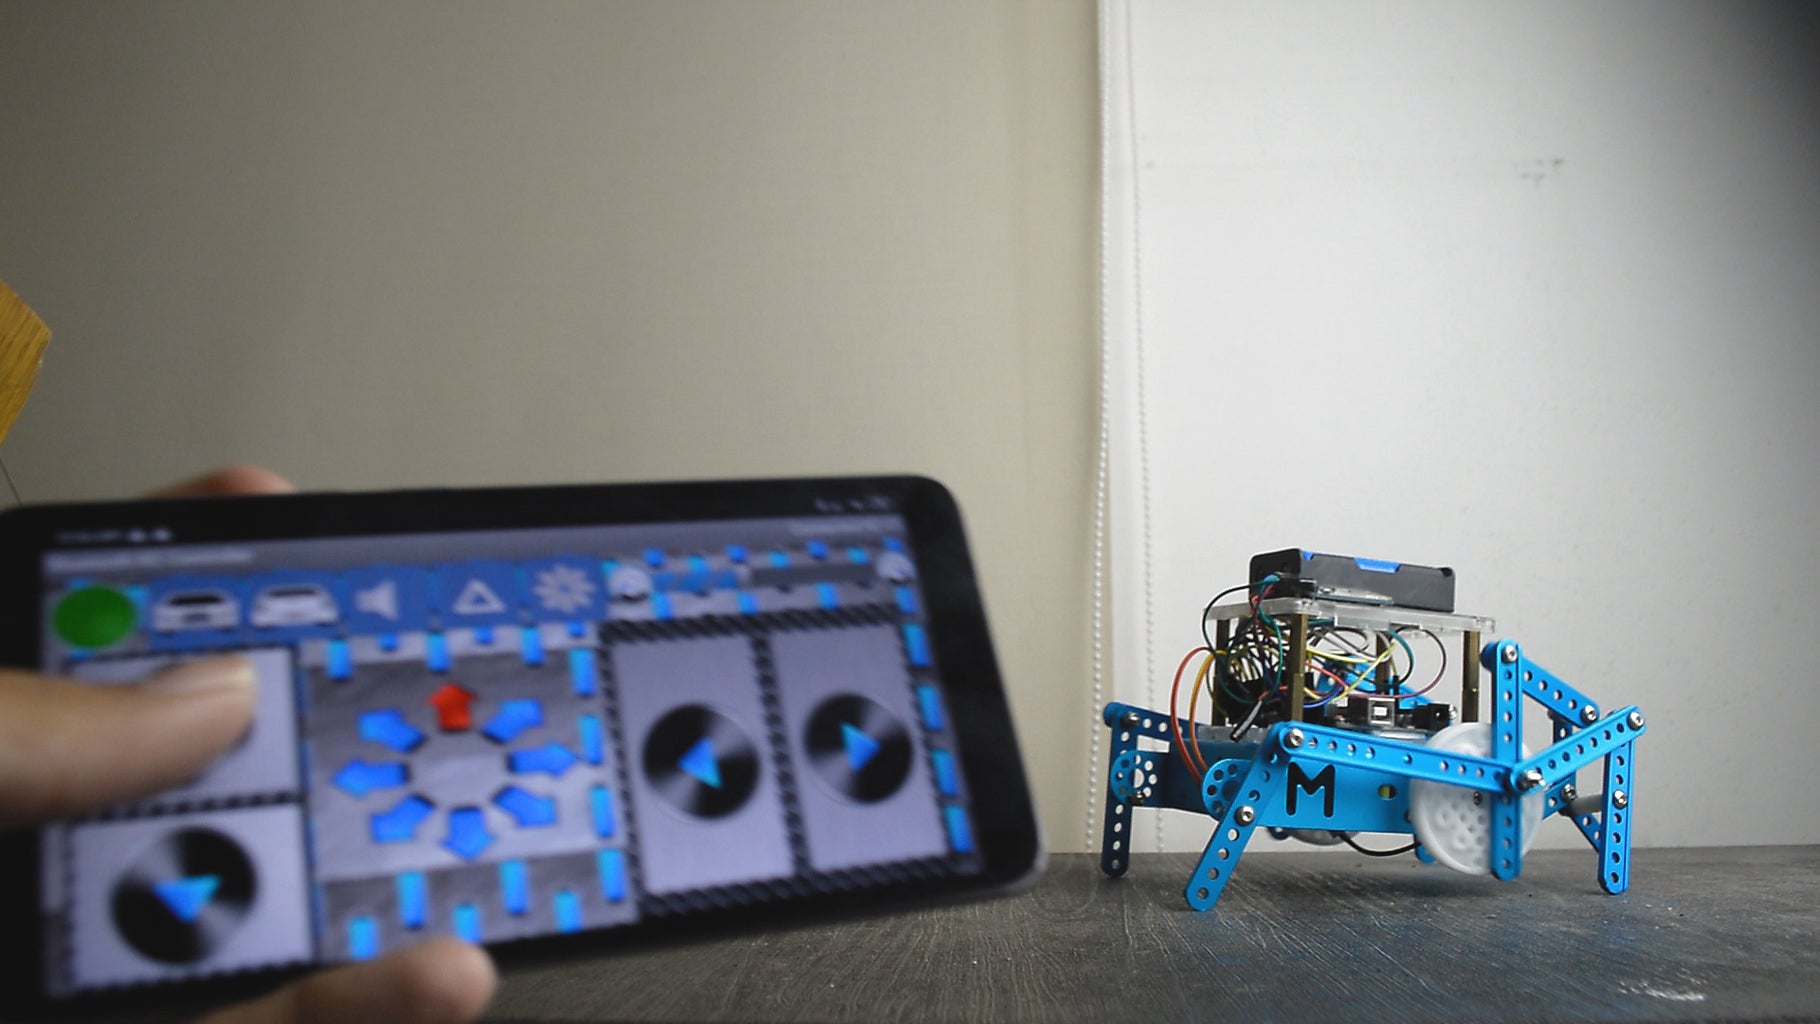


Hello everyone! In this article I’m building a bluetooth controlled robot with arduino.
If you prefer watching videos, here is a video tutorial I made!:
Step 1: Parts
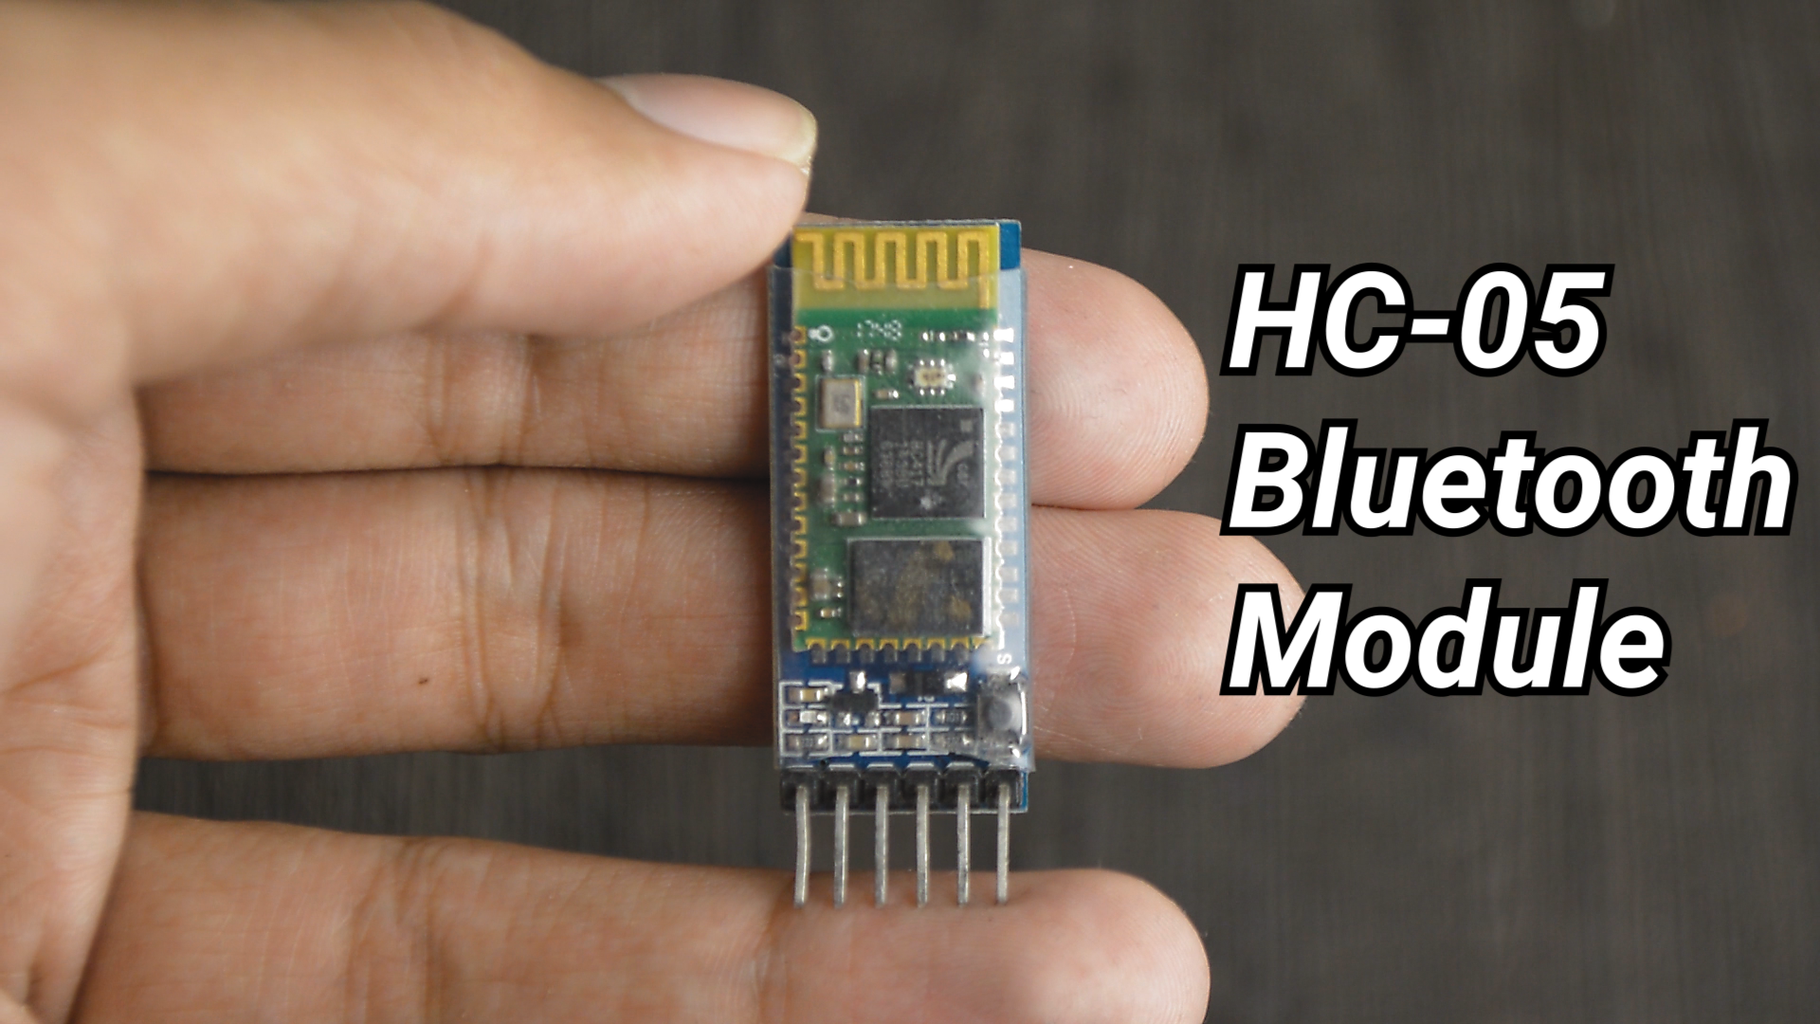


- HC-05 Bluetooth Module
- Arduino Uno with a USB A to B cable
- Computer with Arduino IDE for programming
- Some jumper wires
- 2 geared motors
- Some sort of battery holder and batteries, I’m using an 18650 one which holds 2, 3.7 volt 18650’s, providing around 7.4 volts.But you can also go with a 4xAA battery pack and 4 AA batteries which will provide 6 volts. The motors are 6v, so either will work.
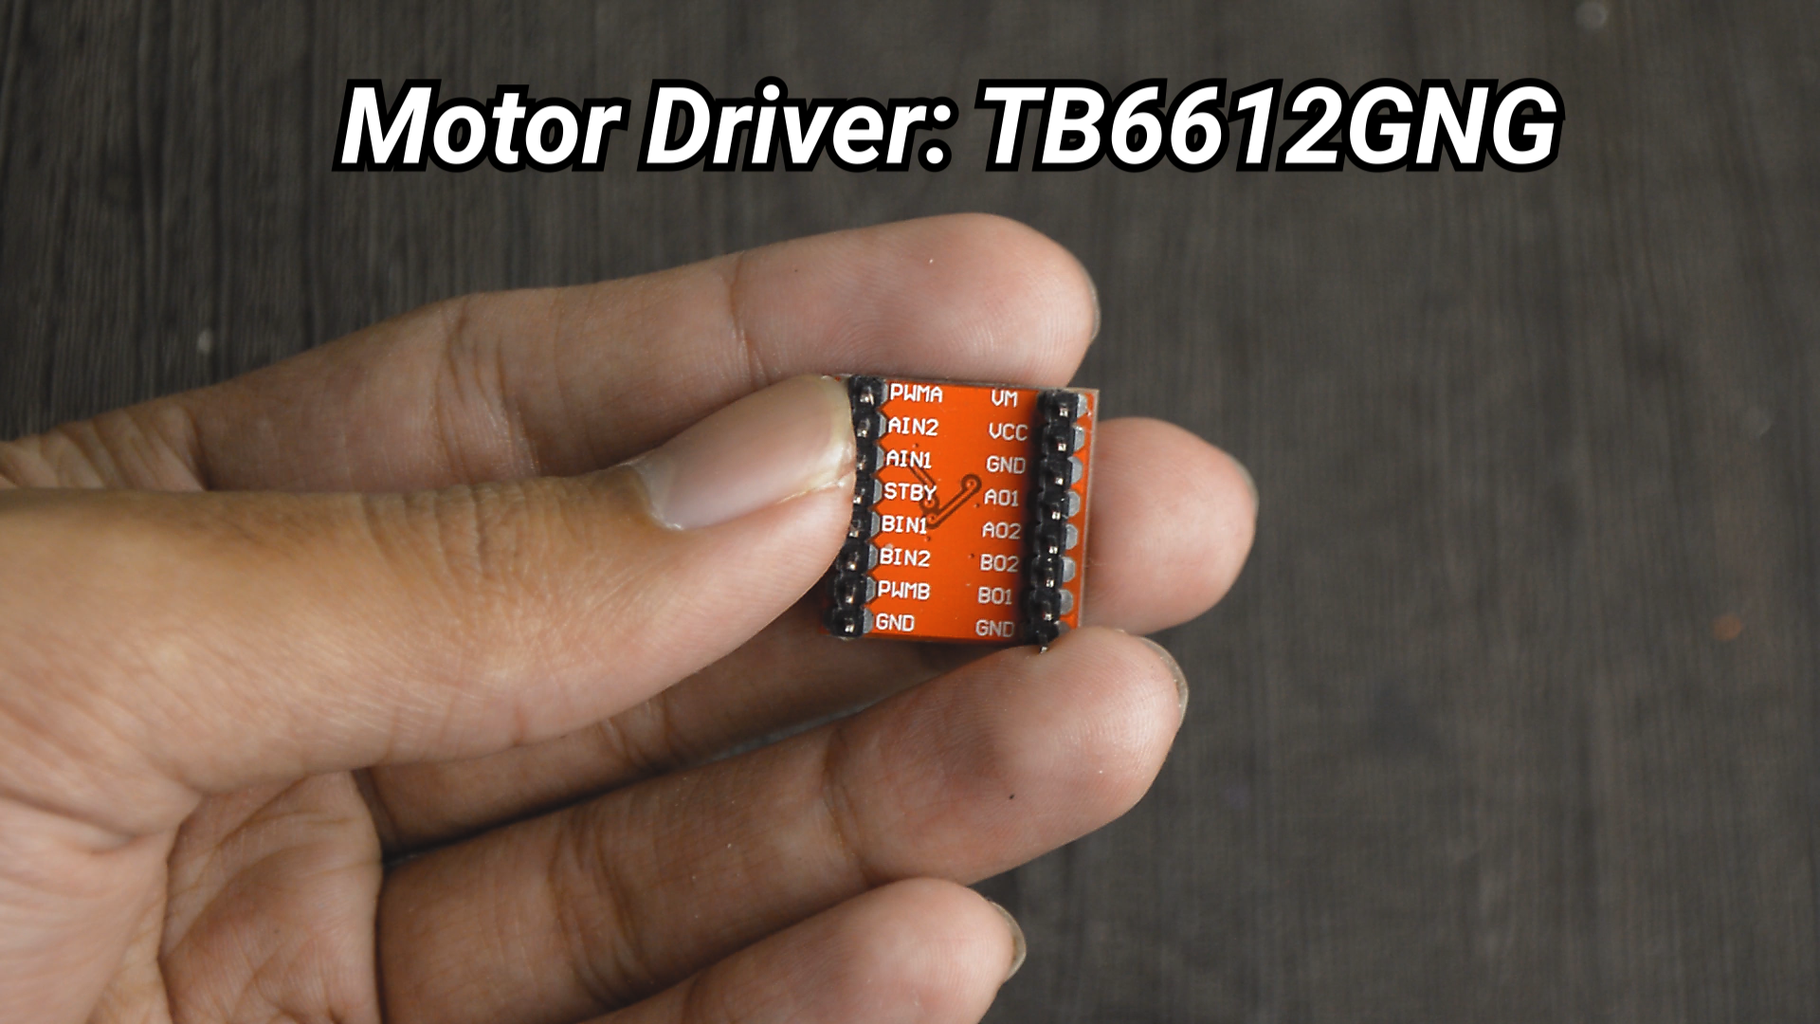
- TB6612FNG Motor Driver
- A robot chassis which uses 2 motors
Step 2: Connections


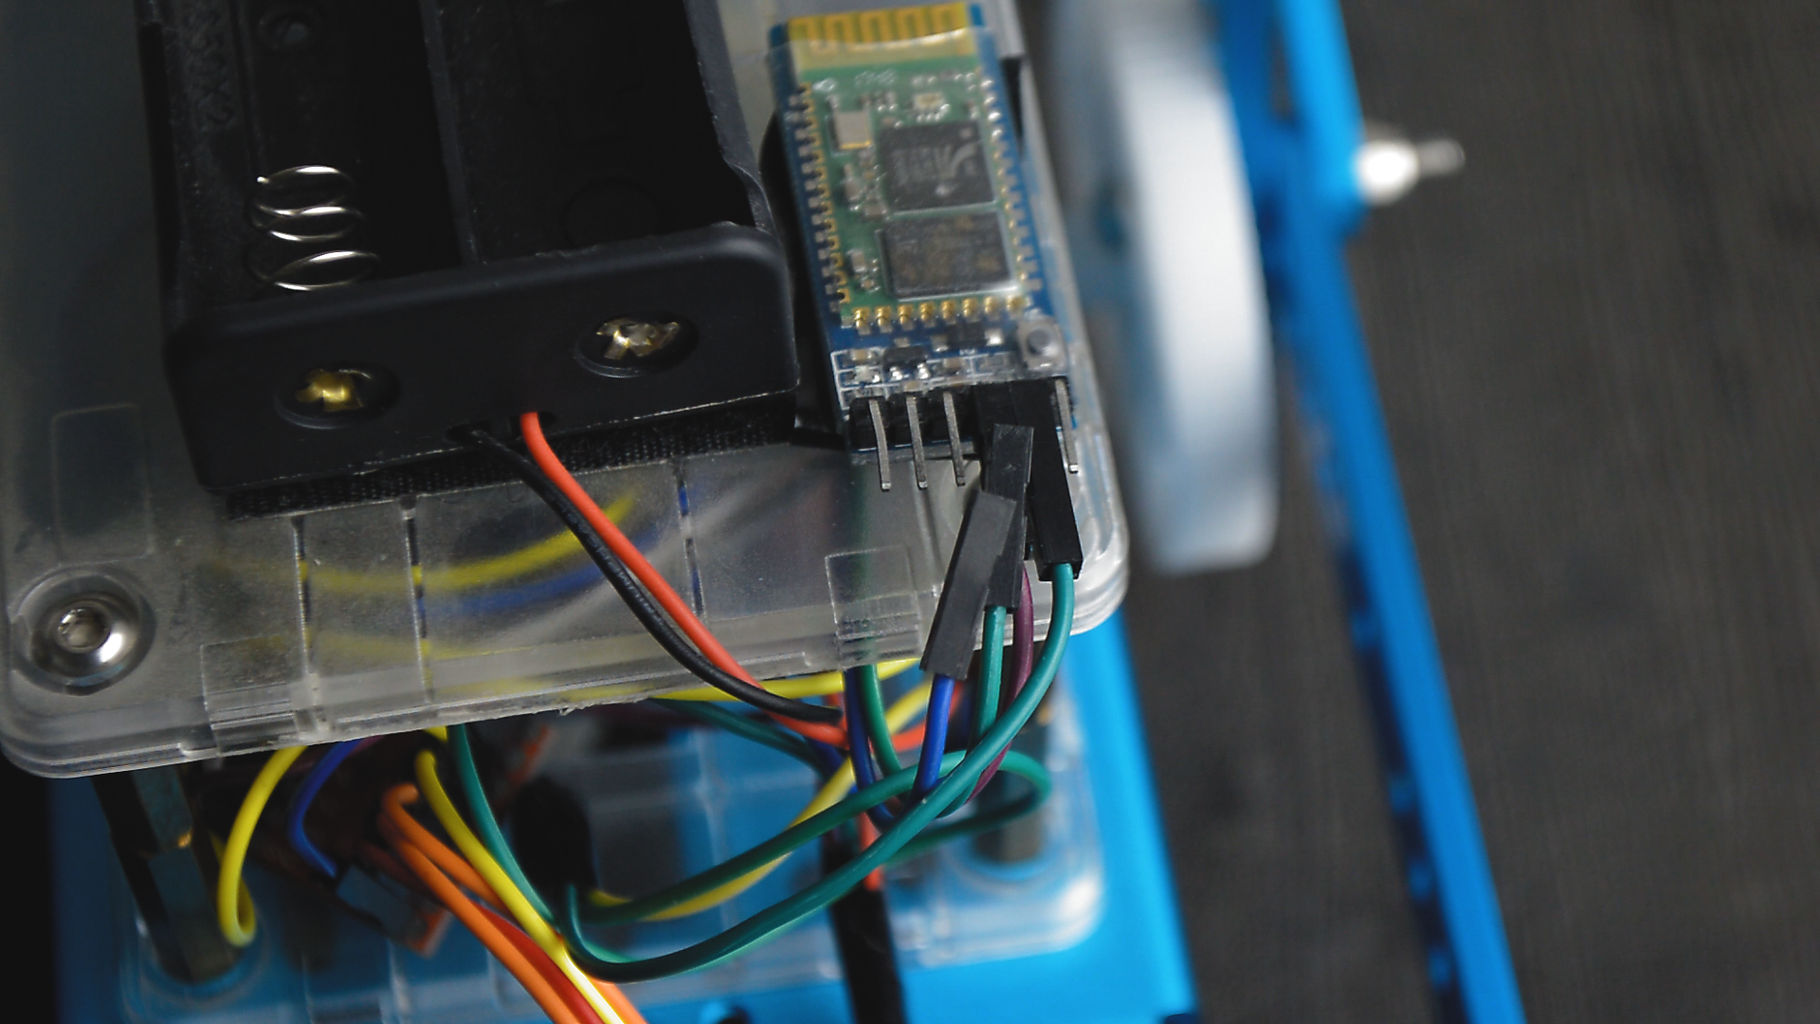
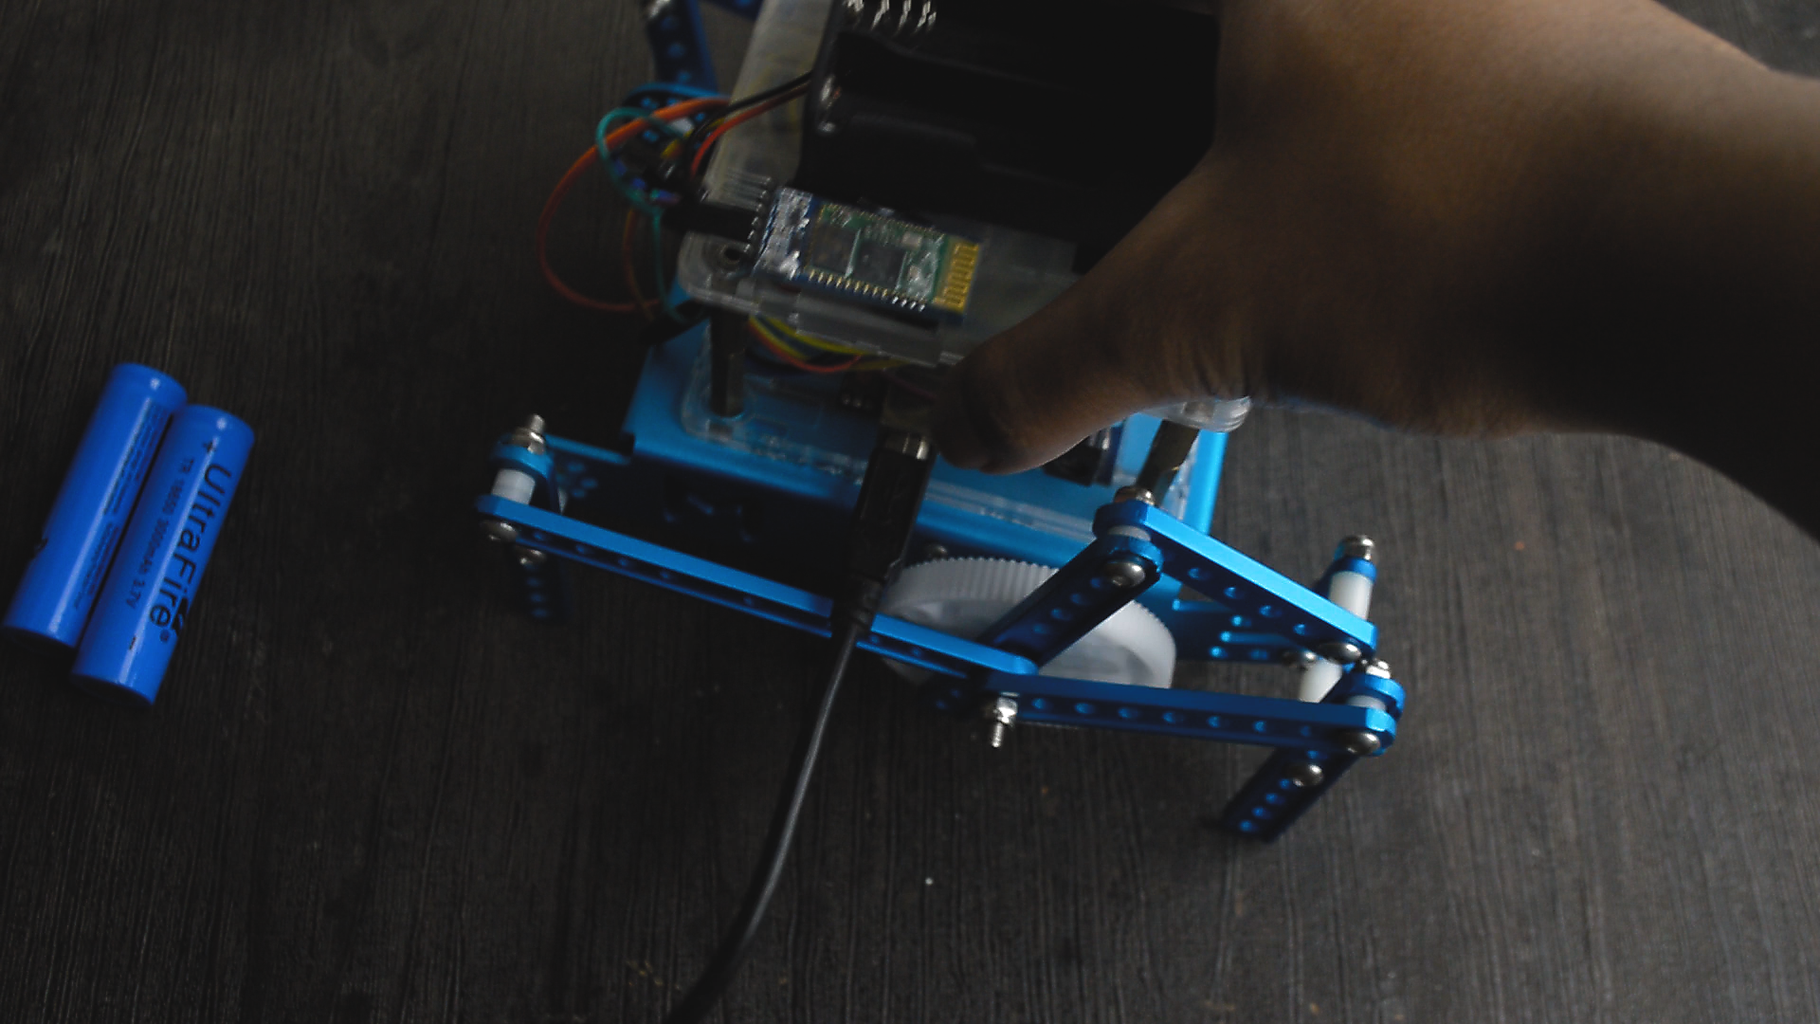
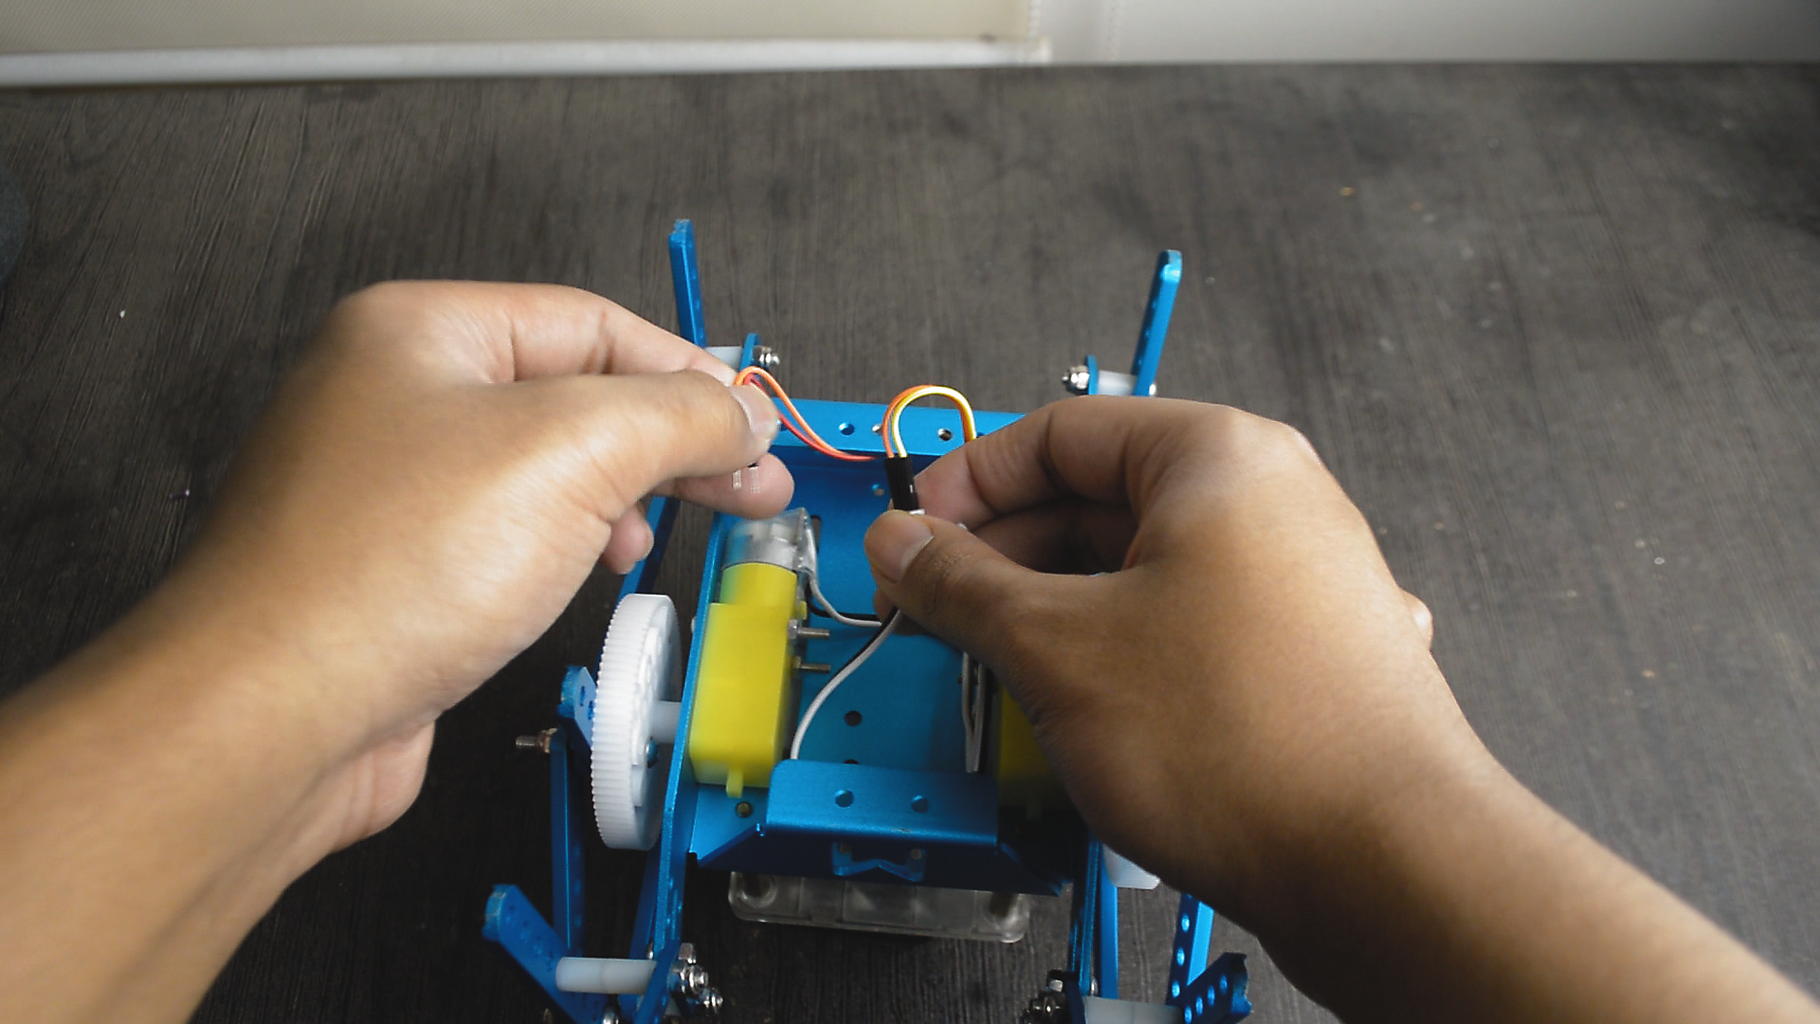
So time to make the connections, refer to the circuit diagram in the images . I connected the 4 input pins of the motor controller input 1a,1b,2a and 2b to arduino pins 8 to 11 respectively. Then I connected the 2 pwm pins of the motor controller to pins 5 and 6 of the arduino.Then I connected the standby pin of the motor controller to pin 7 of the arduino .Then I connected the motor wires to the 4 output pins of the motor controller: AO1,AO2,BO1 and BO2. Then I connected the positive of the battery to arduino’s vin pin and the vm pin of the motor controller. Then I connected the 5v of the arduino to the vcc of the motor controller and the 5v of the hc-05 bluetooth module.Then I connected the tx of the arduino to the rx of the bluetooth module and the rx of the arduino to the tx of the bluetooth module. Finally I connected the ground pins of the arduino,the motor controller,the bluetooth module and the battery together. Then I fitted all the parts and wires inside the chassis.
Step 3: Programming the Arduino


Make sure the batteries are disconnected and disconnect the TX and RX connected from the Arduino to the Bluetooth module. Connect the USB A to B cable from the Arduino to the computer ,download the Arduino IDE and the code I have provided. Open the file and select the com port to the one where the Arduino is connected, and beside boards, select Arduino Uno, then hit upload.Then after uploading connect the TX and RX back.
Download the Arduino IDE: https://www.arduino.cc/en/main/software
Attachments

Step 4: Testing and Using!


Now plug in the batteries.
To control the robot from an Android phone, download the bluetooth rc car app on google play store. Then pair the bluetooth module from the settings. Then connect it from the app. Test the robot by pressing the buttons. If you see that the controls are reversed then you need to flip the wires from the motors to the arduino, and test and fix the controls. You can adjust the speed from the slider in the app.Remember that when you first start the robot, you need to set the speed, as its close to 0 by default.
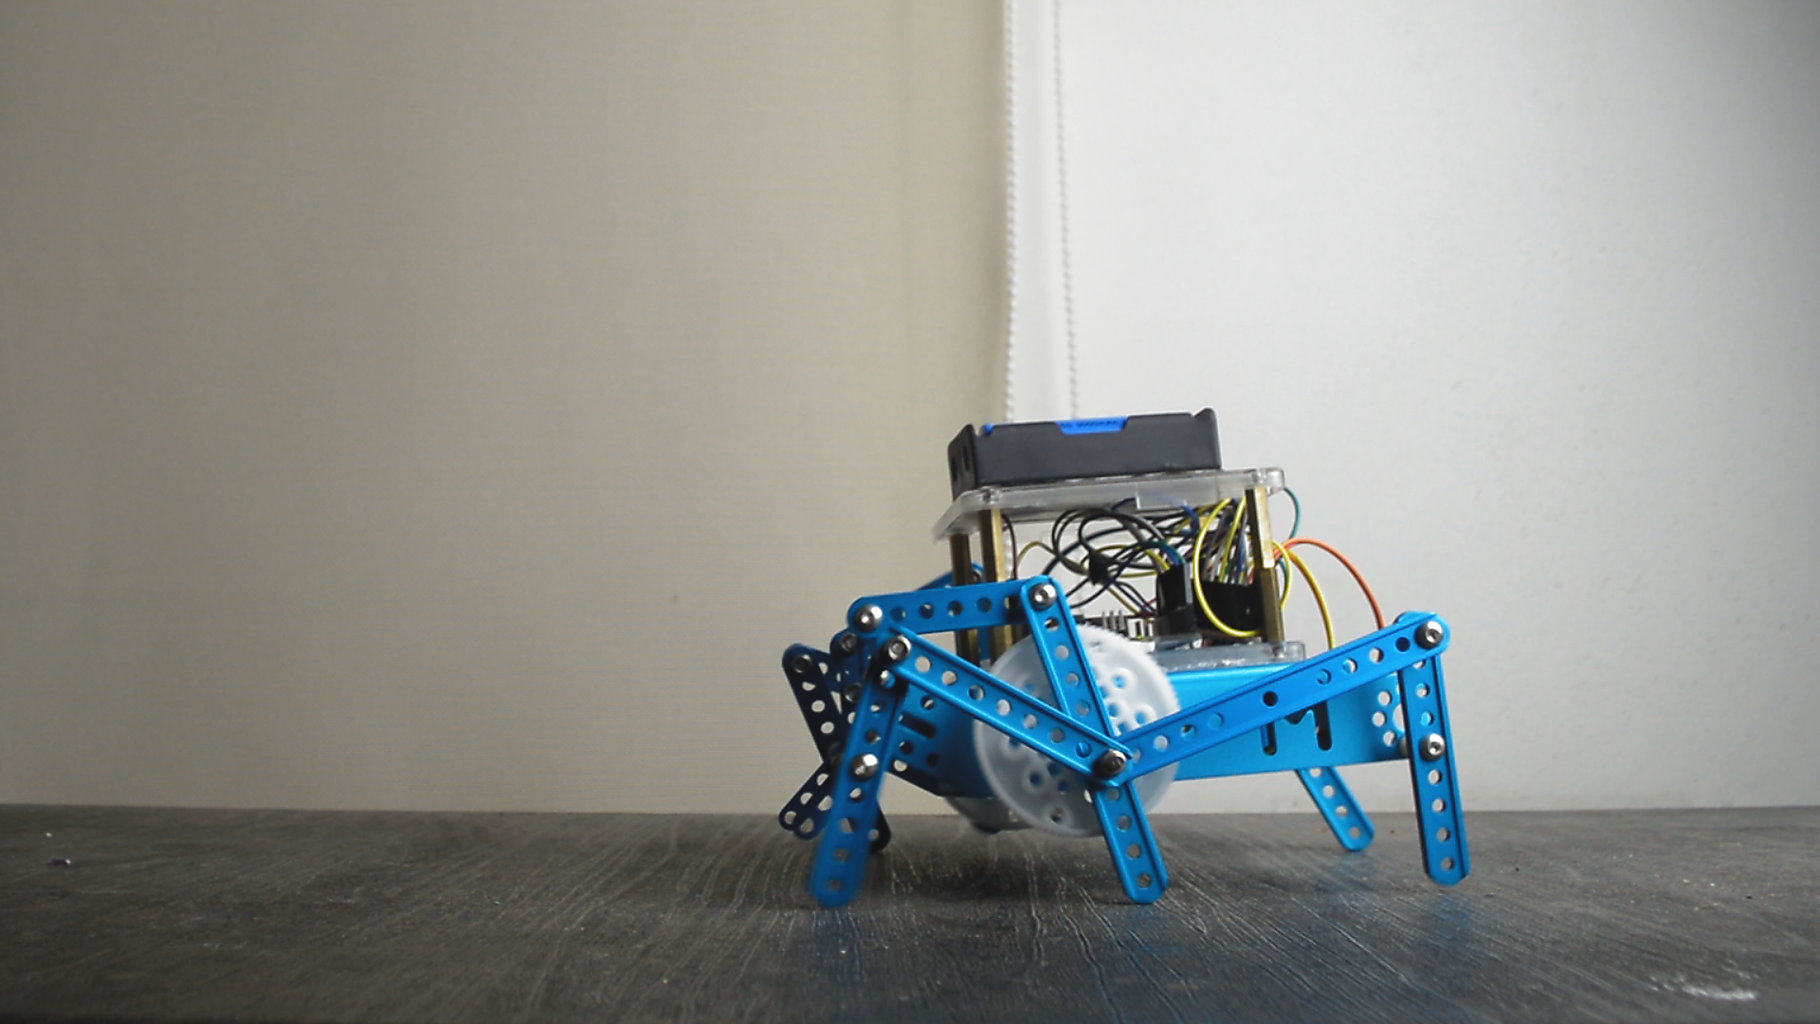
Step 5: Done!

So that was how to make Bluetooth Controlled robot with Arduino! Thank you for reading!
Also please check out my YouTube channel where I post videos on electronics and robotics. Bye!
My Youtube Channel: youtube.com/aymaanrahman05

![Tim's Mechanical Spider Leg [LU9685-20CU]](https://content.instructables.com/FFB/5R4I/LVKZ6G6R/FFB5R4ILVKZ6G6R.png?auto=webp&crop=1.2%3A1&frame=1&width=306)


