

Introduction: DIY Hexagonal Nanoleaf LED Light


After seeing the price tag for the Nanoleaf Aurora or similar LED Panels I did some research and decided to create my own version for a much lower price point.
What you are going to need:
- Access to a 3D Printer
- 2mm thick semi transparent acrylic
- WS2812 LEDs (50cm per LED Module)
- 5V Power Supply (I use 10A for 8 Modules)
- WeMos D1 mini
- Cables
- 4* M4 Countersink screws + nuts for each connection between the modules
Step 1: Preparing for 3D Printing
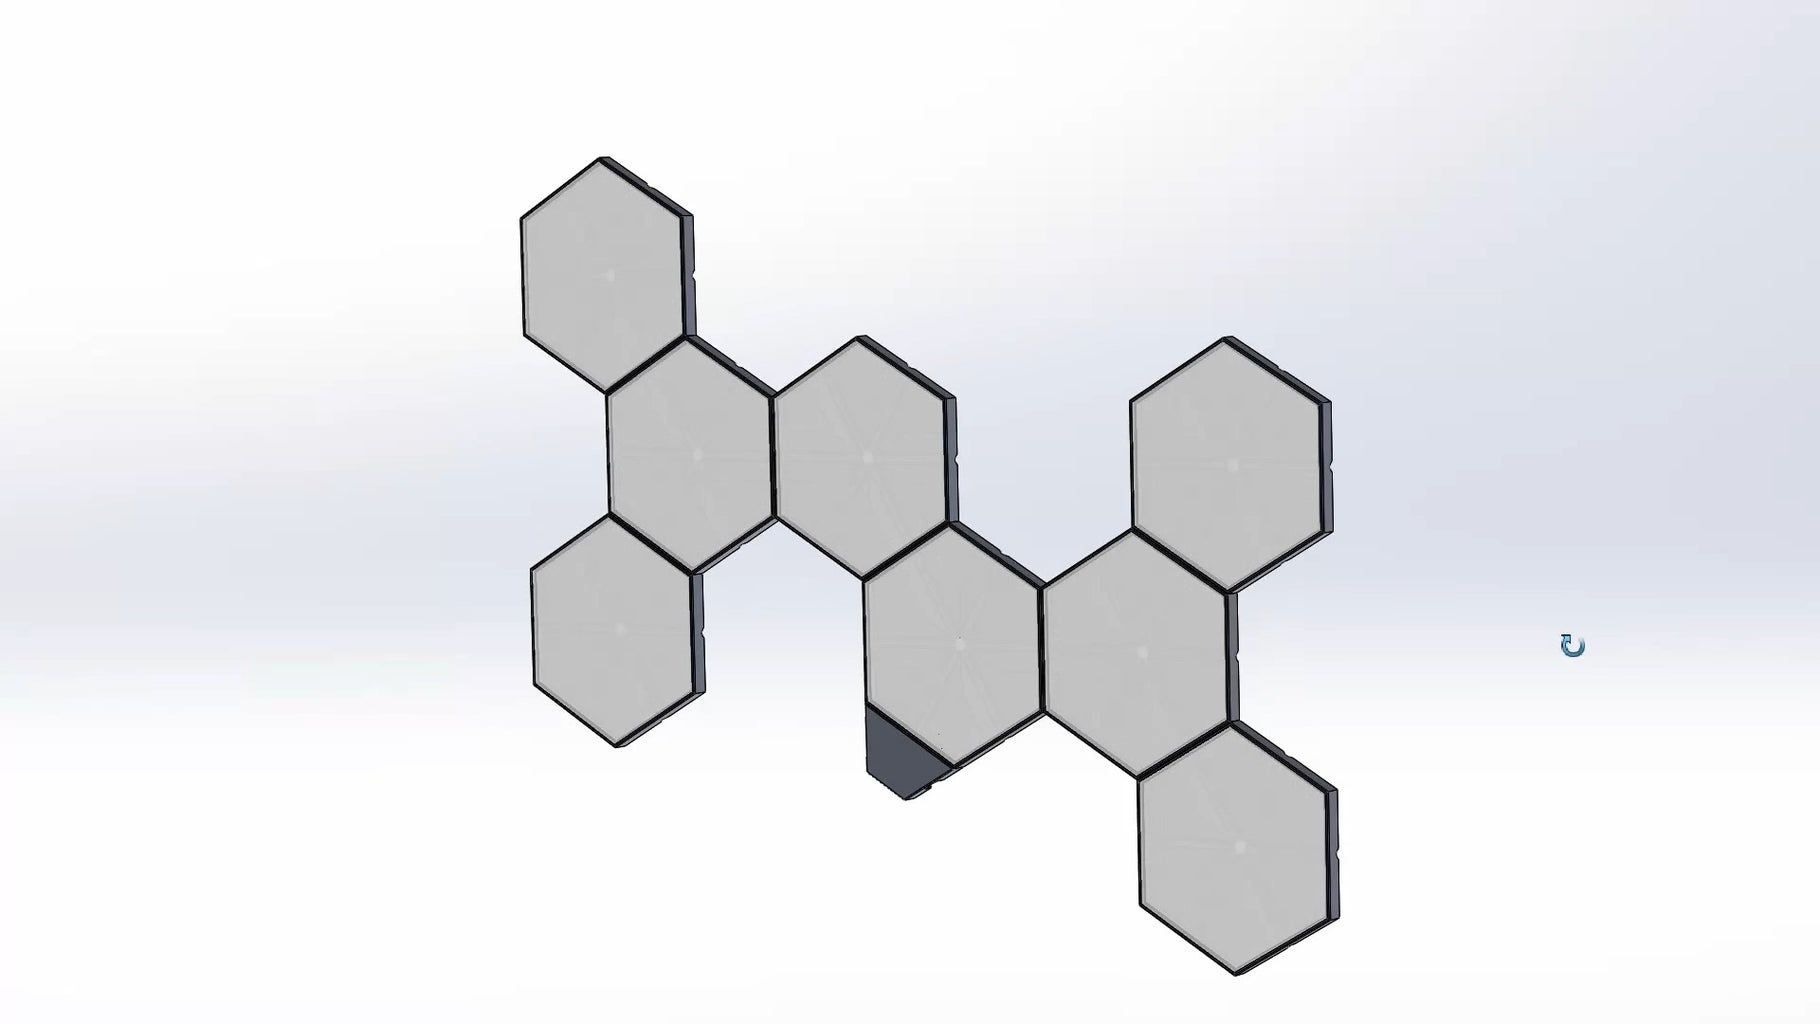


I used Solidworks to create the 3D model. It is designed in a way to be very slim and close to the wall. For this reason I used slim 5mm LED strips. They are more expensive than the standard 10mm ones, but I prefered the look of the slim panels. If you want to save some money, I also uploaded a version of the frames for the standard 10mm strips.
Also the frame itself is quite slim, but it still hides the side view of the LEDs. On the backside are indentations for cables which also provide more strength for the panels.
To connect the modules with each other I decided to use screws to create a firm connection. There is a connector piece which then screws two pieces together. The connector acts as a little spacer to the wall to allow some airflow for cooling through the holes on the back. With the cutouts in the connector you can hang the assembles module to Nails / Screws in your wall.
The frames can be printed without support. I used a layer height of 0.16mm.
Step 2: Cutting Out the Acrylic Diffusers

I have access to a laser cutter, so I decided to use this machine to cut out the acrylic pieces . This allows very precise cuts and saving some time. If you do no have access to a laser cutter you could also use a hacksaw or similar.
To give it a diffused look but still let enough light through, I used acrylic with a light transmission of 45%. You can use a single A4 sheet of acrylic to cut out two pieces.
Step 3: Testing the Electronics

For the electronics and programming of the WeMos D1 mini you should check out this awesome project on Github:
https://github.com/NimmLor/esp8266-nanoleaf-webser...
It is a very detailed instruction on how to set everything up. It includes all the controls for the lights and also has lots of prebuild light effects. There even is an explanation on how to set it up with Node Red and control it with your Alexa.
Before putting everything together I tried the code with a short test strip from the LEDs. After some tinkering it worked just fine.
Step 4: Assembling All the Parts


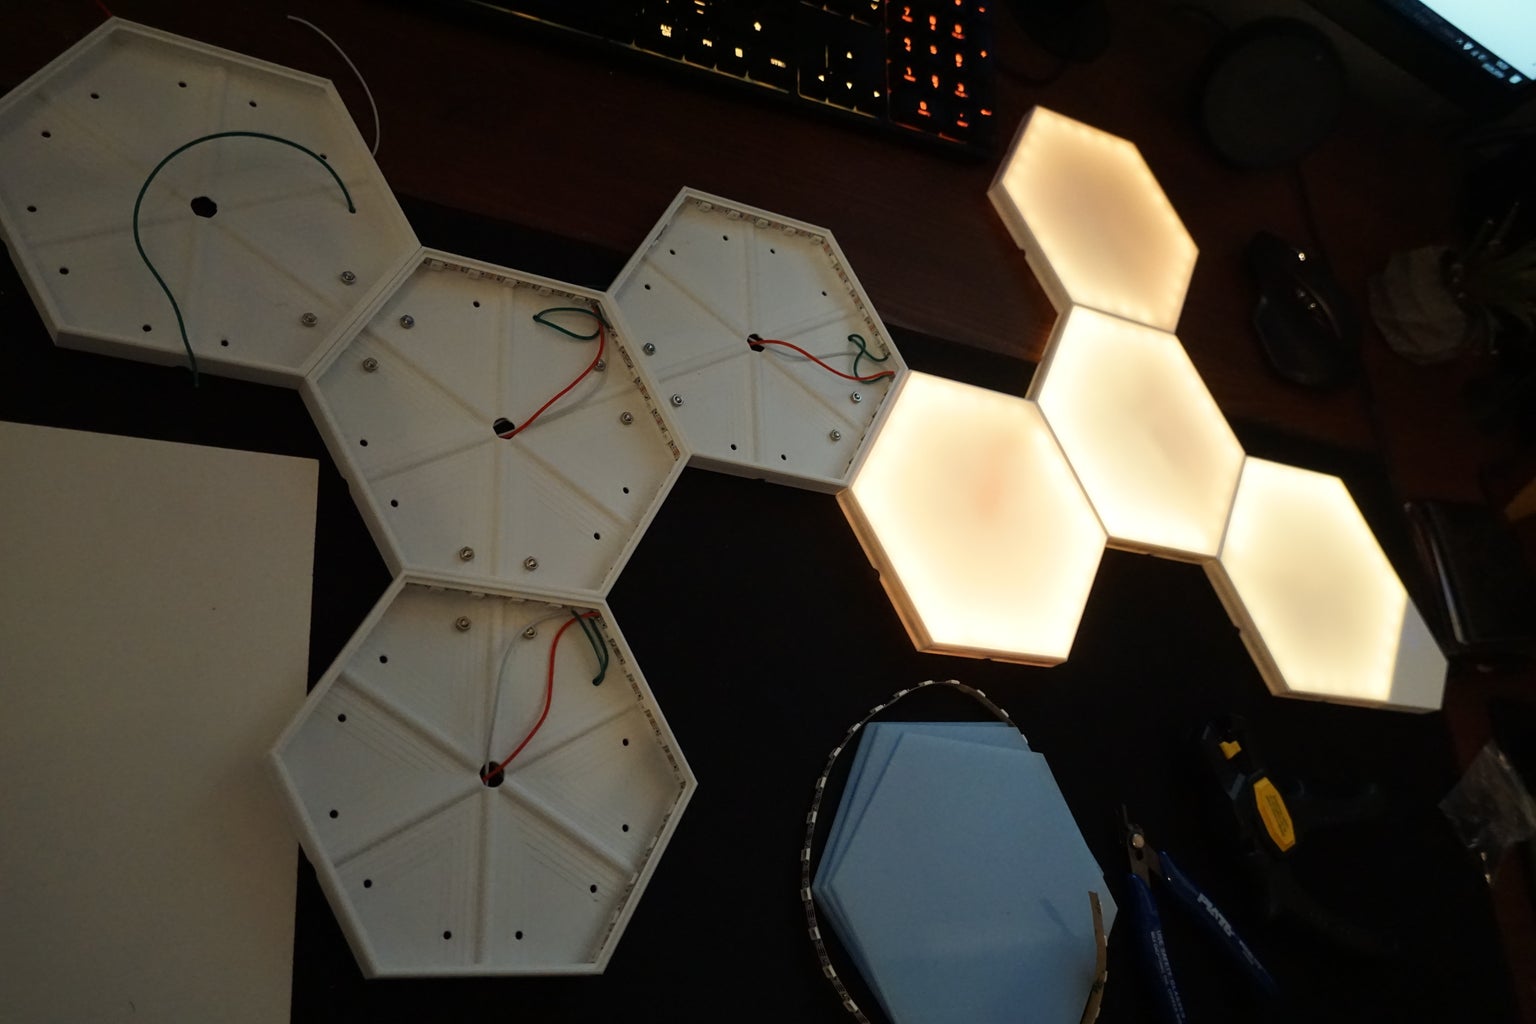
One important note first:
The cables you see on the picture from the back were too thin for the amount of LEDs I used. This caused the cables to get quite warm and also it caused a voltage drop over distance. In succession the blue LEDs decreased in brightness, the further they were away. Later on I changed all the cables on the back for much thicker ones. So make sure to use the right thickness for the amount of LEDs you are going to use.
Wiring up all the panels is quite tedious and not as simple as putting together some Nanoleaf Panels, but I think it is worth it.
In my case the acrylic pieces were precisely cut and I cut simply press them into place. Depending on the precision of your pieces you might need to add some glue.
Step 5: Done


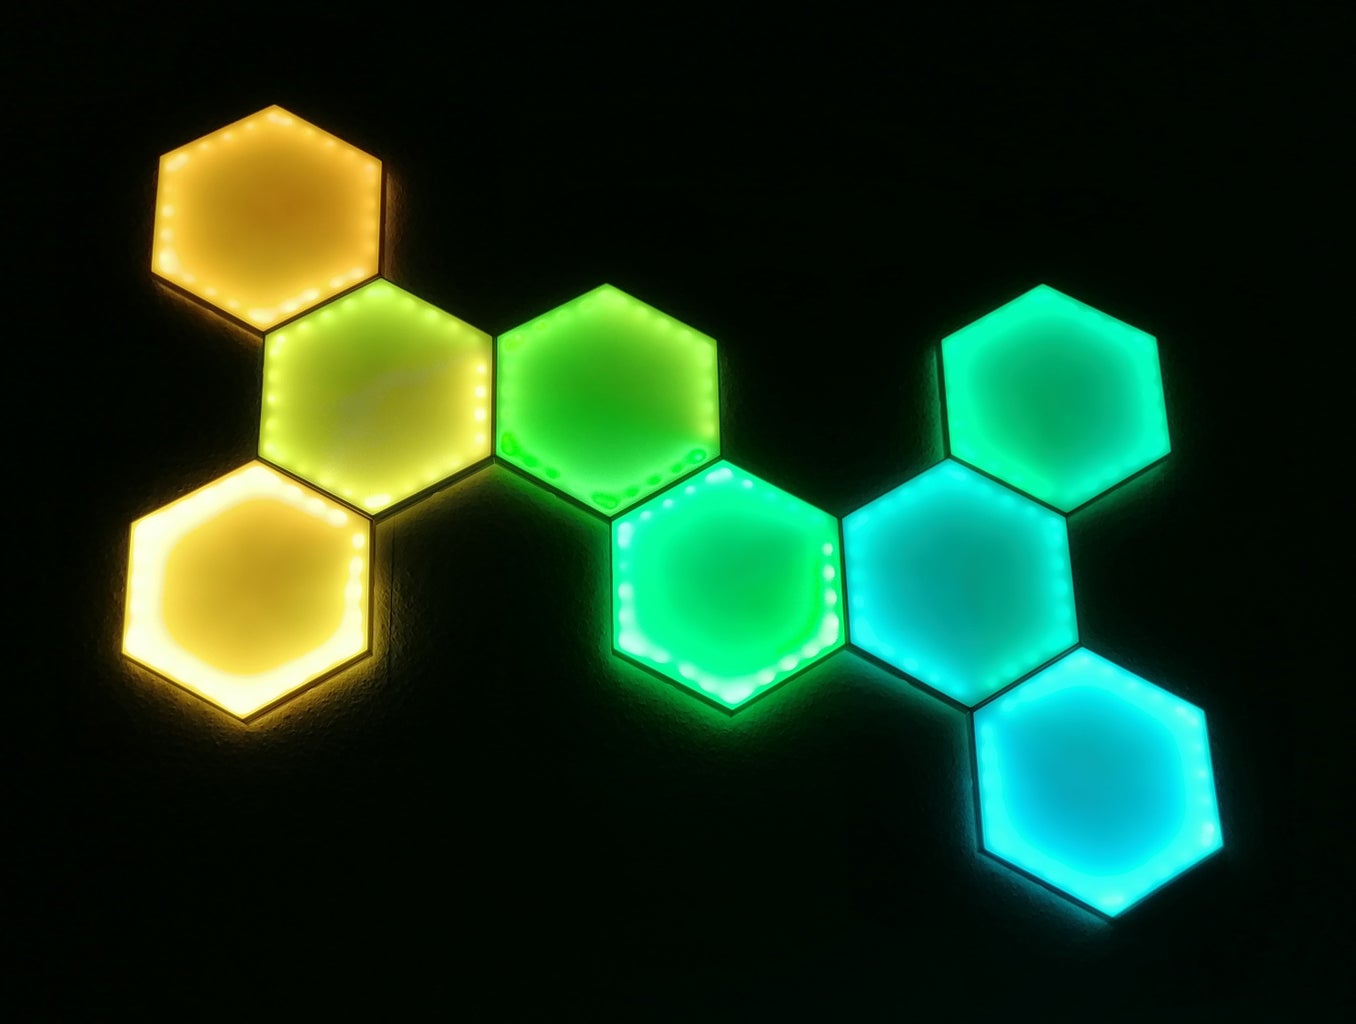


I am really happy with how the panels turned out.
They have a nice and even glow and are extremely bright, much brighter than the Nanoleaf Panels (therefore they also draw more power). I use them as a sunrise / wake up light and they do a great job for this task.
The fact that they have spacers on the back and also glow through the frame, makes them look like they are floating and not attached to the wall.
_____
The files are now online


Participated in the
Make it Glow Contest


