

Introduction: DIY Range Finder With Arduino
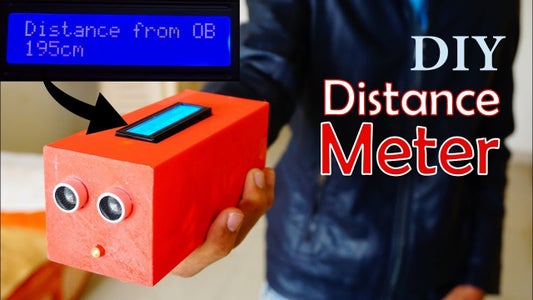


In this article i will show you how you can make an range finder using arduino.
Supplies
Sonar Module
Arduino UNO
LCD Display
Laser module
Buy these products from banggoods
Step 1: Connect the LCD Display to Arduino


Now you need to connect the lcd module to the arduino and make it ready for programming and move on to the next step.
Step 2: Programming


Now connect your arduino and its time to program it.
First you need to download the provided libraries files and paste them into the arduino libraries folder after that you need to upload the address scanner code to arduino and you will get your address i2c code and then upload the final code to arduino and don't forget to change the address code as shown in above.
Move on to Step 3.

Step 3: Wiring the Circuit


Now you need to wire the whole circuit according to the diagram and move on to the step 4.
Step 4: Creating a Box


I made a box using a 3d printer as shown in the pictures you can use any plastic box as well.
Step 5: Placing Components


I place all the component in there place as shown in the pictures.
Step 6: Ready to Use
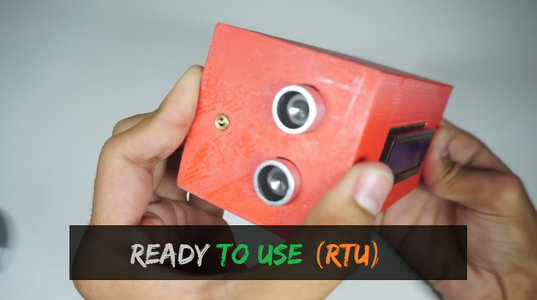


Now our project is complete and it is ready to use now. Turn on your range finder and find any range or distance.
There is minor ±1 cm error in the program which can be ignored. Hope you enjoy making this project.
Watch a Video tutorial here : Uploading In 24 Hours.......

Participated in the
Sensors Contest


