

Introduction: How to Add an EEPROM to Raspberry Pi Pico


EEPROM is essential for many microcontroller based projects. Unfortunately, the Raspberry Pi Pico misses out on the EEPROM. So, in this write-up, I shall go through the process of adding an EEPROM to your Pi Pico.
Supplies
1. CAT24C32/AT24C32 EEPROM
Links to purchase the EEPROM:
India:
United Kingdom:
United States:
Worldwide Ebay:
http://ebay.us/kxL56N
The chip's pins are same for all EEPROM sizes, so you can use EEPROMs with higher capacity. Search for CAT24C64 for 64Kilo bits or 8KB
CAT24C128 for 128Kilo bits or 16KB.
CAT24C256 for 256 Kilo bits or 32KB.
This list goes on and on.... Just replace the digits after C for higher or lower capacity EEPROMs.
2. 3.9K Resistors - 3nos
Step 1: EEPROM Pinout and Connection


The EEPROM has 8 pins, of which 3 are address pins as shown in the figure. The communication between the EEPROm and the microcontroller is via I2C. By setting the address pins A0, A1, A2 to either high or low, the default I2C address of the EEPROM chip can be configured. It is suggested to connect all the address pins to ground, unless you have multiple I2C devices or multiple EEPROMs connected.
The WP or Write Protect pin when set to high prevents anything from being written on to the EEPROM. When the WP pin is connected to ground, write protection is disabled and things can be written on to the EEPROM.
And then there is is the usual SDA (I2C Data), SCL (I2C Clock), Vcc (Supply) and Gnd (Ground) pins.
The SDA, SCL and WP should not be left floating and hence they need to be pulled up via 3.9k resistors. The schematic for the EEPROM has also been attached. Please go through the same for clarity.
Step 2: EEPROM PCB


I have designed PCBs for making the Pi Pico-EEPROM connection easier. There are variants to the PCB designed. In the sample PCB image, you can see that one has a jumper for write protection and in the other, the write protection pin has been exposed. The advantage of using the board with the write protection pin exposed is that, the write protection can be software controlled, i.e., it can be enabled or disabled by setting the pin to Low or High.
Other than the SMD versions, I have designed DIP versions as well. You can find the links to the schematics, eagle files and gerber files here
I got myself the SMD version of the board with the write protection pin exposed printed. I used the services of https://jlcpcb.com for printing as like all my projects. Feel free to modify the the board layout, schematics for your project and get them printed or make your own board using a general purpose PCB.
Step 3: EEPROM-Pi Pico Connection

My connection is as follows:
EEPROM SDA --> Pi Pico GP0
EEPROM SDA --> Pi Pico GP1
EEPROM VCC --> Pi Pico 3V3 (OUT)
EEPROM WP --> Pi Pico GND
EEPROm GND --> Pi Pico GND
Step 4: Using the EEPROM in Your Program
I have used Micropython to work with the EEPROM chip. I have modified the Micropython EERPOM libraries of Mike Causer. The updated libraries can be found here.
There are two parameters of the EEPROM to consider which are the bytes per page(bpp or BPP) and the pages. The total EEPROM memory is BPP x Number of Pages.
For the same EEPROM capacity different manufactures may have different values of BPP and Number of Pages. Make sure to check them out and change those values in the library files.
I have provided library files for two different versions just for reference and to show the difference. If you are using any other EEPROM version please do pay attention to the shown differences and change your library file accordingly.
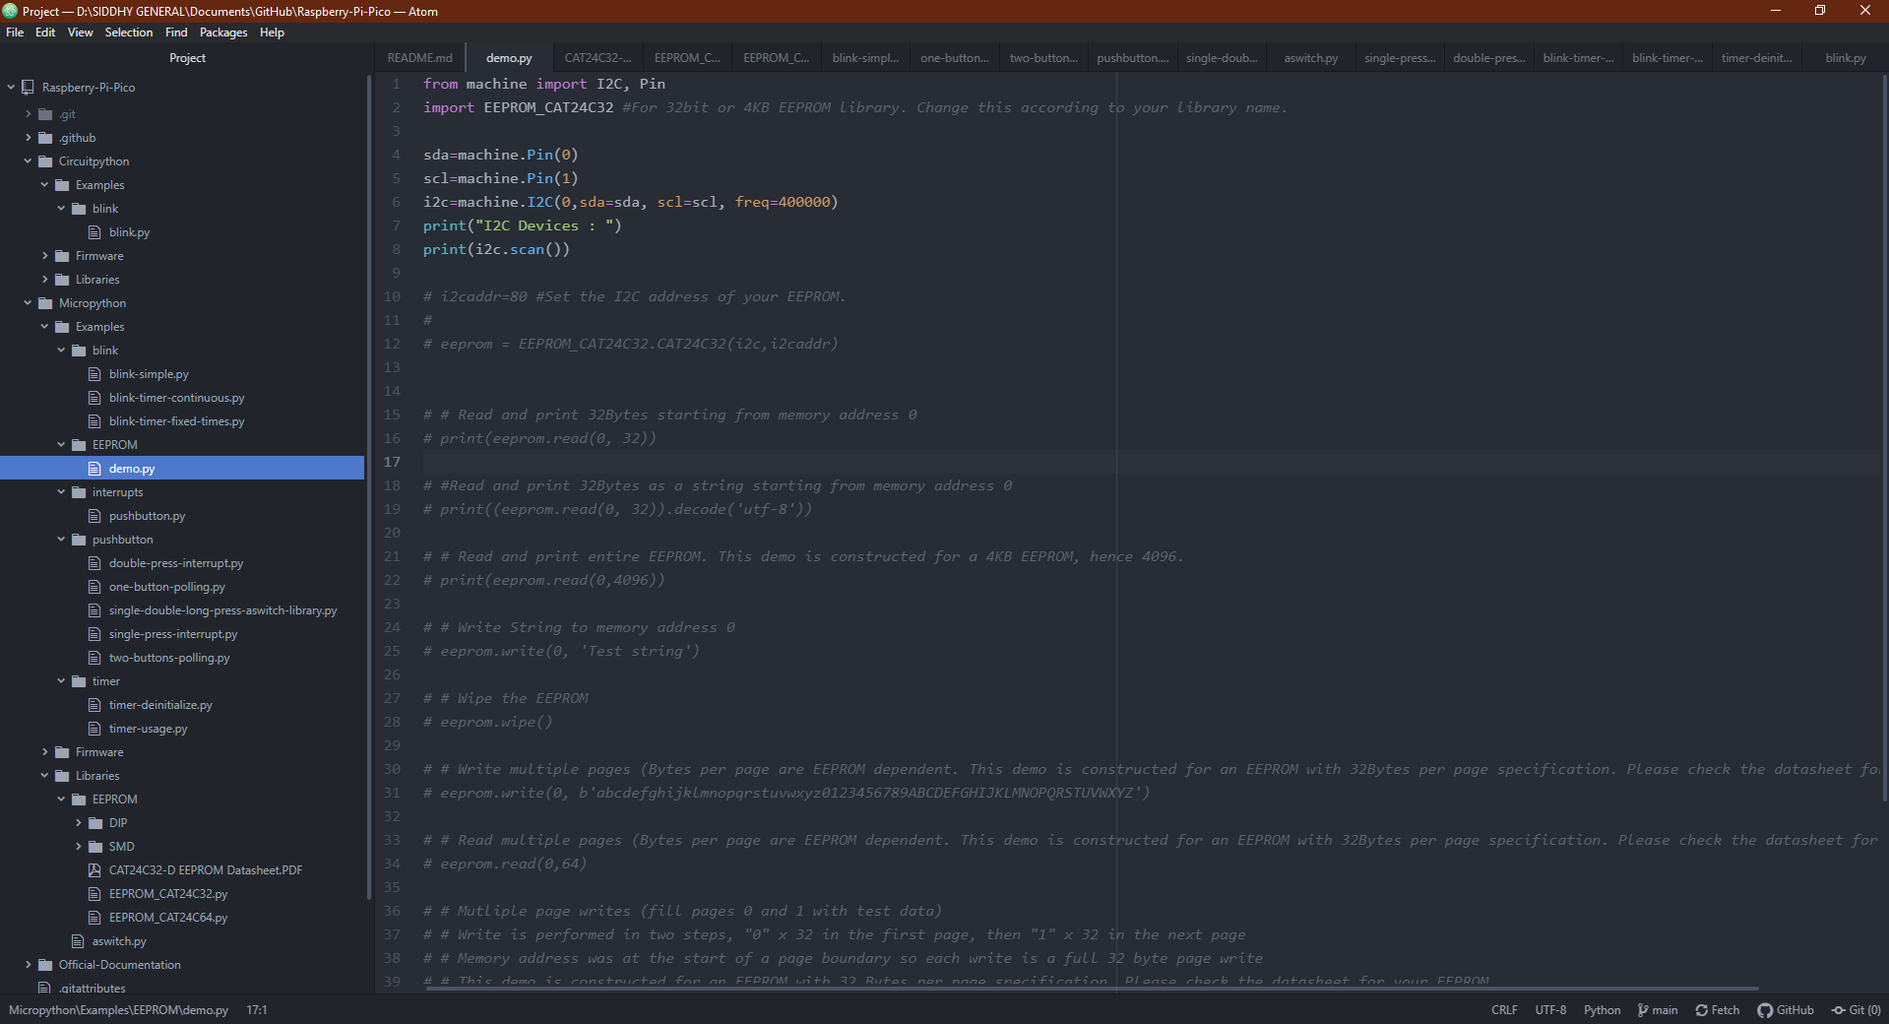
After making the desired changes to the library file, import it onto the Pi Pico. I have provided a demo script that exploits almost all the functions of the EEPROM. You cna find the demo script here.
I have gone through a lot of detail and have explained the demo script in this video below.

![Tim's Mechanical Spider Leg [LU9685-20CU]](https://content.instructables.com/FFB/5R4I/LVKZ6G6R/FFB5R4ILVKZ6G6R.png?auto=webp&crop=1.2%3A1&frame=1&width=306)


