

Introduction: How to Control Tracked Robot Via 3-Channel RC Transmitter + Arduino


This instruction introduces how to control Tracked robot via 3-Channel 2.4G Transmitter-Flysky's protocol by using arduino controller to read receiving code to transform command to control L298N dual motors driver module.
Step 1: Materials & Tools


Materials
1. 1 - Arduino controller - Nano
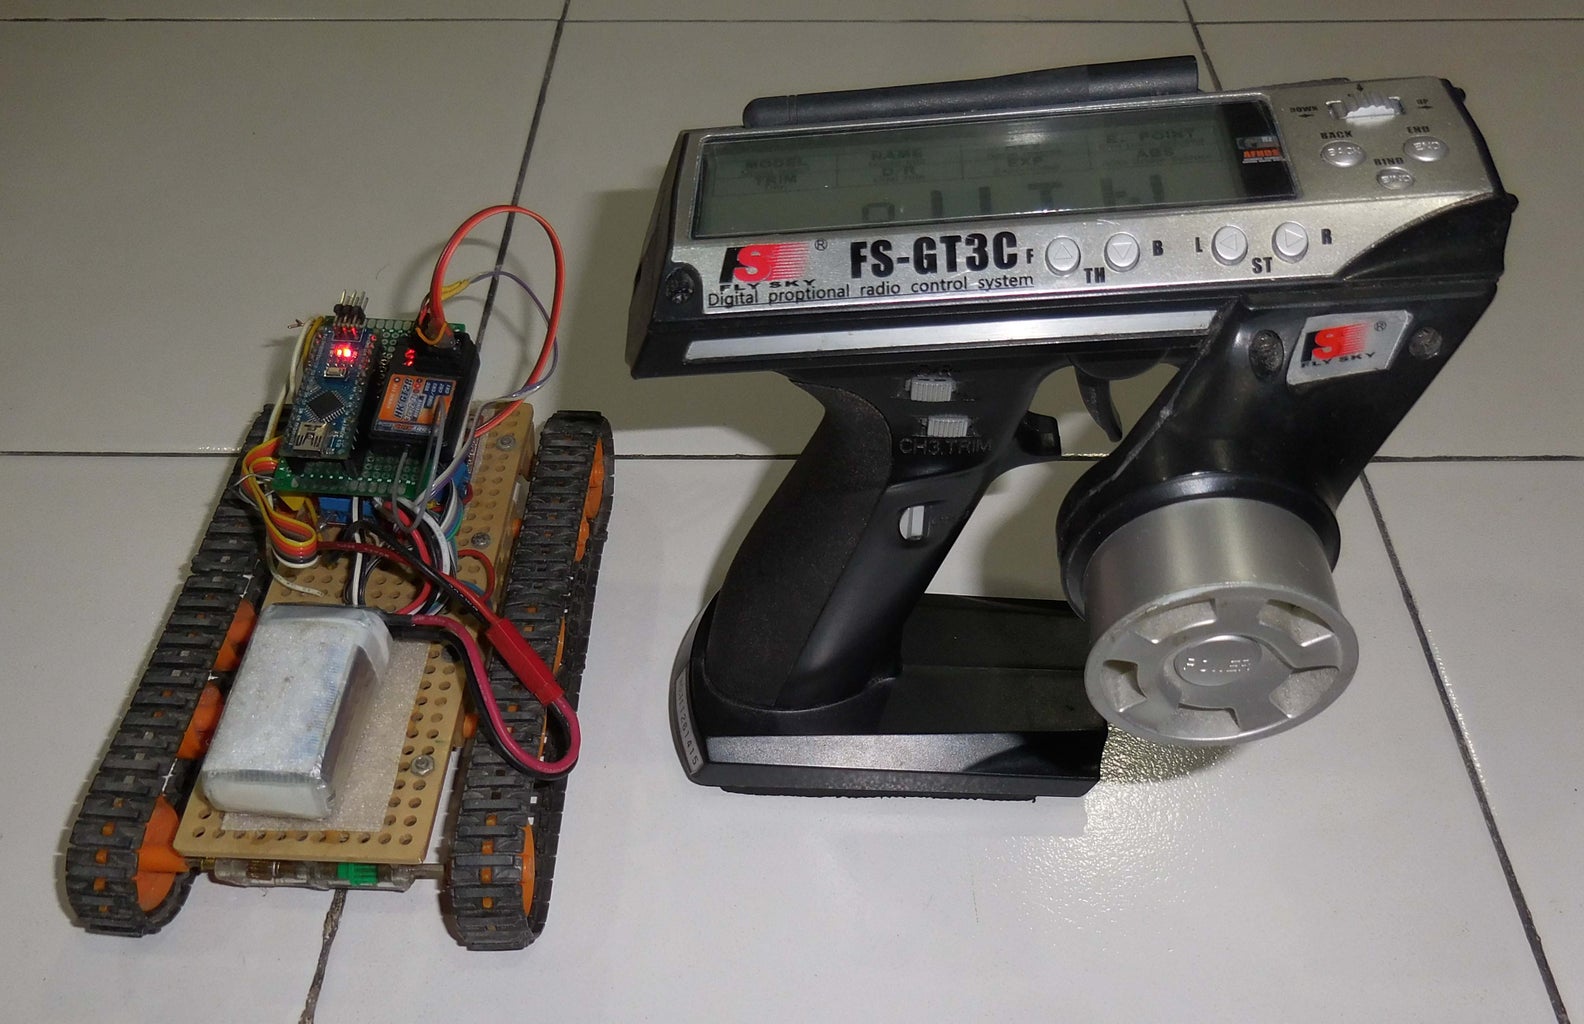
2. 1 - 3-Channel 2.4G Receiver Flysky FS-GR3B or HK-GT2R
3. 1 - 3-Channel 2.4G Transmitter Flysky FS-GT3C or other 3-CH Flysky Transmitter
4. L298N dual motor drive module
5. Tamiya track and wheel set
6. Tamiya dual geared box
7. Tamiya plastic perforated plate
8. Dupont wires
9. Female pin header
10. Dupont Jumper Cable Housing Male Pin Connector
11. Dupont Jumper Cable Housing Female Pin Connector
12. Male JST Battery Pigtail
13. Heat shrink tube 1.5 - 10 mm.
14. PCB - DIY circuit board
15. Velcro tape
16. Battery Lipo 7.4 V. 1000 mAh
Tools
1. Soldering gun.
2. Soldering wire.
3. Soldering paste.
4. Screw driver.
5. Plier.
6. Hot glue gun.
7. Epoxy glue.
Step 2: Parts & DIY PCB Installation


DIY PCB Building
Connecting and soldering electronic parts on DIY. PCB according to circuit diagram.
Arduino Nano pin to L298N Pin No :
D3 - ENA
D4 - IN1
D5 - IN2
D6 - IN3
D7 - IN4
D8 - ENB
Arduino Nano pin to Flysky receiver Pin No :
A0 - CH1
A1 - CH2
A2 - CH3
Step 3: Software Installation
Arduino sketch and Library :
1.Down load sketch from GitHub.
2.Upload sketch to Ardunio Nano.
3.Test the Tracked robot.If the wiring connection was well done.It should work fine.

![Tim's Mechanical Spider Leg [LU9685-20CU]](https://content.instructables.com/FFB/5R4I/LVKZ6G6R/FFB5R4ILVKZ6G6R.png?auto=webp&crop=1.2%3A1&frame=1&width=306)


